Embed Size (px)
Citation preview

HILUX SINGLE CAB: FEBRUARY 2005 PRODUCTION ONWARDS
Part Number PZQ64 12040 / 50
Important: Please read these instructions carefully before installation, paying special attention to all Notice & Caution notes. Failure to do so may result in damaged parts or injury to the installer or customer.
Installation Time: Approx. 45 min.
Place these instructions in vehicle’s glovebox after installation is complete.
March 2007 Production OnwardsClass 2 Towbar
Hatch & Sedan Installation Instructions
Accessory Part Nos.: PZQ64 12040 (Hatch) & PZQ64 12050 (Sedan)
10 pages totalISSUE 1: 30/03/07
Layout (Hatch)
See Page 2 for greater detail See Page 3 for greater detail
Layout (Sedan)
Parts List
Important: Check contents of kit before commencing fitment and report any discrepancies.
Drawbar
LHS Sidearm
RHS Sidearm
Tongue
M16 x 45 x 2.0 Bolt
M16 Spring Washer
M12 x 50 x 1.25 Bolt
M12 Spring Washer
M12 Flat Washer
M12 x 40 x 1.75 Bolt
M12 Nut
Compliance Label (Hatch)
Compliance Label (Sedan)
Component NameItem
1
2
3
4
5
6
7
8
9
10
11
12
13
This Towbar is to be used solely for the purpose of towing. Other uses may damage the Towbar and / or vehicle.
If the tongue is removed from the towbar, ensure that it is stored securely within the vehicle. Injury and or damage may result if the tongue is free to move about within the vehicle.
IMPORTANT INFORMATION
Qty. Torque (Nm)
1
1
1
1
2
2
6
10
14
4
4
1
1
-
-
-
-
190
-
77
-
-
77
77
-
-

Page 2 of 10
La
yo
ut
- H
AT
CH
(e
xp
an
de
d v
iew
)
Part Number PZQ64 12040 / 50
ISSUE 1: 30/03/07

Page 3 of 10
La
yo
ut
- S
ED
AN
(e
xp
an
de
d v
iew
)
Part Number PZQ64 12040 / 50
ISSUE 1: 30/03/07

Figure 1: Remove bolts (x2) securing bumper to body.
Figure 2: Remove scrivet from LHS / RHS wheel arch.
Figure 3: Remove mudflaps if fitted (3 bolts each side).
Accessory Part No. -
- CLASS 2 TOWBAR - Hatch & SedanPZQ64 12040 / 50
Remove the scrivet from the LHS / RHS wheel arch as shown in Figure 2.
2.
If fitted, removed the LHS / RHS mudflaps asshown in Figure 3.
3.
Figure 4: Remove clips (x4) securing bumper to body.
Page 4 of 10
Open the boot. Remove the two bolts securing the bumper to the body as shown in Figure 1.
1.
Remove the four clips (2 x LHS 2 x RHS) securing the bumper to the vehicle as shown in Figure 4.
4.
Caution: Disconnect the negative terminal from the battery prior to commencing the installation process.
ISSUE 1: 30/03/07 Part Number PZQ64 12040 / 50

Figure 5: Remove rear bumper from vehicle.
Figure 6: Remove OE tie down hook.
Figure 7: Drop exhaust off rearmost hanger.
Accessory Part No. -
- CLASS 2 TOWBAR - Hatch & SedanPZQ64 12040 / 50
Remove the OE tie down hook from the left hand side of the vehicle as shown in Figure 6. Retain the tie down hook for reinstallation (Step 9).
Discard bolts.
6.
Drop the exhaust off the rear most hanger asshown in Figure 7.
7.
Figure 8: Install RH side plate.
Page 5 of 10
Carefully remove the rear bumper from thevehicle.
5.
Loosely install the RH side arm (Item 3) to the vehicle using M12 x 50 bolts (Item 7), M12 spring washers (Item 8) and M12 flat washers (Item 9) as shown in Figure 8.
8.
ISSUE 1: 30/03/07 Part Number PZQ64 12040 / 50
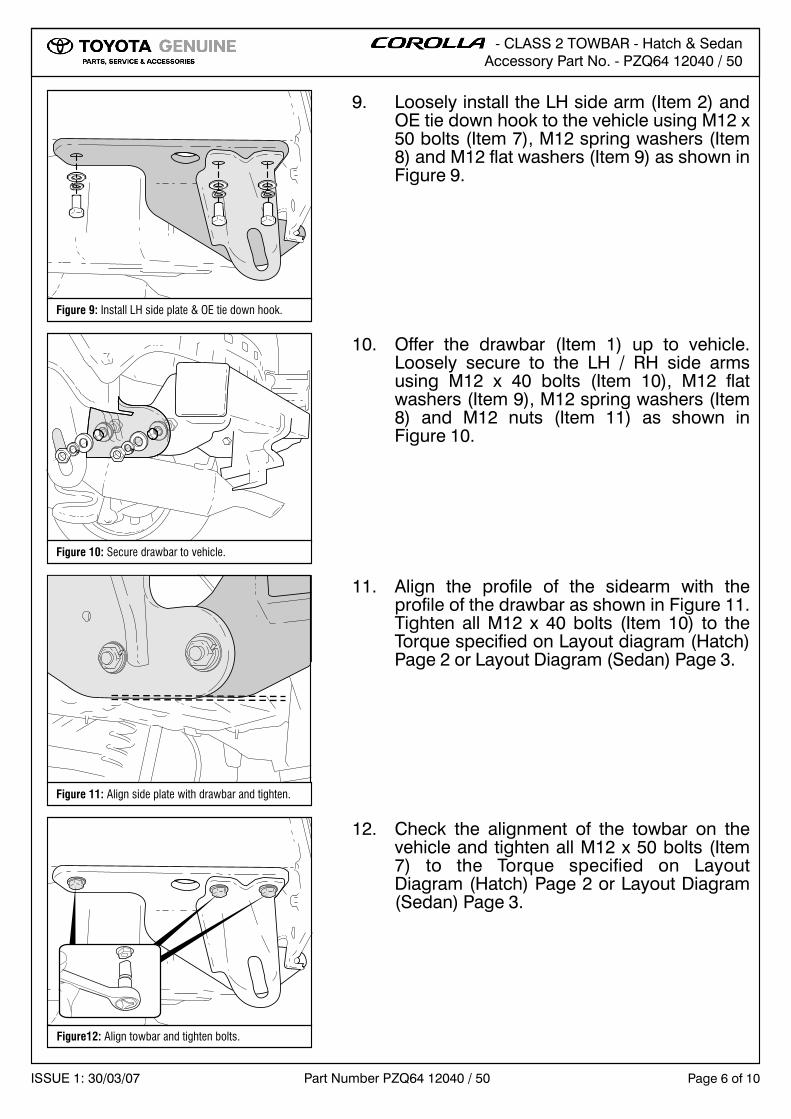
Figure 9: Install LH side plate & OE tie down hook.
Figure 11: Align side plate with drawbar and tighten.
Accessory Part No. -
- CLASS 2 TOWBAR - Hatch & SedanPZQ64 12040 / 50
Offer the drawbar up to vehicle. Loosely secure to the LH / RH side arms using M12 x 40 bolts (Item 10), M12 flat washers (Item 9), M12 spring washers (Item 8) and M12 nuts (Item 11) as shown in Figure 10.
(Item 1) 10.
Align the profile of the sidearm with the profile of the drawbar as shown in Figure 11. Tighten all M12 x 40 bolts (Item 10) to the Torque specified on Layout diagram (Hatch) Page 2 or Layout Diagram (Sedan) Page 3.
11.
Figure12: Align towbar and tighten bolts.
Page 6 of 10
Loosely install the LH side arm (Item 2) and OE tie down hook to the vehicle using M12 x 50 bolts (Item 7), M12 spring washers (Item 8) and M12 flat washers (Item 9) as shown in Figure 9.
9.
Check the alignment of the towbar on the vehicle and tighten all M12 x 50 bolts (Item 7) to the Torque specified on Layout Diagram (Hatch) Page 2 or Layout Diagram (Sedan) Page 3.
12.
ISSUE 1: 30/03/07 Part Number PZQ64 12040 / 50
Figure 10: Secure drawbar to vehicle.
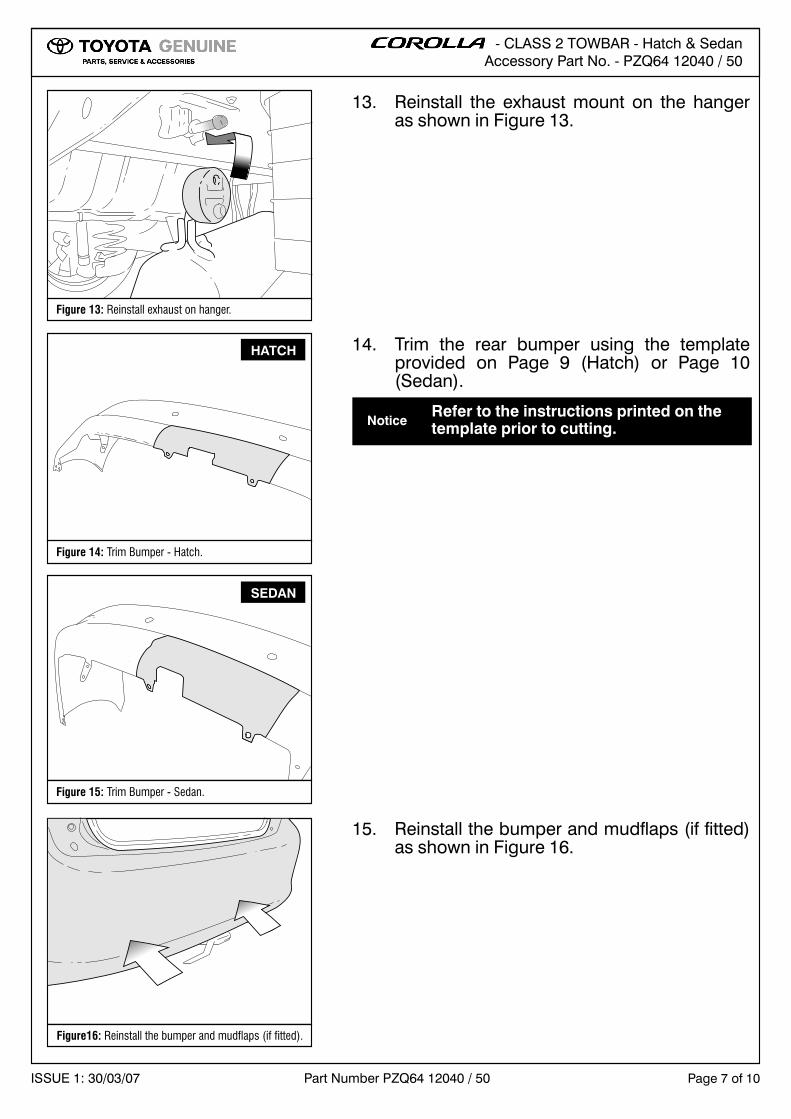
Figure 14: Trim Bumper - Hatch.
Figure 15: Trim Bumper - Sedan.
Accessory Part No. -
- CLASS 2 TOWBAR - Hatch & SedanPZQ64 12040 / 50
Trim the rear bumper using the template provided on Page 9 (Hatch) or Page 10 (Sedan).
14.
Figure16: Reinstall the bumper and mudflaps (if fitted).
Page 7 of 10
Reinstall the exhaust mount on the hanger as shown in Figure 13.
13.
Reinstall the bumper and mudflaps (if fitted) as shown in Figure 16.
15.
NoticeRefer to the instructions printed on thetemplate prior to cutting.
HATCH
SEDAN
ISSUE 1: 30/03/07 Part Number PZQ64 12040 / 50
Figure 13: Reinstall exhaust on hanger.

Figure 18: Install compliance label.
Accessory Part No. -
- CLASS 2 TOWBAR - Hatch & SedanPZQ64 12040 / 50
Install the relevant compliance label (indicated below) on the inner door panel as shown in Figure 18. Discard remaining placard.
17.
Page 8 of 10
Install the tongue using M16 x 45 bolts (Item 5) and M16 spring washers (Item 6) as shown in Figure 17. Tighten bolts to the Torque specified on Layout Diagram (Hatch) Page 2 or Layout Diagram (Sedan) Page 3.
(Item 4) 16.
POST FITMENT CHECKS
Check alignment of towbar. Adjust if necessary.Reconnect negative battery terminal.
END.
HATCH
SEDAN
Figure 17: Install the tongue.
ISSUE 1: 30/03/07 Part Number PZQ64 12040 / 50

1
0
0
m
m
4
0
m
m
1
6
m
m
1 6 m m
0
PZQ64 12040
Corolla Hatch Towbar
Rear Bumper Cutting Template
SCALE:
Major Divisions = 10mm
Minor Divisions = 2mm
IN
S
T
R
U
C
T
IO
N
S
1
. E
n
su
re
th
a
t th
e
te
m
p
la
te
is to
sca
le
p
rio
r to
cu
ttin
g
.
2
. C
u
t o
u
t th
e
te
m
p
la
te
u
sin
g
th
e
d
o
tte
d
lin
e
s m
a
rke
d
L
IN
E
1
&
L
IN
E
2
a
s a
g
u
id
e
.
3
. P
o
sitio
n
th
e
te
m
p
la
te
o
n
th
e
o
u
te
r (p
a
in
te
d
) fa
ce
o
f th
e
re
a
r b
u
m
p
e
r.
4
. A
lig
n
th
e
te
m
p
la
te
w
ith
th
e
lo
w
e
r e
d
g
e
o
f th
e
re
a
r b
u
m
p
e
r a
n
d
b
u
m
p
e
r ta
b
s.
5
. T
a
p
e
th
e
te
m
p
la
te
to
th
e
re
a
r b
u
m
p
e
r.
6
. M
a
rk th
e
ce
n
tre
o
f th
e
1
6
m
m
h
o
le
s.
7
. C
u
t 2
x 1
6
m
m
h
o
le
s u
sin
g
a
1
6
m
m
sp
e
e
d
b
o
re
.
8
. M
a
rk ta
n
g
e
n
t lin
e
s a
, b
&
c o
n
th
e
re
a
r b
u
m
p
e
r.
9
. C
u
t th
e
lin
e
s m
a
rke
d
in
ste
p
8
.
Issue No. 1 - 30/03/07 Part Number: PZQ80 12040 Page 9 of 10
10 20 4030 60 70 80 90 100
0
100
a
b
c
LINE 1
LINE 2

7
4
m
m
9
7
m
m
1 6 m m
1 6 m m
6 m m
IN
S
T
R
U
C
T
IO
N
S
1
. E
n
su
re
th
a
t th
e
te
m
p
la
te
is to
sca
le
p
rio
r to
cu
ttin
g
.
2
. C
u
t o
u
t th
e
te
m
p
la
te
u
sin
g
th
e
d
o
tte
d
lin
e
s m
a
rke
d
L
IN
E
1
&
L
IN
E
2
a
s a
g
u
id
e
.
3
. P
o
sitio
n
th
e
te
m
p
la
te
o
n
th
e
o
u
te
r (p
a
in
te
d
) fa
ce
o
f th
e
re
a
r b
u
m
p
e
r.
4
. A
lig
n
th
e
te
m
p
la
te
w
ith
th
e
lo
w
e
r e
d
g
e
o
f th
e
re
a
r b
u
m
p
e
r a
n
d
b
u
m
p
e
r ta
b
s.
5
. T
a
p
e
th
e
te
m
p
la
te
to
th
e
re
a
r b
u
m
p
e
r.
6
. M
a
rk th
e
ce
n
tre
o
f th
e
1
6
m
m
h
o
le
s.
7
. C
u
t 2
x 1
6
m
m
h
o
le
s u
sin
g
a
1
6
m
m
sp
e
e
d
b
o
re
.
8
. M
a
rk th
e
ce
n
tre
o
f th
e
6
m
m
h
o
le
.
9
. C
u
t h
o
le
u
sin
g
a
6
m
m
d
rill.
1
0
. M
a
rk ta
n
g
e
n
t lin
e
s a
, b
, c, d
&
e
o
n
th
e
re
a
r b
u
m
p
e
r.
1
1
. C
u
t th
e
lin
e
s m
a
rke
d
in
ste
p
1
0
.
PZQ64 12050
Corolla Sedan Towbar
Rear Bumper Cutting Template
Part Number: PZQ80 12050Issue No. 1 - 30/03/07 Page 10 of 10
SCALE:
Major Divisions = 10mm
Minor Divisions = 2mm
0 10 20 30 40 60 70 80 90 100
0
100
a
b
c
d
e
LINE 1
LINE 2