Embed Size (px)
Citation preview

BUILT-IN WALL FIREPLACE
Project Planning Checklist
2 Built-In Wall Fireplace Project Planning Checklist
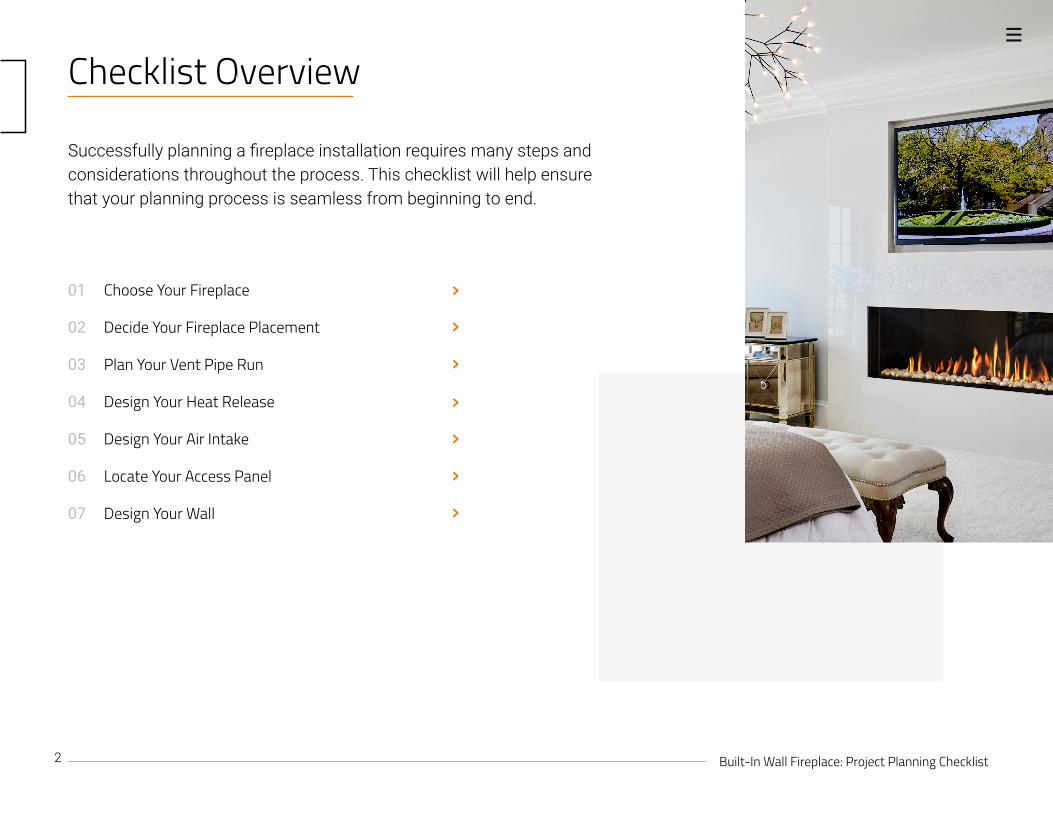
Successfully planning a fireplace installation requires many steps and considerations throughout the process This checklist will help ensure that your planning process is seamless from beginning to end
Checklist Overview
01 Choose Your Fireplace
02 Decide Your Fireplace Placement
03 Plan Your Vent Pipe Run
04 Design Your Heat Release
05 Design Your Air Intake
06 Locate Your Access Panel
07 Design Your Wall
3 Built-In Wall Fireplace Project Planning Checklist
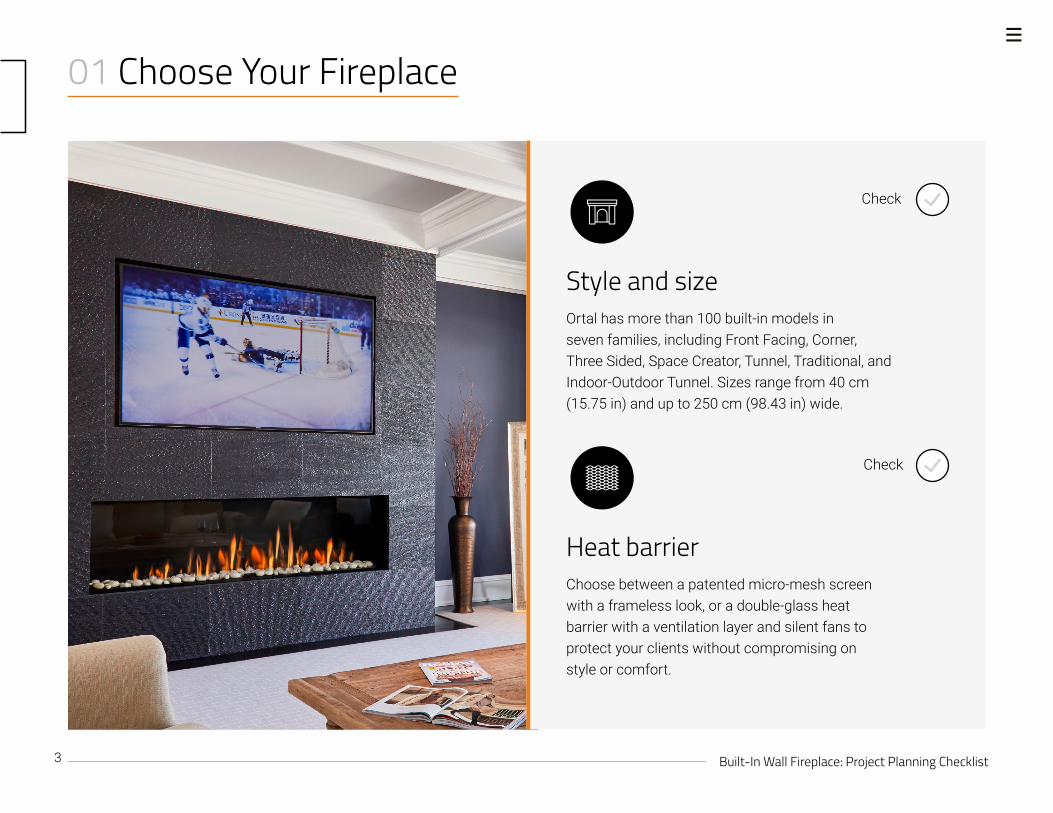
01 Choose Your Fireplace
Ortal has more than 100 built-in models in seven families including Front Facing Corner Three Sided Space Creator Tunnel Traditional and Indoor-Outdoor Tunnel Sizes range from 40 cm (1575 in) and up to 250 cm (9843 in) wide
Check
Style and size
Choose between a patented micro-mesh screen with a frameless look or a double-glass heat barrier with a ventilation layer and silent fans to protect your clients without compromising on style or comfort
Heat barrier
Check
4 Built-In Wall Fireplace Project Planning Checklist
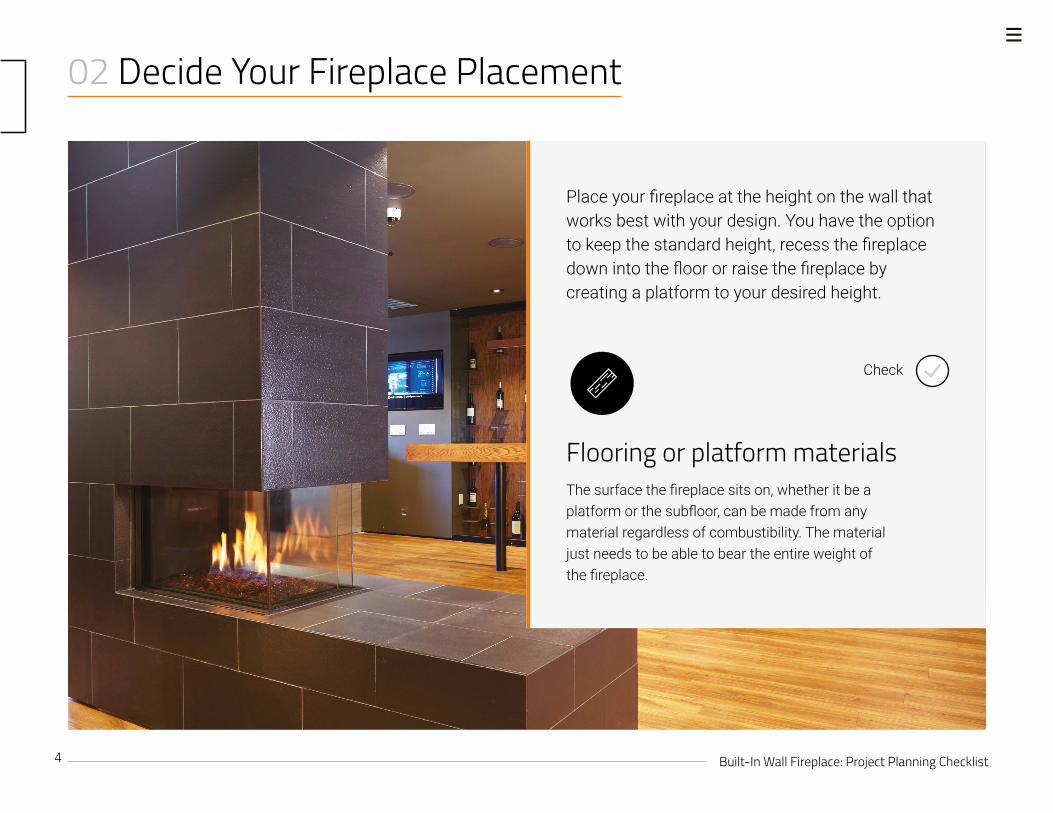
02 Decide Your Fireplace Placement
Place your fireplace at the height on the wall that works best with your design You have the option to keep the standard height recess the fireplace down into the floor or raise the fireplace by creating a platform to your desired height
The surface the fireplace sits on whether it be a platform or the subfloor can be made from any material regardless of combustibility The material just needs to be able to bear the entire weight of the fireplace
Flooring or platform materials
Check
5 Built-In Wall Fireplace Project Planning Checklist
03 Plan Your Vent Pipe Run
Check
Check
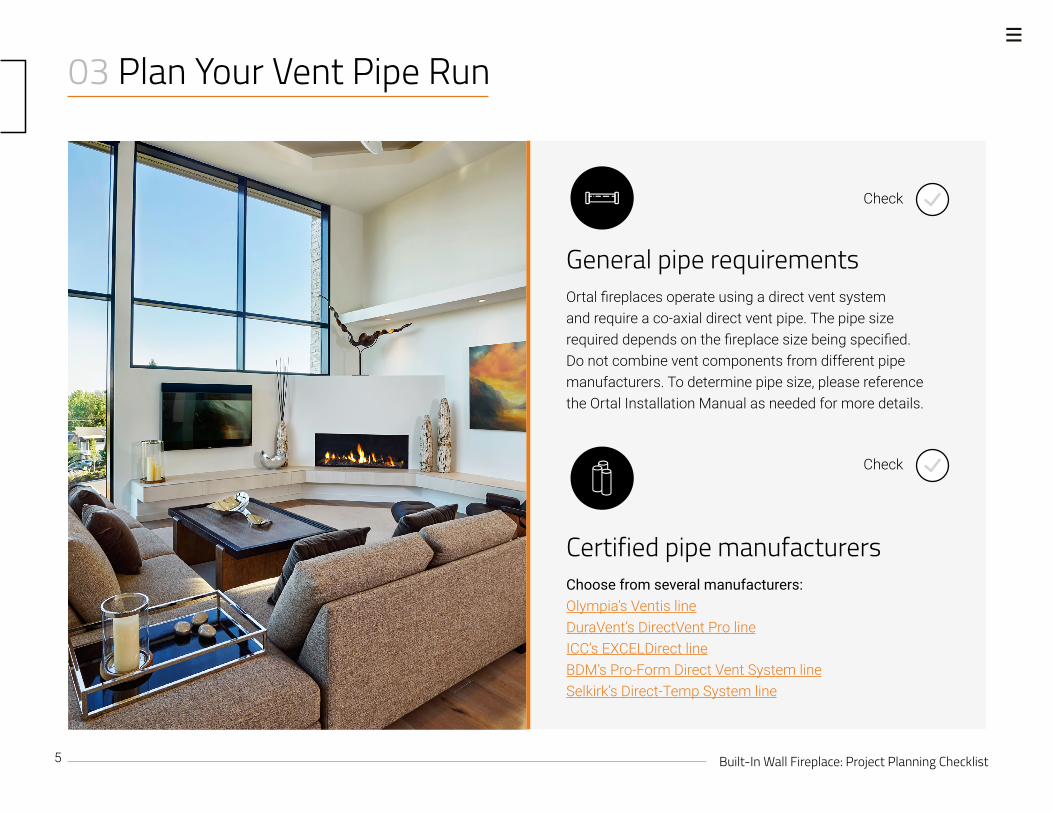
Ortal fireplaces operate using a direct vent system and require a co-axial direct vent pipe The pipe size required depends on the fireplace size being specified Do not combine vent components from different pipe manufacturers To determine pipe size please reference the Ortal Installation Manual as needed for more details
General pipe requirements
Choose from several manufacturersOlympiarsquos Ventis lineDuraVentrsquos DirectVent Pro lineICCrsquos EXCELDirect lineBDMrsquos Pro-Form Direct Vent System lineSelkirkrsquos Direct-Temp System line
Certified pipe manufacturers
6 Built-In Wall Fireplace Project Planning Checklist
Check
Check
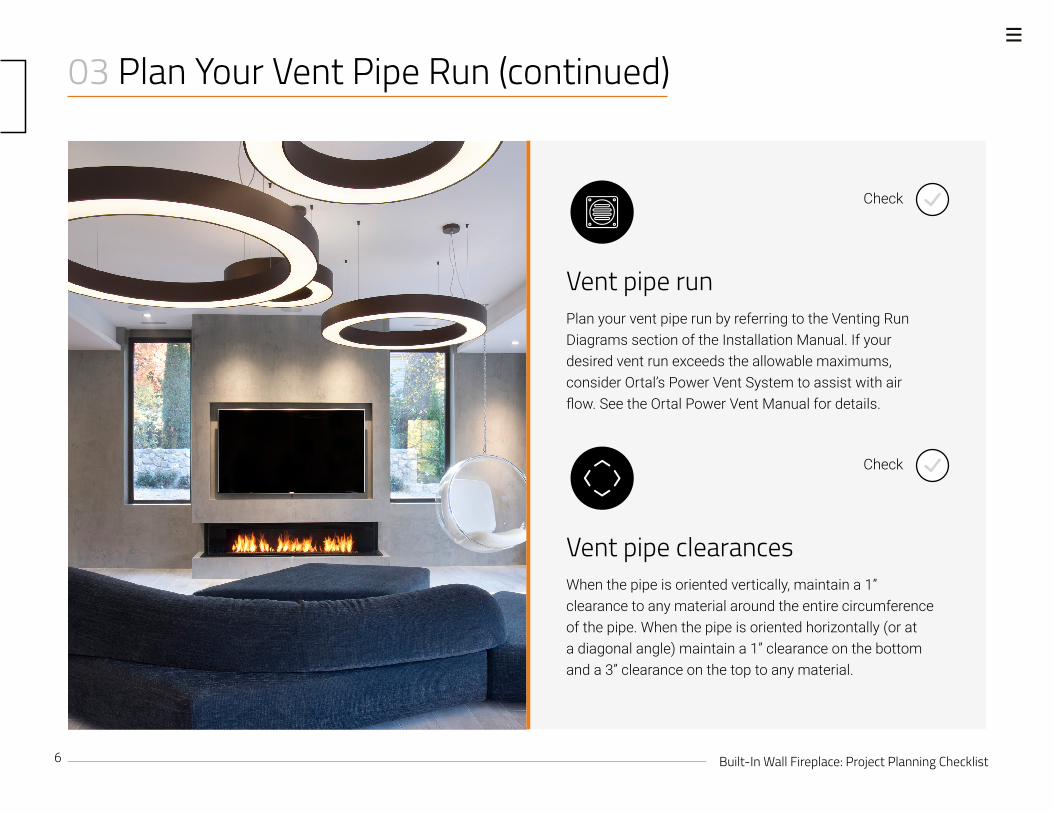
Plan your vent pipe run by referring to the Venting Run Diagrams section of the Installation Manual If your desired vent run exceeds the allowable maximums consider Ortalrsquos Power Vent System to assist with air flow See the Ortal Power Vent Manual for details
Vent pipe run
When the pipe is oriented vertically maintain a 1rdquo clearance to any material around the entire circumference of the pipe When the pipe is oriented horizontally (or at a diagonal angle) maintain a 1rdquo clearance on the bottom and a 3rdquo clearance on the top to any material
Vent pipe clearances
03 Plan Your Vent Pipe Run (continued)
7 Built-In Wall Fireplace Project Planning Checklist
Check
A heat release is required for all built-in models This allows for heat building up within the fireplace chase to be released back into the living space helping to keep the fireplace wall cool
The heat release must start within 0-6rdquo of the draft stop (ceiling of the fireplace chase) Some units may require different measurements
Heat release
04 Design Your Heat Release
Heat release
For inspiration on how to design a heat release visit our blog
8 Built-In Wall Fireplace Project Planning Checklist
Check
An air intake is required only for fireplaces with a double-glass heat barrier When installing a double glass fireplace cool air must flow between the glass panels and through the chase cavity This is accomplished through an opening (the air intake) at or below the level of the double glass fans You can design your air intake as a toe kick gap grill and more Please refer to the Ortal Installation Manual for heat release size requirements
Air intake
05 Design Your Air Intake
Air intake
9 Built-In Wall Fireplace Project Planning Checklist
Access panel
06 Locate Your Access Panel
Check
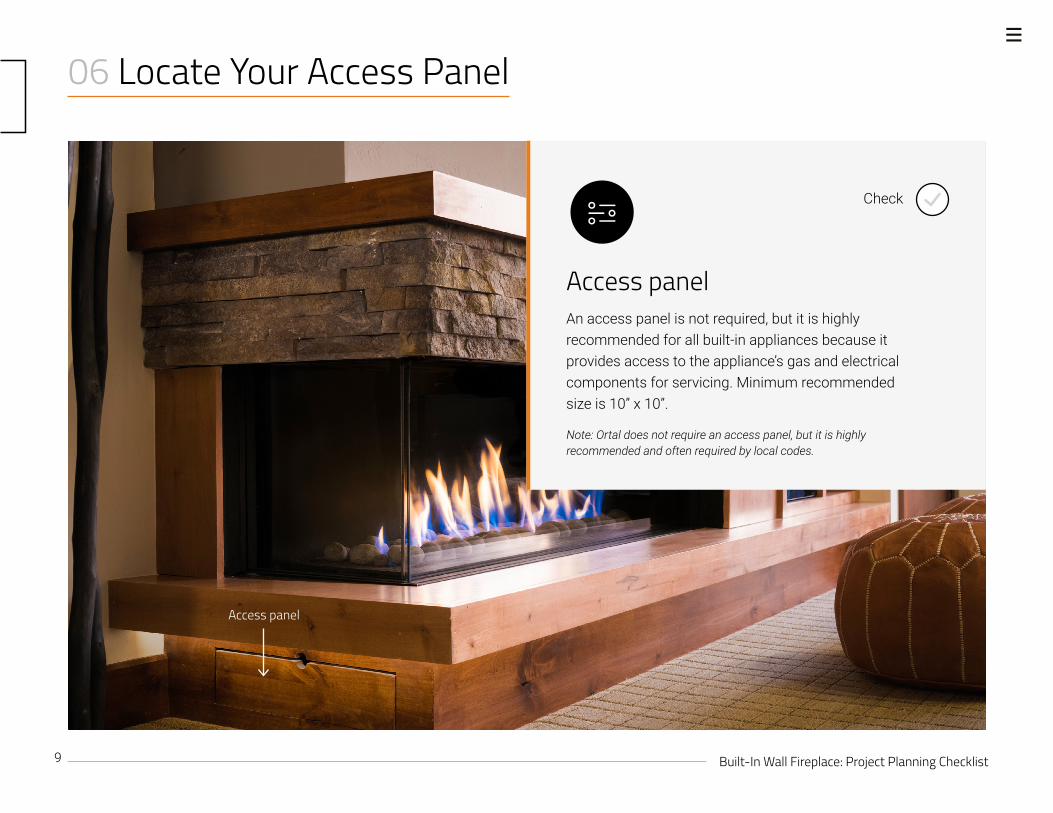
An access panel is not required but it is highly recommended for all built-in appliances because it provides access to the appliancersquos gas and electricalcomponents for servicing Minimum recommended size is 10rdquo x 10rdquo
Note Ortal does not require an access panel but it is highly recommended and often required by local codes
Access panel
10 Built-In Wall Fireplace Project Planning Checklist
07 Design Your Wall
Check
Check
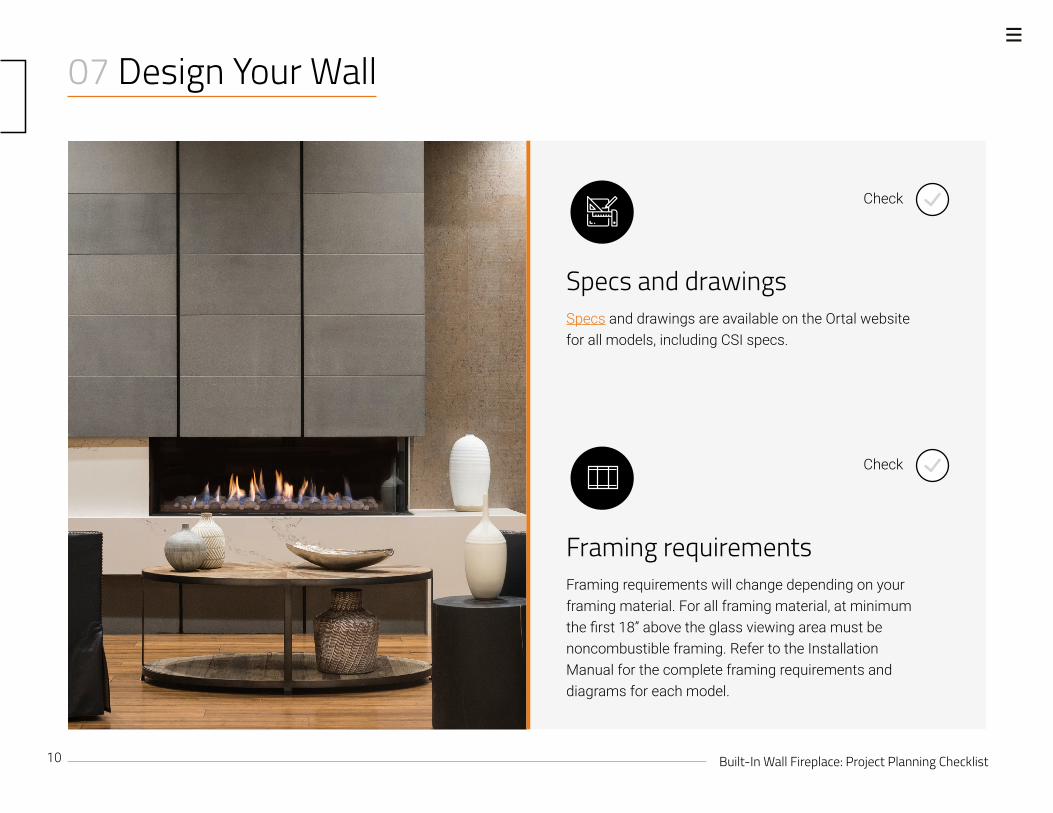
Specs and drawings are available on the Ortal website for all models including CSI specs
Specs and drawings
Framing requirements will change depending on your framing material For all framing material at minimum the first 18rdquo above the glass viewing area must be noncombustible framing Refer to the Installation Manual for the complete framing requirements and diagrams for each model
Framing requirements
11 Built-In Wall Fireplace Project Planning Checklist
07 Design Your Wall (continued)
Check
Finish diagrams are available for stone brick veneer wood and wood hearth extensions Although mantels are not required with Ortal fireplaces diagrams are available if this is the desired aesthetic
General finish diagrams
Check
If you use a fireplace with Cool Wall Technology you reduce the size of the noncombustible finish zone around the fireplace You also have the freedom to install a mantel over the fireplace or a noncombustible hearth extension in front of the fireplace Additionally a TV or artwork can be hung as low as 12rdquo from the opening Fireplaces without Cool Wall Technology always require a noncombustible zone whereas an Ortal fireplace only requires it when using combustible materials
Cool Wall Technology
12 Built-In Wall Fireplace Project Planning Checklist
Check out our online resources and schedule a meeting to learn more about how you can incorporate an Ortal fireplace into one of your upcoming projects One of our knowledgeable reps can meet with you one on one to take you step by step through the specification process
The Ortal Advantage
There are many benefits to specifying Ortal fireplaces for your clients In addition to providing a safe stylish and functional fireplace as a designer you get unparalleled flexibility with
bull More than 100 models
bull Cool Wall Technology that allows for a range of surround materials
bull Power venting that enables placement almost anywhere
bull Interior design media to match any taste
Ortal also provides all the resources you need to seamlessly plan and install one of our fireplaces including
bull Installation Manual
bull Specs for all models
bull Knowledgeable authorized dealers
bull Trained installersbull Homeownerrsquos Operation and Maintenance Manual
2 Built-In Wall Fireplace Project Planning Checklist
Successfully planning a fireplace installation requires many steps and considerations throughout the process This checklist will help ensure that your planning process is seamless from beginning to end
Checklist Overview
01 Choose Your Fireplace
02 Decide Your Fireplace Placement
03 Plan Your Vent Pipe Run
04 Design Your Heat Release
05 Design Your Air Intake
06 Locate Your Access Panel
07 Design Your Wall
3 Built-In Wall Fireplace Project Planning Checklist
01 Choose Your Fireplace
Ortal has more than 100 built-in models in seven families including Front Facing Corner Three Sided Space Creator Tunnel Traditional and Indoor-Outdoor Tunnel Sizes range from 40 cm (1575 in) and up to 250 cm (9843 in) wide
Check
Style and size
Choose between a patented micro-mesh screen with a frameless look or a double-glass heat barrier with a ventilation layer and silent fans to protect your clients without compromising on style or comfort
Heat barrier
Check
4 Built-In Wall Fireplace Project Planning Checklist
02 Decide Your Fireplace Placement
Place your fireplace at the height on the wall that works best with your design You have the option to keep the standard height recess the fireplace down into the floor or raise the fireplace by creating a platform to your desired height
The surface the fireplace sits on whether it be a platform or the subfloor can be made from any material regardless of combustibility The material just needs to be able to bear the entire weight of the fireplace
Flooring or platform materials
Check
5 Built-In Wall Fireplace Project Planning Checklist
03 Plan Your Vent Pipe Run
Check
Check
Ortal fireplaces operate using a direct vent system and require a co-axial direct vent pipe The pipe size required depends on the fireplace size being specified Do not combine vent components from different pipe manufacturers To determine pipe size please reference the Ortal Installation Manual as needed for more details
General pipe requirements
Choose from several manufacturersOlympiarsquos Ventis lineDuraVentrsquos DirectVent Pro lineICCrsquos EXCELDirect lineBDMrsquos Pro-Form Direct Vent System lineSelkirkrsquos Direct-Temp System line
Certified pipe manufacturers
6 Built-In Wall Fireplace Project Planning Checklist
Check
Check
Plan your vent pipe run by referring to the Venting Run Diagrams section of the Installation Manual If your desired vent run exceeds the allowable maximums consider Ortalrsquos Power Vent System to assist with air flow See the Ortal Power Vent Manual for details
Vent pipe run
When the pipe is oriented vertically maintain a 1rdquo clearance to any material around the entire circumference of the pipe When the pipe is oriented horizontally (or at a diagonal angle) maintain a 1rdquo clearance on the bottom and a 3rdquo clearance on the top to any material
Vent pipe clearances
03 Plan Your Vent Pipe Run (continued)
7 Built-In Wall Fireplace Project Planning Checklist
Check
A heat release is required for all built-in models This allows for heat building up within the fireplace chase to be released back into the living space helping to keep the fireplace wall cool
The heat release must start within 0-6rdquo of the draft stop (ceiling of the fireplace chase) Some units may require different measurements
Heat release
04 Design Your Heat Release
Heat release
For inspiration on how to design a heat release visit our blog
8 Built-In Wall Fireplace Project Planning Checklist
Check
An air intake is required only for fireplaces with a double-glass heat barrier When installing a double glass fireplace cool air must flow between the glass panels and through the chase cavity This is accomplished through an opening (the air intake) at or below the level of the double glass fans You can design your air intake as a toe kick gap grill and more Please refer to the Ortal Installation Manual for heat release size requirements
Air intake
05 Design Your Air Intake
Air intake
9 Built-In Wall Fireplace Project Planning Checklist
Access panel
06 Locate Your Access Panel
Check
An access panel is not required but it is highly recommended for all built-in appliances because it provides access to the appliancersquos gas and electricalcomponents for servicing Minimum recommended size is 10rdquo x 10rdquo
Note Ortal does not require an access panel but it is highly recommended and often required by local codes
Access panel
10 Built-In Wall Fireplace Project Planning Checklist
07 Design Your Wall
Check
Check
Specs and drawings are available on the Ortal website for all models including CSI specs
Specs and drawings
Framing requirements will change depending on your framing material For all framing material at minimum the first 18rdquo above the glass viewing area must be noncombustible framing Refer to the Installation Manual for the complete framing requirements and diagrams for each model
Framing requirements
11 Built-In Wall Fireplace Project Planning Checklist
07 Design Your Wall (continued)
Check
Finish diagrams are available for stone brick veneer wood and wood hearth extensions Although mantels are not required with Ortal fireplaces diagrams are available if this is the desired aesthetic
General finish diagrams
Check
If you use a fireplace with Cool Wall Technology you reduce the size of the noncombustible finish zone around the fireplace You also have the freedom to install a mantel over the fireplace or a noncombustible hearth extension in front of the fireplace Additionally a TV or artwork can be hung as low as 12rdquo from the opening Fireplaces without Cool Wall Technology always require a noncombustible zone whereas an Ortal fireplace only requires it when using combustible materials
Cool Wall Technology
12 Built-In Wall Fireplace Project Planning Checklist
Check out our online resources and schedule a meeting to learn more about how you can incorporate an Ortal fireplace into one of your upcoming projects One of our knowledgeable reps can meet with you one on one to take you step by step through the specification process
The Ortal Advantage
There are many benefits to specifying Ortal fireplaces for your clients In addition to providing a safe stylish and functional fireplace as a designer you get unparalleled flexibility with
bull More than 100 models
bull Cool Wall Technology that allows for a range of surround materials
bull Power venting that enables placement almost anywhere
bull Interior design media to match any taste
Ortal also provides all the resources you need to seamlessly plan and install one of our fireplaces including
bull Installation Manual
bull Specs for all models
bull Knowledgeable authorized dealers
bull Trained installersbull Homeownerrsquos Operation and Maintenance Manual