Embed Size (px)
Citation preview

How to replace a front shock strut onMercedes-Benz W169
VIDEO TUTORIAL
This replacement procedure can be used for:MERCEDES-BENZ A-CLASS (W169) A 150 (169.031, 169.331), MERCEDES-BENZA-CLASS (W169) A 160 (169.031, 169.331), MERCEDES-BENZ B-CLASS (W245) B150 (245.231), MERCEDES-BENZ B-CLASS (W245) B 160 (245.231)
The steps may slightly vary depending on the car design.
WWW.AUTODOC.CO.UK 1–33
Important!
REQUIRED TOOLS:
WWW.AUTODOC.CO.UK 2–33
Wire brush
WD-40 spray
Brake cleaner
Copper grease
Combination spanner #16
Combination spanner #21
Drive socket # E12
Drive socket # 21
HEX bit no.H6.
Wheel impact socket #17
Ratchet wrench
Torque wrench
Flat Screwdriver
Crow bar
Hydraulic strut springcompressor
Fender cover
Wheel chock

AUTODOC recommends:
CARRY OUT REPLACEMENT IN THE FOLLOWING ORDER:
1
Secure the wheels with chocks.
2
Loosen the wheel mounting bolts. Use wheel impact socket #17.
WWW.AUTODOC.CO.UK 3–33
Both shock struts of the front suspension should be replacedsimultaneously.
The replacement procedure is identical for the left and right shockstruts of the front suspension.
All work should be done with the engine stopped.
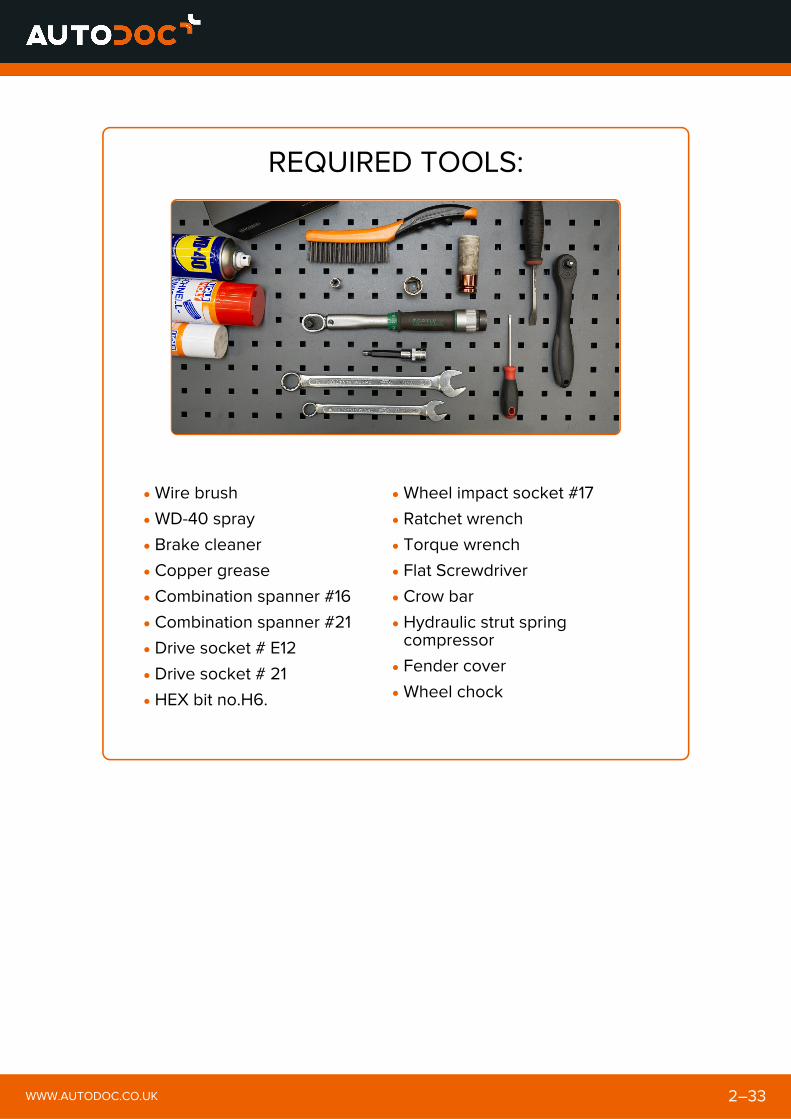
3
Raise the front of the car and secure on supports.
4
Unscrew the wheel bolts.
AUTODOC recommends:
WWW.AUTODOC.CO.UK 4–33
To avoid injury, hold up the wheel when unscrewing the bolts.
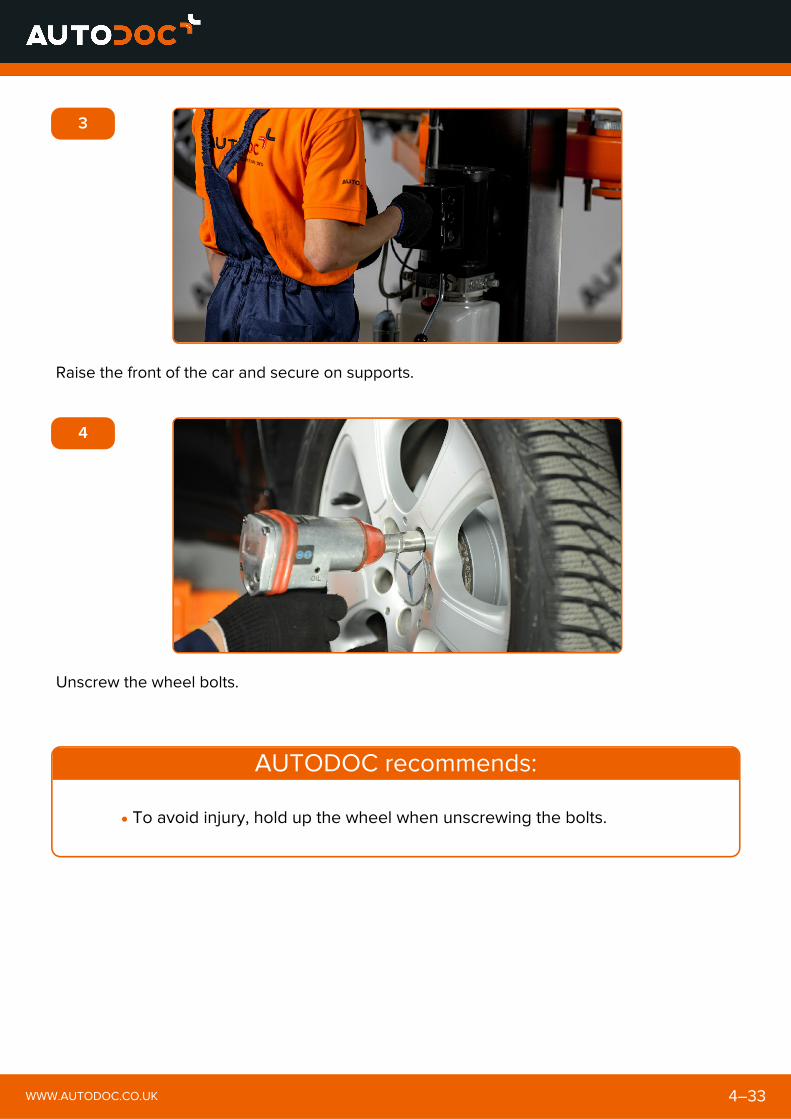
5
Remove the wheel.
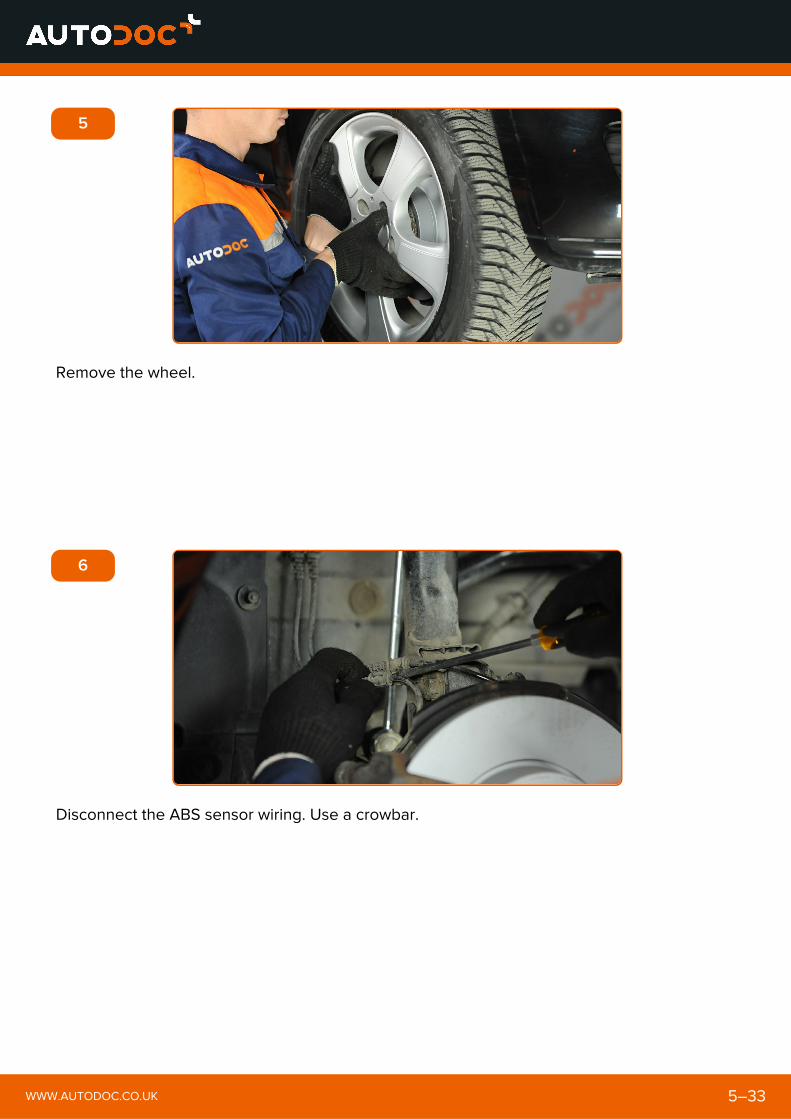
6
Disconnect the ABS sensor wiring. Use a crowbar.
WWW.AUTODOC.CO.UK 5–33
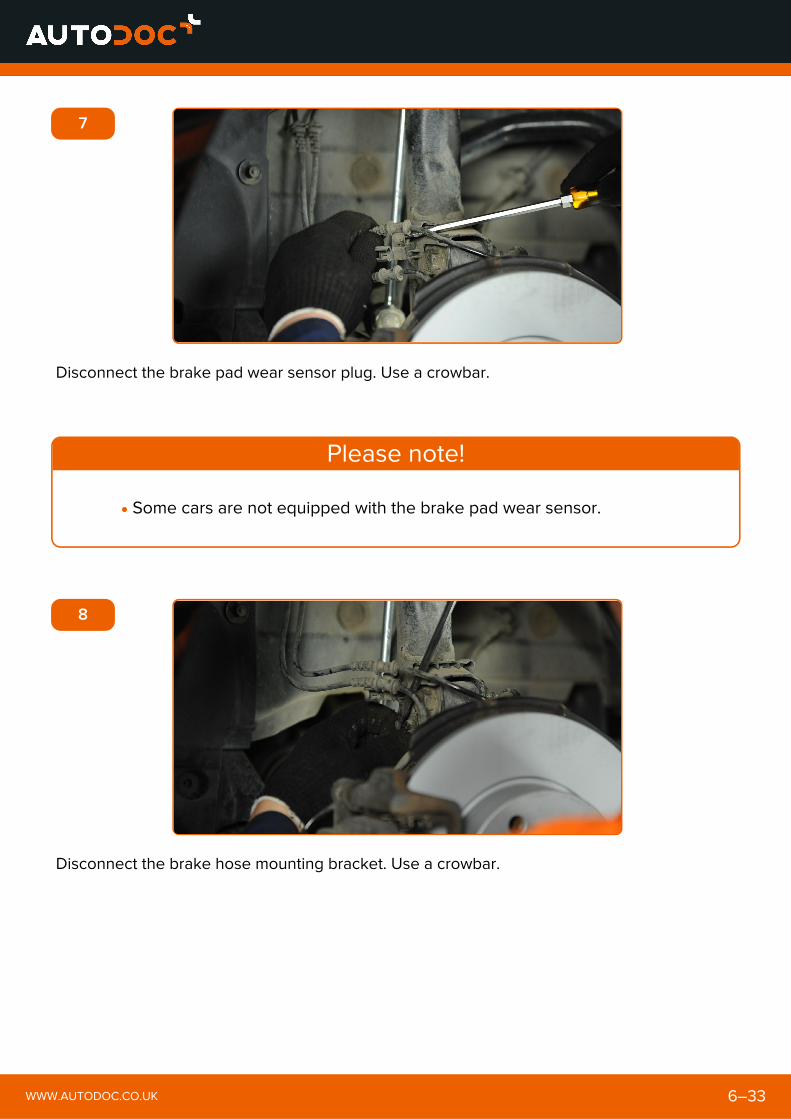
7
Disconnect the brake pad wear sensor plug. Use a crowbar.
Please note!
8
Disconnect the brake hose mounting bracket. Use a crowbar.
WWW.AUTODOC.CO.UK 6–33
Some cars are not equipped with the brake pad wear sensor.
9
Clean the stabiliser link fasteners. Use a wire brush. Use WD-40 spray.
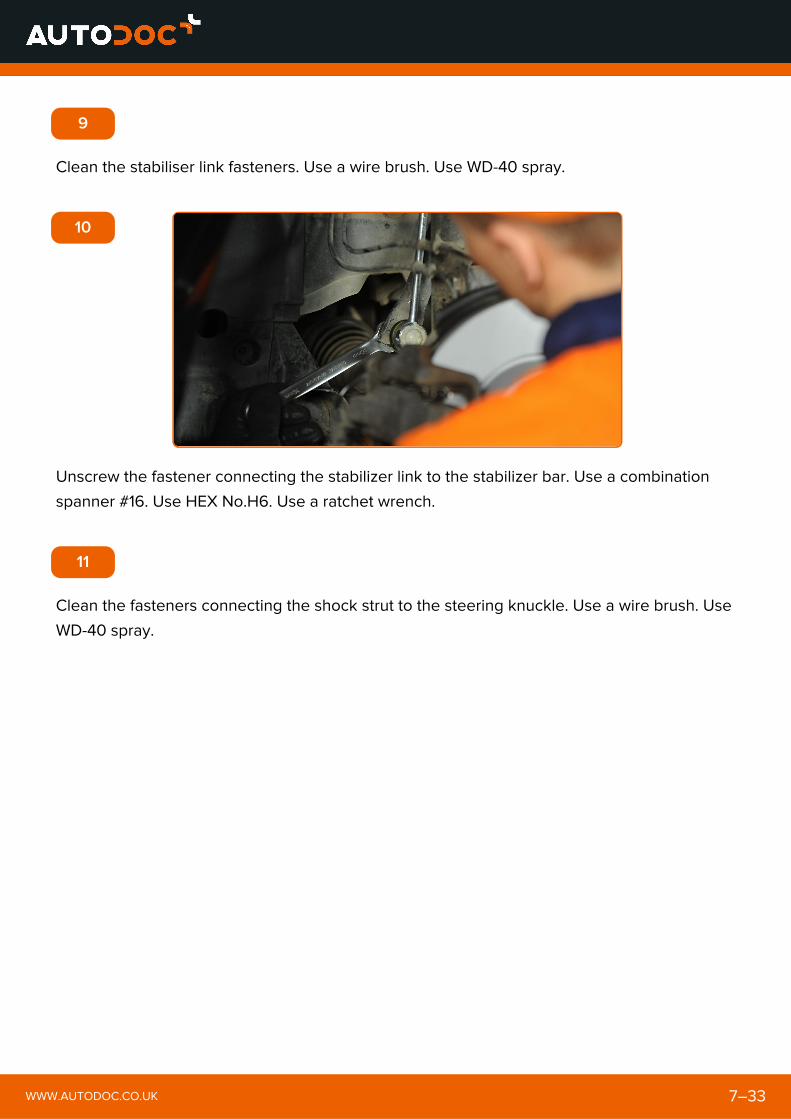
10
Unscrew the fastener connecting the stabilizer link to the stabilizer bar. Use a combination
spanner #16. Use HEX No.H6. Use a ratchet wrench.
11
Clean the fasteners connecting the shock strut to the steering knuckle. Use a wire brush. Use
WD-40 spray.
WWW.AUTODOC.CO.UK 7–33
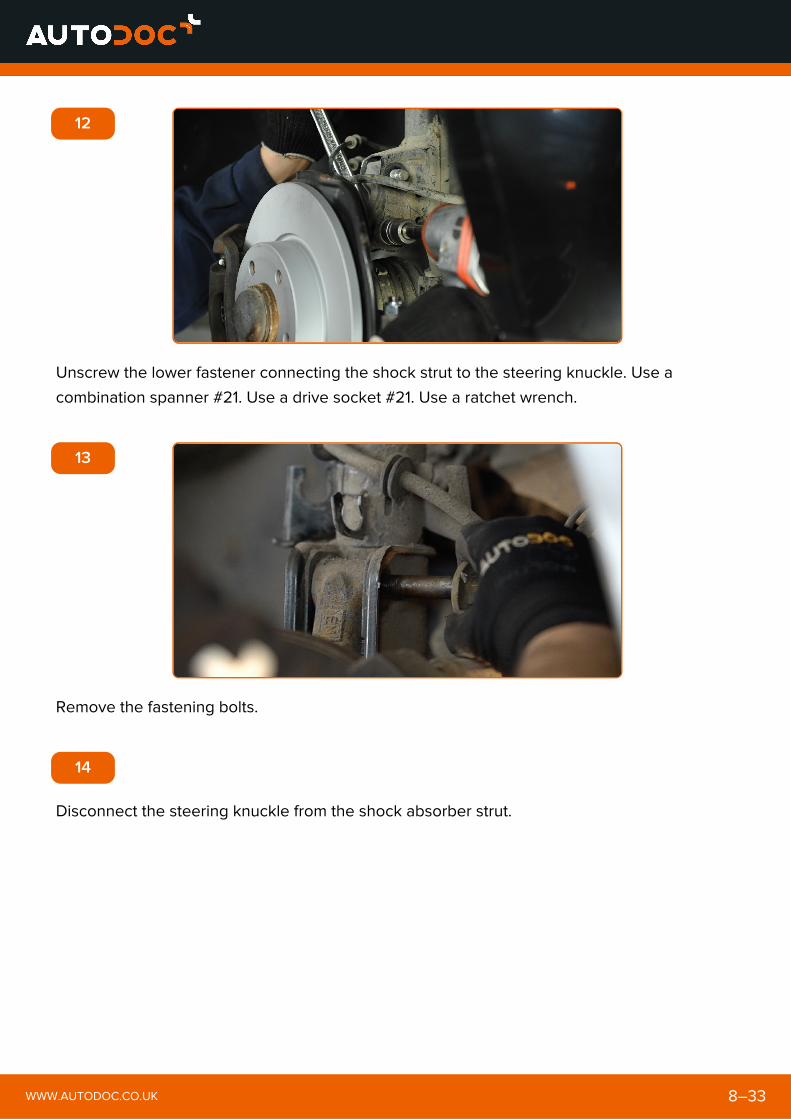
12
Unscrew the lower fastener connecting the shock strut to the steering knuckle. Use a
combination spanner #21. Use a drive socket #21. Use a ratchet wrench.
13
Remove the fastening bolts.
14
Disconnect the steering knuckle from the shock absorber strut.
WWW.AUTODOC.CO.UK 8–33
15
Lower the car. Open the hood. Use a fender protection cover to prevent damaging paintwork
and plastic parts of the car.
16
Clean the fasteners of the shock strut upper mount. Use a wire brush. Use WD-40 spray.
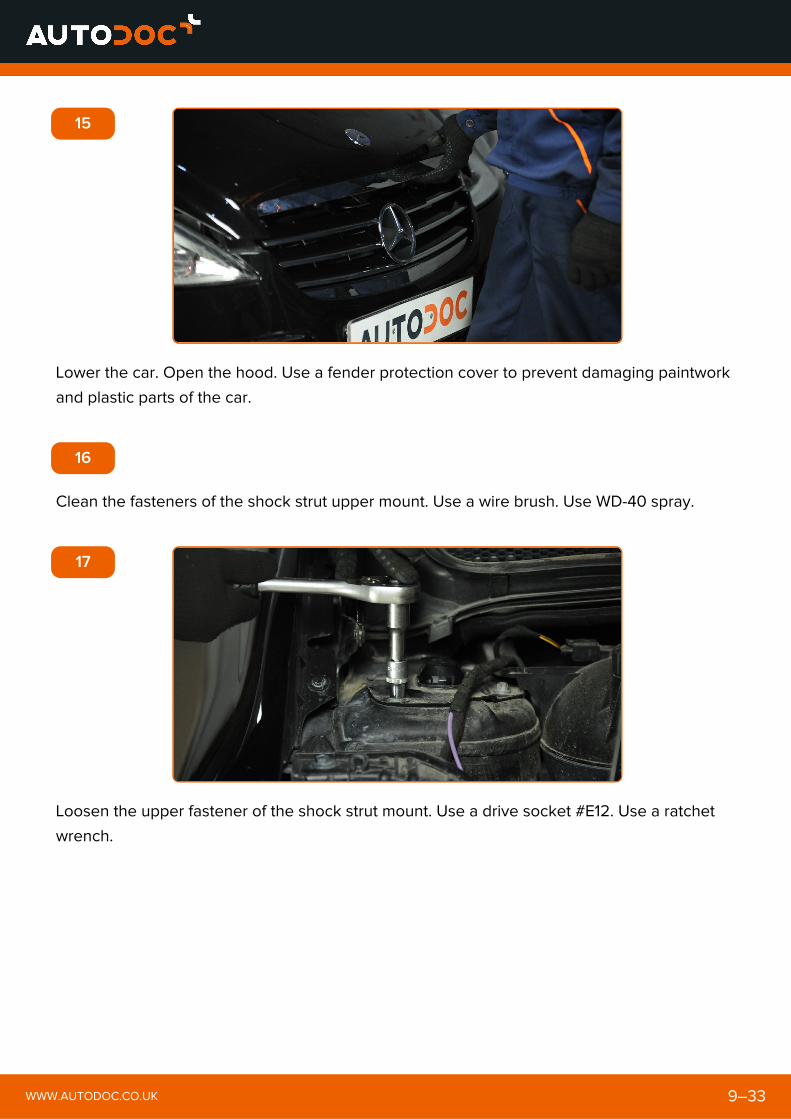
17
Loosen the upper fastener of the shock strut mount. Use a drive socket #E12. Use a ratchet
wrench.
WWW.AUTODOC.CO.UK 9–33
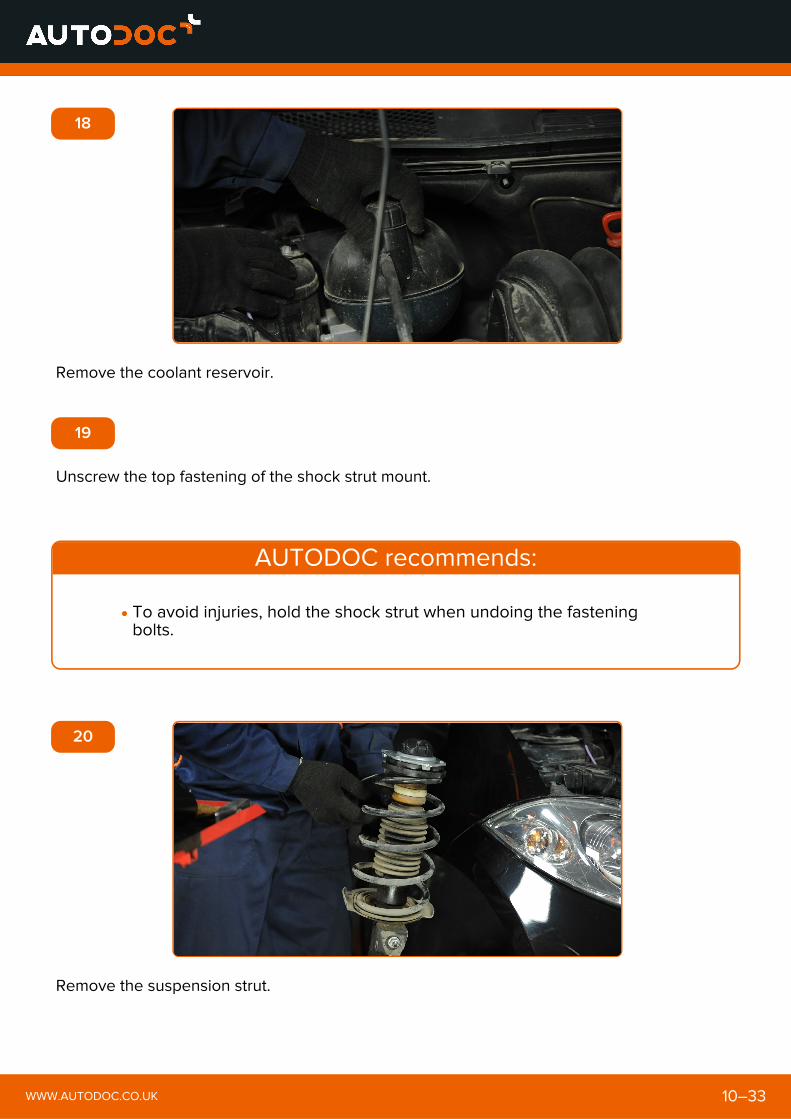
18
Remove the coolant reservoir.
19
Unscrew the top fastening of the shock strut mount.
AUTODOC recommends:
20
Remove the suspension strut.
WWW.AUTODOC.CO.UK 10–33
To avoid injuries, hold the shock strut when undoing the fasteningbolts.
21
Unscrew the fastener connecting the stabilizer link to the shock strut. Use a combination
spanner #16. Use HEX No.H6. Use a ratchet wrench.
22
Remove the stabilizer rod.
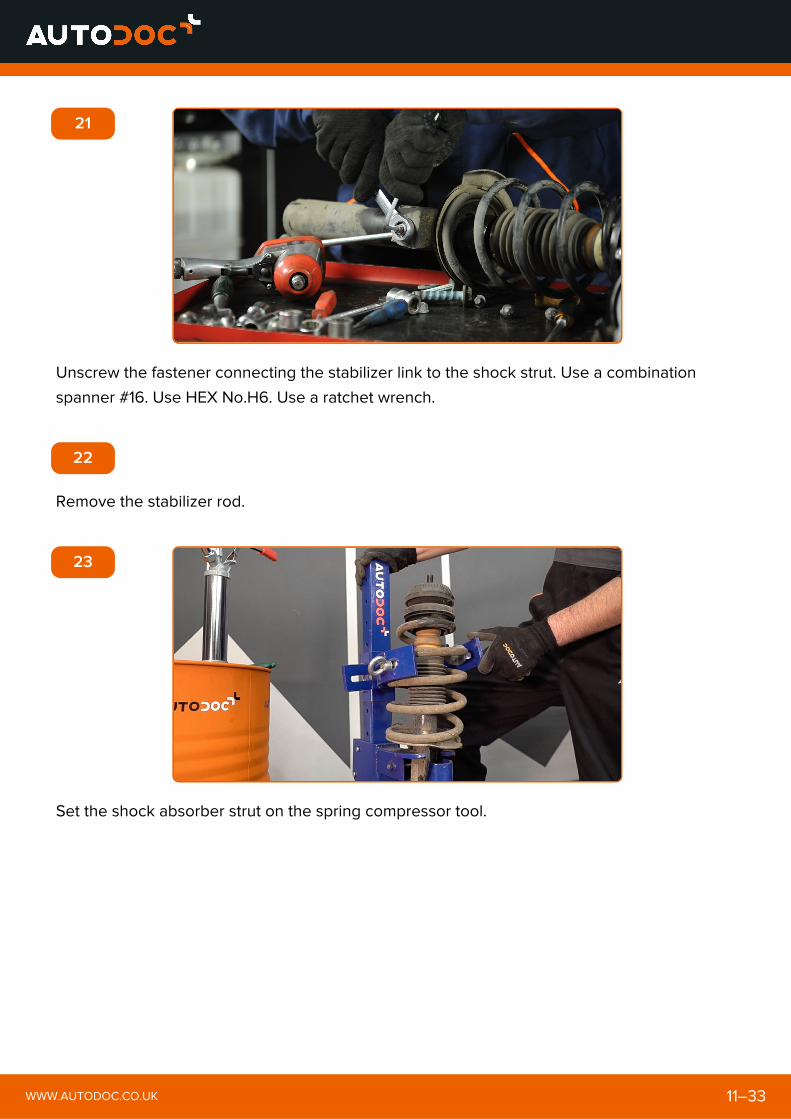
23
Set the shock absorber strut on the spring compressor tool.
WWW.AUTODOC.CO.UK 11–33
AUTODOC recommends:
24
Compress the spring.
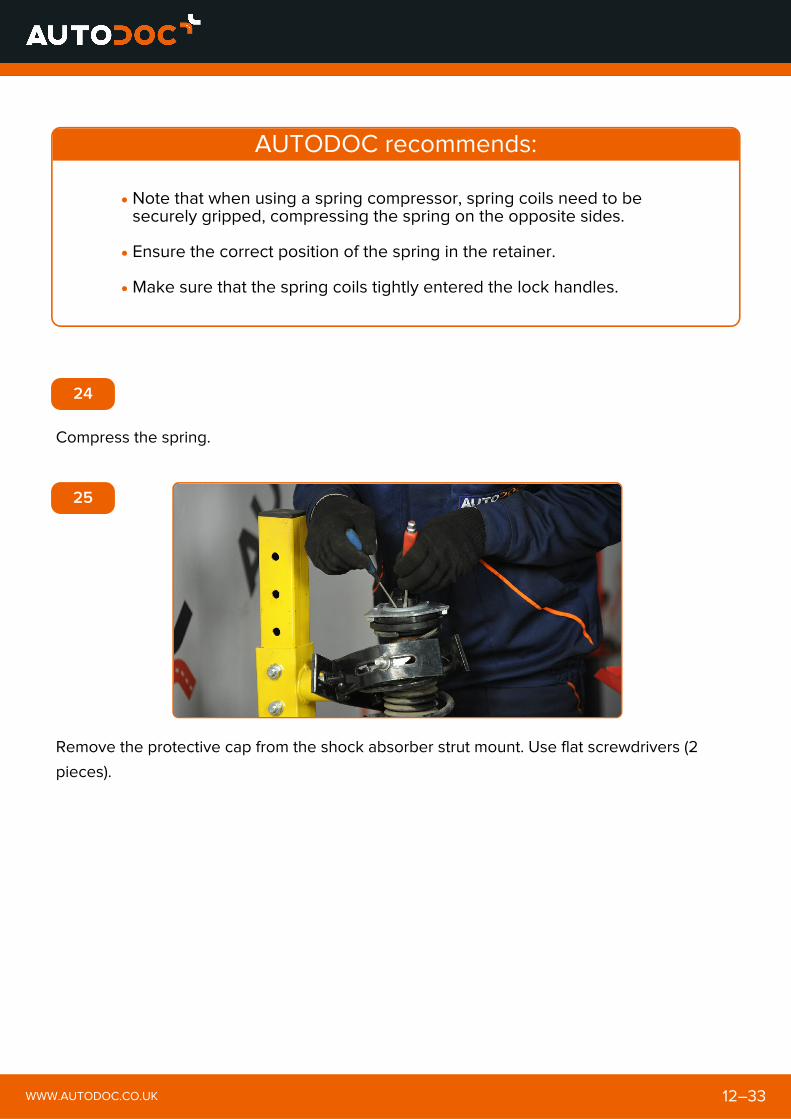
25
Remove the protective cap from the shock absorber strut mount. Use flat screwdrivers (2
pieces).
WWW.AUTODOC.CO.UK 12–33
Note that when using a spring compressor, spring coils need to besecurely gripped, compressing the spring on the opposite sides.
Ensure the correct position of the spring in the retainer.
Make sure that the spring coils tightly entered the lock handles.
26
Treat the shock strut rod. Use a wire brush. Use WD-40 spray.
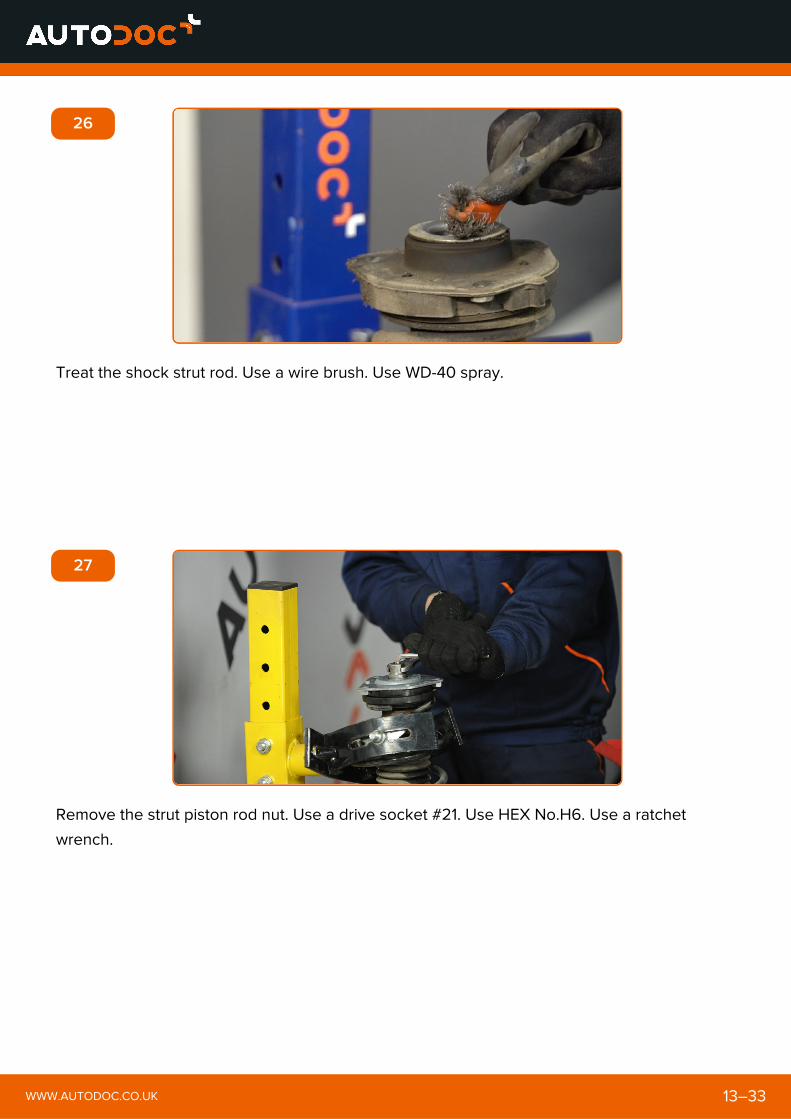
27
Remove the strut piston rod nut. Use a drive socket #21. Use HEX No.H6. Use a ratchet
wrench.
WWW.AUTODOC.CO.UK 13–33
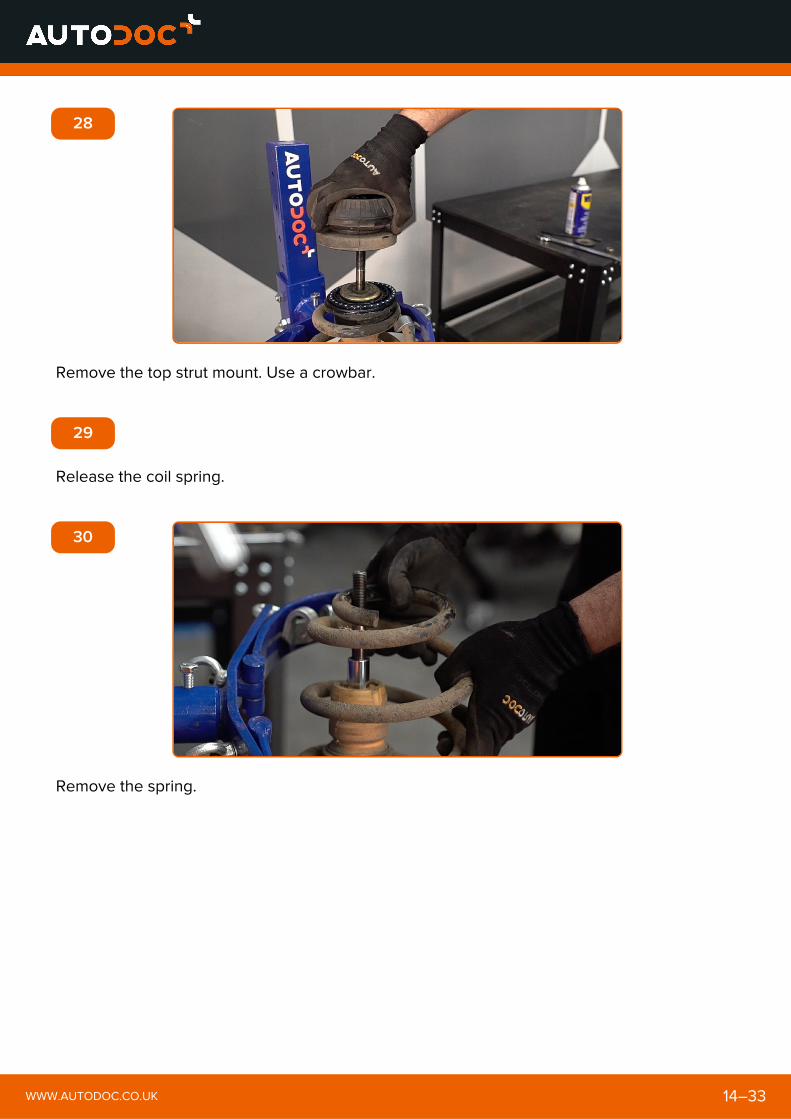
28
Remove the top strut mount. Use a crowbar.
29
Release the coil spring.
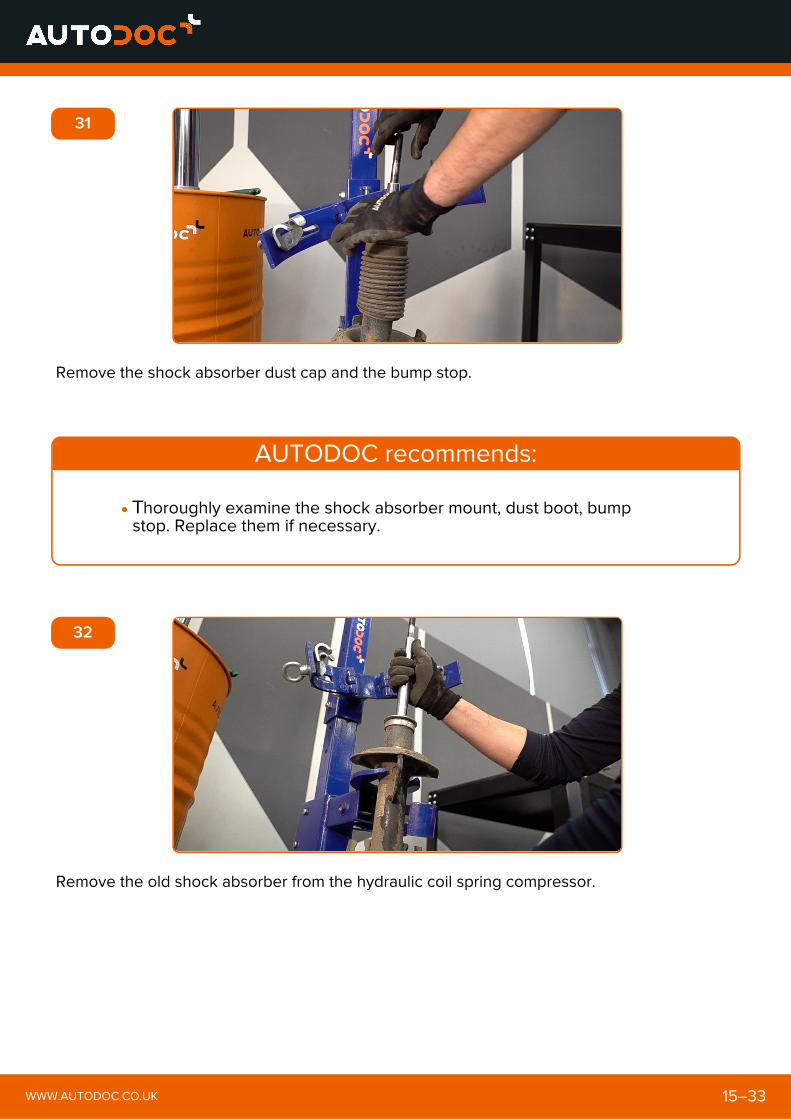
30
Remove the spring.
WWW.AUTODOC.CO.UK 14–33
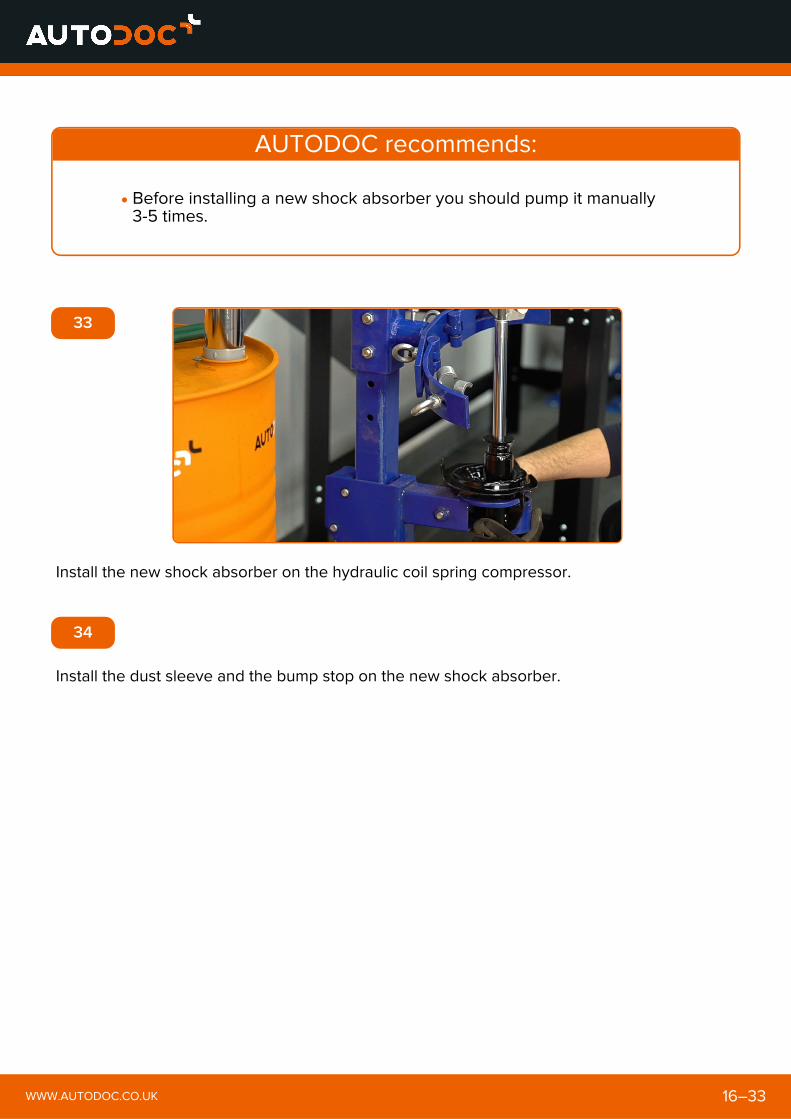
31
Remove the shock absorber dust cap and the bump stop.
AUTODOC recommends:
32
Remove the old shock absorber from the hydraulic coil spring compressor.
WWW.AUTODOC.CO.UK 15–33
Τhoroughly examine the shock absorber mount, dust boot, bumpstop. Replace them if necessary.
AUTODOC recommends:
33
Install the new shock absorber on the hydraulic coil spring compressor.
34
Install the dust sleeve and the bump stop on the new shock absorber.
WWW.AUTODOC.CO.UK 16–33
Before installing a new shock absorber you should pump it manually3-5 times.
35
Install the spring on the shock absorber. Compress the spring.
36
Install the upper strut mount and the strut mount bearing.
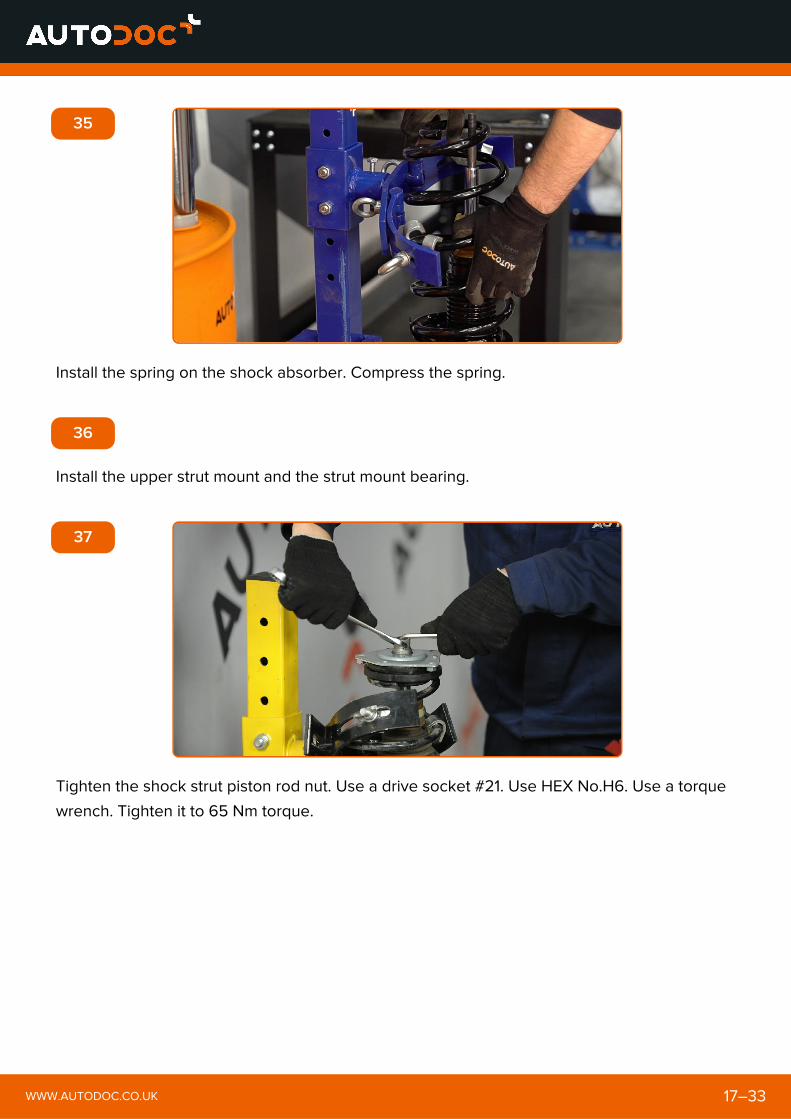
37
Tighten the shock strut piston rod nut. Use a drive socket #21. Use HEX No.H6. Use a torque
wrench. Tighten it to 65 Nm torque.
WWW.AUTODOC.CO.UK 17–33
AUTODOC recommends:
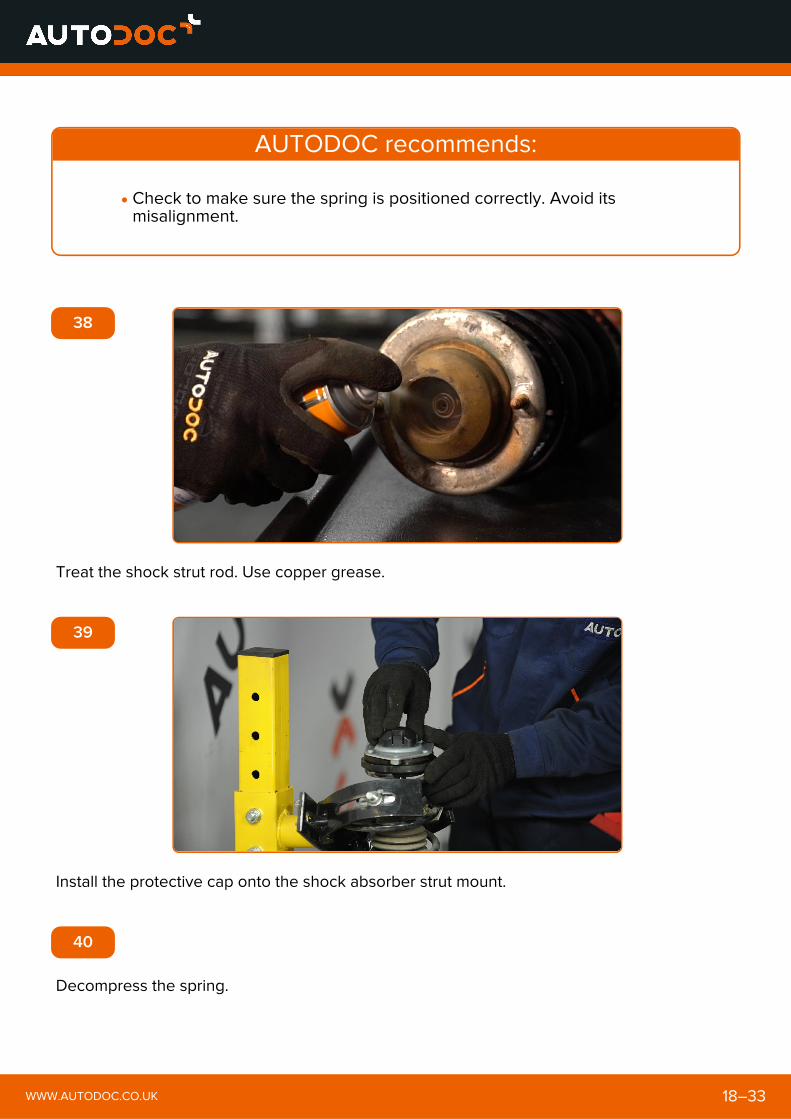
38
Treat the shock strut rod. Use copper grease.
39
Install the protective cap onto the shock absorber strut mount.
40
Decompress the spring.
WWW.AUTODOC.CO.UK 18–33
Check to make sure the spring is positioned correctly. Avoid itsmisalignment.
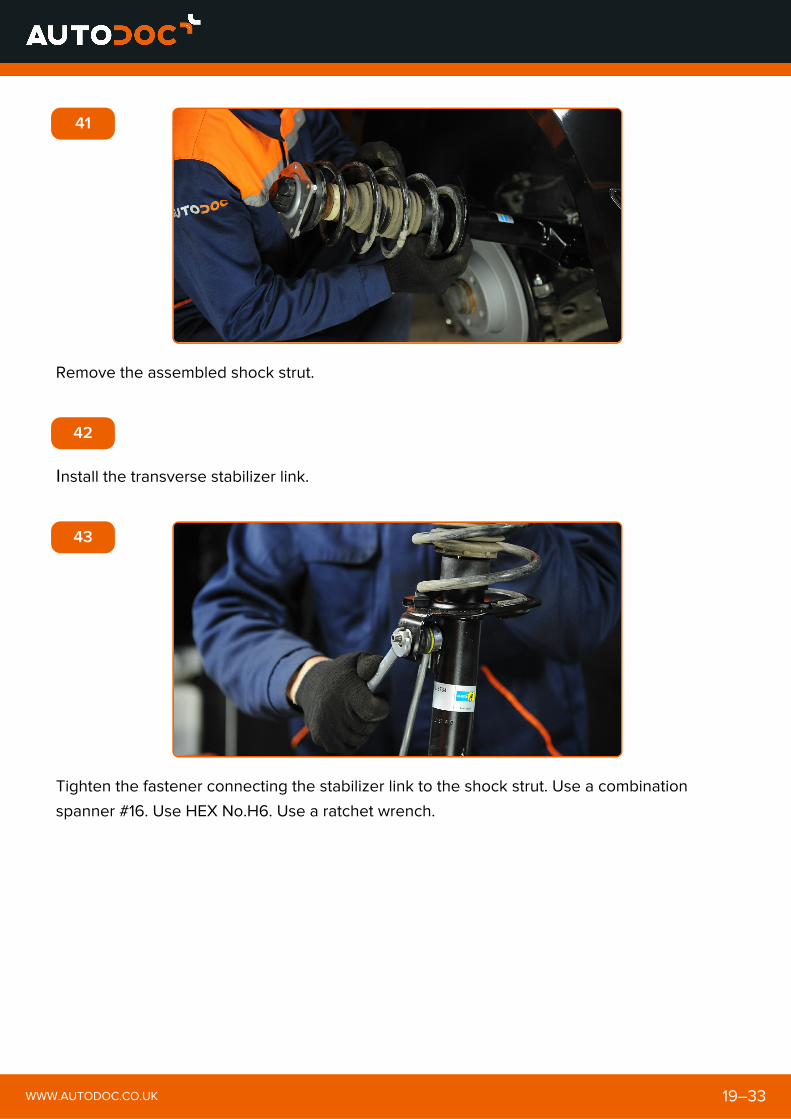
41
Remove the assembled shock strut.
42
Ιnstall the transverse stabilizer link.
43
Tighten the fastener connecting the stabilizer link to the shock strut. Use a combination
spanner #16. Use HEX No.H6. Use a ratchet wrench.
WWW.AUTODOC.CO.UK 19–33
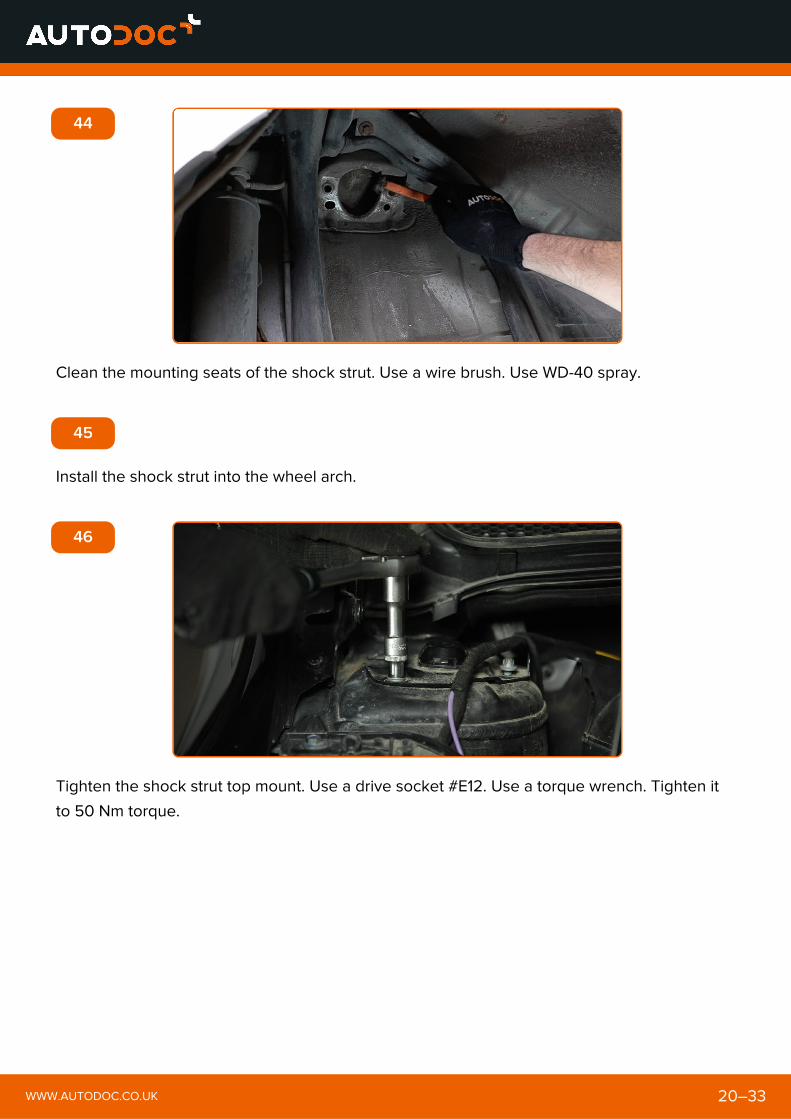
44
Clean the mounting seats of the shock strut. Use a wire brush. Use WD-40 spray.
45
Install the shock strut into the wheel arch.
46
Tighten the shock strut top mount. Use a drive socket #E12. Use a torque wrench. Tighten it
to 50 Nm torque.
WWW.AUTODOC.CO.UK 20–33
47
Treat the fasteners of the shock strut mount. Use copper grease.
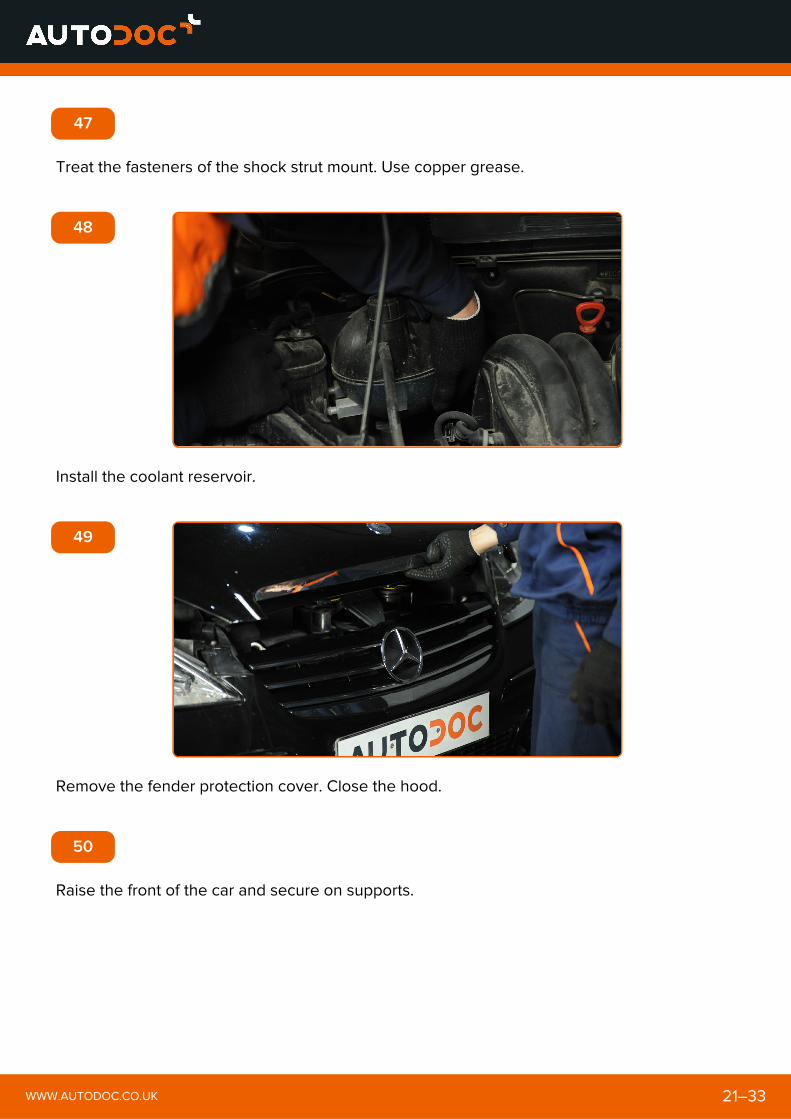
48
Install the coolant reservoir.
49
Remove the fender protection cover. Close the hood.
50
Raise the front of the car and secure on supports.
WWW.AUTODOC.CO.UK 21–33

51
Fix the shock absorber strut on the steering knuckle. Install the fastening bolts.
52
Screw in the fastener that connects the shock strut to the steering knuckle.
WWW.AUTODOC.CO.UK 22–33
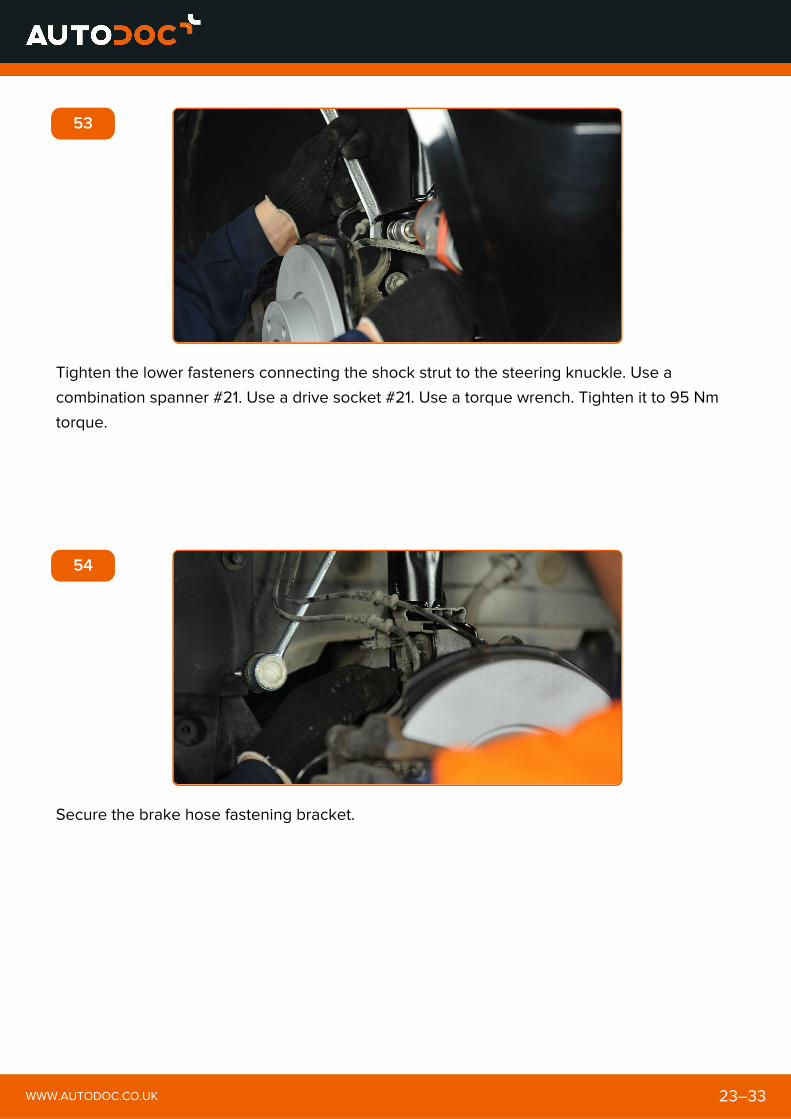
53
Tighten the lower fasteners connecting the shock strut to the steering knuckle. Use a
combination spanner #21. Use a drive socket #21. Use a torque wrench. Tighten it to 95 Nm
torque.
54
Secure the brake hose fastening bracket.
WWW.AUTODOC.CO.UK 23–33
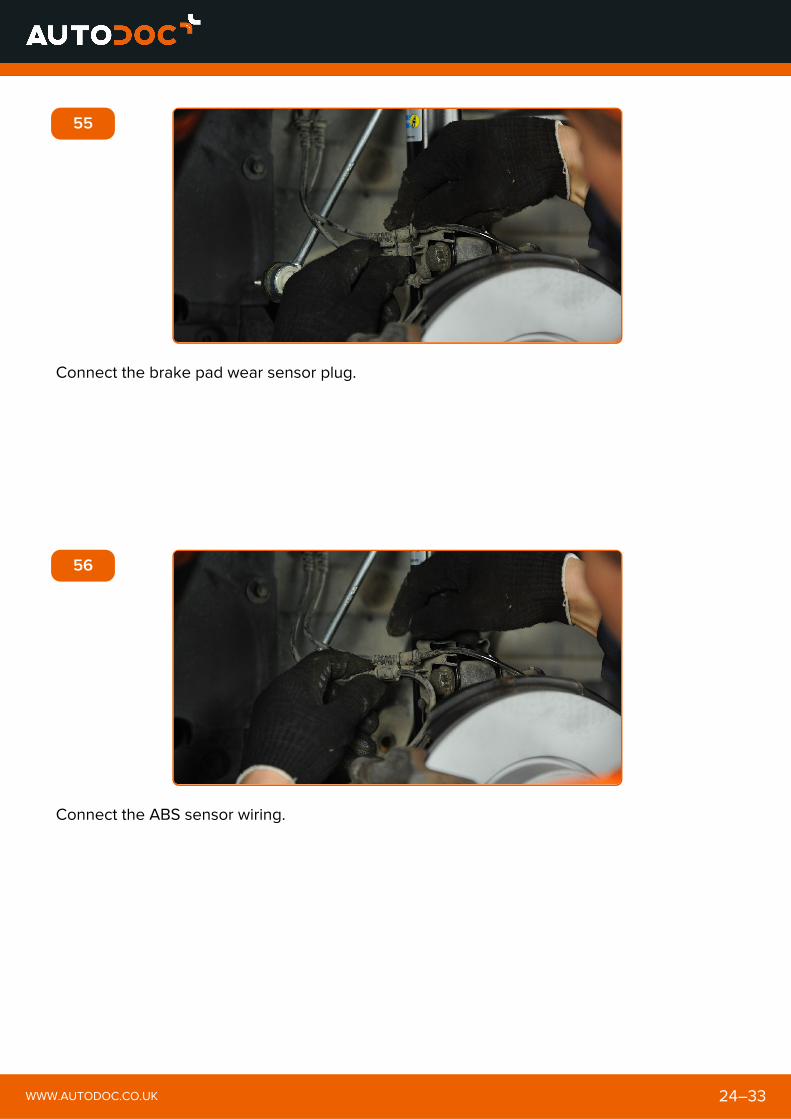
55
Connect the brake pad wear sensor plug.
56
Connect the ABS sensor wiring.
WWW.AUTODOC.CO.UK 24–33

57
Tighten the fastener connecting the stabilizer link to the stabilizer bar. Use a combination
spanner #16. Use HEX No.H6. Use a torque wrench. Tighten it to 60 Nm torque.
58
Treat the surface where the brake disc contacts the wheel rim. Use copper grease.
WWW.AUTODOC.CO.UK 25–33
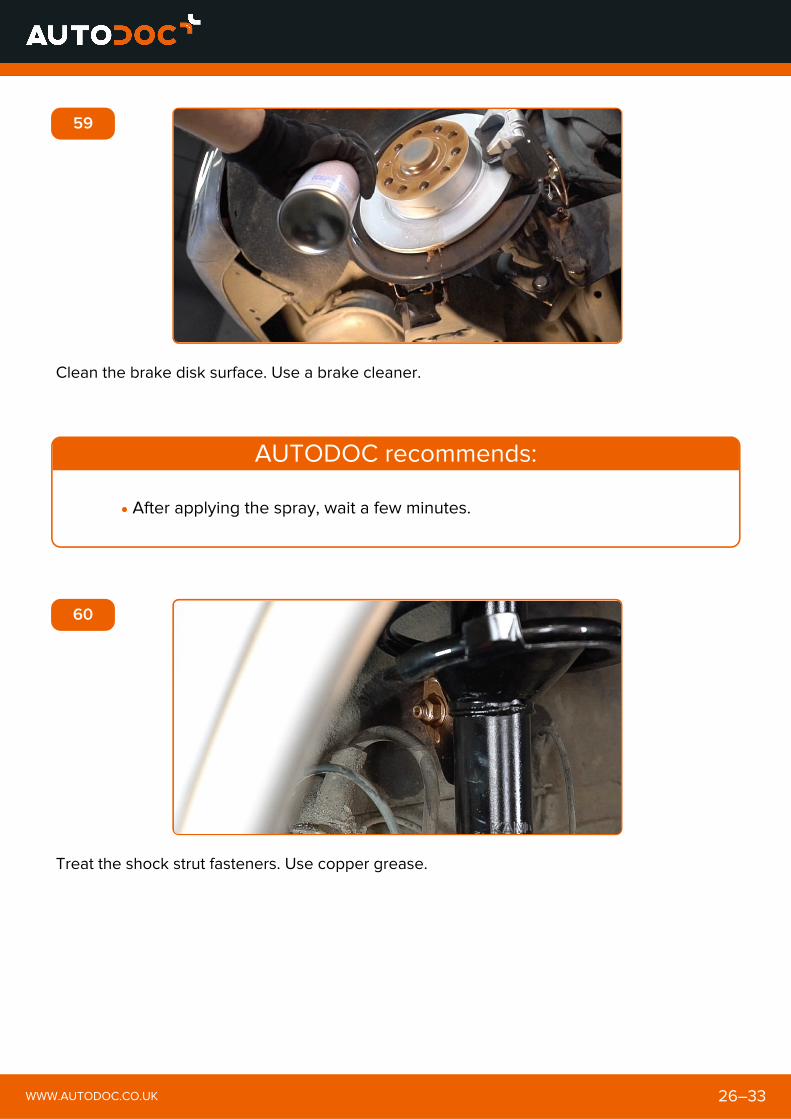
59
Clean the brake disk surface. Use a brake cleaner.
AUTODOC recommends:
60
Treat the shock strut fasteners. Use copper grease.
WWW.AUTODOC.CO.UK 26–33
After applying the spray, wait a few minutes.
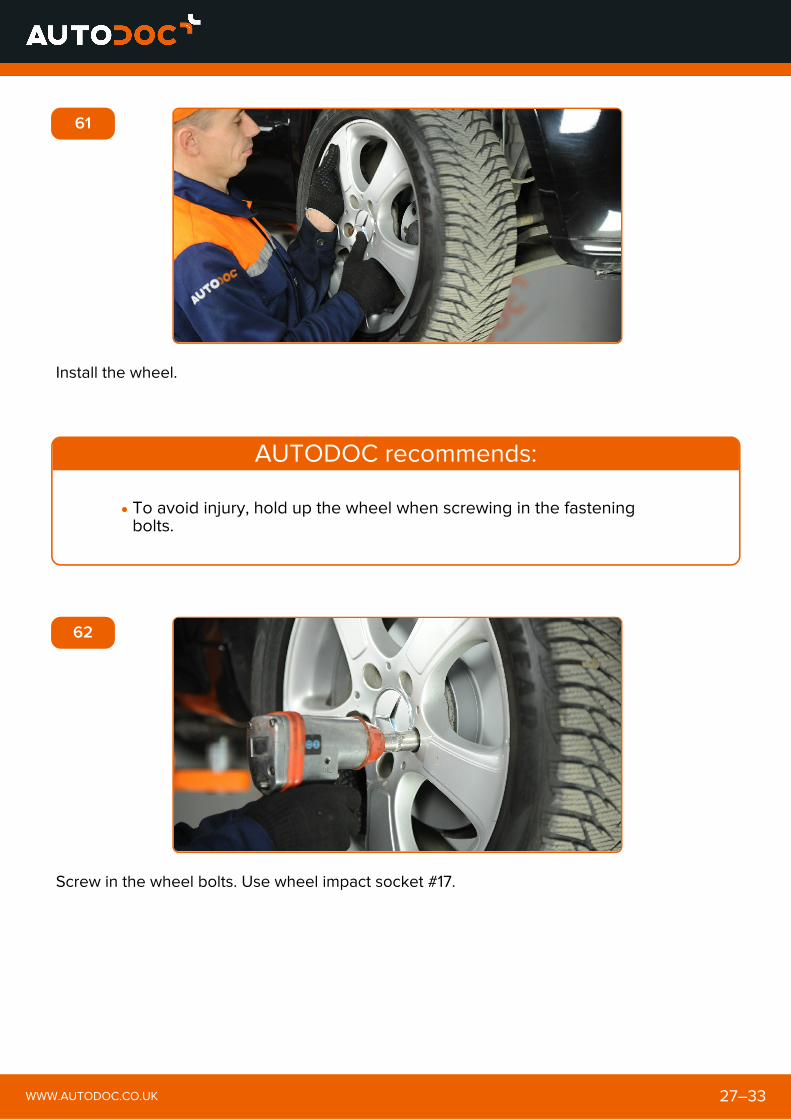
61
Install the wheel.
AUTODOC recommends:
62
Screw in the wheel bolts. Use wheel impact socket #17.
WWW.AUTODOC.CO.UK 27–33
To avoid injury, hold up the wheel when screwing in the fasteningbolts.
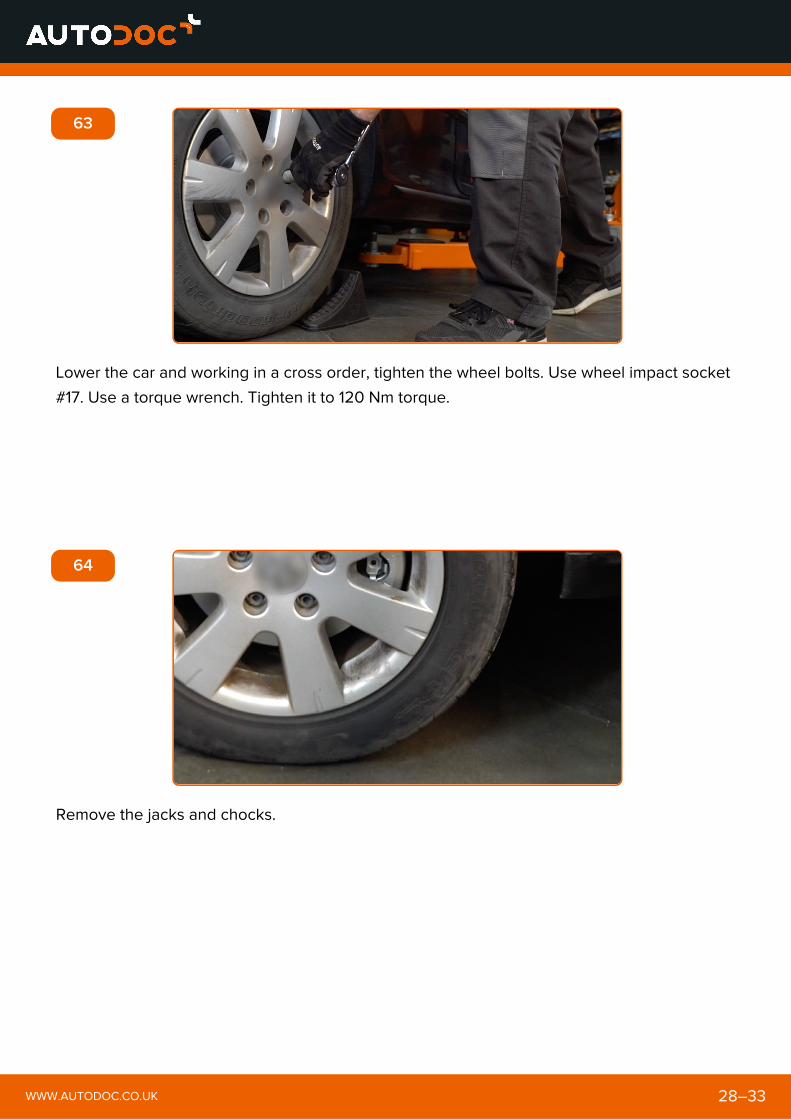
63
Lower the car and working in a cross order, tighten the wheel bolts. Use wheel impact socket
#17. Use a torque wrench. Tighten it to 120 Nm torque.
64
Remove the jacks and chocks.
WWW.AUTODOC.CO.UK 28–33

DID YOU FIND THESE INSTRUCTIONSHELPFUL?
YES NO
BECOME A MEMBER OF AUTODOC CLUB!
WWW.AUTODOC.CO.UK 29–33

AUTODOC — TOP QUALITY AND AFFORDABLE CARPARTS ONLINE
AUTODOC MOBILE APP: GREAT DEALS AND CONVENIENTSHOPPING
A GREAT SELECTION OF SPARE PARTS FOR YOUR CAR
WWW.AUTODOC.CO.UK 30–33
BUY SPARE PARTS FOR MERCEDES-BENZ
SHOCK ABSORBERS: A WIDE SELECTION
WWW.AUTODOC.CO.UK 31–33
CHOOSE CAR PARTS FOR MERCEDES-BENZ W169
SHOCK ABSORBERS FOR MERCEDES-BENZ: BUY NOW
WWW.AUTODOC.CO.UK 32–33

SHOCK ABSORBERS FOR MERCEDES-BENZ W169: THE BESTDEALS & OFFERS
The document contains only general recommendations that may be useful for you when you perform repair or replacement work. AutoDoc shallnot be liable for any loss, injury, damage of property occurring in the repair or replacement process due to incorrect use or misinterpretation ofthe provided information.
AutoDoc shall not be liable for any possible mistakes and uncertainties in this guide. The information provided is for information purposes onlyand cannot replace advice from specialists.
AutoDoc shall not be liable for incorrect or hazardous usage of equipment, tools and car parts. AutoDoc strongly recommends to be carefuland observe the safety rules when performing repair or replacement works. Remember: usage of low quality auto parts does not guaranteeyou the appropriate level of road safety.
© Copyright 2018 – All the contents of this website, in particular texts, photographs and graphics, are protected by copyright. All rights,including reproduction, publication, editing and translation rights, are reserved by Autodoc GmbH.
WWW.AUTODOC.CO.UK 33–33
Disclaimer: