Embed Size (px)
Citation preview
Field Geology
Unit V
Unit V : SYLLABUS
Field geological report: parts and preparation. Geological and
topographic map symbols. Brief introduction of field indicators used
in geological mapping: geomorphological, weathering, mineral
composition and petrography.Geological materials: types of samples
– mineral,ore,fossil,rock. Methods of sampling -care and packing of
samples in the field. outline of preparation of thin sections of
geological samples.
Field geology report.
Parts and Preparation
Geologic reports are prepared to provide specific information needed
to plan and conduct an organized activity, usually engineered
construction or mineral resource development.
Geologic reports are compiled by individual geological consultants
or by consulting firms. The report is compiled at the request of a
client who requires specific geologic information to be able to plan
or design a development.
Field notes record the detailed observations of geologists working in
the outdoors. Typical notebook entries include sketches of
geomorphological landforms and outcrop features, preliminary maps
and cross-sections (q.v.), detailed maps of critical or complex areas
(e.g., contacts and faults), stratigraphic sections, tabulated
quantitative data (e.g., structural measurements), pit and trench logs
(see Vol. XIII: Pipeline Corridor Evaluation) lists and descriptions
of samples and fossils, and a variety of written notes. The notebook
contains the first record of the field geologist's observations and the
interpretation of what he or she sees in the field and is a testament to
the old Chinese proverb that “the faintest ink is better than the best
memory.”
The field notebook represents the first link in a long chain of
geological data gathering, mapping (see Geological Survey and
Mapping), interpretation, and presentation. It represents not only the
first record but also the most complete...
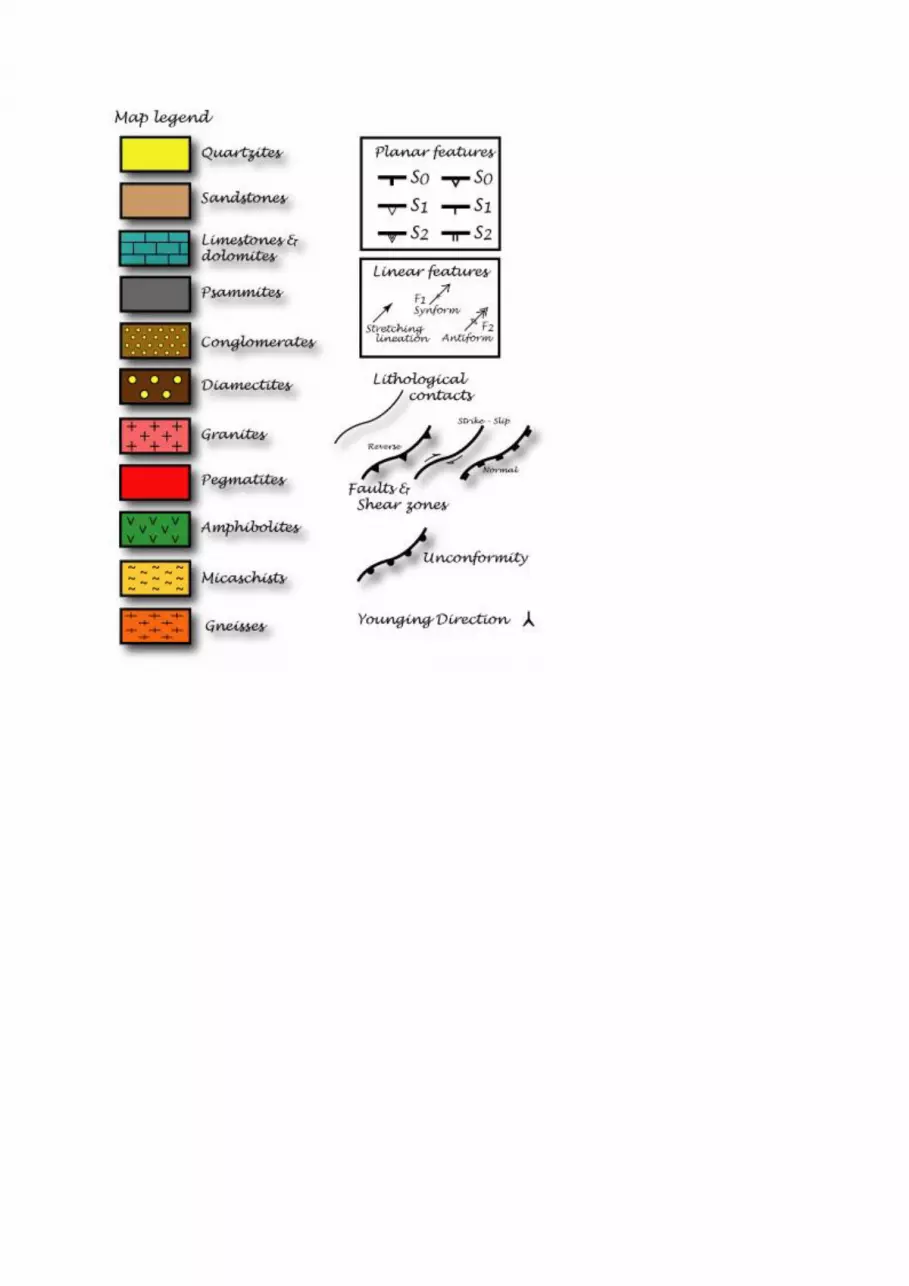
Geological and topographical map symbol
A symbol is an abstraction or pictorial representation of something
else. Symbols on a map consist of discrete points, lines, or shaded
areas; they have size, form, and (usually) color. Map symbols
present information collectively, leading to appreciation of form,
relative position, distribution, and structure. Locations of symbols on
a map are controlled by positions on the ground, an element of
cartography that cannot be changed (Keates, 1980). By digitization,
symbols are conveniently stored and reproduced by computer.
Although the origin of symbols used in communication is lost in
antiquity, they receive ever-increasing use in technical applications.
Letters of the alphabet are essentially symbols of voice sounds, and
numerals convey the concept of precise quantities. Because words
alone cannot identify or describe areal details, abstract and pictorial
symbols have become essential ingredients of maps. The symbols
used by ancient cartographers were pictorial and highly fanciful;...
Topographic Map Legend and Symbols
• Brown lines – contours (note that intervals vary)
• Black lines – roads, railroads, trails, and boundaries.
• Red lines – survey lines (township, range, and section lines)
• Blue areas – streams and solid is for larger bodies of water.
• Green areas – vegetation, typically trees or dense foliage.


Field indicators used in geological mapping
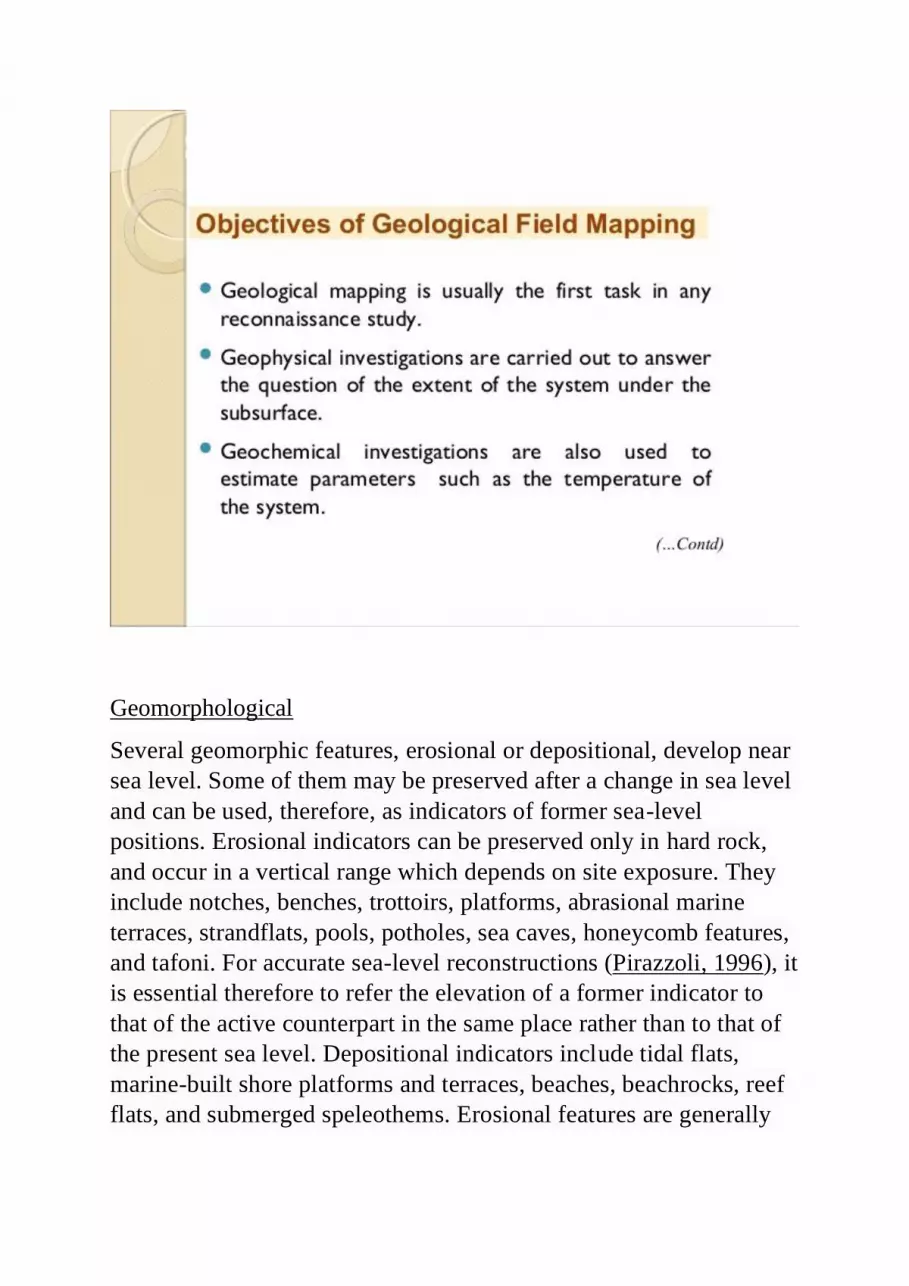
Geomorphological
Several geomorphic features, erosional or depositional, develop near
sea level. Some of them may be preserved after a change in sea level
and can be used, therefore, as indicators of former sea-level
positions. Erosional indicators can be preserved only in hard rock,
and occur in a vertical range which depends on site exposure. They
include notches, benches, trottoirs, platforms, abrasional marine
terraces, strandflats, pools, potholes, sea caves, honeycomb features,
and tafoni. For accurate sea-level reconstructions (Pirazzoli, 1996), it
is essential therefore to refer the elevation of a former indicator to
that of the active counterpart in the same place rather than to that of
the present sea level. Depositional indicators include tidal flats,
marine-built shore platforms and terraces, beaches, beachrocks, reef
flats, and submerged speleothems. Erosional features are generally
inadequate to date former sea levels, whereas marine deposits may
include guide fossils
Geomorphic indicators of past sea levels represent a continuum of
processes and landforms associated with sea level and sea-level
change. In an attempt to honor this continuum, while at the same time
discussing geomorphic features separately, this chapter discusses
geomorphic indicators of past sea level in the following sequence.
First, coral as a geomorphic indicator of past se level is discussed.
The recognition of late Pleistocene uplifted coral platforms as
indicators of past sea level was one of the pioneering efforts in sea-
level research. Decades later, coral was again the focus of pioneering
work in late Holocene sea-level research when coral microatolls were
used to reconstruct sea-level history to a much higher resolution of
centimeters of sea-level change over the scale of years. Erosional
landforms that indicate former sea levels are then discussed, starting
with late Pleistocene geomorphic features, marine terraces, and
shoreline angles, before describing the more highly resolved sea-level
records that can be gleaned from similar features in the late Holocene
through the use of the seacliff–shore platform junction. Tidal notches
form another set of erosional indicators that are discussed. Finally, the
suite of geomorphic landform indicators that are deposits are
discussed. Coastal deposits were initially laid down near sea level and
such deposits, if subsequently vertically or horizontally separated
from the shoreline, may indicate past sea levels.The discussion on
deposits focuses on beach ridges.
Weathering
The CIA is calculated as where the elemental abundances are
expressed as molar proportions, and CaO* represents the CaO
contained only in the silicate fraction. The CIA is generally used to
provide an indication of the relative abundances of "unweathered"
material and chemical weathering products; {lie "unweathered
materials of particular interest are the feldspars, which are common
and contain relatively mobile Ca, Na, and K, whereas the chemical
weathering products of particular interest are the Al-rich clays.

However, the CIA of a sample can also be affected by the grain size
of the sample and by the provenance of the sediment, as discussed in
more detail below. The CIA of a sediment increases as the extent of
chemical weathering increases, from values of approximately 50 for
"unweathered" feldspar-rich rocks to values near 100 for highly
weathered, kaolinite- o1- gibbsite-rich sediments. CIA values for
"average" shales. dominated by illite, range from 70 to 75 (Young &
Nesbitt, 1998). The CIA value for a sediment also tends to increase as
grain size decreases, because clay minerals are preferentially enriched
in the finest grain sizes. As a result, the CIA was originally proposed
for use with true shales or "lutites" (Nesbitt & Young, 1982). In a
sequence where true shales are rare, such as the section cored at CRP-
2/2A, care must be taken to consider the potential effect of grain size
variations on stratigraphic trends in the CIA. The provenance effect is
particularly important if sediment provenance changed significantly
during deposition of a stratigraphic sequence, and if any of the
potential sediment sources has an unusual geocheniical composition.
Such aprovenance effect must be considered for CRP-2/2A because
potential source rocks include two basic igneous units, the McMurdo
Volcanic Group and the Ferrar Dolerite, whose bulk geochemistries
produce CIA values lower than the CIAs of unweathered feldspar.
The A120JTi0, ratio of a sediment can serve as a preliminary
indicator of that sediment's source rock composition (Nesbitt, 1979;
Young & Nesbitt, 1998) for two reasons: 1) the ratio varies markedly
in primary igneous rocks, from approximately 10 for basalts and
gabbros to approximately 47 for granites (LeMaitre, 1976), and 2) A1
and Ti are both considered to be relatively immobile under most
weathering regimes. Trace element abundances can also serve as
valuable indicators of sediment provenance because trace elements
are also relatively immobile during weathering, and because trace
element abundances can vary significantly between two igneous or
metamorphic bodies with relatively similar major element
compositions (e.g., two granites can have significantly different trace
element compositions). In this study, concentrations of the trace
element Nb are used to identify the relative importance of input from
the McMurdo Volcanic Group, a potential source rock with elevated
Nb contents.
Mineral composition
Some index minerals that indicate the presence of natural gas hydrates
are carbonates, sulfates, and sulfides with specific compositions and
morphologies. These mineral indicators are formed by the interaction
of mineral fluids with seawater, pore water, and sediments during
sedimentation, diagenesis, and catagenesis.
When fluids from the shallow seafloor enter the sea via venting or
percolation, a series of physical, chemical, and biological processes
occur. Gas-saturated fluids migrating upward from deeper sediments
to the shallow seafloor will chill quickly to form gas hydrates.
Depending on the fluid, some associated autogenic carbonate and
autotrophic biocommunities may also form. These fluids are referred
to as cold springs because of their low temperatures and are
distinguishable from fluids with higher temperatures from the deeper
crust, making them an effective indicator for gas hydrate.
Petrography
Through integration of geological, logging, and seismic data,
technical approaches can be established by incorporating technical
solutions of hierarchical identification and multiple prediction
methods (Figure 5.1). Following this process, the lithological
identification and prediction techniques for volcanic reservoirs are
developed, which provide a basis for lithofacies identification,
reservoir parameter interpretation, and gas layer and aquifer
identification.
Geological material
Types of samples
Mineral
The primary methods used to extract minerals from the ground are:
1. Underground mining
2. Surface (open pit) mining
3. Placer mining
The location and shape of the deposit, strength of the rock, ore grade,
mining costs, and current market price of the commodity are some of
the determining factors for selecting which mining method to use.
Higher-grade metallic ores found in veins deep under the Earth’s
surface can be profitably mined using underground methods, which
tend to be more expensive. Large tabular-shaped ore bodies or ore
bodies lying more than 1,000 feet (300 m) below the surface are
generally mined underground as well. The rock is drilled and blasted,
then moved to the surface by truck, belt conveyor, or elevator. Once
at the surface, the material is sent to a mill to separate the ore from the
waste rock.
Lower grade metal ores found closer to the surface can be profitably
mined using surface mining methods, which generally cost less than
underground methods. Many industrial minerals are also mined this
way, as these ores are usually low in value and were deposited at or
near the Earth’s surface. In a surface mine, hard rock must be drilled
and blasted, although some minerals are soft enough to mine without
blasting.
Placer mining is used to recover valuable minerals from sediments in
present-day river channels, beach sands, or ancient stream deposits.
More than half of the world’s titanium comes from placer mining of
beach dunes and sands. In placer operations, the mined material is
washed and sluiced to concentrate the heavier minerals.
Ore
Ore is natural rock or sediment that contains one or more
valuable minerals, typically containing metals, that can be mined,
treated and sold at a profit. Ore is extracted from the earth
through mining and treated or refined, often via smelting, to extract
the valuable metals or minerals.[1] The grade of ore refers to the
concentration of the desired material it contains. The value of the
metals or minerals a rock contains must be weighed against the cost
of extraction to determine whether it is of sufficiently high grade to be
worth mining, and is therefore considered an ore.[1]

Minerals of interest are generally oxides, sulfides, silicates, or native
metals such as copper or gold. Ores must be processed to extract the
elements of interest from the waste rock. Ore bodies are formed by a
variety of geological processes generally referred to as ore genesis.
The basic extraction of ore deposits follows these steps:
1. Prospecting or exploration to find and then define the extent and
value of ore where it is located ("ore body").
2. Conduct resource estimation to mathematically estimate the size
and grade of the deposit.
3. Conduct a pre-feasibility study to determine the theoretical
economics of the ore deposit. This identifies, early on, whether
further investment in estimation and engineering studies is
warranted and identifies key risks and areas for further work.
4. Conduct a feasibility study to evaluate the financial viability,
technical and financial risks and robustness of the project and
make a decision as whether to develop or walk away from a
proposed mine project. This includes mine planning to evaluate
the economically recoverable portion of the deposit,
the metallurgy and ore recoverability, marketability and
payability of the ore concentrates, engineering, milling and
infrastructure costs, finance and equity requirements and a
cradle to grave analysis of the possible mine, from the initial
excavation all the way through to reclamation.
5. Development to create access to an ore body and building of
mine plant and equipment.
6. The operation of the mine in an active sense.
7. Reclamation to make land where a mine had been suitable for
future use.
Fossils
Fossils are generally found in sedimentary rock with differentiated
strata representing a succession of deposited material.[1] The
occurrence of fossil bearing material depends on environmental
factors before and after the time of preservation. After death, the first
preserving factor is a rapid burial in water bodies
or terrestrial sediment which would help in preserving the specimen.
These rocks types are usually termed clastic rock, and are further
subdivided into fine, medium and coarse grained material. While
fossils can be found in all grain types, more detailed specimens are
found in the fine grained material.[2] A second type of burial is the
non-clastic rock, form where the rock is made up of the precipitation
of compacted fossil material, types of rock
include limestone and coal. The third fossil bearing material is
the evaporates, which precipitate out of concentrated dissolved salts
to form nodular deposits, examples include rock
salt and phosphate concentrations. The evaporates are usually
associated with gastropod, algae, vertebrate, and trace fossils. Fossils
are not to be found in areas of igneous rock (except in some beds
between lava flows). In rocks which have undergone metamorphism,
fossils are generally so distorted that they are difficult to recognize or
have been destroyed completely.[3]
Preservation[edit]
After burial various factors are at work to endanger the current fossil's
preserved state. Chemical alteration would change the mineral
composition of the fossil, but generally not its
appearance, lithification would distort its appearance, the fossil itself
may be fully or partially dissolved leaving only a fossil mold.
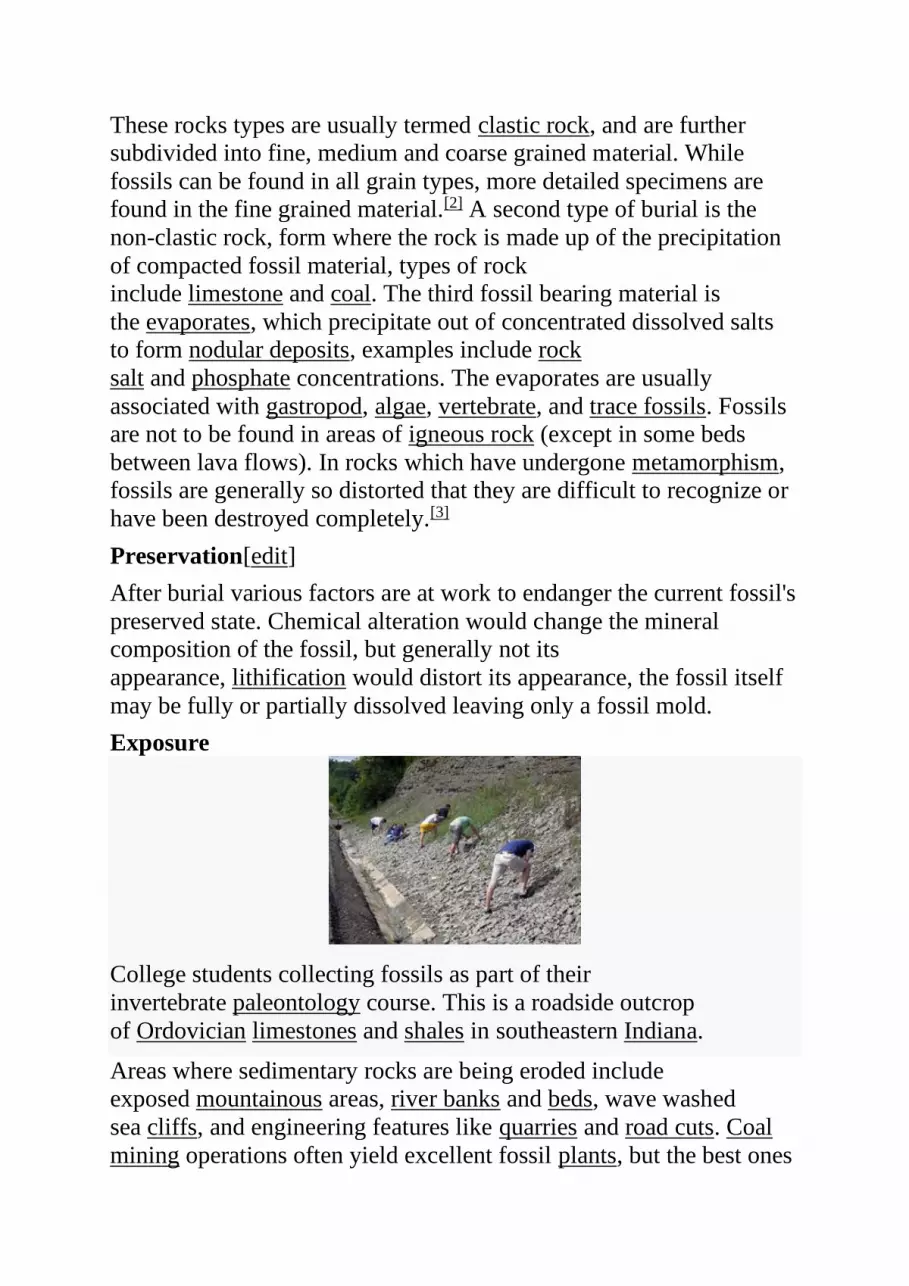
Exposure
College students collecting fossils as part of their
invertebrate paleontology course. This is a roadside outcrop
of Ordovician limestones and shales in southeastern Indiana.
Areas where sedimentary rocks are being eroded include
exposed mountainous areas, river banks and beds, wave washed
sea cliffs, and engineering features like quarries and road cuts. Coal
mining operations often yield excellent fossil plants, but the best ones
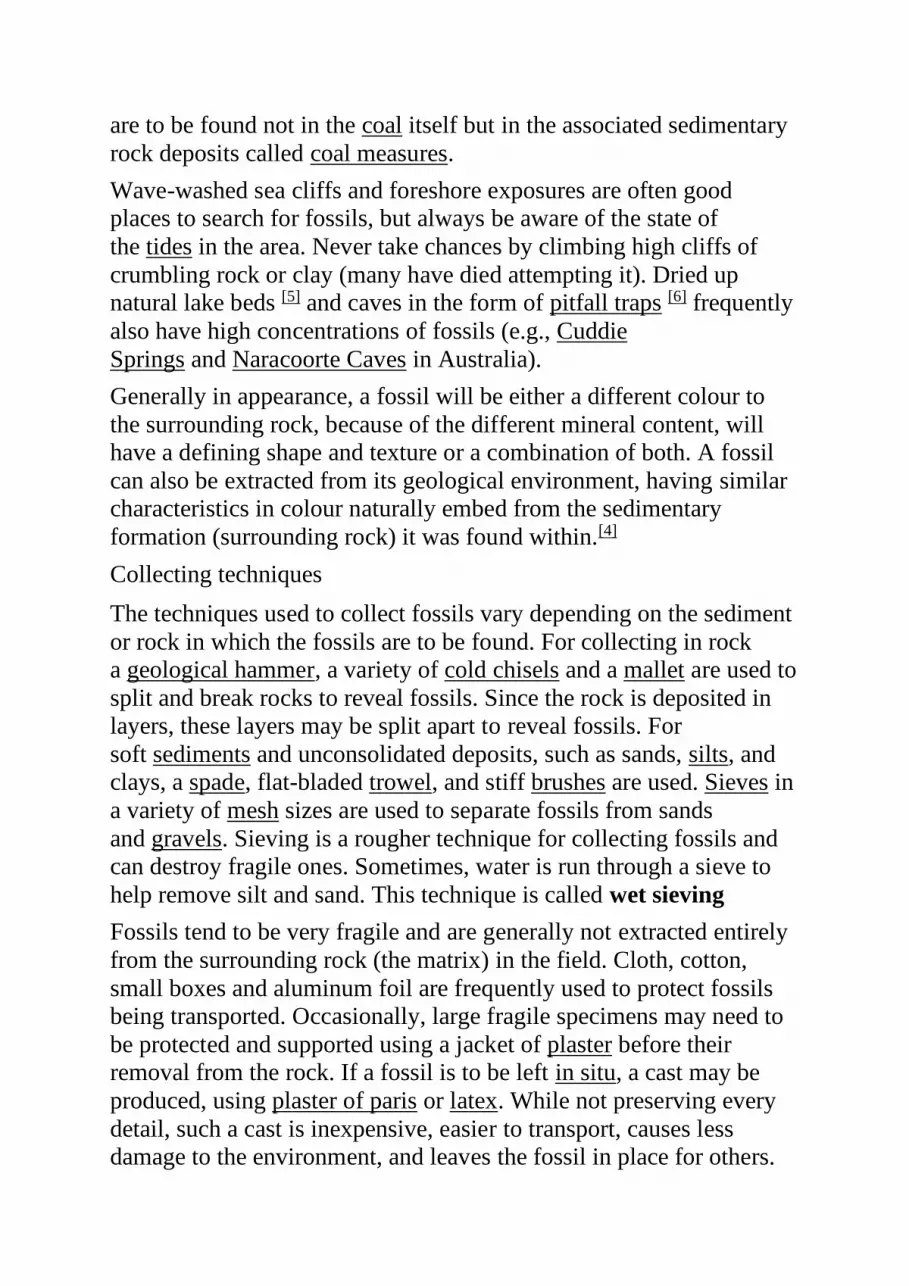
are to be found not in the coal itself but in the associated sedimentary
rock deposits called coal measures.
Wave-washed sea cliffs and foreshore exposures are often good
places to search for fossils, but always be aware of the state of
the tides in the area. Never take chances by climbing high cliffs of
crumbling rock or clay (many have died attempting it). Dried up
natural lake beds [5] and caves in the form of pitfall traps [6] frequently
also have high concentrations of fossils (e.g., Cuddie
Springs and Naracoorte Caves in Australia).
Generally in appearance, a fossil will be either a different colour to
the surrounding rock, because of the different mineral content, will
have a defining shape and texture or a combination of both. A fossil
can also be extracted from its geological environment, having similar
characteristics in colour naturally embed from the sedimentary
formation (surrounding rock) it was found within.[4]
Collecting techniques
The techniques used to collect fossils vary depending on the sediment
or rock in which the fossils are to be found. For collecting in rock
a geological hammer, a variety of cold chisels and a mallet are used to
split and break rocks to reveal fossils. Since the rock is deposited in
layers, these layers may be split apart to reveal fossils. For
soft sediments and unconsolidated deposits, such as sands, silts, and
clays, a spade, flat-bladed trowel, and stiff brushes are used. Sieves in
a variety of mesh sizes are used to separate fossils from sands
and gravels. Sieving is a rougher technique for collecting fossils and
can destroy fragile ones. Sometimes, water is run through a sieve to
help remove silt and sand. This technique is called wet sieving
Fossils tend to be very fragile and are generally not extracted entirely
from the surrounding rock (the matrix) in the field. Cloth, cotton,
small boxes and aluminum foil are frequently used to protect fossils
being transported. Occasionally, large fragile specimens may need to
be protected and supported using a jacket of plaster before their
removal from the rock. If a fossil is to be left in situ, a cast may be
produced, using plaster of paris or latex. While not preserving every
detail, such a cast is inexpensive, easier to transport, causes less
damage to the environment, and leaves the fossil in place for others.
Fossilized tracks are frequently documented with casts. Subtle fossils
which are preserved solely as impressions in sandy layers, such as
the Ediacaran fossils, are also usually documented by means of a cast,
which shows detail more clearly than the rock itself.
Preparation and cleaning
Fossil preparation
Sometimes, for smaller fossils, a stiff brush may simply be used to
dust off and clean the fossil. For larger fossils, a chisel can be used to
remove large bits of dirt, however, you run the risk of damaging the
fossil. Running water can cause some types of fossils to either
dislodge from the rock, or even crumble and break apart, for they are
very fragile. Dental tools are sometimes used to remove small
amounts of rock from the fossil.
Rocks
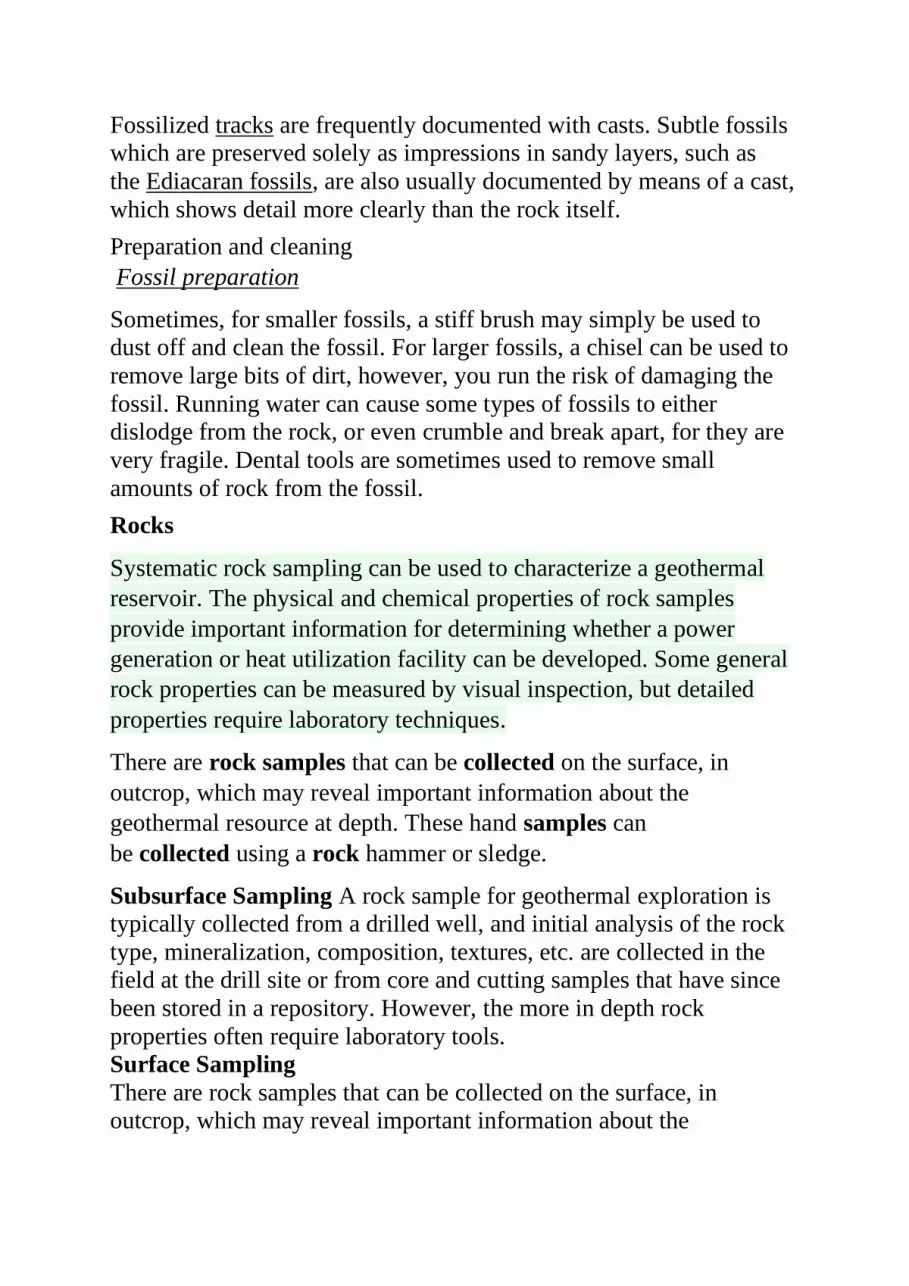
Systematic rock sampling can be used to characterize a geothermal
reservoir. The physical and chemical properties of rock samples
provide important information for determining whether a power
generation or heat utilization facility can be developed. Some general
rock properties can be measured by visual inspection, but detailed
properties require laboratory techniques.
There are rock samples that can be collected on the surface, in
outcrop, which may reveal important information about the
geothermal resource at depth. These hand samples can
be collected using a rock hammer or sledge.
Subsurface Sampling A rock sample for geothermal exploration is
typically collected from a drilled well, and initial analysis of the rock
type, mineralization, composition, textures, etc. are collected in the
field at the drill site or from core and cutting samples that have since
been stored in a repository. However, the more in depth rock
properties often require laboratory tools.
Surface Sampling
There are rock samples that can be collected on the surface, in
outcrop, which may reveal important information about the

geothermal resource at depth. These hand samples can be collected
using a rock hammer or sledge.
Methods of sampling
There are two types of sampling methods:
• Probability sampling involves random selection, allowing you
to make strong statistical inferences about the whole group.
• Non-probability sampling involves non-random selection
based on convenience or other criteria, allowing you to easily
collect data.
Care and packing of samples in the field
The geological sample is a representative unit of soil, rock, ore,
fluid, or gas that is selected from a larger mass or volume to serve as
an example of that larger body or to reflect some specific feature or
variation within it. The simple rationale for Sampling (Barnes, 1981)
is that, one can take a specimen home, but not an outcrop. Sampling
is undertaken to provide a type specimen for classification purposes
and/or special-purpose (e.g., petrofabric) analysis, assay, or testing
(including engineering-geological and geochemical testing).
Rock specimens should be placed in suitable sample bags equipped
with drawstrings and sewn-on water proof labels. Whenever
practical, specimens should be neatly numbered with a waterproof
felt tip marker. Delicate samples should be wrapped (in newspaper)
before bagging (some geologists wrap all samples).
Specific instructions on the exact type, number, and distribution of
samples to be collected cannot be given, but some general guidelines
should be followed:
1. The judgment of the geologist must be applied toward obtaining
samples which will be most representative of the coal bed.
2. Only samples of fresh or unweathered coal should be submitted for
analysis, preferably collected from a newly exposed mine face or
from a drill core. The samples should be shipped to the laboratory
within a few days after collection to minimize the effect of oxidation
and exposure to air on the moisture content and on the forms of
sulfur.
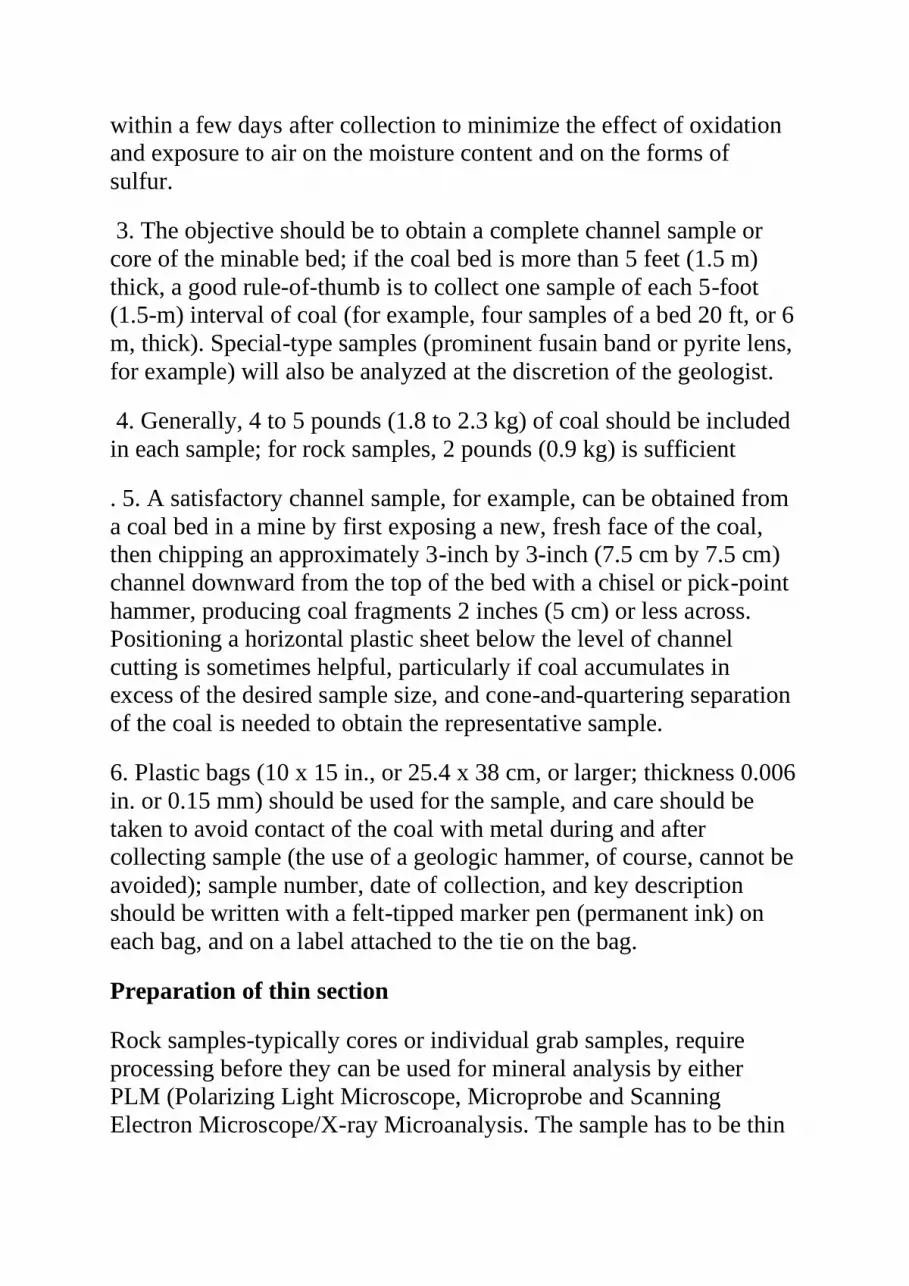
3. The objective should be to obtain a complete channel sample or
core of the minable bed; if the coal bed is more than 5 feet (1.5 m)
thick, a good rule-of-thumb is to collect one sample of each 5-foot
(1.5-m) interval of coal (for example, four samples of a bed 20 ft, or 6
m, thick). Special-type samples (prominent fusain band or pyrite lens,
for example) will also be analyzed at the discretion of the geologist.
4. Generally, 4 to 5 pounds (1.8 to 2.3 kg) of coal should be included
in each sample; for rock samples, 2 pounds (0.9 kg) is sufficient
. 5. A satisfactory channel sample, for example, can be obtained from
a coal bed in a mine by first exposing a new, fresh face of the coal,
then chipping an approximately 3-inch by 3-inch (7.5 cm by 7.5 cm)
channel downward from the top of the bed with a chisel or pick-point
hammer, producing coal fragments 2 inches (5 cm) or less across.
Positioning a horizontal plastic sheet below the level of channel
cutting is sometimes helpful, particularly if coal accumulates in
excess of the desired sample size, and cone-and-quartering separation
of the coal is needed to obtain the representative sample.
6. Plastic bags (10 x 15 in., or 25.4 x 38 cm, or larger; thickness 0.006
in. or 0.15 mm) should be used for the sample, and care should be
taken to avoid contact of the coal with metal during and after
collecting sample (the use of a geologic hammer, of course, cannot be
avoided); sample number, date of collection, and key description
should be written with a felt-tipped marker pen (permanent ink) on
each bag, and on a label attached to the tie on the bag.
Preparation of thin section
Rock samples-typically cores or individual grab samples, require
processing before they can be used for mineral analysis by either
PLM (Polarizing Light Microscope, Microprobe and Scanning
Electron Microscope/X-ray Microanalysis. The sample has to be thin
enough for light to pass through in a light microscope and have a
polished surface for electron microscope studies.
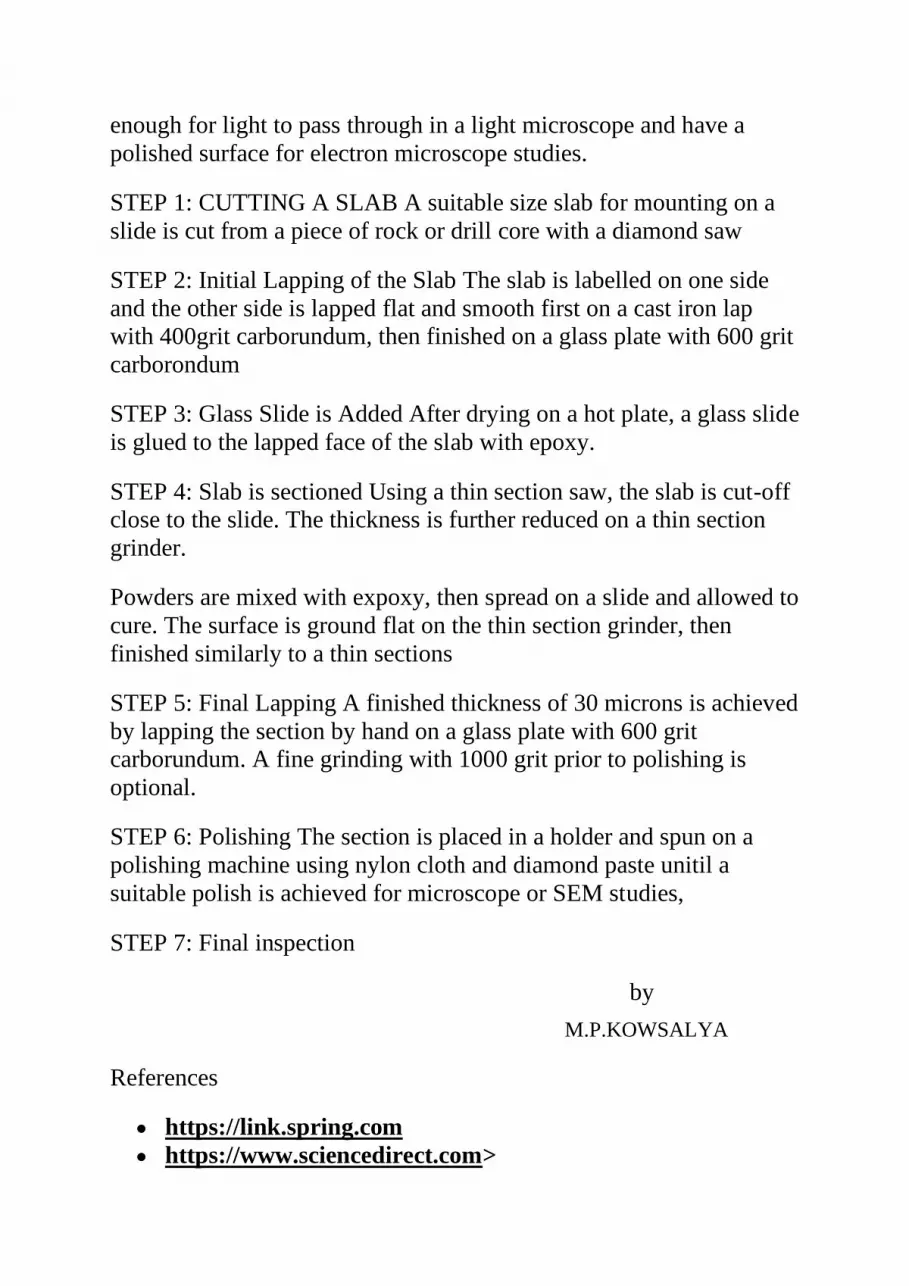
STEP 1: CUTTING A SLAB A suitable size slab for mounting on a
slide is cut from a piece of rock or drill core with a diamond saw
STEP 2: Initial Lapping of the Slab The slab is labelled on one side
and the other side is lapped flat and smooth first on a cast iron lap
with 400grit carborundum, then finished on a glass plate with 600 grit
carborondum
STEP 3: Glass Slide is Added After drying on a hot plate, a glass slide
is glued to the lapped face of the slab with epoxy.
STEP 4: Slab is sectioned Using a thin section saw, the slab is cut-off
close to the slide. The thickness is further reduced on a thin section
grinder.
Powders are mixed with expoxy, then spread on a slide and allowed to
cure. The surface is ground flat on the thin section grinder, then
finished similarly to a thin sections
STEP 5: Final Lapping A finished thickness of 30 microns is achieved
by lapping the section by hand on a glass plate with 600 grit
carborundum. A fine grinding with 1000 grit prior to polishing is
optional.
STEP 6: Polishing The section is placed in a holder and spun on a
polishing machine using nylon cloth and diamond paste unitil a
suitable polish is achieved for microscope or SEM studies,
STEP 7: Final inspection
by
M.P.KOWSALYA
References
• https://link.spring.com
• https://www.sciencedirect.com>

• https:// epic.awi.de>
• https://www.usgs.gov
• https://openei.org>
• https://www.healthknowledge.org.uk
• https://www.lakeheadu.ca


