Embed Size (px)
Citation preview

ROSS 2.16.12 Page ST.1 10/9/2018
DETAILED LESSON OUTLINE COURSE: Standard ROSS Reports UNIT: Standard ROSS Reports (ST) SUGGESTED TIME: 4 Hours TRAINING AIDS: Computer projector, screen, PowerPoint presentation,
and computers (one for instructor and one per trainee) with Internet connection.
OBJECTIVES: Upon completion of this unit, the trainee will be able to:
1. View a standard report by applying filter panels: a. Dispatch. b. Catalog. c. Resource. d. Dispatch and Provider. e. Catalog Resource. f. Incident. g. Incident Requests. h. Time Period. i. Travel Plan. j. External Supply Cache Request. k. Incident Initial Year.
2. Utilize Cognos Viewer features. 3. Print and save report results. 4. Set personal preferences. 5. View a report using alternate run options. 6. Create a ‘Report View’. 7. Set report properties. 8. Schedule a report run.
ROSS 2.16.12 Page ST.2 10/9/2018
9. Manage report schedules. 10. Create a job. 11. Create a page.

ROSS 2.16.12 Page ST.3 10/9/2018
Standard ROSS Reports
Significant Changes to this Course Unit since last update: 1. None.
ROSS 2.16.12 Page ST.4 10/9/2018
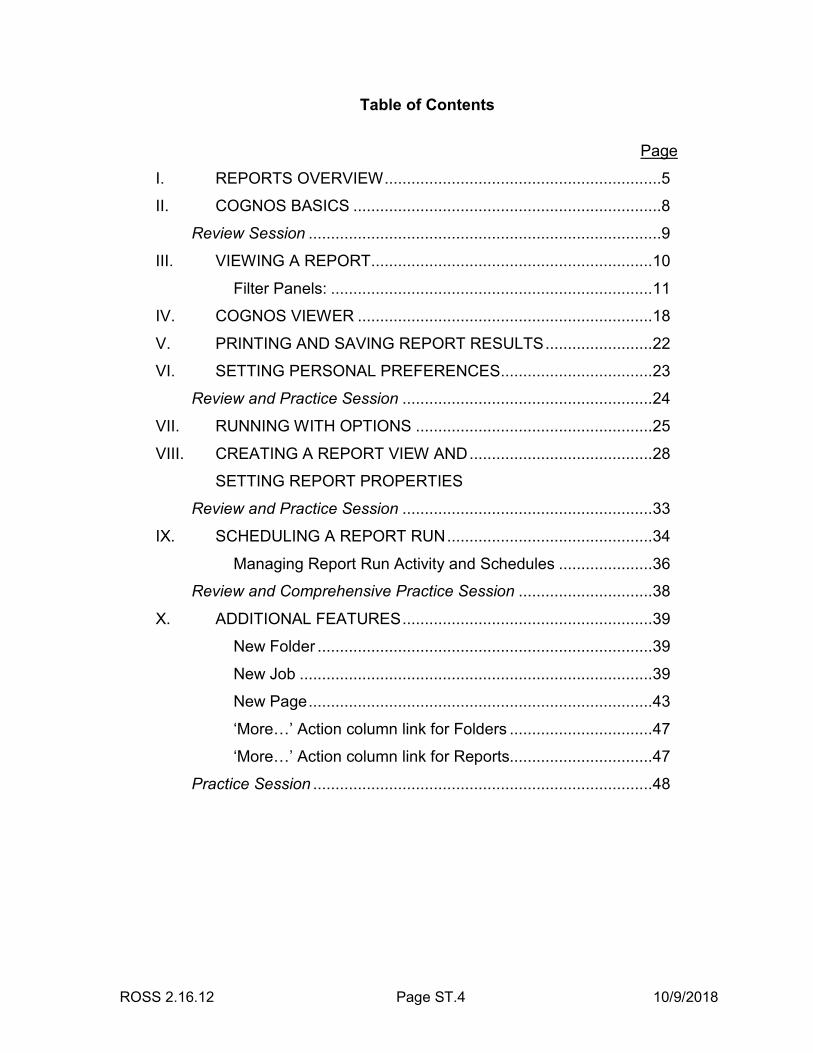
Table of Contents
Page
I. REPORTS OVERVIEW ..............................................................5
II. COGNOS BASICS .....................................................................8
Review Session ...............................................................................9
III. VIEWING A REPORT ............................................................... 10
Filter Panels: ........................................................................ 11
IV. COGNOS VIEWER .................................................................. 18
V. PRINTING AND SAVING REPORT RESULTS ........................ 22
VI. SETTING PERSONAL PREFERENCES .................................. 23
Review and Practice Session ........................................................ 24
VII. RUNNING WITH OPTIONS ..................................................... 25
VIII. CREATING A REPORT VIEW AND ......................................... 28
SETTING REPORT PROPERTIES
Review and Practice Session ........................................................ 33
IX. SCHEDULING A REPORT RUN .............................................. 34
Managing Report Run Activity and Schedules ..................... 36
Review and Comprehensive Practice Session .............................. 38
X. ADDITIONAL FEATURES ........................................................ 39
New Folder ........................................................................... 39
New Job ............................................................................... 39
New Page ............................................................................. 43
‘More…’ Action column link for Folders ................................ 47
‘More…’ Action column link for Reports................................ 47
Practice Session ............................................................................ 48
ROSS 2.16.8 Page ST.5 10/9/2018
OUTLINE AIDS & CUES
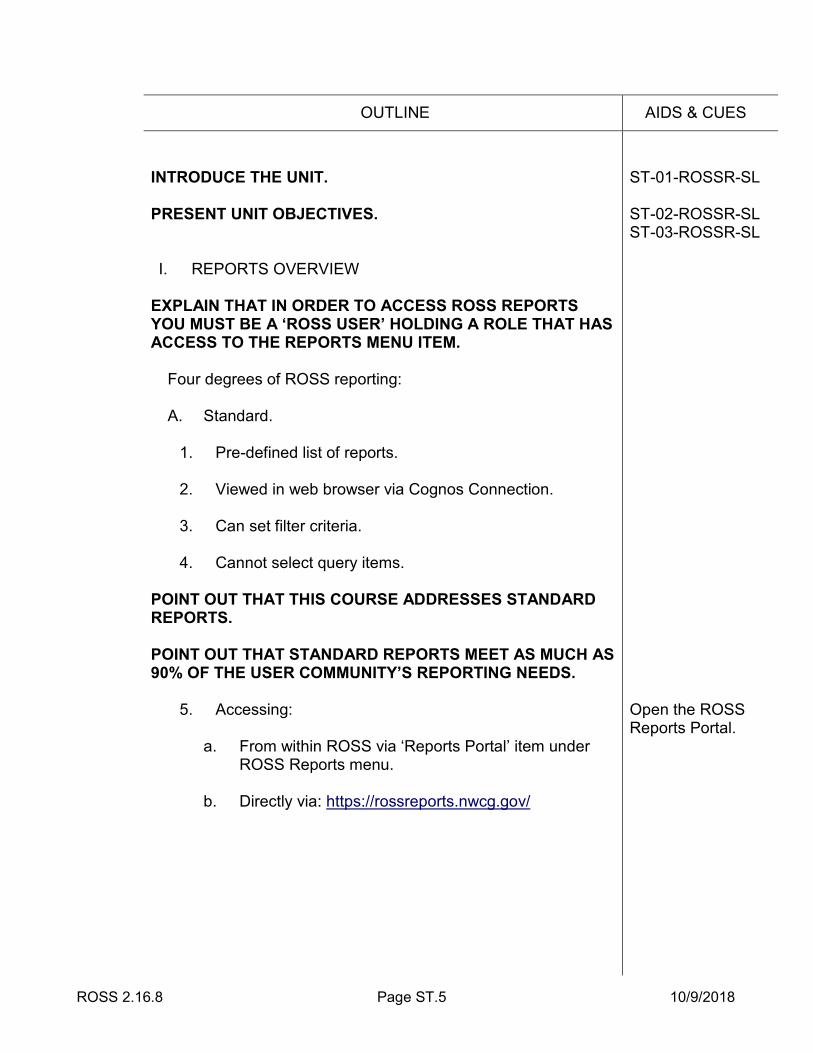
INTRODUCE THE UNIT. PRESENT UNIT OBJECTIVES. I. REPORTS OVERVIEW
EXPLAIN THAT IN ORDER TO ACCESS ROSS REPORTS YOU MUST BE A ‘ROSS USER’ HOLDING A ROLE THAT HAS ACCESS TO THE REPORTS MENU ITEM.
Four degrees of ROSS reporting:
A. Standard.
1. Pre-defined list of reports.
2. Viewed in web browser via Cognos Connection.
3. Can set filter criteria.
4. Cannot select query items.
POINT OUT THAT THIS COURSE ADDRESSES STANDARD REPORTS. POINT OUT THAT STANDARD REPORTS MEET AS MUCH AS 90% OF THE USER COMMUNITY’S REPORTING NEEDS.
5. Accessing:
a. From within ROSS via ‘Reports Portal’ item under
ROSS Reports menu. b. Directly via: https://rossreports.nwcg.gov/
ST-01-ROSSR-SL ST-02-ROSSR-SL ST-03-ROSSR-SL Open the ROSS Reports Portal.

ROSS 2.16.8 Page ST.6 10/9/2018
OUTLINE AIDS & CUES
POINT OUT THAT STUDENTS CAN ACCESS THE ROSS REPORTS PORTAL VIA ROSS, AND THEN SAVE THE URL TO THEIR WEB BROWSER FAVORITES LIST.
B. Print Button Reports
a. Pre-defined report generated by Cognos when a
Print button is clicked in ROSS (e.g., Resource Order Form).
b. Different from Standard reports in that user cannot
select filter criteria. c. Report content is dictated by specific record (e.g.,
request, resource) selected on ROSS screen. POINT OUT THAT PRINT BUTTON REPORTS REQUIRE INFORMATION SUCH AS SESSION ID AND ROLI ID IN ORDER TO RUN, AND THEREFORE MUST BE ACCESSED DIRECTLY FROM ROSS.
C. Ad Hoc (ROSS Analytical Reports and ROSS Analytical
Reports Historical).
1. Create custom reports in web browser via Cognos Query Studio.
2. Drag and drop query subjects onto a report window.
3. Can create crosstab reports.
Example: Number of resources on incidents started
between 08/01and 08/15 2009, by date, by GACC, by Host, and by incident type.
POINT OUT THAT AD HOC REPORTS ARE ADDRESSED IN THE ROSS ANALYTICAL REPORTS AND ROSS ANALYTICAL REPORTS HISTORICAL COURSES.
ROSS 2.16.8 Page ST.7 10/9/2018
OUTLINE AIDS & CUES
D. Advanced.
1. Advanced features of Cognos Query Studio. 2. Cognos Report Studio.
POINT OUT THAT TO RETURN TO THE ROSS REPORTS PORTAL PAGE AT ANY TIME: 1. SELECT THE ROSS WEB BROWSER TAB/PAGE.
2. CLICK THE RESTORE BUTTON .
Expand the ‘Standard Reports (Current)’ section by clicking the Maximize button. Open Cognos Connection by clicking the ‘Open with IBM Cognos
Connection’ button.

ROSS 2.16.8 Page ST.8 10/9/2018
OUTLINE AIDS & CUES
II. COGNOS BASICS
A. Logging on.
1. Selecting ‘Reports Portal’ under the Reports menu in ROSS automatically logs you into Cognos.
2. Session times out after one hour of inactivity.
3. Logging back in:
a. Leave default namespace of ROSSLDAPSSL. b. Cognos User ID and Password same as ROSS
Username and Password.
B. Logging off. C. Refresh button. D. Searching.
1. Enter search criteria and click Search button. 2. Advanced Search.
E. Home button.
1. Takes you to your Cognos Connection homepage. 2. To set homepage select ‘Set View as Home’.
F. My Area.
1. My Inbox.
EXPLAIN THAT MY INBOX FUNCTIONALITY IS NOT AVAILABLE.
2. My Watch Items.
EXPLAIN THAT MY WATCH ITEMS FUNCTIONALITY IS NOT AVAILABLE.
ST-01-ROSSR-HO ST-02-ROSSR-HO Display Search button drop-down list. Display Home button drop-down list. Click My Area button and display drop-down list.
ROSS 2.16.8 Page ST.9 10/9/2018
OUTLINE AIDS & CUES
3. My Preferences. EXPLAIN THAT MY PREFERENCES AND MY ACTIVITIES AND SCHEDULES ARE DISCUSSED LATER.
4. My Activities and Schedules.
G. Launch link – Provides access to Query (and other) Studios.
H. Help button.
1. Help – Cognos Connection User Guide.
2. Getting Started – Cognos Business Intelligence tool.
3. IBM Cognos on the Web – Cognos homepage.
4. Go to the Welcome Page.
5. About IBM Cognos Connection.
I. Scroll Buttons. STOP THE LECTURE HERE. BRIEFLY REVIEW THE MATERIAL DISCUSSED SO FAR AND ANSWER STUDENT QUESTIONS. EXPLAIN THAT VIEWING, PRINTING, AND SAVING REPORTS WILL BE DISCUSSED FIRST. LATER IN THE COURSE, FEATURES USED TO CUSTOMIZE AND MANAGE REPORTS WILL BE DISCUSSED.
Click Launch link and display drop-down list. Click Help button and display drop-down list.
ROSS 2.16.8 Page ST.10 10/9/2018
OUTLINE AIDS & CUES
III. VIEWING A REPORT
A. Public Folders tab – Contains reports available to all users.
B. Groupings of ROSS reports:
BRIEFLY DISCUSS THE LIST OF REPORTS IN EACH FOLDER.
1. Administration – Reports used to facilitate management of a dispatch’s catalog and resource items.
POINT OUT THE NAVIGATION PATH TO THE CURRENT SCREEN.
2. Incident – Reports used to facilitate management of an
incident and its assigned resources.
3. Status – Reports providing detailed and summary
information on status of resources as maintained in ROSS.
ST-03-ROSSR-HO Click on the Administration link. Click the ‘Standard Reports (Current)’ link in the screen navigation path to return to the ‘Standard Reports (Current)’ page. Click on the Incident link. Return to the ‘Standard Reports (Current)’ page. Click on the Status link. Close the Public Folders web browser tab/page.
ROSS 2.16.8 Page ST.11 10/9/2018
OUTLINE AIDS & CUES
4. Standard Reports Historical – Historical (i.e., multi-year) versions of the Resource Order Form, NFES Resource Order Form, and Resource Order Form by Dispatch Provider reports.
C. To view a report:
1. Open appropriate ROSS folder. 2. Click appropriate report link.
3. While waiting, ‘Select delivery method’ may display. EXPLAIN THAT DELIVERY METHODS WILL BE DISCUSSED LATER IN THE COURSE.
4. Applicable filter panels display.
D. Filter Panels.
1. To open a filter panel, click on its title. 2. Panels containing at least one required field are marked
with an asterisk (*).
3. Each individual required field within a filter panel:
a. Marked with an asterisk (*).
On the Standard Reports (Current), click the Restore
button to return to the ROSS Reports Portal. Point out the ‘Standard Reports (Historical)’ section. In the ‘Standard Reports (Current)’ section, click the Administration link. Click ‘Resources With Expired Qualifications’ report. ST-04-ROSSR-HO Click on Catalog panel title. ST-05-ROSSR-HO
ROSS 2.16.8 Page ST.12 10/9/2018
OUTLINE AIDS & CUES
b. Red dashed line below.
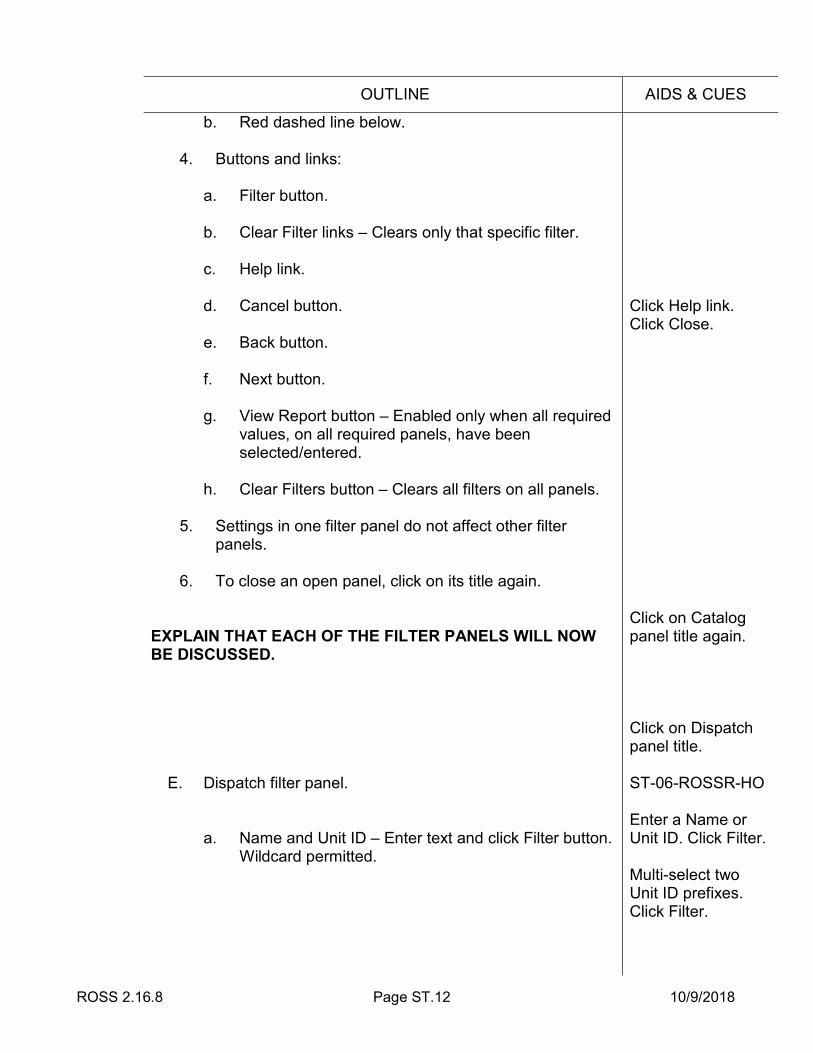
4. Buttons and links:
a. Filter button.
b. Clear Filter links – Clears only that specific filter.
c. Help link.
d. Cancel button.
e. Back button.
f. Next button.
g. View Report button – Enabled only when all required values, on all required panels, have been selected/entered.
h. Clear Filters button – Clears all filters on all panels.
5. Settings in one filter panel do not affect other filter
panels. 6. To close an open panel, click on its title again.
EXPLAIN THAT EACH OF THE FILTER PANELS WILL NOW BE DISCUSSED.
E. Dispatch filter panel.
a. Name and Unit ID – Enter text and click Filter button. Wildcard permitted.
Click Help link. Click Close. Click on Catalog panel title again. Click on Dispatch panel title. ST-06-ROSSR-HO Enter a Name or Unit ID. Click Filter. Multi-select two Unit ID prefixes. Click Filter.

ROSS 2.16.8 Page ST.13 10/9/2018
OUTLINE AIDS & CUES
b. Multiples of Unit ID Prefix – Select one or more prefixes and click Filter.
c. Dispatch (required) – Select one or more dispatches.
d. Selection fields turn blue once an entry has been
selected. POINT OUT HOW THE ‘MULTIPLES OF UNIT ID PREFIX’ AND ‘DISPATCH’ FIELDS TURNED BLUE ONCE AN ENTRY WAS SELECTED.
F. Catalog filter panel.
1. Catalog (required).
a. Select one or more catalogs.
b. Click Filter only if you want to select Category(ies) and/or Catalog Item(s).
2. Category – Used to further filter Catalog Item field.
3. Catalog Item.
a. Item Name, Item Code, and Keyword – Enter text and click Filter button.
b. Select one or more catalog items.
G. Resource filter panel.
1. Qualifications.
Multi-select 2 dispatches. Click on Catalog panel title. ST-07-ROSSR-HO Select a catalog. Click Filter Select two categories and click Filter. Select two catalog items. Click on Resource panel title. ST-08-ROSSR-HO Display drop-down list contents.
ROSS 2.16.8 Page ST.14 10/9/2018
OUTLINE AIDS & CUES
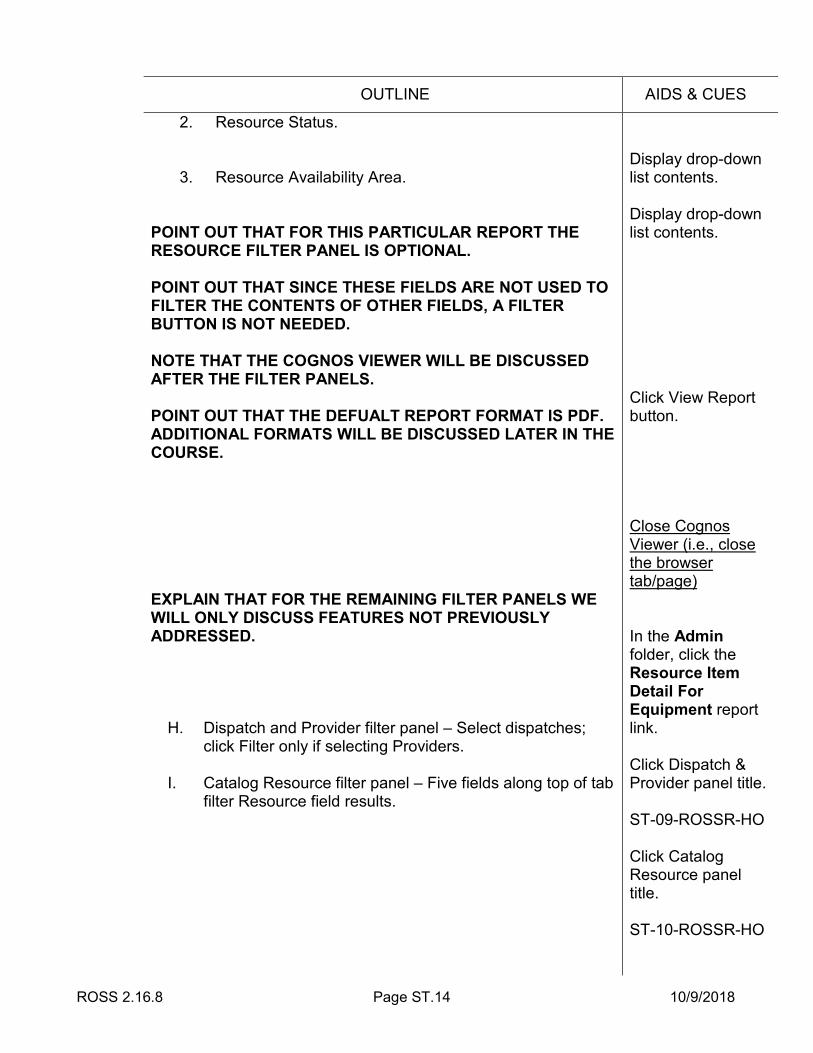
2. Resource Status.
3. Resource Availability Area. POINT OUT THAT FOR THIS PARTICULAR REPORT THE RESOURCE FILTER PANEL IS OPTIONAL. POINT OUT THAT SINCE THESE FIELDS ARE NOT USED TO FILTER THE CONTENTS OF OTHER FIELDS, A FILTER BUTTON IS NOT NEEDED. NOTE THAT THE COGNOS VIEWER WILL BE DISCUSSED AFTER THE FILTER PANELS. POINT OUT THAT THE DEFUALT REPORT FORMAT IS PDF. ADDITIONAL FORMATS WILL BE DISCUSSED LATER IN THE COURSE. EXPLAIN THAT FOR THE REMAINING FILTER PANELS WE WILL ONLY DISCUSS FEATURES NOT PREVIOUSLY ADDRESSED.
H. Dispatch and Provider filter panel – Select dispatches; click Filter only if selecting Providers.
I. Catalog Resource filter panel – Five fields along top of tab
filter Resource field results.
Display drop-down list contents. Display drop-down list contents. Click View Report button. Close Cognos Viewer (i.e., close the browser tab/page) In the Admin folder, click the Resource Item Detail For Equipment report link. Click Dispatch & Provider panel title. ST-09-ROSSR-HO Click Catalog Resource panel title. ST-10-ROSSR-HO
ROSS 2.16.8 Page ST.15 10/9/2018
OUTLINE AIDS & CUES
J. Incident filter panel.
K. Incident Requests filter panel.
L. Time Period filter panel.
Click Cancel. Return to the ROSS Reports Portal by clicking the ‘Standard Reports (Current)’ link. Open Incident folder. Click Resource Order Form link. Click Incident panel title. ST-11-ROSSR-HO Click Incident Requests panel title. ST-12-ROSSR-HO Click Cancel. Click Mob and Demob Travel Report link. Click Time Period panel title. ST-13-ROSSR-HO Click Cancel.
ROSS 2.16.8 Page ST.16 10/9/2018
OUTLINE AIDS & CUES
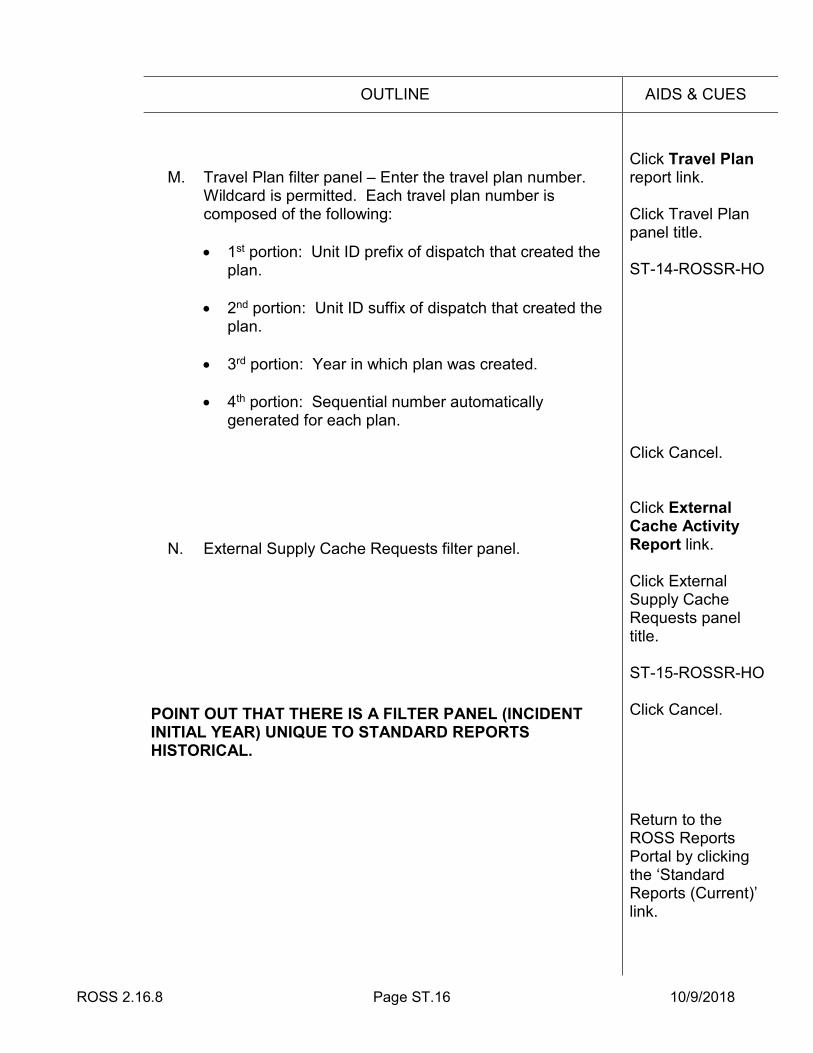
M. Travel Plan filter panel – Enter the travel plan number. Wildcard is permitted. Each travel plan number is composed of the following:
• 1st portion: Unit ID prefix of dispatch that created the
plan. • 2nd portion: Unit ID suffix of dispatch that created the
plan. • 3rd portion: Year in which plan was created. • 4th portion: Sequential number automatically
generated for each plan.
N. External Supply Cache Requests filter panel.
POINT OUT THAT THERE IS A FILTER PANEL (INCIDENT INITIAL YEAR) UNIQUE TO STANDARD REPORTS HISTORICAL.
Click Travel Plan report link. Click Travel Plan panel title. ST-14-ROSSR-HO Click Cancel. Click External Cache Activity Report link. Click External Supply Cache Requests panel title. ST-15-ROSSR-HO Click Cancel. Return to the ROSS Reports Portal by clicking the ‘Standard Reports (Current)’ link.
ROSS 2.16.8 Page ST.17 10/9/2018
OUTLINE AIDS & CUES
O. Incident Initial Year filter panel.
POINT OUT THAT SINCE THE MAJORITY OF INCIDENTS ASSOCIATED WITH HISTORICAL RESOURCE ORDER FORMS HAVE A STATUS OF CLOSED, YOU WILL WANT TO SWITCH THE INCIDENT STATUS FILTER (ON THE INCIDENT FILTER PANEL) FROM OPEN TO CLOSED.
STOP THE LECTURE HERE. BRIEFLY REVIEW THE MATERIAL DISCUSSED SINCE THE LAST REVIEW AND ANSWER STUDENT QUESTIONS. CONDUCT A PRACTICE SESSION COVERING THE TOPICS DISCUSSED IN THE FIRST THREE SECTIONS OF THE COURSE.
In the ‘Standard Reports (Historical)’ section, click Resource Order Form (Historical) report link. Ensure Incident Initial Year panel is open. ST-16-ROSSR-HO Ensure Incident panel is open. Click Cancel.
ROSS 2.16.8 Page ST.18 10/9/2018
OUTLINE AIDS & CUES
IV. COGNOS VIEWER
A. Keep this Version.
1. Email Report – ‘Set the email options’ screen.
BRIEFLY DISCUSS THE ‘SET THE EMAIL OPTIONS’ SCREEN.
2. Save Report – Do not select unless you wish to overwrite the specifications of the report.
On the ROSS Reports Portal, in the ‘Standard Reports (Current)’ section, open Administration folder. Click Resource Item Detail For Aircraft report link. On Dispatch filter panel: Filter for and select Fort Collins Interagency Dispatch in CO. On Catalog Resource filter panel: Select Fixed Wing category. Click View Report. Cognos Viewer opens. ST-17-ROSSR-HO Display ‘Keep this Version’ drop-down list. Select Email Report. Click Cancel.
ROSS 2.16.8 Page ST.19 10/9/2018
OUTLINE AIDS & CUES
POINT OUT THAT ‘SAVING’ IN THIS CONTEXT REFERS TO SAVING THE REPORT SPECIFICATIONS, NOT THE OUTPUT OF THE REPORT RUN.
3. Save as Report View.
a. A ‘Report View’ allows a user to maintain a
customized view of another report, rather than creating a copy.
b. A Report View shares the same specifications (e.g.,
queries, prompts, layouts, styles) as its ‘source’ report.
c. The properties (e.g., prompt values, schedules,
delivery methods, run options, output formats) of a Report View can be customized without affecting the properties of the source report.
POINT OUT THAT WE WILL FURTHER DISCUSS CREATING REPORT VIEWS LATER IN THE COURSE.
B. Run – Returns you to filter panels for the report. C. Drill Down – Not currently applicable. D. Drill Up – Not currently applicable.
E. Go To – Related to drill down report - not currently
applicable.
F. ‘View in PDF/HTML/etc.’ Format.
1. PDF – Best option for printing. 2. HTML – One benefit is can scroll through report,
whereas PDF is page-to-page.
Select Save as Report View. Click Cancel. Click ‘View…’ button and display drop-down list. Select View in HTML Format.
ROSS 2.16.8 Page ST.20 10/9/2018
OUTLINE AIDS & CUES
POINT OUT THAT PRIOR TO VIEWING THE REPORT IN EXCEL WE MUST CHECK OUR INTERNET BROWSER SETTINGS: 1. OPEN TOOLS > INTERNET OPTIONS > SECURITY TAB. 2. CLICK 'CUSTOM LEVEL...' BUTTON. 3. IN 'DOWNLOADS' SECTION ENSURE 'AUTOMATIC
PROMPTING FOR FILE DOWNLOADS' IS ENABLED.
Follow the steps in Outline to ensure internet browser is properly configured before attempting to view the report in Excel. Click ‘View…’ button, then display View in Excel Options. Select View in Excel 2007 Format. If ‘Pop-Up Blocked’ message displays, select ‘Always allow pop-ups from this site’. Click ‘Open’ button in File Download pop-up. Close Excel. Close new browser window (if one has opened). Return to the Report View displayed in Cognos Viewer.
ROSS 2.16.8 Page ST.21 10/9/2018
OUTLINE AIDS & CUES
G. Add this Report.
1. Add to My Folders – Saves the report settings, not the report results. New Shortcut Wizard displays.
POINT OUT THAT CONFIGURING AND SAVING REPORT SETTINGS IS DISCUSSED LATER.
2. Add to My Bookmarks – Adds webpage to your browser
favorites list.
Display Add this Report drop-down list. Select Add to My Folders. Click Cancel. Select Add to My Bookmarks. Click Cancel.
ROSS 2.16.8 Page ST.22 10/9/2018
OUTLINE AIDS & CUES
V. PRINTING AND SAVING REPORT RESULTS
A. First view report in PDF format.
B. Use Internet browser Save and Print options.
POINT OUT THAT IF YOU ACCESS ROSS THROUGH THE CITRIX SERVER, YOU CANNOT PRINT A REPORT VIA COGNOS. THE WORK-AROUND IS TO SAVE THE REPORT TO YOUR HARD DRIVE, THEN PRINT.
Click ‘View…’ button and select View in PDF Format. Click browser File menu and display drop-down list. Close Cognos Viewer web browser tab/page. On the ROSS Reports Portal, click the ‘Standard Reports (Current)’ link to close the Administration folder. Expand the ‘Standard Reports (Current)’ section by clicking the Maximize button. Open Cognos Connection by clicking the ‘Open with IBM Cognos
Connection’ button.
ROSS 2.16.8 Page ST.23 10/9/2018
OUTLINE AIDS & CUES
VI. SETTING PERSONAL PREFERENCES
A. Select My Preferences under My Area button drop-down. B. Set Preferences – General tab.
DISCUSS EACH FIELD.
Fields of note:
1. Show hidden entries – Should entries (folders, reports, pages, etc.) you have hidden display to users as shaded out, or not show at all?
2. Show a summary of the run options – Applicable to
scheduled runs.
3. Portal.
C. Set Preferences – Personal tab. DISCUSS EACH FIELD.
Fields of note:
1. Alerts – Can receive email when there is a new version of a report.
2. Credentials.
a. Scheduled runs execute using your login credentials. b. Can authorize other users to use your credentials
(for example their account is locked up).
On main Cognos Connection screen, click My Area Options toolbar button. Select My Preferences. ST-18-ROSSR-HO Click on Personal tab. ST-19-ROSSR-HO
ROSS 2.16.8 Page ST.24 10/9/2018
OUTLINE AIDS & CUES
c. If change login or password, must renew credentials or scheduled runs will fail.
D. Set Preferences – Portal Tabs tab – Can use a tab to
group reports sharing common settings or attributes.
DISCUSS EACH LINK.
Links:
1. Add portal tabs.
2. Remove this portal tab.
3. Modify the sequence – Set order of tabs using Up, Down, To top, and To bottom links
STOP THE LECTURE HERE. BRIEFLY REVIEW THE MATERIAL DISCUSSED SINCE THE LAST REVIEW AND ANSWER STUDENT QUESTIONS. CONDUCT A PRACTICE SESSION COVERING THE TOPICS DISCUSSED IN SECTIONS IV – VI OF THE COURSE.
Click on Portal Tabs tab. ST-20-ROSSR-HO Click ‘Add portal tabs’ link. Click Cancel. Click ‘Modify the sequence’ link. Click Cancel. Click Cancel. Close the Public Folders web browser tab/page.

ROSS 2.16.8 Page ST.25 10/9/2018
OUTLINE AIDS & CUES
VII. RUNNING WITH OPTIONS POINT OUT THAT THE FOLLOWING WERE PREVIOUSLY DISCUSSED:
• CHANGING THE FORMAT OF REPORT RESULTS IN COGNOS VIEWER.
• SETTING A DEFAULT REPORT FORMAT IN YOUR PERSONAL PREFERENCES.
EXPLAIN THAT THIS SECTION ADDRESSES SELECTING A FORMAT, AND OTHER OPTIONS, FOR A SPECIFIC REPORT RUN.
A. Run with Options button. DISCUSS EACH FIELD.
B. Format.
C. Delivery.
1. View the report now. 2. Save the report.
a. If just select ‘Save the report’ radio button, saves a new report in the same folder as the selected report.
On the ROSS Reports Portal, expand the ‘Standard Reports (Current)’ section by clicking the Maximize button. Open Cognos Connection by clicking the ‘Open with IBM Cognos
Connection’ button. Click the Admin reports folder link. For ‘Catalog Item Listing’ report, click ‘Run with options’ Action button . ST-21-ROSSR-HO Display drop-down list. Leave set to PDF. Select ‘Save the report’ radio button.
ROSS 2.16.8 Page ST.26 10/9/2018
OUTLINE AIDS & CUES
b. If select ‘Save the report’ radio button and click ‘Advanced Options’ link, can save as a Report View.
3. Print the report – Cannot be used since impossible to
identify all possible printers; instead must save the report and then print.
D. Prompt Values.
EXPLAIN THAT PROMPTS ARE DISCUSSED LATER AS PART OF SETTING REPORT PROPERTIES.
E. Advanced Options. EXPLAIN THAT ONLY THOSE OPTIONS NOT PEVIOUSLY ADDRESSED WILL BE DISCUSSED.
1. Time and Mode.
a. ‘View the report now’ radio button. b. ‘Run in the background’ radio button.
2. Delivery – Save, print, and send report results.
POINT OUT THAT MORE THAN ONE CHECK BOX CAN BE CHECKED.
a. ‘Save’ check box.
• ‘Save the report’ radio button. • ‘Save the report as a report view’ radio button.
Click Advanced Options link. ST-22-ROSSR-HO In ‘Time and mode’ section, select ‘Run in the background’ radio button. In Delivery section, click ‘Save the report as a report view’ radio button.
ROSS 2.16.8 Page ST.27 10/9/2018
OUTLINE AIDS & CUES
− ‘Edit the options’ link > ‘Save as report view’ screen.
b. ‘Print the report’ check box – Not operational.
c. ‘Send the report by email’ check box.
• ‘Edit the options’ link > ‘Set the email options’ screen.
3. Run and Cancel buttons.
To the right of the ‘Save the report as a report view’ radio button, click ‘Edit the options’ link. Click Cancel. To the right of the ‘Send the report by email’ radio button, click ‘Edit the options’ link. Click Cancel. Click Cancel.
ROSS 2.16.8 Page ST.28 10/9/2018
OUTLINE AIDS & CUES
VIII. CREATING A REPORT VIEW AND SETTING REPORT
PROPERTIES POINT OUT ONLY ADMINISTRATORS WITH CERTAIN PRIVILEGES CAN MODIFY PUBLIC REPORTS. WE WILL BE WORKING WITH A REPORT VIEW IN A PRIVATE FOLDER. DISCUSS THE ‘NEW REPORT VIEW WIZARD’ FIELDS.
Click the ‘Standard Reports (Current)’ link in the screen navigation path to return to the ‘Standard Reports (Current)’ page. Open Status reports folder. For ‘Resource Status Summary By Dispatch Center’ report, click ‘Create a report view of this report’
Action button . ST-23-ROSSR-HO Click ‘Select My Folders’ link. Click Finish (i.e., create the Report View). Select ‘My Folders’ tab Click the Maximize
button.
ROSS 2.16.8 Page ST.29 10/9/2018
OUTLINE AIDS & CUES
A. ‘Set properties – [report name]’ button – Displays Set Properties screen.
1. General tab (of Set properties screen).
DISCUSS THE SCREEN FIELDS AND LINKS.
a. General information.
• ‘Set the contact’ link – Individual responsible for
the Report View.
− ‘Select the contact’ – Not operational.
− ‘Enter an email address’ – Can enter an email address.
• ‘Disable this entry’ check box – Blocks users without write permission from accessing the report.
• ‘Hide this entry’ check box – Blocks all other
users from accessing and making changes to the report.
For the report view that was just created (Resource Status Summary By Dispatch Center), click ‘Set properties’ button
. ST-24-ROSSR-HO Click ‘Set the contact’ link and display drop-down. Select ‘Enter an email address’. Click Cancel.
ROSS 2.16.8 Page ST.30 10/9/2018
OUTLINE AIDS & CUES
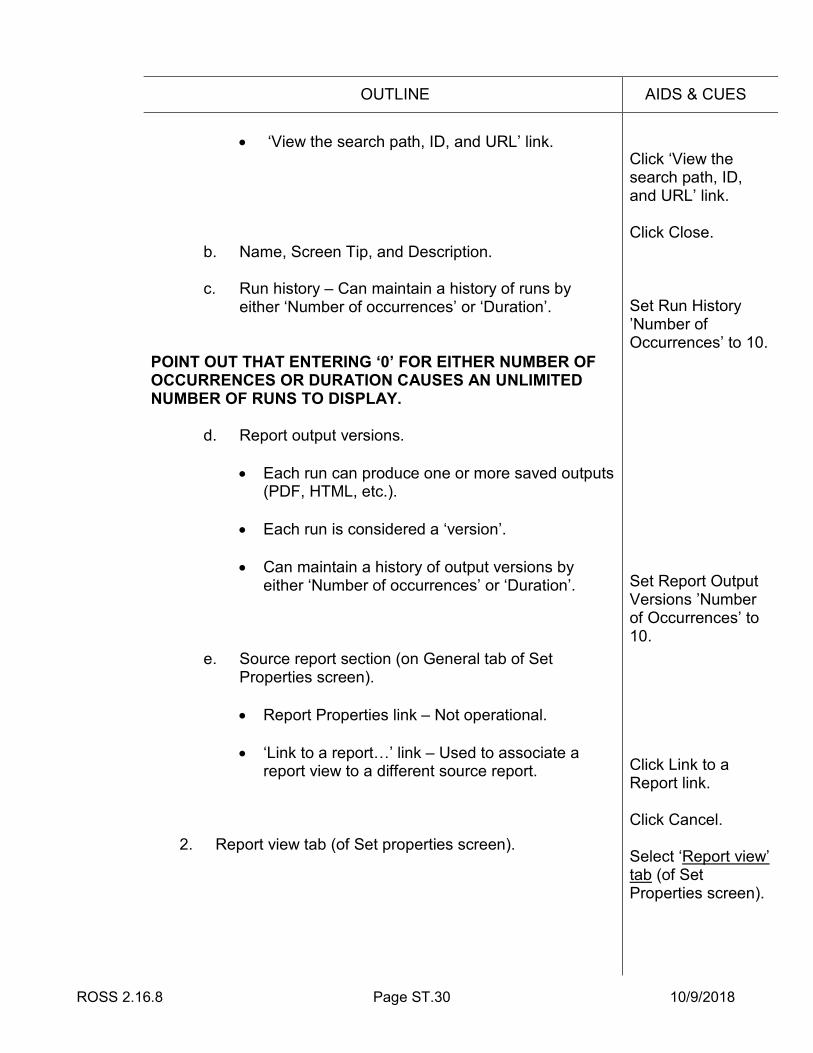
• ‘View the search path, ID, and URL’ link.
b. Name, Screen Tip, and Description.
c. Run history – Can maintain a history of runs by either ‘Number of occurrences’ or ‘Duration’.
POINT OUT THAT ENTERING ‘0’ FOR EITHER NUMBER OF OCCURRENCES OR DURATION CAUSES AN UNLIMITED NUMBER OF RUNS TO DISPLAY.
d. Report output versions.
• Each run can produce one or more saved outputs (PDF, HTML, etc.).
• Each run is considered a ‘version’.
• Can maintain a history of output versions by
either ‘Number of occurrences’ or ‘Duration’. e. Source report section (on General tab of Set
Properties screen).
• Report Properties link – Not operational.
• ‘Link to a report…’ link – Used to associate a report view to a different source report.
2. Report view tab (of Set properties screen).
Click ‘View the search path, ID, and URL’ link. Click Close. Set Run History ’Number of Occurrences’ to 10. Set Report Output Versions ’Number of Occurrences’ to 10. Click Link to a Report link. Click Cancel. Select ‘Report view’ tab (of Set Properties screen).
ROSS 2.16.8 Page ST.31 10/9/2018
OUTLINE AIDS & CUES
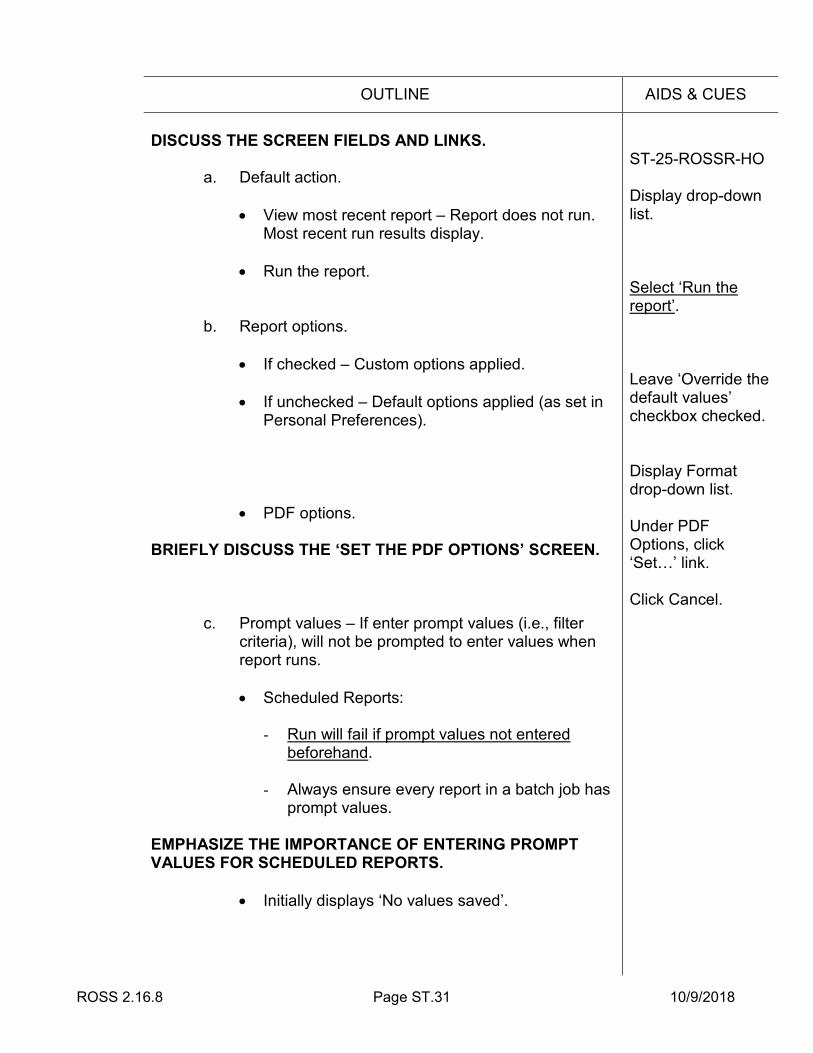
DISCUSS THE SCREEN FIELDS AND LINKS.
a. Default action.
• View most recent report – Report does not run. Most recent run results display.
• Run the report.
b. Report options.
• If checked – Custom options applied.
• If unchecked – Default options applied (as set in Personal Preferences).
• PDF options. BRIEFLY DISCUSS THE ‘SET THE PDF OPTIONS’ SCREEN.
c. Prompt values – If enter prompt values (i.e., filter criteria), will not be prompted to enter values when report runs.
• Scheduled Reports:
- Run will fail if prompt values not entered
beforehand. - Always ensure every report in a batch job has
prompt values. EMPHASIZE THE IMPORTANCE OF ENTERING PROMPT VALUES FOR SCHEDULED REPORTS.
• Initially displays ‘No values saved’.
ST-25-ROSSR-HO Display drop-down list. Select ‘Run the report’. Leave ‘Override the default values’ checkbox checked. Display Format drop-down list. Under PDF Options, click ‘Set…’ link. Click Cancel.
ROSS 2.16.8 Page ST.32 10/9/2018
OUTLINE AIDS & CUES
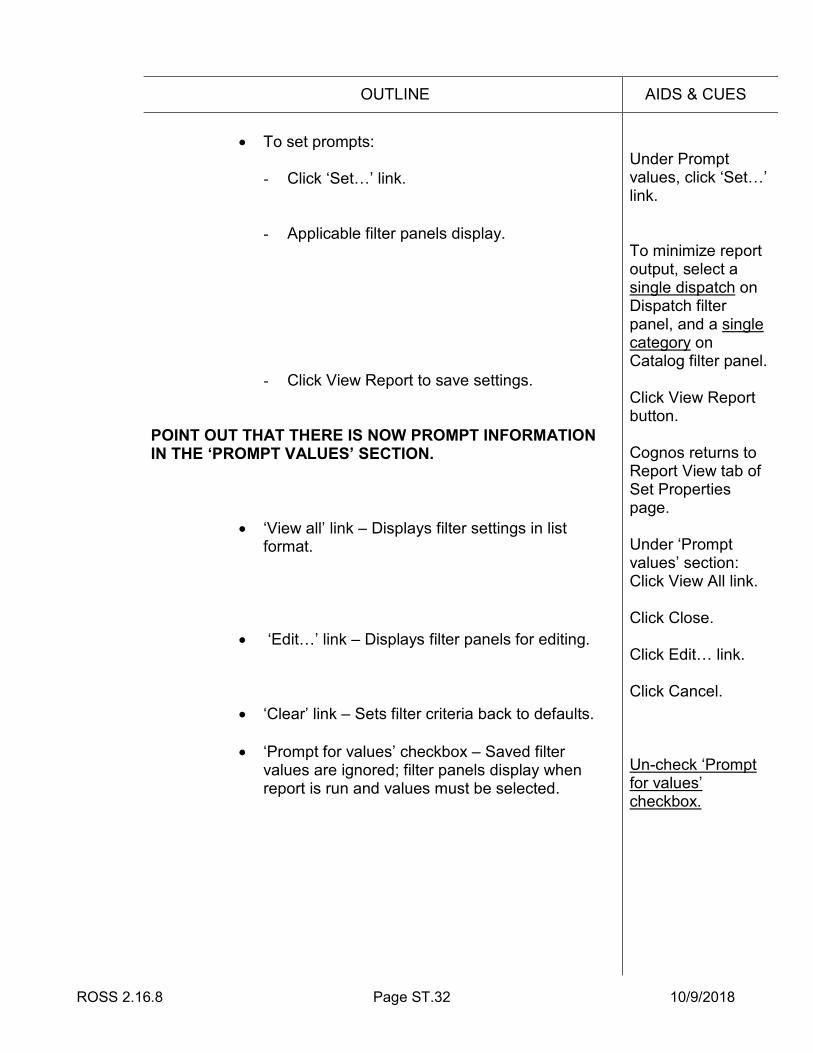
• To set prompts:
- Click ‘Set…’ link.
- Applicable filter panels display.
- Click View Report to save settings. POINT OUT THAT THERE IS NOW PROMPT INFORMATION IN THE ‘PROMPT VALUES’ SECTION.
• ‘View all’ link – Displays filter settings in list format.
• ‘Edit…’ link – Displays filter panels for editing.
• ‘Clear’ link – Sets filter criteria back to defaults.
• ‘Prompt for values’ checkbox – Saved filter values are ignored; filter panels display when report is run and values must be selected.
Under Prompt values, click ‘Set…’ link. To minimize report output, select a single dispatch on Dispatch filter panel, and a single category on Catalog filter panel. Click View Report button. Cognos returns to Report View tab of Set Properties page. Under ‘Prompt values’ section: Click View All link. Click Close. Click Edit… link. Click Cancel. Un-check ‘Prompt for values’ checkbox.
ROSS 2.16.8 Page ST.33 10/9/2018
OUTLINE AIDS & CUES
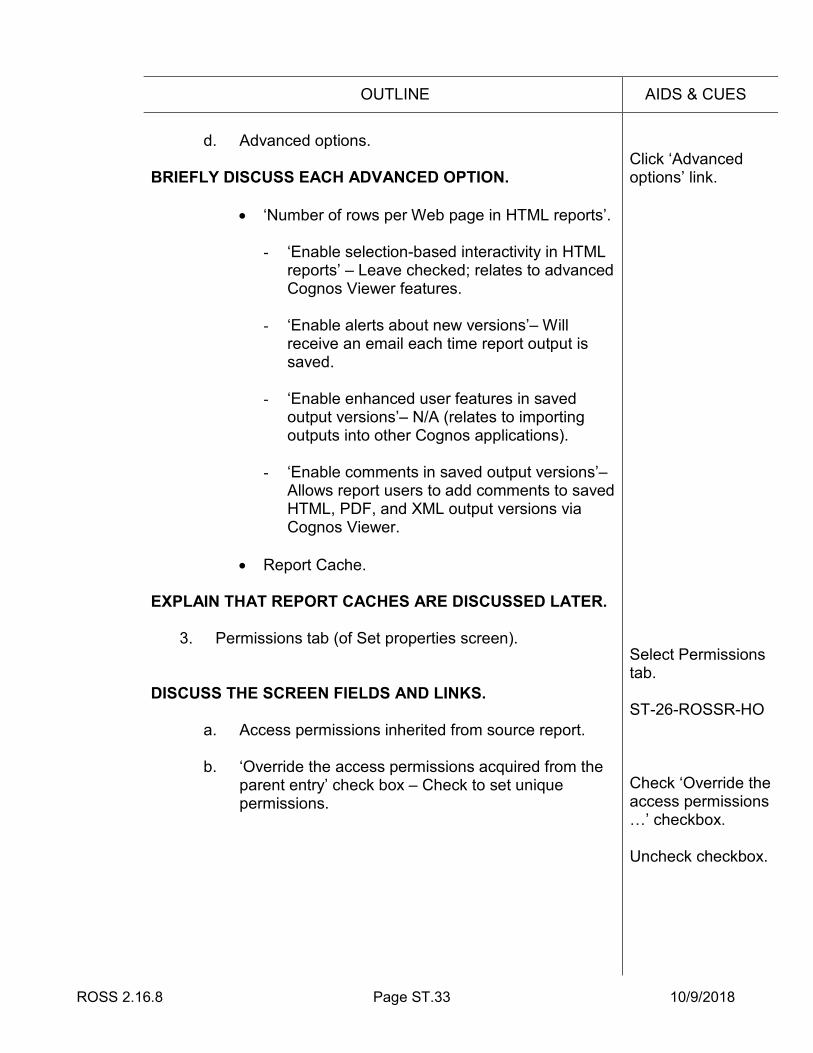
d. Advanced options.
BRIEFLY DISCUSS EACH ADVANCED OPTION.
• ‘Number of rows per Web page in HTML reports’.
- ‘Enable selection-based interactivity in HTML reports’ – Leave checked; relates to advanced Cognos Viewer features.
- ‘Enable alerts about new versions’– Will
receive an email each time report output is saved.
- ‘Enable enhanced user features in saved
output versions’– N/A (relates to importing outputs into other Cognos applications).
- ‘Enable comments in saved output versions’–
Allows report users to add comments to saved HTML, PDF, and XML output versions via Cognos Viewer.
• Report Cache.
EXPLAIN THAT REPORT CACHES ARE DISCUSSED LATER.
3. Permissions tab (of Set properties screen). DISCUSS THE SCREEN FIELDS AND LINKS.
a. Access permissions inherited from source report.
b. ‘Override the access permissions acquired from the parent entry’ check box – Check to set unique permissions.
Click ‘Advanced options’ link. Select Permissions tab. ST-26-ROSSR-HO Check ‘Override the access permissions …’ checkbox. Uncheck checkbox.
ROSS 2.16.8 Page ST.34 10/9/2018
OUTLINE AIDS & CUES
c. ‘Delete the access permissions of all child entries’
check box – Replaces existing permissions of children with permissions you are setting for parent.
STOP THE LECTURE HERE. BRIEFLY REVIEW THE MATERIAL DISCUSSED SINCE THE LAST REVIEW AND ANSWER STUDENT QUESTIONS. CONDUCT A PRACTICE SESSION COVERING THE TOPICS DISCUSSED IN SECTIONS VII AND VIII OF THE COURSE.
IX. SCHEDULING A REPORT RUN
A. Click ‘Schedule’ button in Action column.
B. ‘Disable the schedule’ check box – Check to suspend execution of schedule.
C. Frequency
1. Tabs (By Day, By Week, etc.)
BRIEFLY DISCUSS THE SETTINGS ON EACH FREQUENCY TAB.
Leave unchecked. Click OK. For the ‘Resource Status Summary By Dispatch Center’ report view, click ‘Schedule’ Action
button . ST-27-ROSSR-HO Click each tab in succession.
ROSS 2.16.8 Page ST.35 10/9/2018
OUTLINE AIDS & CUES
BECAUSE OUR REPORT WILL BE RUNNING ONCE EVERY MINUTE, IT IS IMPORTANT THAT THE ‘END BY’ DATE BE SET TO THE CURRENT DATE AND THE ‘END BY’ TIME BE SET TO 5 MINUTES FROM NOW.
2. Options.
POINT OUT THAT A REPORT CANNOT BE PRINTED AS PART OF A SCHEDULED RUN. THE WORK-AROUND IS TO EMAIL THE REPORT OUTPUT AS AN ATTACHMENT THAT CAN BE PRINTED FROM A BROWSER.
3. Prompt Values.
POINT OUT THAT WE PREVIOUSLY SELECTED OUR DEFAULT PROMPT VALUES. EXPLAIN THAT WE WILL WAIT FOR OUR REPORT TO RUN A FEW TIMES, AND THEN VIEW THE RUN HISTORY AND REPORT OUTPUT VERSIONS.
Select By Day tab. Set Frequency to ‘Every 1 minute(s)’. Set the Start date and time to present. Select the ‘End by’ radio button. Leave today’s date selected. Set the time to 5 minutes from now. Under Options, click ‘Override the default values’ check box. Select HTML, PDF, Excel 2007, and XML. Click OK to save. After a few minutes: On My Folders tab, for the Resource Status Summary By Dispatch Center report view, click ‘More…’ Action button.
ROSS 2.16.8 Page ST.36 10/9/2018
OUTLINE AIDS & CUES
BRIEFLY DISCUSS THE VIEW RUN HISTORY SCREEN. REMIND STUDENTS THAT THE NUMBER OF ENTRIES IN THE GRID IS DICTATED BY EITHER THE ‘NUMBER OF OCCURRENCES’ OR ‘DURATION’ SETTING ON THE GENERAL TAB OF THE SET PROPERTIES SCREEN. BRIEFLY DISCUSS THE VIEW REPORT OUTPUT VERSIONS SCREEN. POINT OUT THAT THE OTHER ‘MORE…’ ACTION OPTIONS ARE DISCUSSED LATER IN THE ‘ADDITIONAL FEATURES’ SECTION.
D. Managing Report Run Activity and Schedules.
1. Click My Area button and select My Activities and Schedules.
POINT OUT THAT THE SCHEDULE MANAGEMENT SCREEN IS FOR VIEWING AND MANAGING RUN ACTIVITY AND EXISTING SCHEDULES – NEW SCHEDULES CANNOT BE CREATED.
On ‘Perform an action’ screen, click ‘View run history’ link. Click Close. On My Folders tab, for the Resource Status Summary By Dispatch Center report view, click ‘More…’ Action button. On ‘Perform an action’ screen, click ‘View report output versions’ link. Click Close to return to My Folders. Click My Area Options button in Cognos toolbar and select My Activities and Schedules from drop-down list.
ROSS 2.16.8 Page ST.37 10/9/2018
OUTLINE AIDS & CUES
2. Current Activities – Displays activities that are currently
being processed by the system. a. Filter criteria.
• Status – Pending, Executed, Waiting,
Suspended.
• Priority.
• Advanced options. BRIEFLY DISCUSS THE ADVANCED OPTIONS.
- Type.
- Scope.
• Reset to Default – Clears the filters.
b. Apply button.
c. Buttons (upper right of screen).
• Show / Hide Details. EXPLAIN THAT THE SHOW AND HIDE DETAILS BUTTONS WILL BE DEMONSTRATED SHORTLY.
• Cancel.
• Suspend.
• Release.
• Set Priority.
ST-28-ROSSR-HO Display Status and drop-down list. Display Priority drop-down list. Click ‘Advanced options’ link. Display Type drop-down list. Click ‘Select a scope’ link. Click Cancel. Do not click. ST-29-ROSSR-HO
ROSS 2.16.8 Page ST.38 10/9/2018
OUTLINE AIDS & CUES
3. Past Activities – Displays activities that have finished
processing.
a. Period.
b. Status – Succeeded, Failed, Cancelled.
4. Upcoming Activities link – Displays activities that will be processed in the future.
Status – Scheduled, Canceled.
5. Schedules link – Displays existing schedules.
Status – Any, Enabled, Disabled.
Click Past Activities link. ST-30-ROSSR-HO In the Filter section, select second Period radio button. Click ‘Edit’ link. Click Cancel. Display Status drop-down list. Click Show Details
button . Click Upcoming Activities link. ST-31-ROSSR-HO Display Status drop-down list. Click Schedules link. ST-32-ROSSR-HO Display Status drop-down list. Click the Actions arrow and display drop-down list.
ROSS 2.16.8 Page ST.39 10/9/2018
OUTLINE AIDS & CUES
EXPLAIN TO STUDENTS THAT THEY MUST BE MINDFUL OF THE NUMBER, SIZE, AND FREQUENCY OF RUNS THEY SCHEDULE, BECAUSE EXCESSIVE RUNS CAN BE VERY DETRIMENTAL TO SYSTEM PERFORMANCE. STOP THE LECTURE HERE. BRIEFLY REVIEW THE MATERIAL DISCUSSED SINCE THE LAST REVIEW AND ANSWER STUDENT QUESTIONS. CONDUCT A COMPREHENSIVE PRACTICE SESSION COVERING ALL TOPICS DISCUSSED SO FAR IN THE COURSE.
X. ADDITIONAL FEATURES
A. New Folder button.
BRIEFLY DISCUSS THE SCREEN. POINT OUT THE NEW FOLDER.
Close the Public Folders web browser tab/page. Open Cognos Connection. Select My Folders tab. Click New Folder
toolbar button . ST-33-ROSSR-HO Enter your initials as the folder Name. Ensure Location is set as ‘My Folders’. Click Finish.
ROSS 2.16.8 Page ST.40 10/9/2018
OUTLINE AIDS & CUES
B. New Job button.
1. Overview.
a. Used to set a common schedule for multiple reports
or report views.
b. Job consists of ‘steps’. POINT OUT THAT USING A JOB, A REPORT CAN BE RUN IN MULTIPLE FORMATS AT ONCE BY CREATING A STEP FOR EACH FORMAT.
c. Steps can run simultaneously or in sequence. d. Run options of individual step entries override run
options set for job.
e. Run options set for job serve as default for steps that do not have own run options.
f. Jobs can be scheduled just like report runs.
2. First screen (of New Job) – ‘Specify a name and description’.
3. Second screen (of New Job) – ‘Select the steps’.
a. Add link.
Click New Job
button . ST-34-ROSSR-HO Enter a Name. Ensure My Folders is selected as Location. Click Next button. ST-35-ROSSR-HO Click ‘Add…’ link under the table. ST-36-ROSSR-HO

ROSS 2.16.8 Page ST.41 10/9/2018
OUTLINE AIDS & CUES
b. Remove link – Removes selected ‘steps’.
c. Modify the sequence link.
d. Reset to default value link – Removes any options and prompt values set specifically for the job step.
e. Options and prompt values column – Set button
(image of a downward pointing pencil).
• Used to change run options for individual step when run as part of job.
POINT OUT THAT THE PROPERTIES OF THE REPORT, INDEPENDENT OF THIS JOB, REMAIN UNCHANGED.
• Run the report to.
- Produce report outputs. - Refresh the report cache.
EXPLAIN THAT REPORT CACHES WILL BE DISCUSSED SHORTLY.
Select all Available Entries and click the Add (arrow) button. Click OK. Click ‘Modify the sequence’ link. ST-37-ROSSR-HO Click Cancel. Select one of the reports in the ‘Steps’ table. In the Options and Prompt Values column, click ‘Set’ button . ST-38-ROSSR-HO On ‘Select the report options – New Job’ screen, display ‘Run the Report To’ drop-down list.
ROSS 2.16.8 Page ST.42 10/9/2018
OUTLINE AIDS & CUES
• Report options and Prompt values –Previously
discussed. POINT OUT THE TEXT AND ‘X’ MARK IN THE ‘OPTIONS AND PROMPT VALUES’ COLUMN FOR THE SELECTED REPORT.
f. Submission of steps.
• All at once – If step fails, others unaffected, but job ‘fails’.
• In sequence – Can choose to continue job if step
fails (‘Continue on error’).
g. Default for all steps – Used to set default values for all steps in job.
• Set link.
• Report options. EXPLAIN THAT THE ‘BURST THE REPORTS’ OPTION IS NOT APPLICABLE TO STANDARD REPORTS.
h. Run history details level.
• Used to indicate whether to save complete history details when job executes successfully.
Click ‘Override the default values’ checkbox (in Report Options section). Click OK. Leave ‘All at once’ selected. Click ‘Set…’ link. Click ‘Report options’ link. Click ‘Specify default values for all the reports of this job’ check box. Click Cancel. Display ‘Run history details level’ drop-down list.

ROSS 2.16.8 Page ST.43 10/9/2018
OUTLINE AIDS & CUES
• If job run fails, complete history details are saved.
4. Third screen (of New Job) – ‘Select an action’.
a. Save (the job) and run once – ‘Run with options’ screen displays.
b. Save and schedule – ‘Schedule’ screen displays.
c. Save only. POINT OUT THAT THE JOB NOW DISPLAYS ON THE ‘MY FOLDERS’ TAB.
5. Cached Prompt Data.
a. The report prompts are refreshed each time a scheduled run occurs (i.e., the latest set of prompts, which may have changed since the last run, are applied).
b. For reports that do not run on a schedule, a job can
be created to refresh the prompts at set intervals. c. Select ‘Refresh the report cache’ option under ‘Run
the report to’ drop-down list.
C. New Page button – Used to create a custom view containing content of your choice.
Click Next button. ST-39-ROSSR-HO Select Save and Schedule radio button. Click Finish button. On Schedule screen, click OK. Click New Page
button .

ROSS 2.16.8 Page ST.44 10/9/2018
OUTLINE AIDS & CUES
1. ‘Specify a name and description’ screen.
2. ‘Set columns and layout’ screen.
a. Number of columns.
b. Content.
• Add and remove content from a column. Available portlets:
- Dashboard, IBM Cognos Extended
Applications, and IBM Cognos Utility – N/A. - IBM Cognos Content – Navigator, Search,
Viewer.
• Move content from one column to another.
• Reorder column content.
ST-40-ROSSR-HO Enter a Name. Ensure Location is set to ‘My Folders’. Click Next button. ST-41-ROSSR-HO Click ‘2 column’ radio button. Click ‘3 column’ button. Click ‘Add…’ link under first column. Click IBM Cognos Content link. ST-42-ROSSR-HO Select all 3 entries and click Arrow button. Click OK.
ROSS 2.16.8 Page ST.45 10/9/2018
OUTLINE AIDS & CUES
• Set column width percentage.
c. Layout options.
3. ‘Set page style’ screen. BRIEFLY DISCUSS THE FIELDS AND CHECK BOXES.
4. ‘Select an action’ screen.
a. Add this page to the portal tabs.
b. View the page. POINT OUT THAT THE PAGE NOW DISPLAYS ON THE ‘MY FOLDERS’ TAB. EXPLAIN THAT A PAGE CAN ALSO BE ADDED TO YOUR PORTAL TABS BY CLICKING IT’S ‘ADD TO MY PORTAL TABS’ ACTION BUTTON.
Display Column Width drop-down list. Click Next. ST-43-ROSSR-HO Click Next. ST-44-ROSSR-HO Click View the Page check box. Click Finish. Cognos Viewer page displays. Close the Cognos Viewer web browser tab/page. Select My Folders tab. Click the Maximize
button.

ROSS 2.16.8 Page ST.46 10/9/2018
OUTLINE AIDS & CUES
For the new page, click the ‘Set properties’ button
in the Action column. Click Layout and Content tab. Select IBM Cognos Viewer and move it to the second column. Select IBM Cognos Search and move it to the third column. Click OK. Click the new page’s link to display the page. In the IBM Cognos Navigator section of the Page, click My Folders link. In the IBM Cognos Search section of the Page, display ‘Search’ drop-down list. Click Advanced link. Display ‘Type’ drop-down list.

ROSS 2.16.8 Page ST.47 10/9/2018
OUTLINE AIDS & CUES
D. Toolbar buttons: Cut, Copy, Paste, and Delete. E. Order button.
1. Used to set order of folders or reports (i.e., entries). 2. Entries not moved to ‘Shown First’ display in default
order at end of list. F. ‘More…’ Action column link.
1. For folders.
a. ‘Set properties’. BRIEFLY DISCUSS THE PROPERTIES THAT CAN BE SET ON EACH TAB.
Click Return button
in Cognos toolbar to return to My Folders. Click ‘Open with IBM Cognos Connection’ button
to open Cognos Connection. Click Order toolbar
button . Click Cancel. For new folder created earlier, named with your initials, click ‘More…’ link in Action column. ST-45-ROSSR-HO Click ‘Set properties’ link. Click Cancel.
ROSS 2.16.8 Page ST.48 10/9/2018
OUTLINE AIDS & CUES
BRIEFLY DISCUSS EACH REMAINING ‘AVAILABLE ACTION’.
2. For reports. POINT OUT THAT SOME ACTIONS ONLY DISPLAY WHEN APPLICABLE, SUCH AS ‘MODIFY THE SCHEDULE’. BRIEFLY DISCUSS THE FOLLOWING ACTIONS (ALL OTHER ACTIONS WERE PREVIOUSLY DISCUSSED).
a. ‘View most recent report in HTML’. b. ‘Modify the schedule’. c. ‘Remove the schedule’.
POINT OUT THAT FOR THE ‘ALERT ME ABOUT NEW VERSIONS’ ACTIONS TO DISPLAY WE MUST FIRST ENTER AN EMAIL ADDRESS ON THE PERSONAL TAB OF THE ‘SET (MY) PREFERENCES’ SCREEN.
Click Cancel. For the Resource Status Summary By Dispatch Center report view, click ‘More…’ link. ST-46-ROSSR-HO Click Cancel. Click My Area Options button in Cognos toolbar and select My Preferences from drop-down list. Select the Personal tab. Enter any email address. Click OK. Back on My Folders screen, for the Resource Status Summary By Dispatch Center report view, click ‘More…’ link.
ROSS 2.16.8 Page ST.49 10/9/2018
OUTLINE AIDS & CUES
d. ‘Alert me about new versions’. e. ‘Do not alert me about new versions’.
EXPLAIN THAT THE REMAINING ACTIONS (MOVE, COPY, ETC.) FUNCTION THE SAME FOR REPORTS AS FOR FOLDERS.
PRACTICE SESSION. REVIEW UNIT OBJECTIVES. QUESTIONS? REQUEST STUDENTS FILL OUT UNIT EVALUATION.
Click Cancel. ST-04-ROSSR-SL ST-05-ROSSR-SL