Embed Size (px)
Citation preview
Black and Decker PS1800 Switch ReplacementThis guide will show how to replace the Switch of Black and Decker PS1800.
Written By: Hamza Nawaz
Black and Decker PS1800 Switch Replacement
© iFixit — CC BY-NC-SA www.iFixit.com Page 1 of 5

INTRODUCTION
This guide will show how to replace the Switch of Black and Decker PS1800.
TOOLS:Phillips #00 Screwdriver (1)
Black and Decker PS1800 Switch Replacement
© iFixit — CC BY-NC-SA www.iFixit.com Page 2 of 5
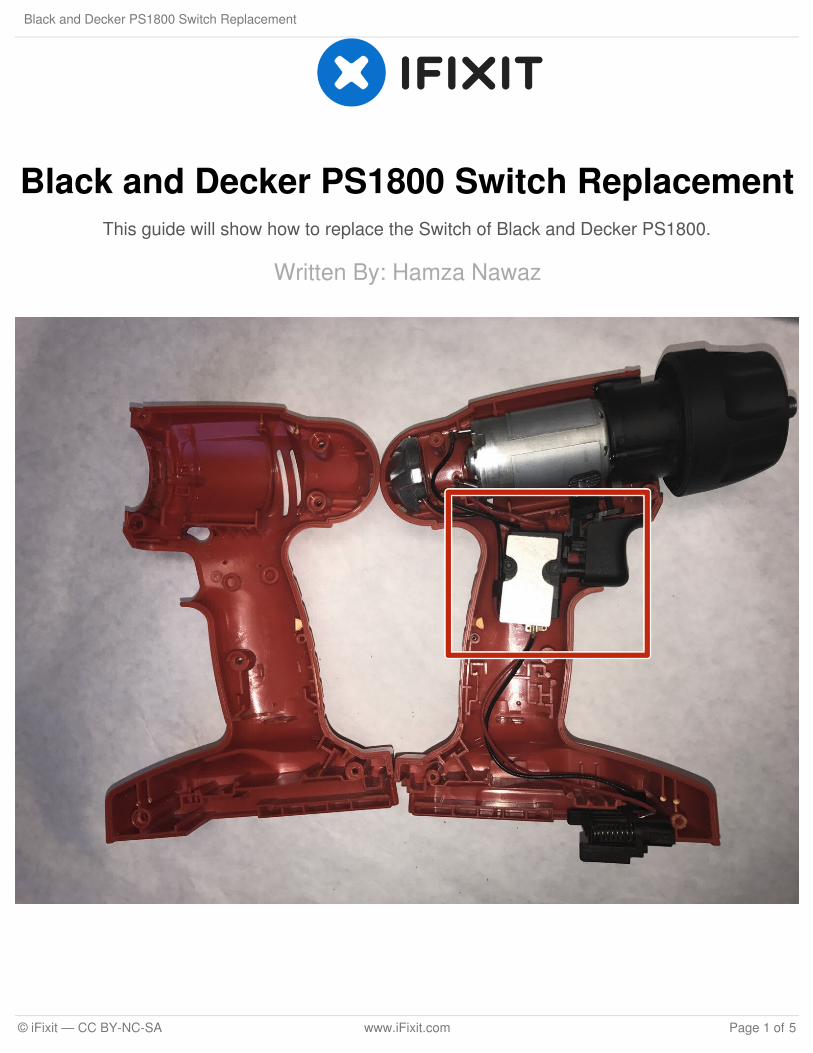
Step 1 — Open the Outer Drill Case
Lay drill on its side, assuring that the drill-holes are facing upwards.
Use a Phillips-head screwdriver (#00) to remove all seven screws (12mm).
Step 2
After the screws are removed,separate the clam-shell (outer drillcase) in order to reveal the drill'sinner components.
Black and Decker PS1800 Switch Replacement
© iFixit — CC BY-NC-SA www.iFixit.com Page 3 of 5

Step 3 — Switch
Remove all the screws securing the drill case to open.
The switch is highlighted in the middle of the drill.
Step 4
Pull out the switch.
Black and Decker PS1800 Switch Replacement
© iFixit — CC BY-NC-SA www.iFixit.com Page 4 of 5
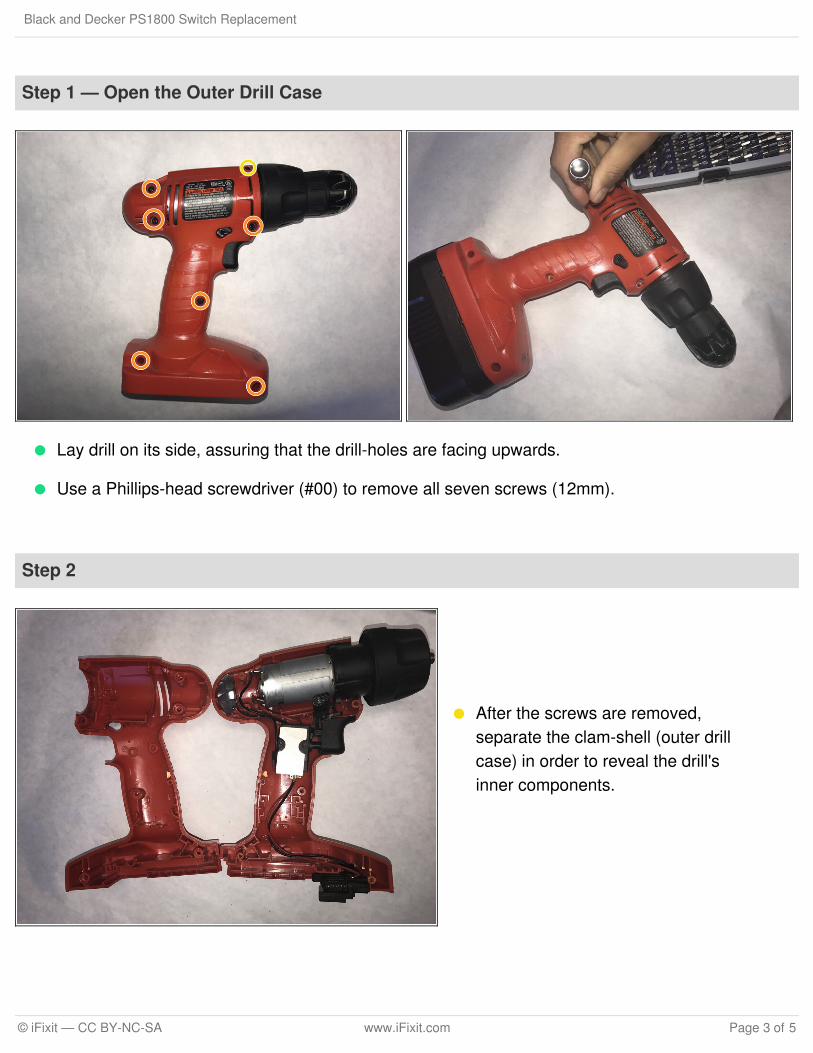
To reassemble your device, follow these instructions in reverse order.
This document was last generated on 2018-03-20 11:23:28 PM.
Step 5
Solder off all the joints.
Black and Decker PS1800 Switch Replacement
© iFixit — CC BY-NC-SA www.iFixit.com Page 5 of 5