Embed Size (px)
Citation preview
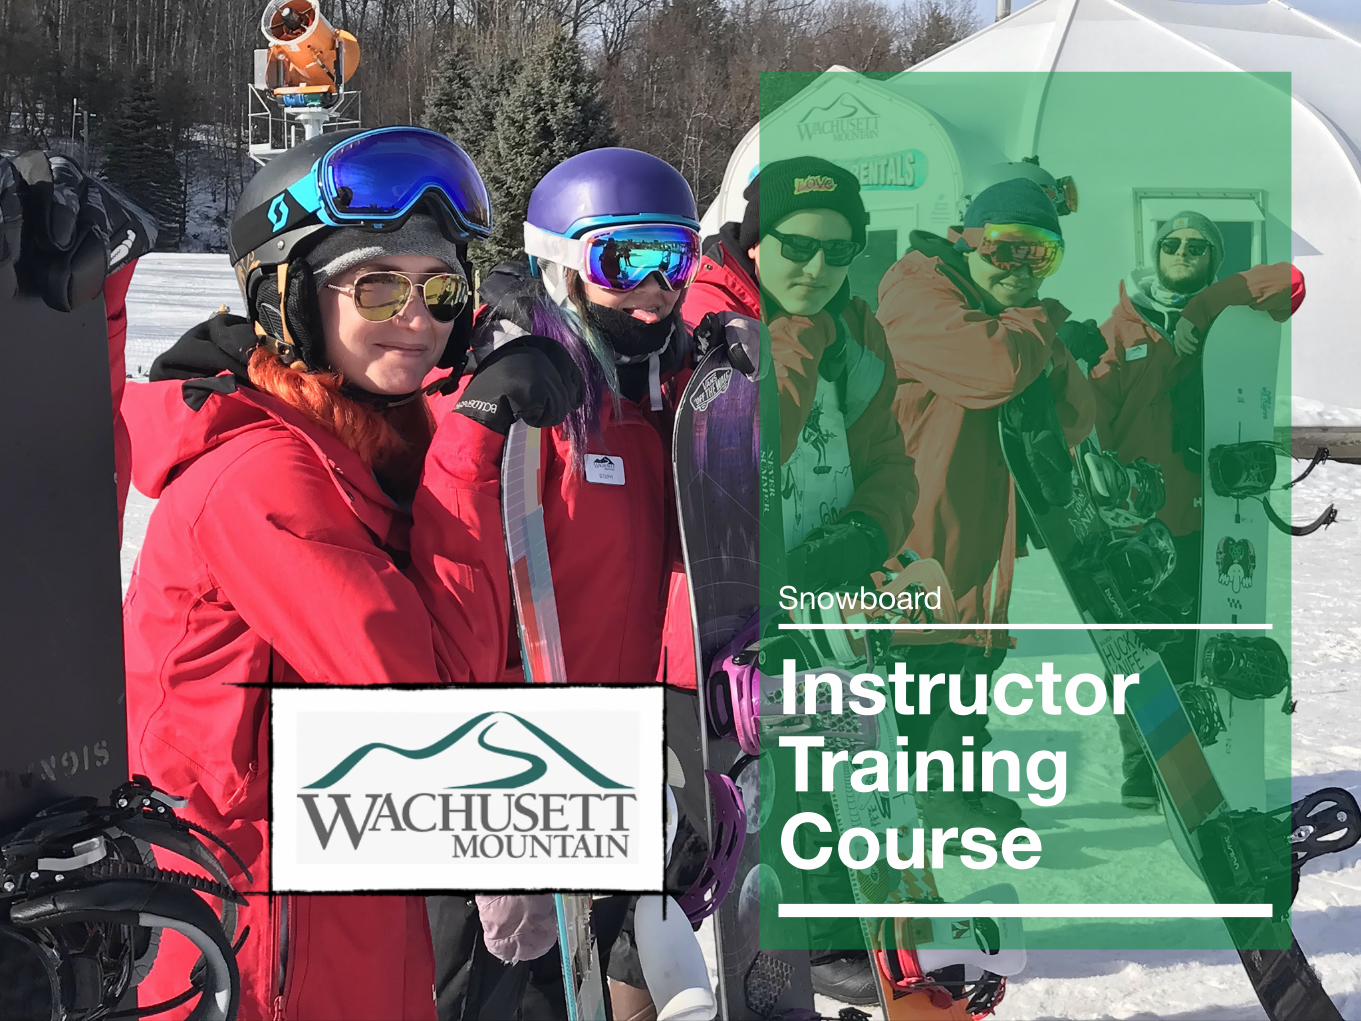
Instructor Training Course
Snowboard
2
Nicole Erickson - SB Technical Director
3
4
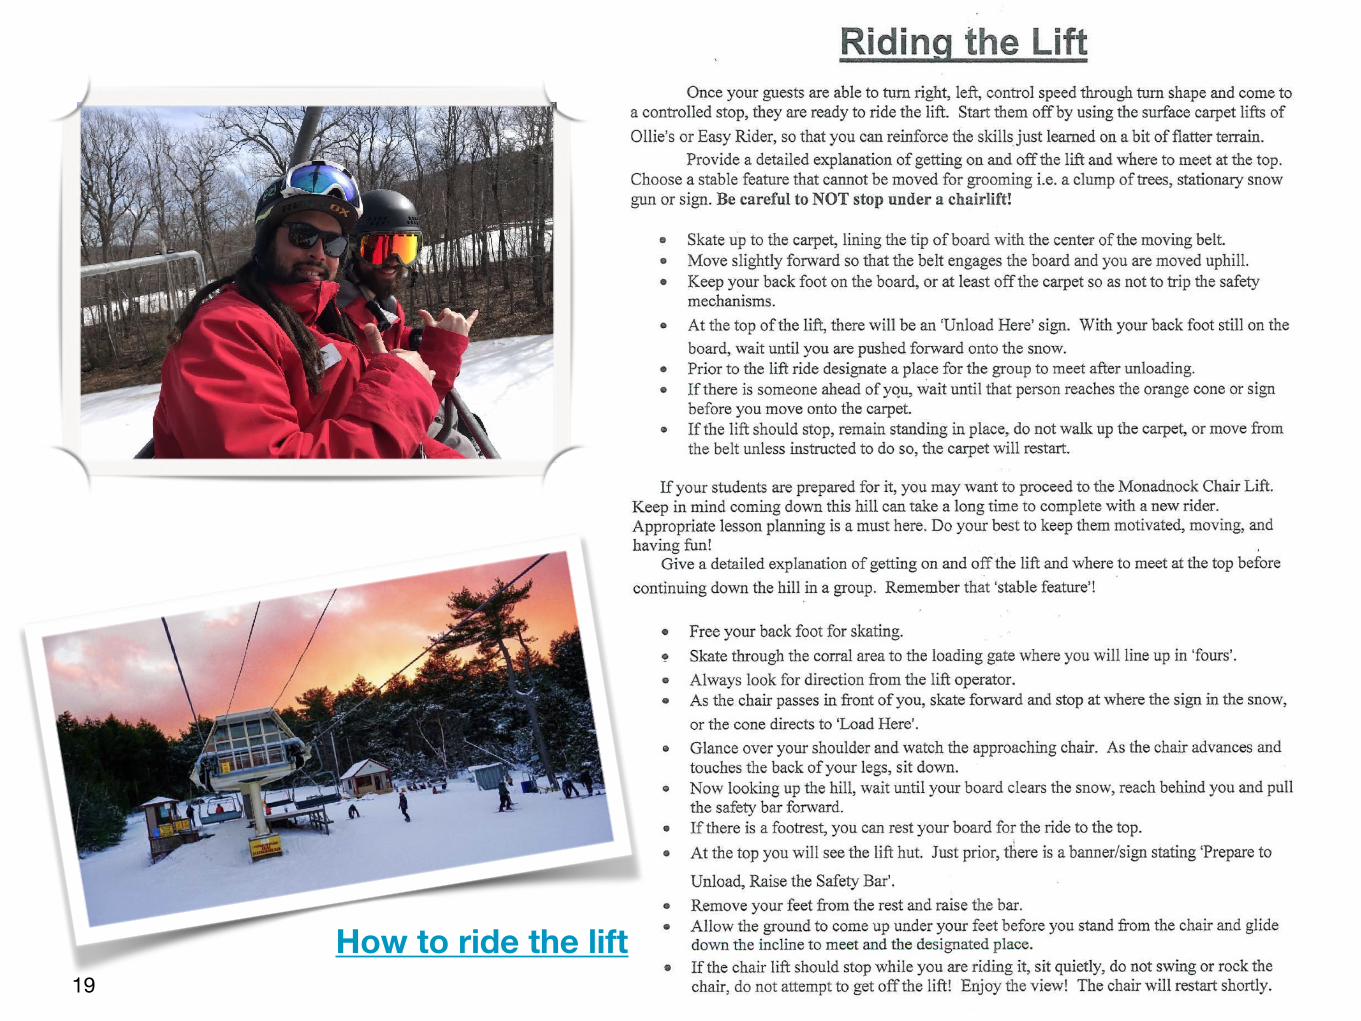
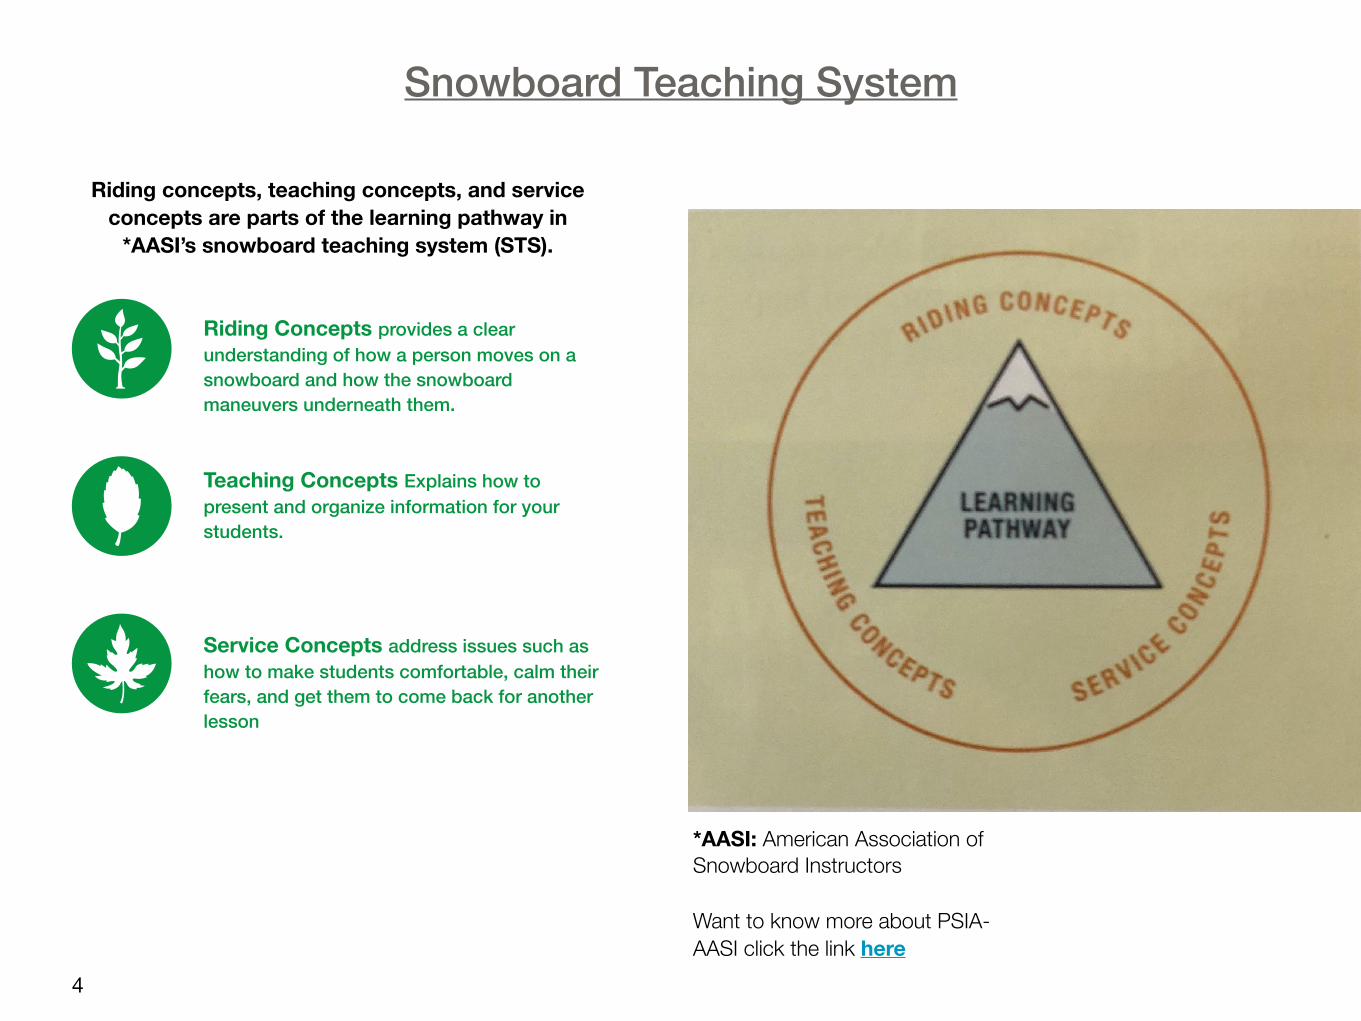
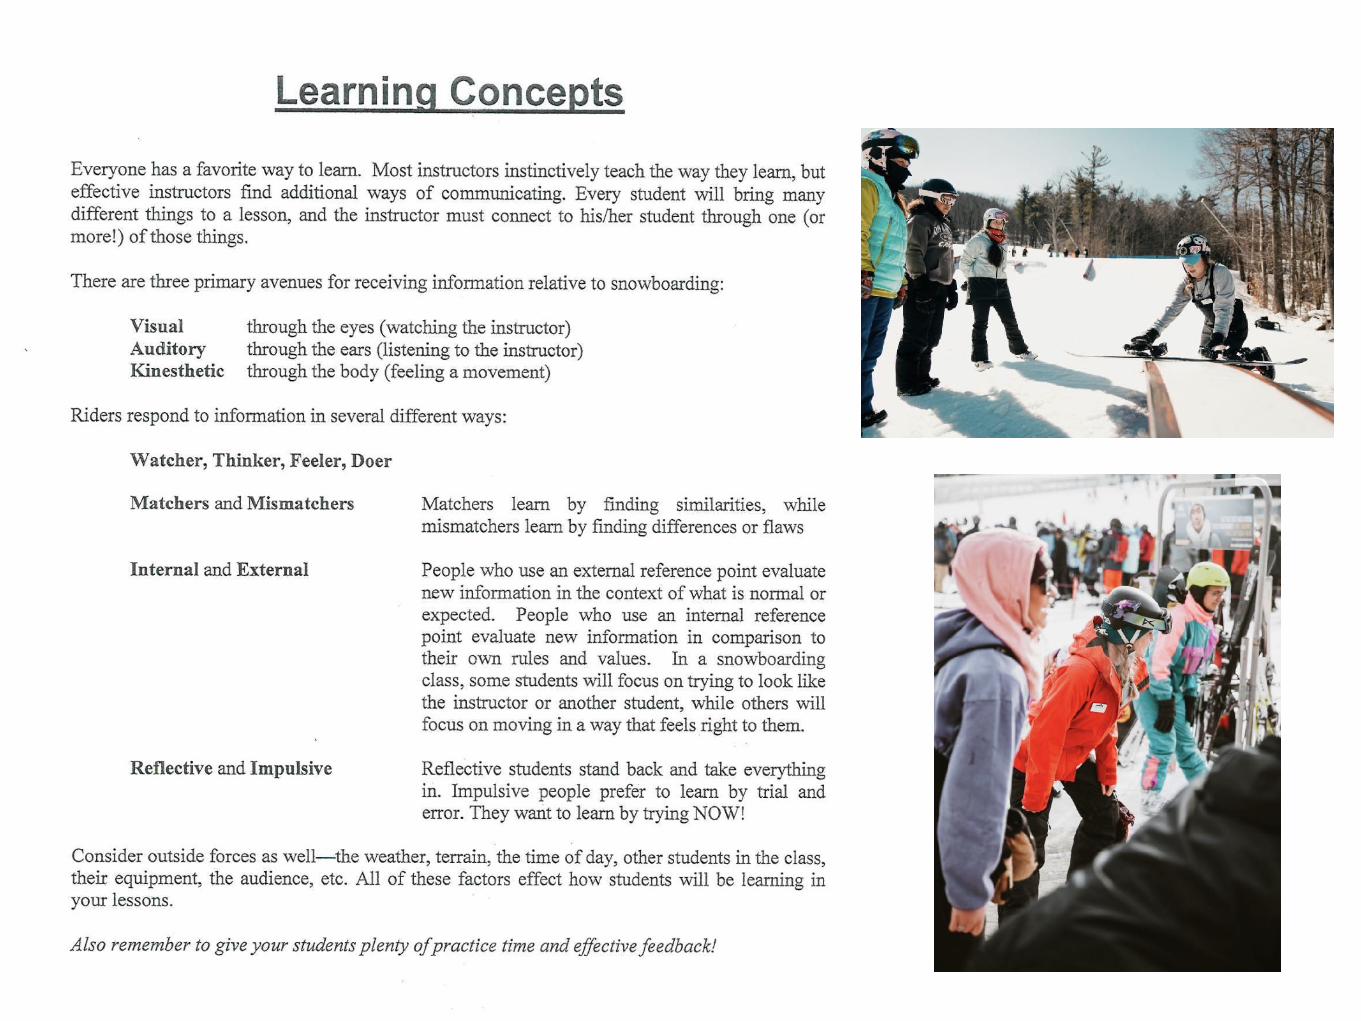
Riding Concepts provides a clear understanding of how a person moves on a snowboard and how the snowboard maneuvers underneath them.
Teaching Concepts Explains how to present and organize information for your students.
Service Concepts address issues such as how to make students comfortable, calm their fears, and get them to come back for another lesson
Snowboard Teaching System
Riding concepts, teaching concepts, and service concepts are parts of the learning pathway in
*AASI’s snowboard teaching system (STS).
*AASI: American Association of Snowboard Instructors
Want to know more about PSIA-AASI click the link here

5
Always strive to deliver excellent customer service, it is essential to the growth of snowsports. Instructors work in the service industry, we are here for our students. Our love for the snowsports can be infectious and good customer service is the best way to pass it on.
Developing a rapport:
• Help your student feel safe People who are relaxed can start to have fun, and people who are having fun learn faster. And fun is what we are here for!
• Go the extra mile Caring about your students is what will make you their favorite instructor.
• Be a good listener Pay attention to what your students are telling you. You’re here to help them learn and they will often tell you what they need if you’re truly listening.
• Use nonverbal communication Actions say a lot more than words. • Provide closure Peoples’ strongest impressions are of the beginning and the end of a
lesson. End your lessons with a review of your students achievements and some advice for the next step in their development. Mark their progress card, and always thank your students, they are why you are here! Sell the next lesson, there is always more to learn and develop no matter what level they are.
Service Concepts
6
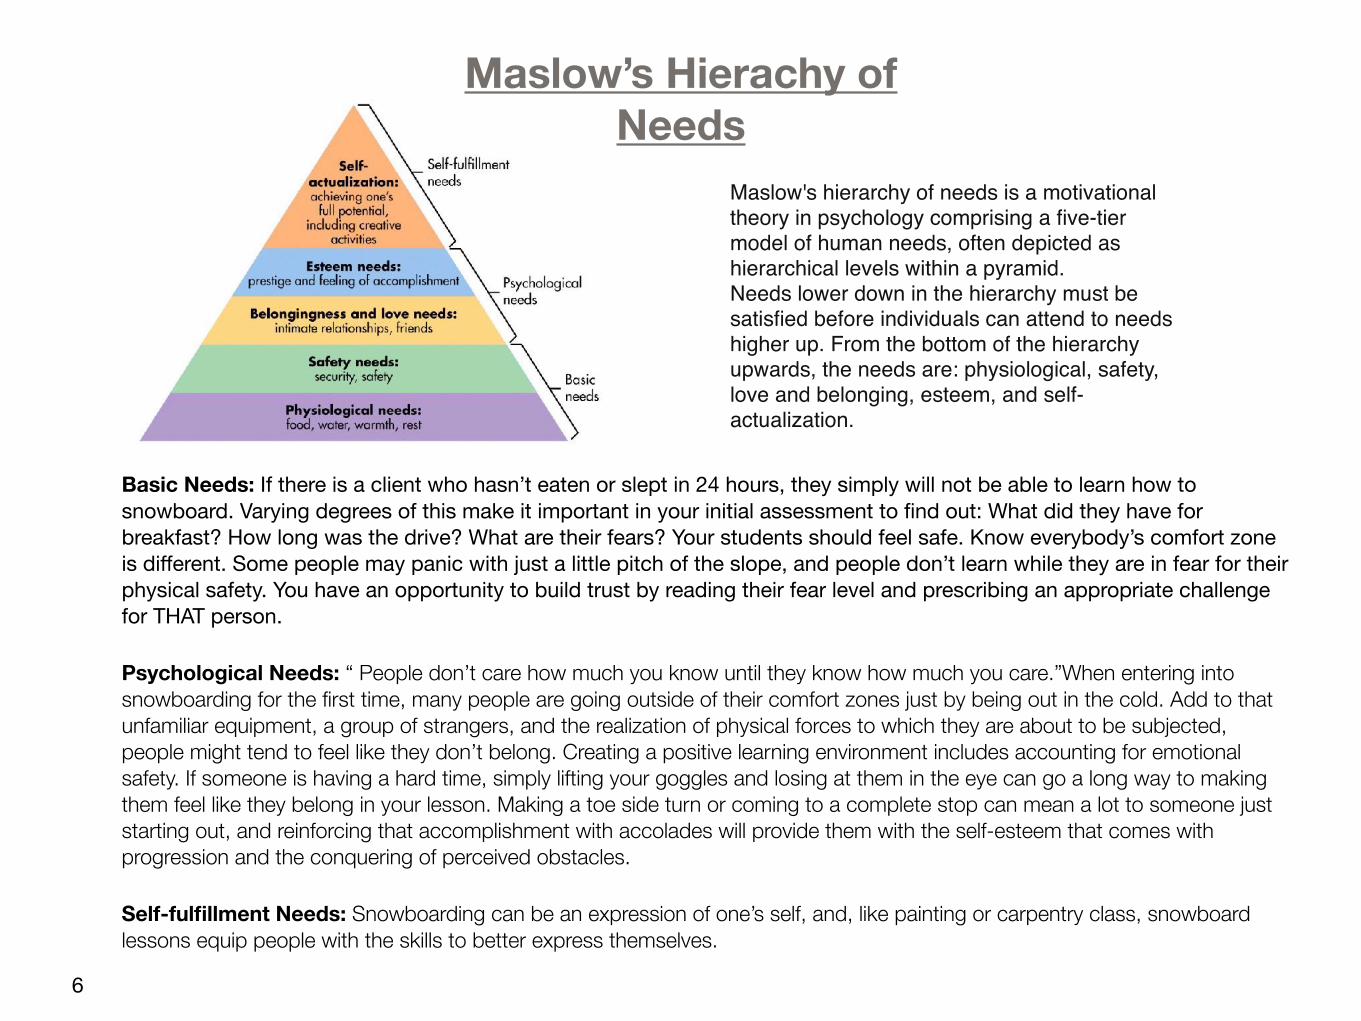
Maslow’s Hierachy of Needs
Maslow's hierarchy of needs is a motivational theory in psychology comprising a five-tier model of human needs, often depicted as hierarchical levels within a pyramid.Needs lower down in the hierarchy must be satisfied before individuals can attend to needs higher up. From the bottom of the hierarchy upwards, the needs are: physiological, safety, love and belonging, esteem, and self-actualization.
Basic Needs: If there is a client who hasn’t eaten or slept in 24 hours, they simply will not be able to learn how to snowboard. Varying degrees of this make it important in your initial assessment to find out: What did they have for breakfast? How long was the drive? What are their fears? Your students should feel safe. Know everybody’s comfort zone is different. Some people may panic with just a little pitch of the slope, and people don’t learn while they are in fear for their physical safety. You have an opportunity to build trust by reading their fear level and prescribing an appropriate challenge for THAT person.
Psychological Needs: “ People don’t care how much you know until they know how much you care.”When entering into snowboarding for the first time, many people are going outside of their comfort zones just by being out in the cold. Add to that unfamiliar equipment, a group of strangers, and the realization of physical forces to which they are about to be subjected, people might tend to feel like they don’t belong. Creating a positive learning environment includes accounting for emotional safety. If someone is having a hard time, simply lifting your goggles and losing at them in the eye can go a long way to making them feel like they belong in your lesson. Making a toe side turn or coming to a complete stop can mean a lot to someone just starting out, and reinforcing that accomplishment with accolades will provide them with the self-esteem that comes with progression and the conquering of perceived obstacles.
Self-fulfillment Needs: Snowboarding can be an expression of one’s self, and, like painting or carpentry class, snowboard lessons equip people with the skills to better express themselves.
7
Always remember you are representatives/ambassadors of Wachusett Mountain and snowsports. Please always be helpful and courteous to customers. Be professional, and be aware of your surroundings. Let’s change the perception of how snowboarders are viewed. For example- help a fallen skier get up safely. If someone asks, you for directions pleases direct them. If at anytime you do not know something, don’t leave them hanging, direct them to customer service.
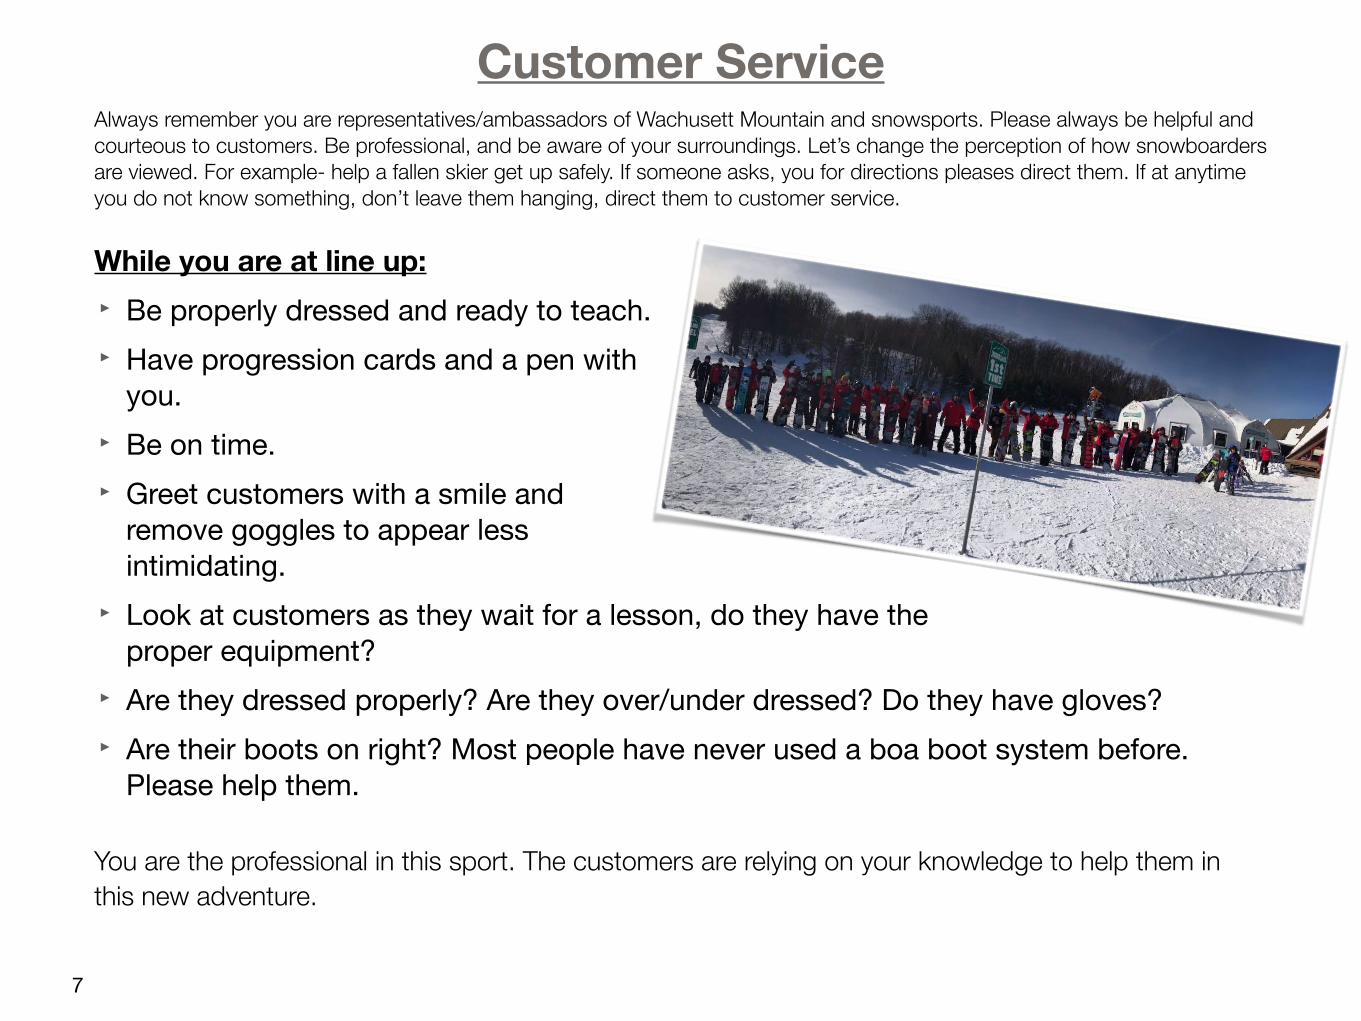
While you are at line up: ‣ Be properly dressed and ready to teach. ‣ Have progression cards and a pen with
you.‣ Be on time. ‣ Greet customers with a smile and
remove goggles to appear less intimidating.
‣ Look at customers as they wait for a lesson, do they have the proper equipment?
‣ Are they dressed properly? Are they over/under dressed? Do they have gloves?‣ Are their boots on right? Most people have never used a boa boot system before.
Please help them.
You are the professional in this sport. The customers are relying on your knowledge to help them in this new adventure.
Customer Service
8
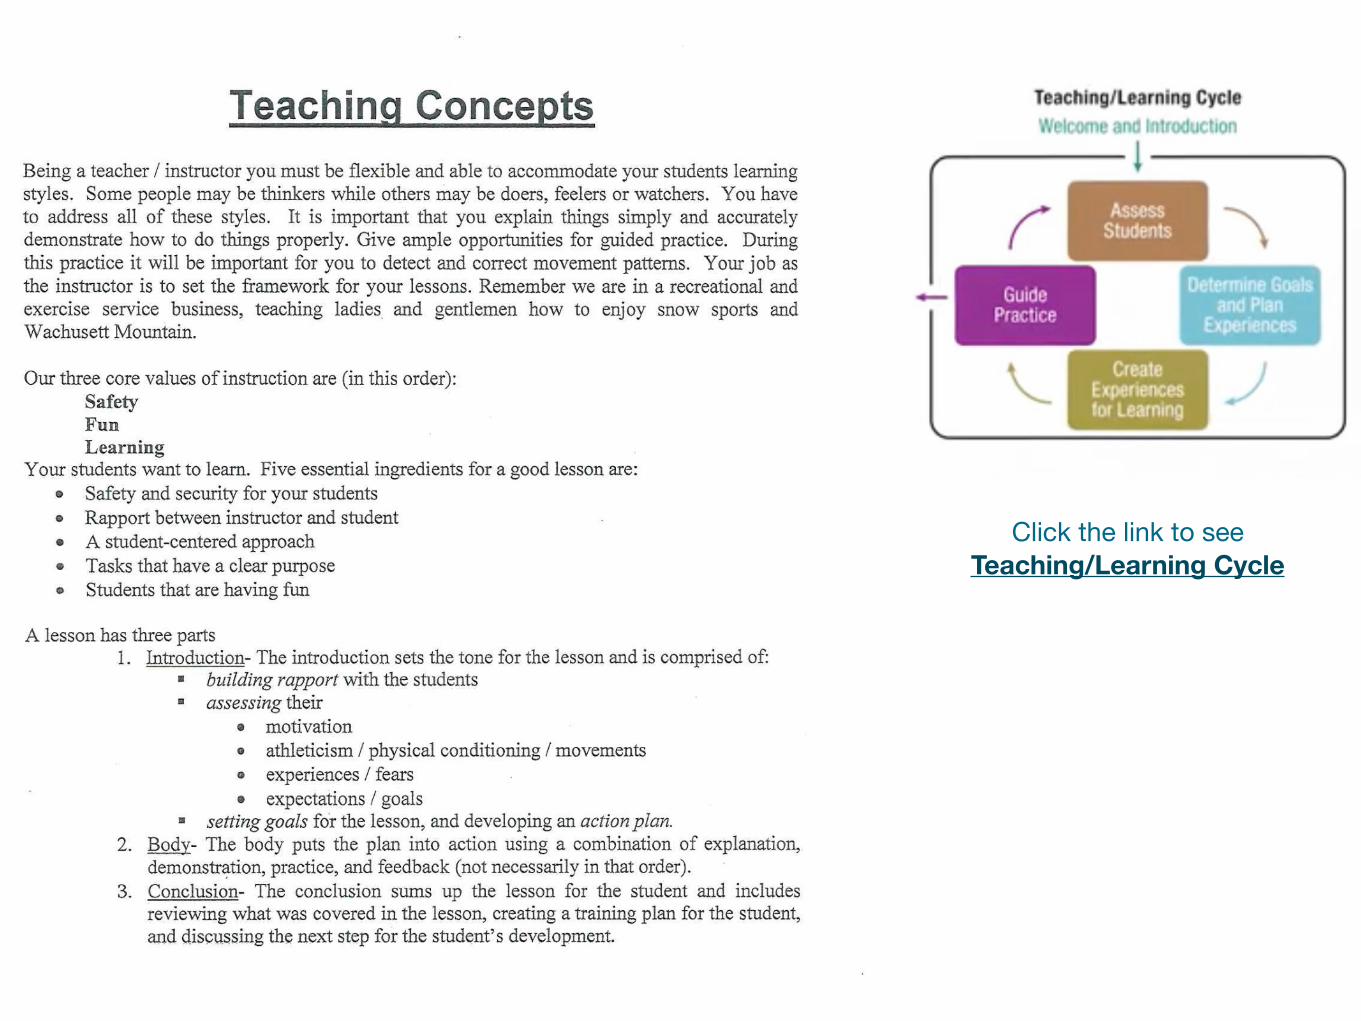
Click the link to see Teaching/Learning Cycle
9
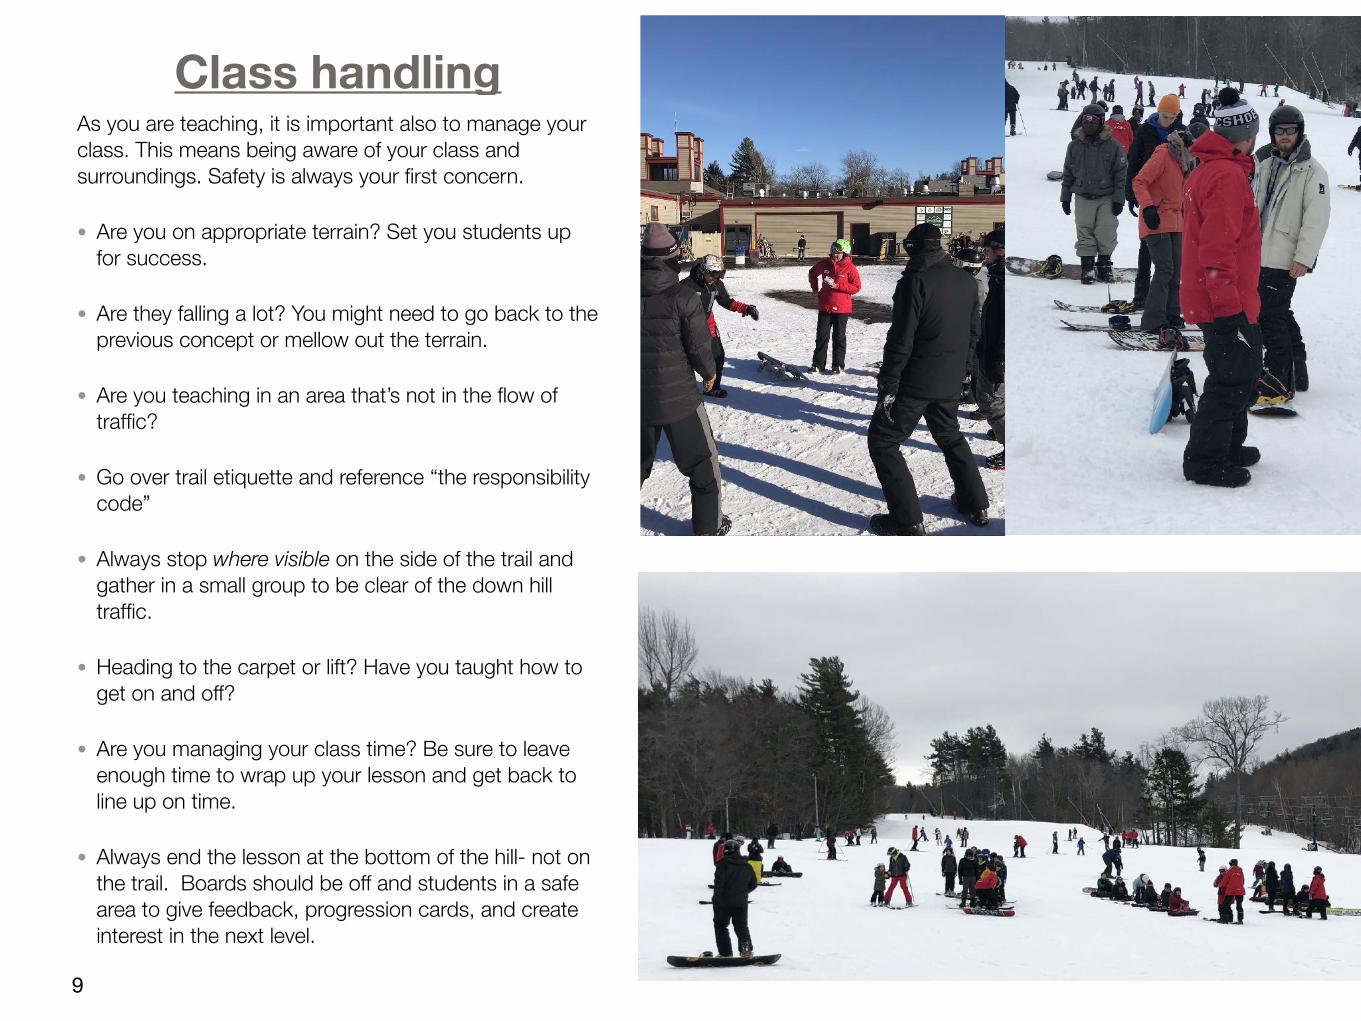
As you are teaching, it is important also to manage your class. This means being aware of your class and surroundings. Safety is always your first concern.
• Are you on appropriate terrain? Set you students up for success.
• Are they falling a lot? You might need to go back to the previous concept or mellow out the terrain.
• Are you teaching in an area that’s not in the flow of traffic?
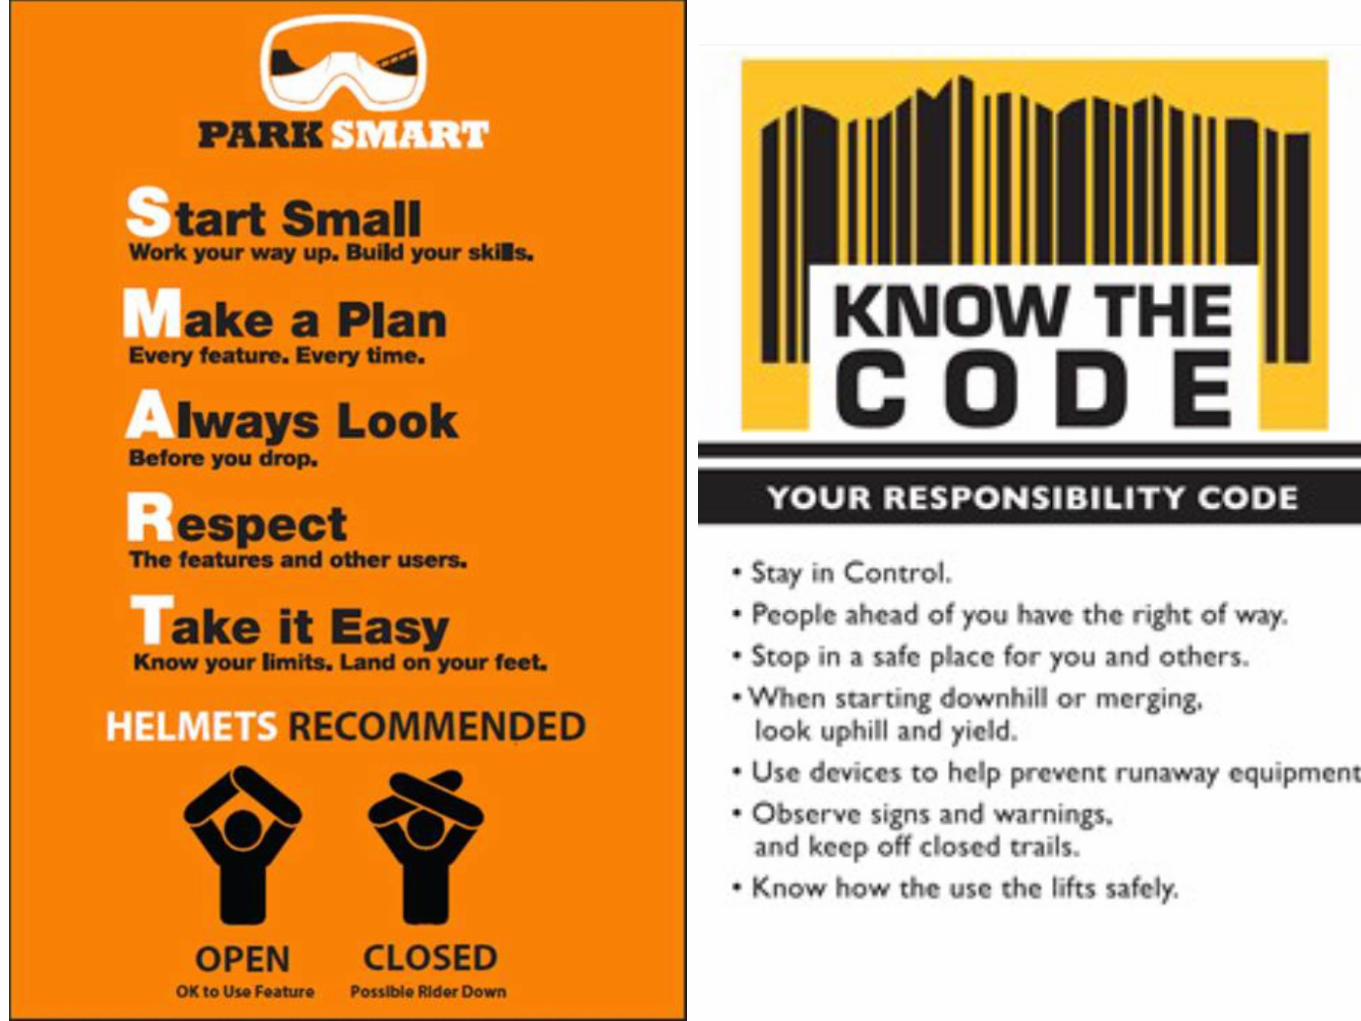
• Go over trail etiquette and reference “the responsibility code”
• Always stop where visible on the side of the trail and gather in a small group to be clear of the down hill traffic.
• Heading to the carpet or lift? Have you taught how to get on and off?
• Are you managing your class time? Be sure to leave enough time to wrap up your lesson and get back to line up on time.
• Always end the lesson at the bottom of the hill- not on the trail. Boards should be off and students in a safe area to give feedback, progression cards, and create interest in the next level.
Class handling
10
11
12
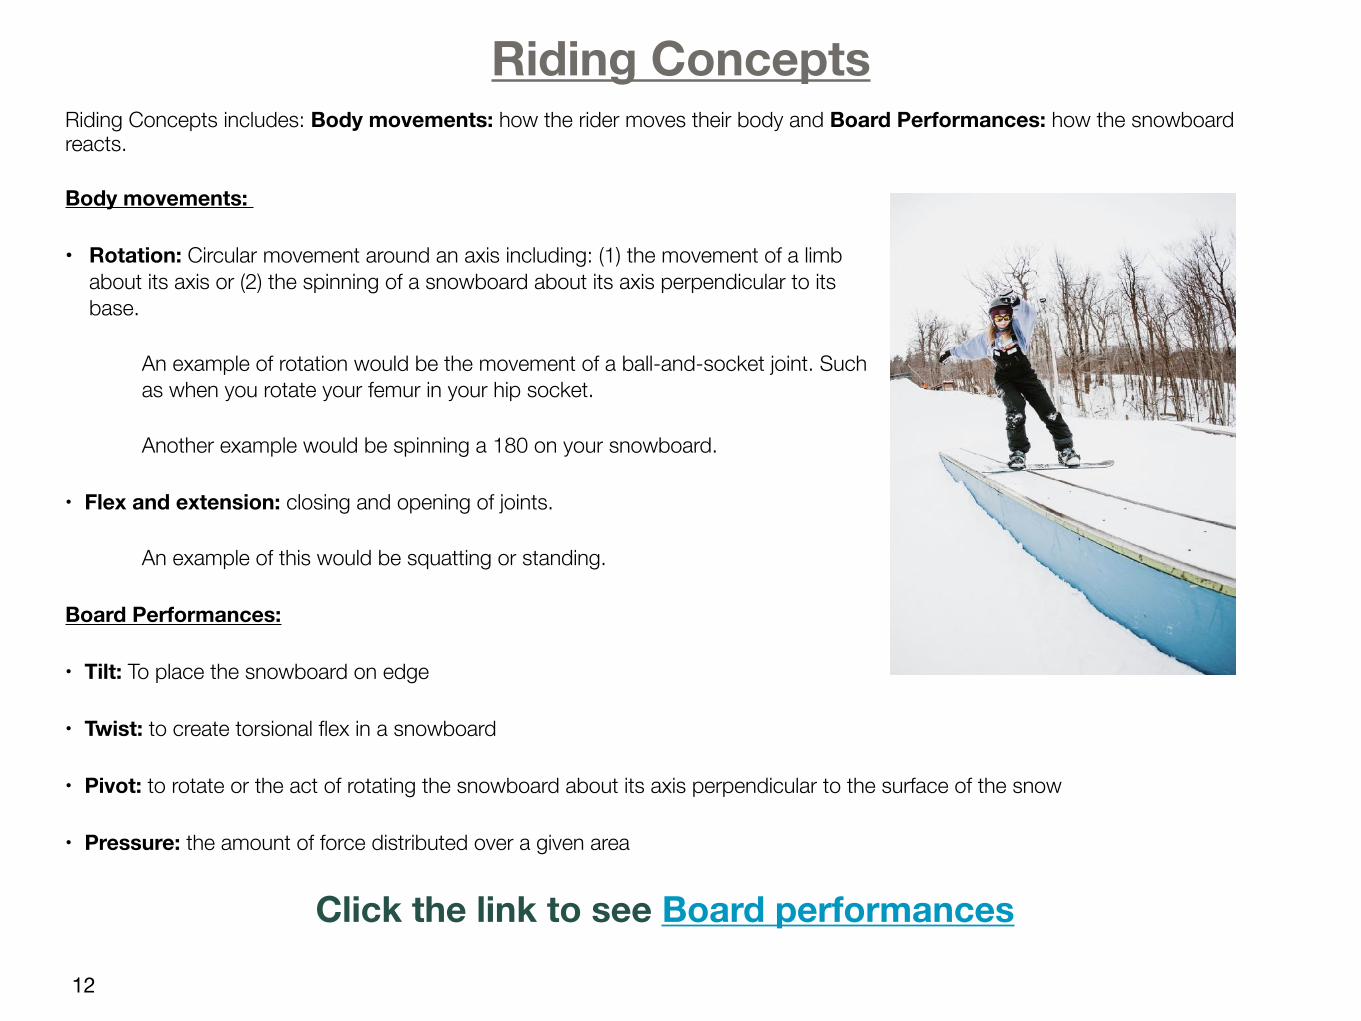
Riding Concepts includes: Body movements: how the rider moves their body and Board Performances: how the snowboard reacts.
Body movements:
• Rotation: Circular movement around an axis including: (1) the movement of a limb about its axis or (2) the spinning of a snowboard about its axis perpendicular to its base.
An example of rotation would be the movement of a ball-and-socket joint. Such as when you rotate your femur in your hip socket.
Another example would be spinning a 180 on your snowboard.
• Flex and extension: closing and opening of joints.
An example of this would be squatting or standing.
Board Performances:
• Tilt: To place the snowboard on edge
• Twist: to create torsional flex in a snowboard
• Pivot: to rotate or the act of rotating the snowboard about its axis perpendicular to the surface of the snow
• Pressure: the amount of force distributed over a given area
Click the link to see Board performances
Riding Concepts
13
14
15
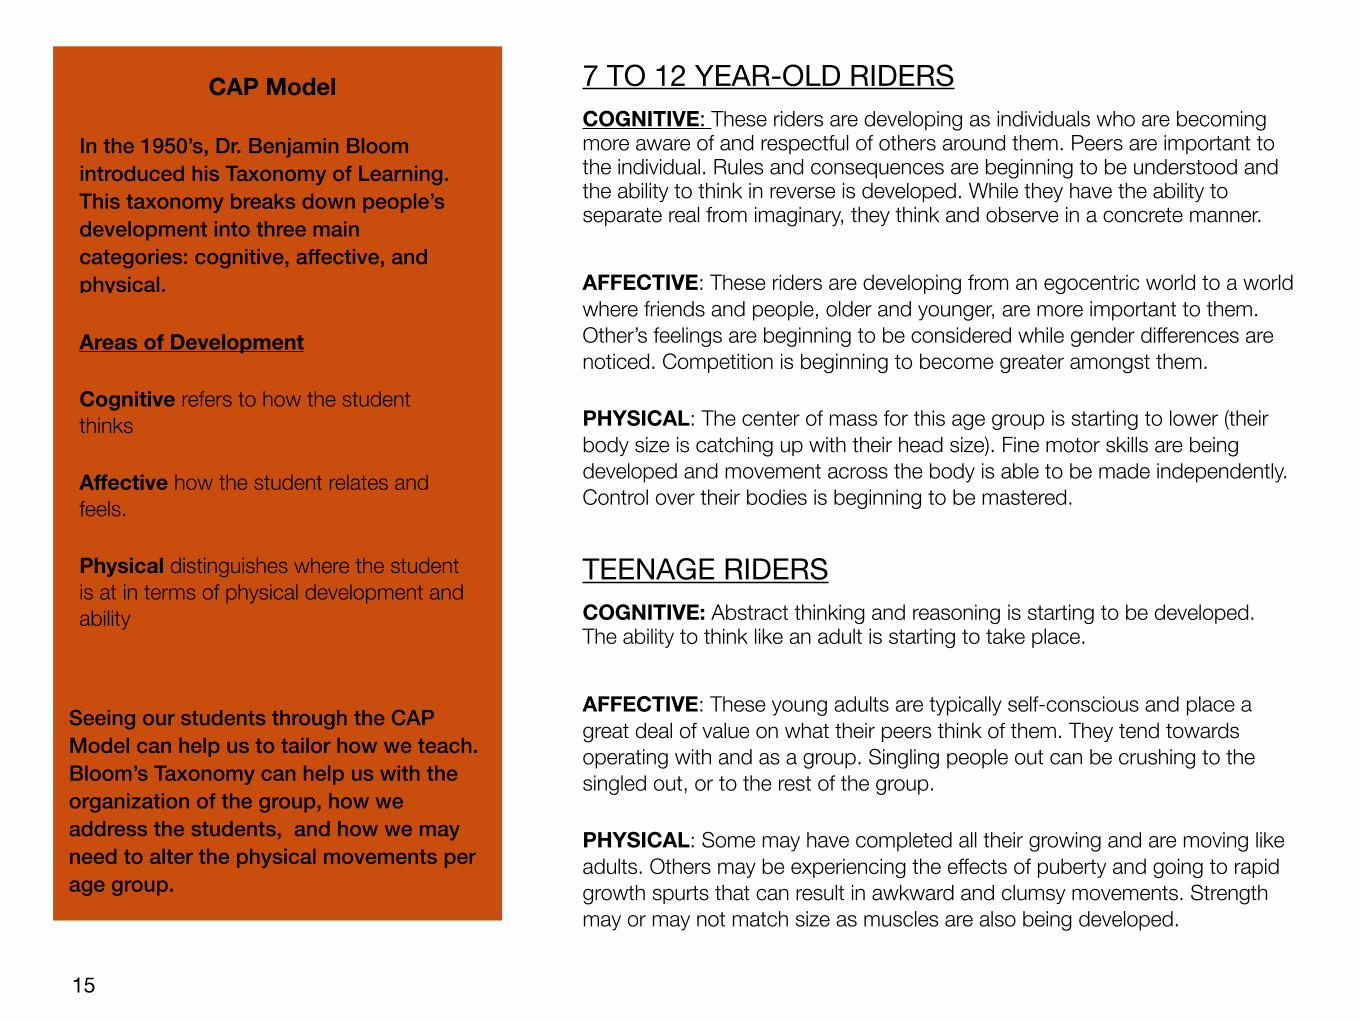
7 TO 12 YEAR-OLD RIDERSCOGNITIVE: These riders are developing as individuals who are becoming more aware of and respectful of others around them. Peers are important to the individual. Rules and consequences are beginning to be understood and the ability to think in reverse is developed. While they have the ability to separate real from imaginary, they think and observe in a concrete manner.
AFFECTIVE: These riders are developing from an egocentric world to a world where friends and people, older and younger, are more important to them. Other’s feelings are beginning to be considered while gender differences are noticed. Competition is beginning to become greater amongst them.
PHYSICAL: The center of mass for this age group is starting to lower (their body size is catching up with their head size). Fine motor skills are being developed and movement across the body is able to be made independently. Control over their bodies is beginning to be mastered.
CAP Model
In the 1950’s, Dr. Benjamin Bloom introduced his Taxonomy of Learning. This taxonomy breaks down people’s development into three main categories: cognitive, affective, and physical.
TEENAGE RIDERSCOGNITIVE: Abstract thinking and reasoning is starting to be developed. The ability to think like an adult is starting to take place.
AFFECTIVE: These young adults are typically self-conscious and place a great deal of value on what their peers think of them. They tend towards operating with and as a group. Singling people out can be crushing to the singled out, or to the rest of the group.
PHYSICAL: Some may have completed all their growing and are moving like adults. Others may be experiencing the effects of puberty and going to rapid growth spurts that can result in awkward and clumsy movements. Strength may or may not match size as muscles are also being developed.
Seeing our students through the CAP Model can help us to tailor how we teach. Bloom’s Taxonomy can help us with the organization of the group, how we address the students, and how we may need to alter the physical movements per age group.
Areas of Development
Cognitive refers to how the student thinks
Affective how the student relates and feels.
Physical distinguishes where the student is at in terms of physical development and ability
16
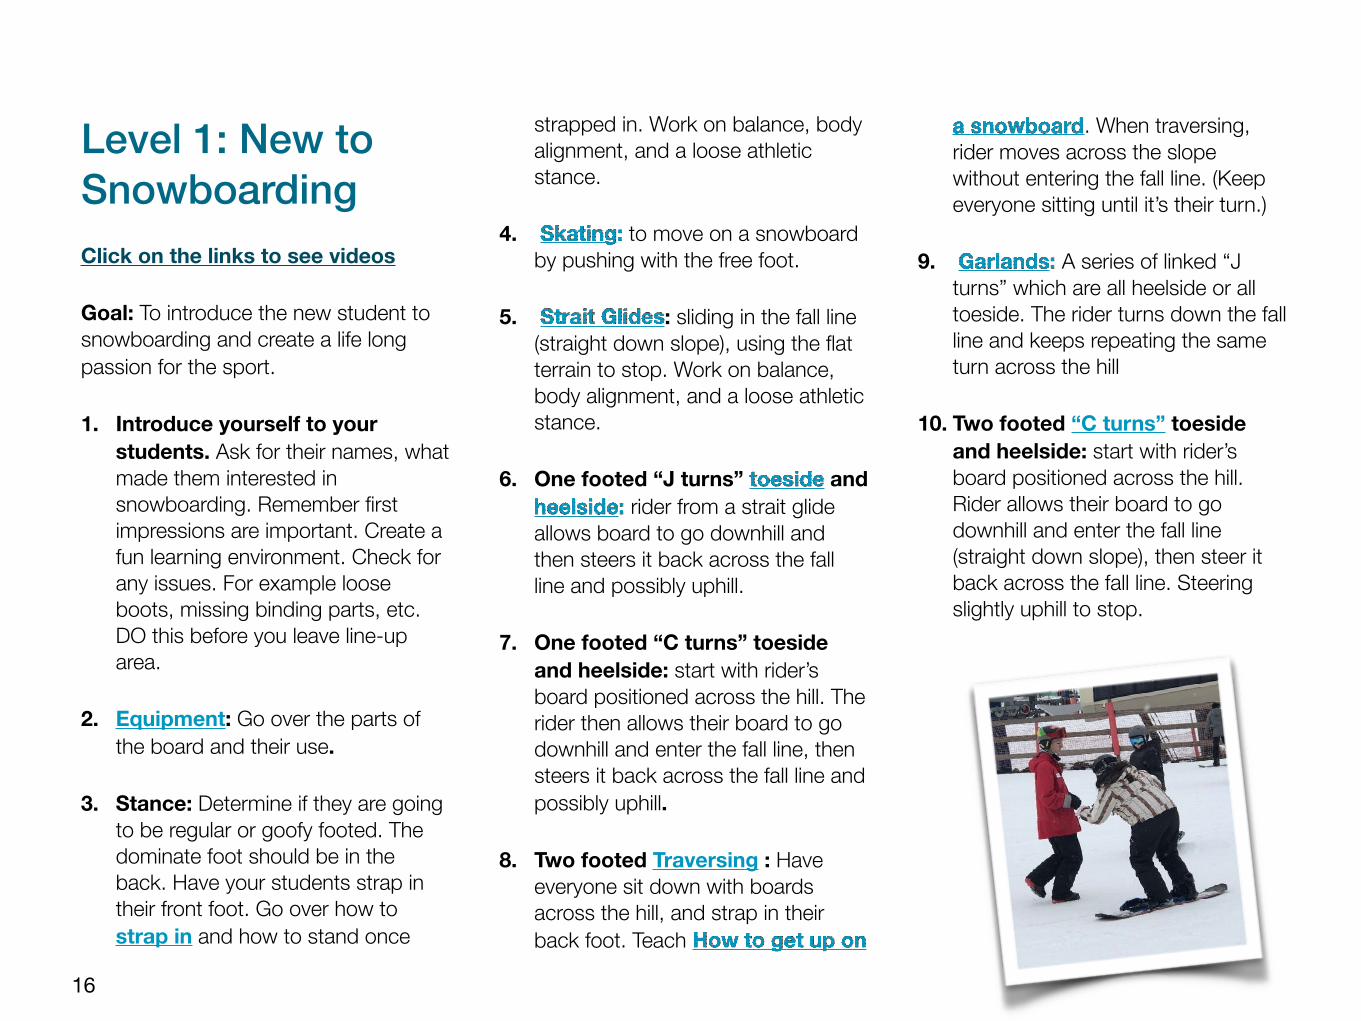
Level 1: New to Snowboarding Click on the links to see videos
Goal: To introduce the new student to snowboarding and create a life long passion for the sport.
1. Introduce yourself to your students. Ask for their names, what made them interested in snowboarding. Remember first impressions are important. Create a fun learning environment. Check for any issues. For example loose boots, missing binding parts, etc. DO this before you leave line-up area.
2. Equipment: Go over the parts of the board and their use.
3. Stance: Determine if they are going to be regular or goofy footed. The dominate foot should be in the back. Have your students strap in their front foot. Go over how to strap in and how to stand once
strapped in. Work on balance, body alignment, and a loose athletic stance.
4. Skating: to move on a snowboard by pushing with the free foot.
5. Strait Glides: sliding in the fall line (straight down slope), using the flat terrain to stop. Work on balance, body alignment, and a loose athletic stance.
6. One footed “J turns” toeside and heelside: rider from a strait glide allows board to go downhill and then steers it back across the fall line and possibly uphill.
7. One footed “C turns” toeside and heelside: start with rider’s board positioned across the hill. The rider then allows their board to go downhill and enter the fall line, then steers it back across the fall line and possibly uphill.
8. Two footed Traversing : Have everyone sit down with boards across the hill, and strap in their back foot. Teach How to get up on
a snowboard. When traversing, rider moves across the slope without entering the fall line. (Keep everyone sitting until it’s their turn.)
9. Garlands: A series of linked “J turns” which are all heelside or all toeside. The rider turns down the fall line and keeps repeating the same turn across the hill
10. Two footed “C turns” toeside and heelside: start with rider’s board positioned across the hill. Rider allows their board to go downhill and enter the fall line (straight down slope), then steer it back across the fall line. Steering slightly uphill to stop.
17
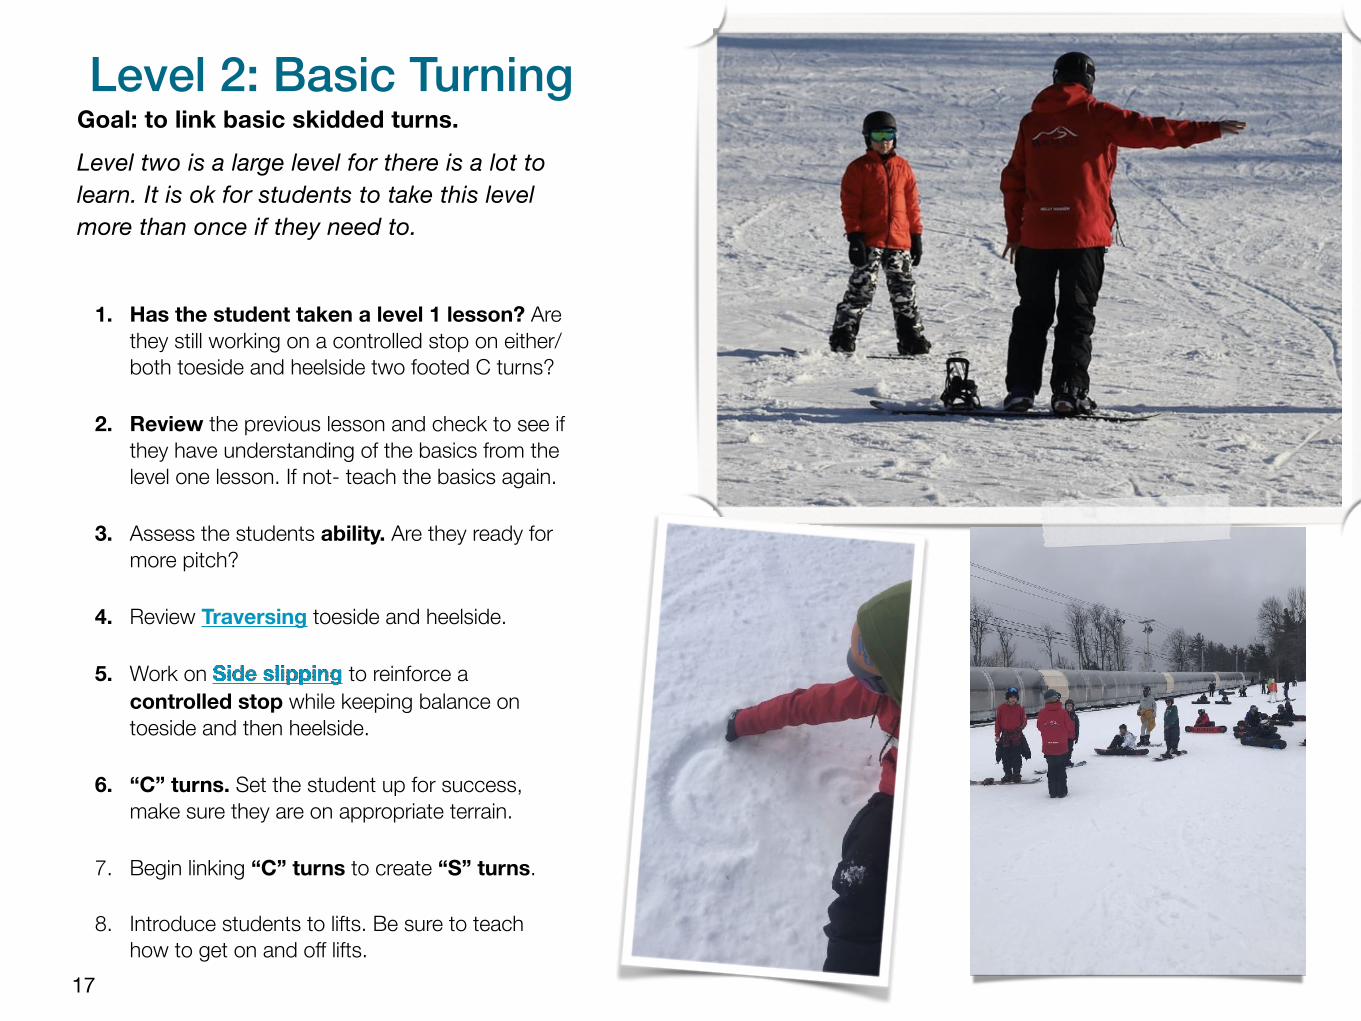
1. Has the student taken a level 1 lesson? Are they still working on a controlled stop on either/ both toeside and heelside two footed C turns?
2. Review the previous lesson and check to see if they have understanding of the basics from the level one lesson. If not- teach the basics again.
3. Assess the students ability. Are they ready for more pitch?
4. Review Traversing toeside and heelside.
5. Work on Side slipping to reinforce a controlled stop while keeping balance on toeside and then heelside.
6. “C” turns. Set the student up for success, make sure they are on appropriate terrain.
7. Begin linking “C” turns to create “S” turns.
8. Introduce students to lifts. Be sure to teach how to get on and off lifts.
Level 2: Basic Turning Goal: to link basic skidded turns.
Level two is a large level for there is a lot to learn. It is ok for students to take this level more than once if they need to.
18
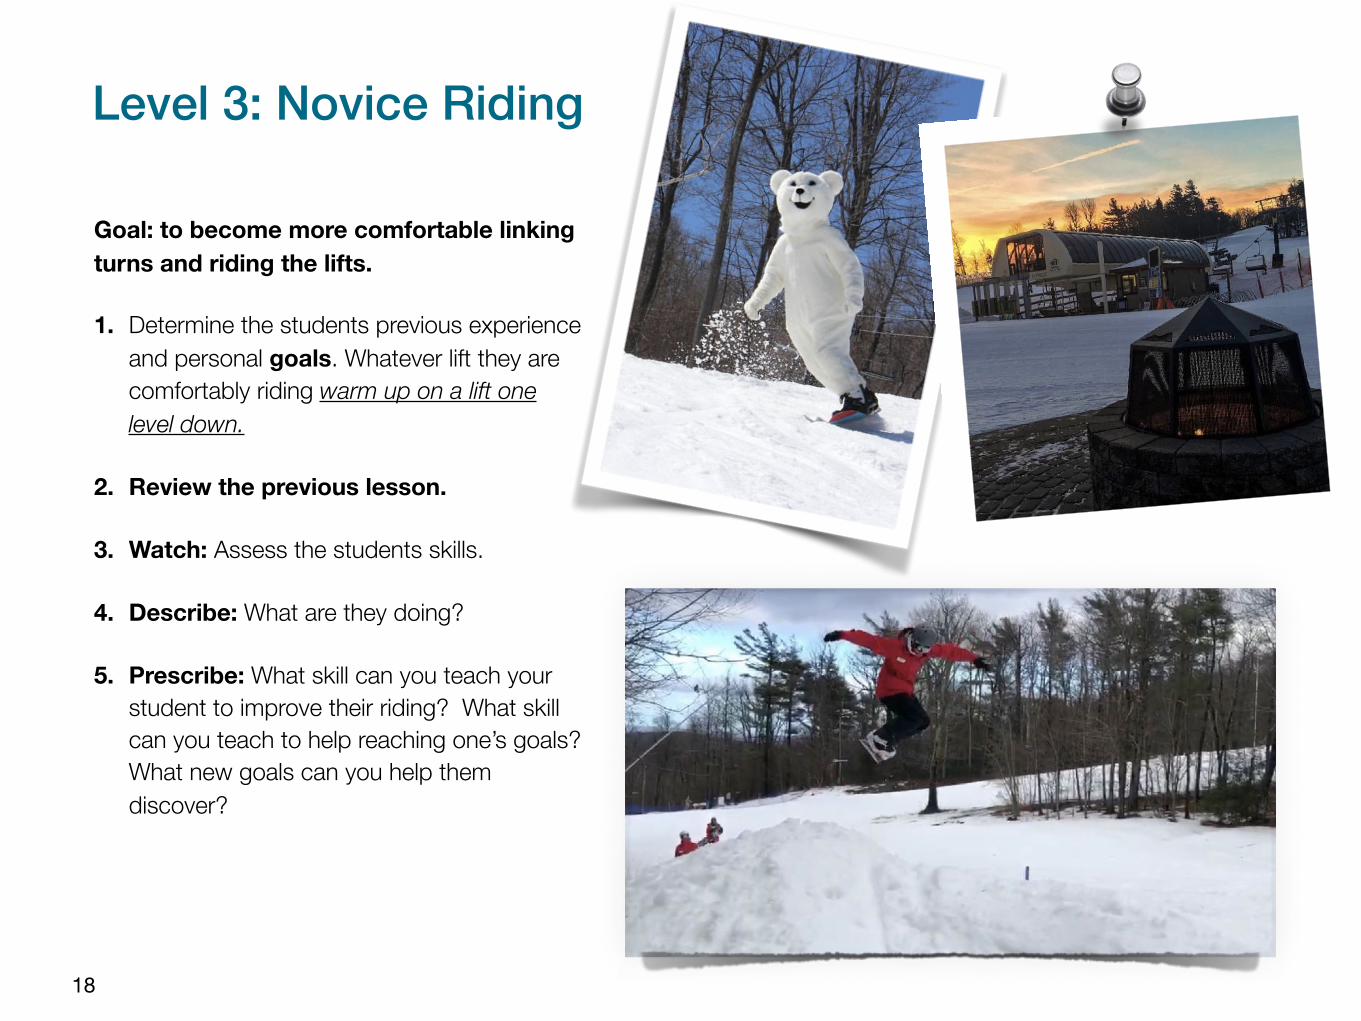
Goal: to become more comfortable linking turns and riding the lifts.
1. Determine the students previous experience and personal goals. Whatever lift they are comfortably riding warm up on a lift one level down.
2. Review the previous lesson.
3. Watch: Assess the students skills.
4. Describe: What are they doing?
5. Prescribe: What skill can you teach your student to improve their riding? What skill can you teach to help reaching one’s goals? What new goals can you help them discover?
Level 3: Novice Riding
20
21
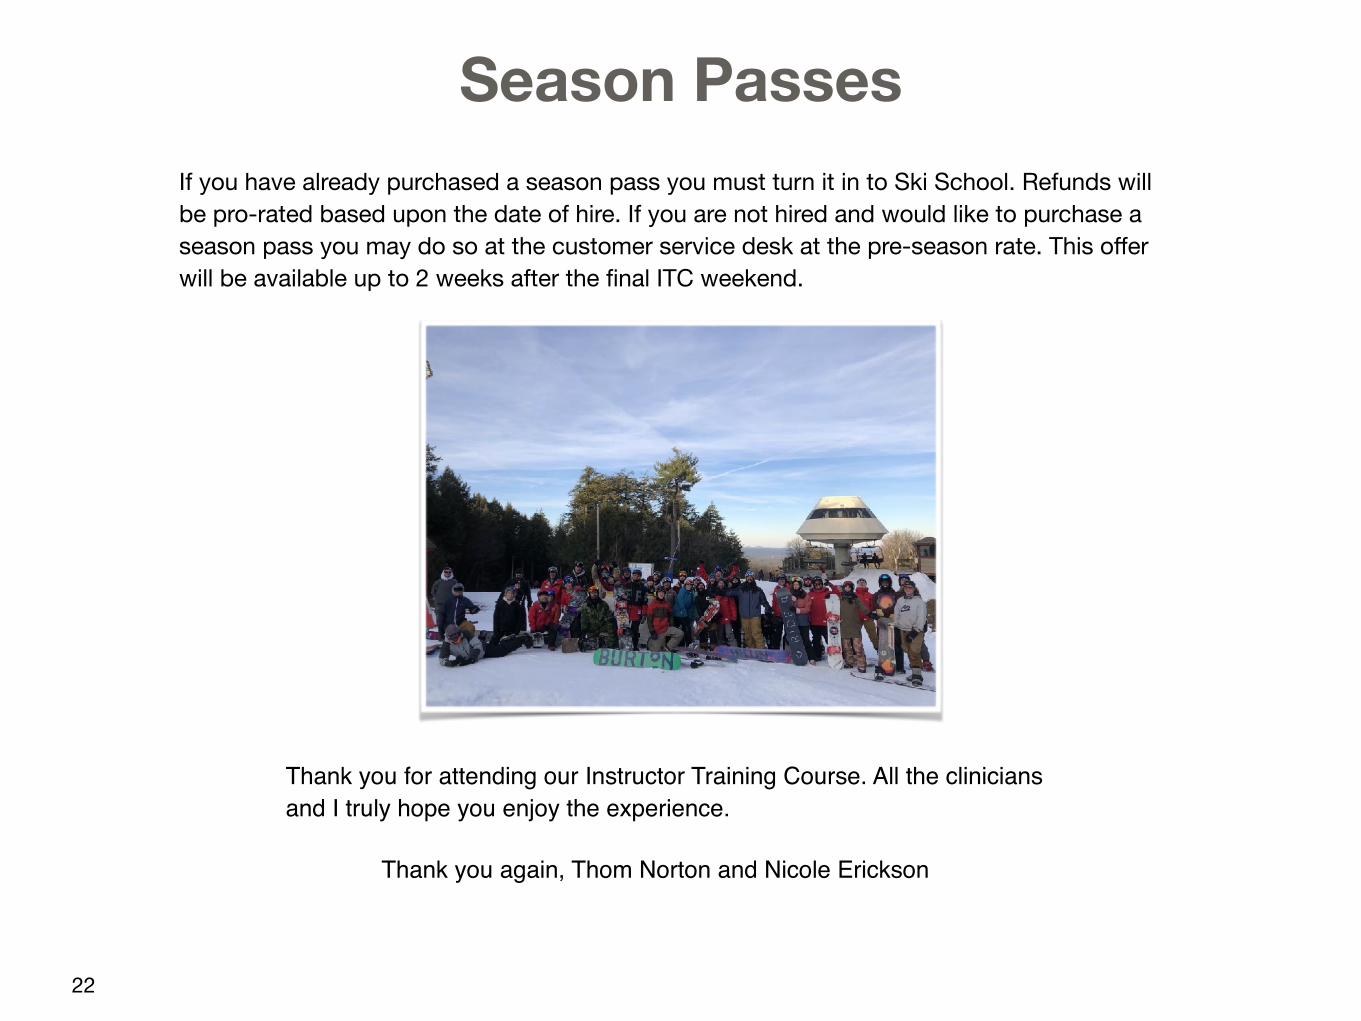
22
Season Passes If you have already purchased a season pass you must turn it in to Ski School. Refunds will be pro-rated based upon the date of hire. If you are not hired and would like to purchase a season pass you may do so at the customer service desk at the pre-season rate. This offer will be available up to 2 weeks after the final ITC weekend.
Thank you for attending our Instructor Training Course. All the clinicians and I truly hope you enjoy the experience.
Thank you again, Thom Norton and Nicole Erickson