Embed Size (px)
Citation preview

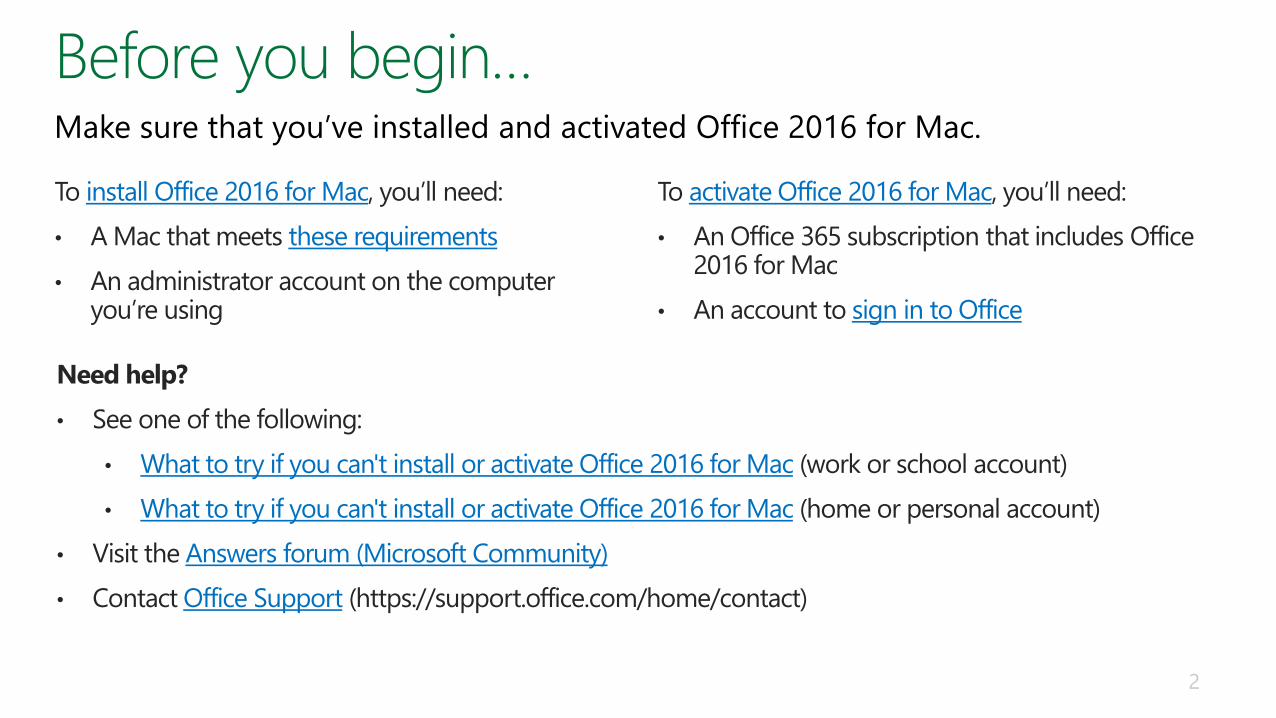
To install Office 2016 for Mac, you’ll need:
• A Mac that meets these requirements
• An administrator account on the computer you’re using
To activate Office 2016 for Mac, you’ll need:
• An Office 365 subscription that includes Office 2016 for Mac
• An account to sign in to Office
Need help?
• See one of the following:
• What to try if you can't install or activate Office 2016 for Mac (work or school account)
• What to try if you can't install or activate Office 2016 for Mac (home or personal account)
• Visit the Answers forum (Microsoft Community)
• Contact Office Support (https://support.office.com/home/contact)
Make sure that you’ve installed and activated Office 2016 for Mac.
2

Learn your
way around
Create a
workbook
Save a
workbook
Choose a tile to get started:
3

Learn how to:
• Find Excel after installation
• Explore Excel 2016 for Mac
• Explore changes in the ribbon

If you don’t see Excel on the Dock after installation, choose Launchpad > Excel.
TIP Drag the Excel icon
to the Dock.
5

Download the Excel for Mac Quick Start Guide.
Menu bar
Quick Access
toolbarRibbon
Formula bar
Selected
cell
Worksheet
name
Help
Worksheet
6
Share with others

The ribbon in Excel has been redesigned to be more consistent with Excel on other platforms.
Download the Excel for Mac Quick Start Guide.
• A new Insert tab to insert an object, such as a chart, table, image, or SmartArt
• Four new contextual tabs—Chart Design, Tables, Format, or SmartArt—that appear when you insert or select an object, such as a chart, table, image, or SmartArt
• A new View tab to specify how your workbook is displayed on the screen, freeze panes
• A Page Layout tab (formerly the Layout tab) to set up your worksheet page layout (landscape or portrait, margins, etc.)
7

Learn how to:
• Create a blank workbook
• Enter data by typing in a worksheet
• Copy and paste data into a worksheet
• Create a workbook using a template

1. When Excel opens, choose Blank Workbook > Create.
2. Start filling in your workbook. (Type or copy and paste data.)
3. Save your file.
9
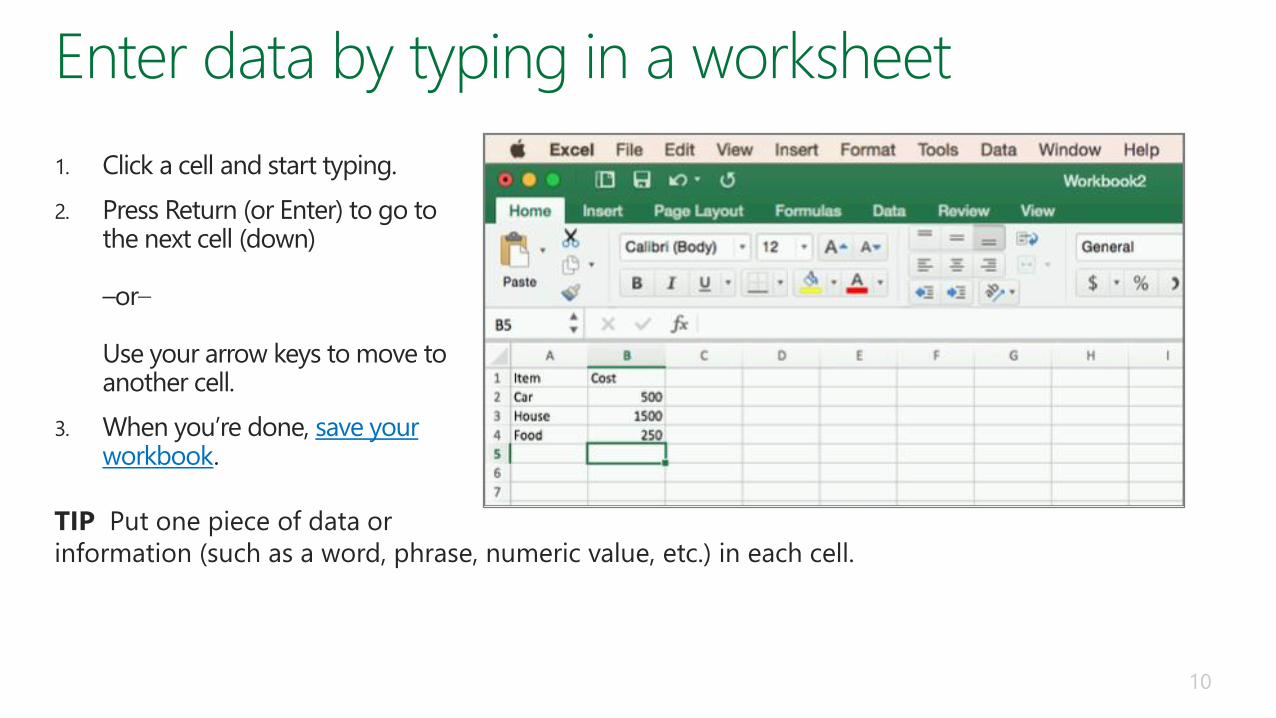
1. Click a cell and start typing.
2. Press Return (or Enter) to go to the next cell (down)
–or–
Use your arrow keys to move to another cell.
3. When you’re done, save your workbook.
TIP Put one piece of data or
information (such as a word, phrase, numeric value, etc.) in each cell.
10

1. In the app that has the data you want to put in Excel, select and copy the data.
2. In Excel, select a cell, and then press Command (⌘)+V.
3. Add or edit data in your workbook.
4. When you’re done, save your workbook.
11

1. When Excel opens, choose a template, and then choose Create.
2. Fill in your workbook.
3. Save your file.
TIP To find more templates,
type a word or phrase in the
Search All Templates box in
the upper-right corner.

Learn how to:
• Save your workbook to your Mac
• Save your workbook to OneDrive

1. On the Quick Access toolbar, click Save.
2. Give your workbook a name.
3. Use the Where list to specify where on your computer you want to save your workbook.
4. Click Save.
14

1. On the Quick Access toolbar, click Save.
2. Click Online Locations.
3. If you don’t see OneDrive, click Plus (+) to add a service.
4. Click Sign in using your Microsoft account.
15

1. In the Save As box, type a name for your workbook.
2. Choose a location (such as Documents) in your OneDrive library.
3. To create a new folder, click New Folder, and then type a name for it.
4. Choose Save.
16

Excel 2016 for Mac training
Discover Excel
Excel 2016 for Mac Help
Compare Excel 2016 for Mac with other versions of Excel
Office 2016 for Mac Quick Start Guides
Office training and tutorials
17


