Embed Size (px)
Citation preview
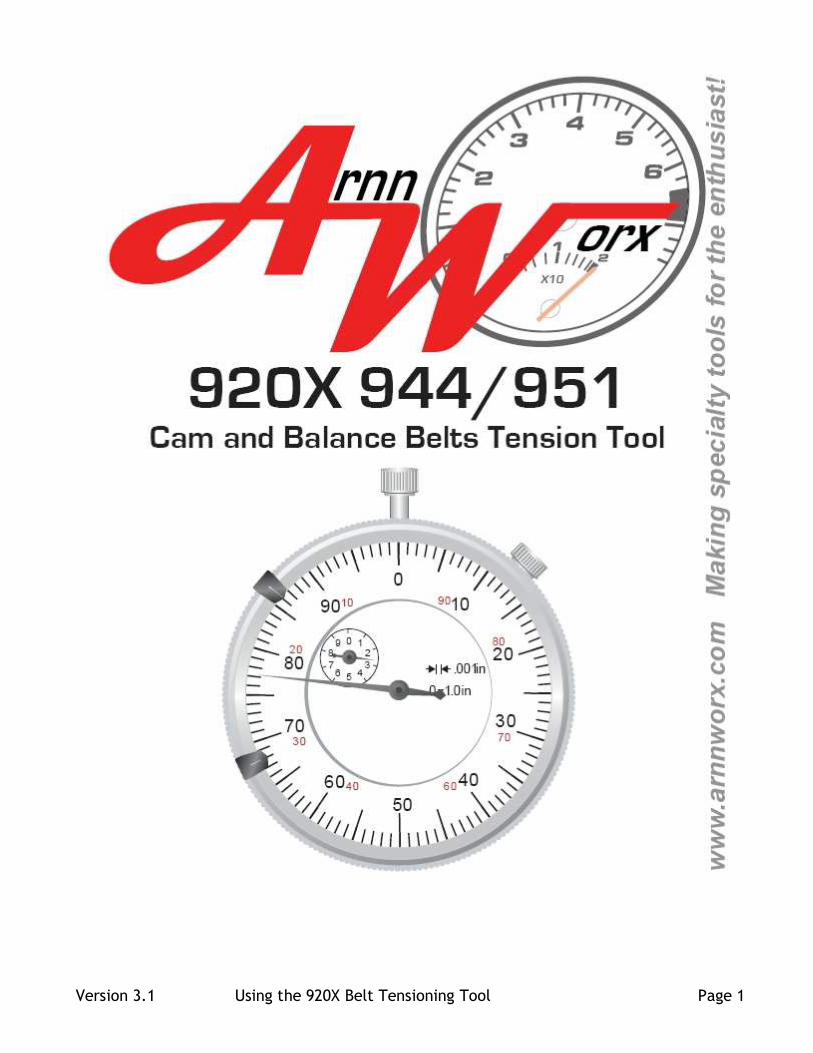
Version 3.1 Using the 920X Belt Tensioning Tool Page 1

Version 3.1 Using the 920X Belt Tensioning Tool Page 2
Using the 920X Belt Tensioning Tool
Introduction: this short document contains a step-by-step guide for using the 920X belt tensioning tool manufactured by ArnnWorx Specialty Tools. This tool is designed to assist with the accurate tensioning of both the cam belt and balance belt on the Porsche 944. Below are procedures for setting the tension of the cam belt and balance shaft belts. Each procedure uses a two-step process. First a reference reading is made using a supplied reference bar. The gauge value from that initial reading is used to determine the ideal tension setting. The reference bar is then removed and the belt is adjusted until the gauge reads the ideal value. A few of the steps within the cam belt procedure have Method 1 and Method 2 notations. Method 1 is preferred as it will yield more accurate results. Method 2 notations are alternate steps and must be used for cars that have an automatic transmission. All adjustments are to be done on an engine that has completely. While the 920X is a very sensitive and accurate device, a number of things can inadvertently lead to faulty or inconsistent readings. The procedural steps must be followed closely to ensure proper use. Please read through these steps and familiarize yourself with the information.

Version 3.1 Using the 920X Belt Tensioning Tool Page 3
How It Works The 920X has a small internal spring and an extending rod. When mounted, these parts deflect the belt and a measurement can be made. That measurement represents tension. To get a precise measurement we need the gauge reading at two points. The first is the reference point, shown in this sketch. In order to get that point, we must first insert a reference bar so that we can get a stable reading. The reference bar adds a small amount to the reading but that will be adjusted for. Next, we know the distance from the reference point to the ideal tension point and we know the thickness of the reference bar. For a new cam belt this combined value is .198 inches. We simply add the .198 to the reference reading to get the ideal setting. We then remove the reference bar and adjust the belt’s tension until we read the ideal setting.

Version 3.1 Using the 920X Belt Tensioning Tool Page 4
Reference the above photos for engine terminology.
Hand Tools Needed Before beginning, confirm that you have the specialty and hand tools needed for this procedure. These include: 27mm thin wrench* 3/8th in. drive breaker bar 19mm, 3/8th drive socket 10mm wrench Large crescent wrench #2 Phillips screwdriver ½ in. drive breaker bar 24 mm, ½ in drive socket Pin wrench (87 and later) Metric hex key set *Note: some early models (83) were originally equipped with 24 mm rollers.

Version 3.1 Using the 920X Belt Tensioning Tool Page 5
Cam Belt
1. Begin by gaining access to the cam belt. This varies a little by model but generally, the
air filter box, intercooler pipes and upper belt cover must be removed. Spark plugs must be installed for accurate tensioning of the cam belt. Note: If you have an 87 or later model and intend to use the standard pin wrench to deflect the spring tensioner, then the lower front belt cover and accessory belts may have to be removed to fit the pin wrench onto the spring tensioner.
2. Rotate the crankshaft until both the crank and cam are at Top Dead Center. Place the car in gear and set the hand brake. Note: If the car has an automatic transmission, use the steps below notated as Method 2.
3. Method 1 - Remove the distributor cap and the cam gear cover and rotor (under the distributor cap). Method 2 – skip this step.

Version 3.1 Using the 920X Belt Tensioning Tool Page 6
4. Evaluate the condition of the cam belt for damage or excessive wear. Replace if warranted. This procedure assumes the cam belt is pre-set to tension tight enough so that rotating the crank will not cause the cam to jump or skip over teeth.
5. Method 1 - Using the large crescent wrench, rotate the cam CCW. Place a good measure of force (approx. 15 Inch/Pounds) on this wrench; you will only be able to move it by about 2 degrees before the parking brake and engine resistance prevent further rotation. This step places the belt’s slack on the lower span of the belt and is important to an accurate reading. One trick here is to strum the belt’s span (like a guitar string). On the upper, a slightly higher tone should be noticeable. Method 2 - Using the 24mm socket and ratchet, rotate the crank CW until significant resistance is felt. This step places the belt’s slack on the lower span of the belt and is important to an accurate reading.
6. Install the 920X gauge onto the 920X body. The gauge should be inserted fully into the
fixture and the secured there using the small thumb screw. Verify the nylon roller is installed on the 920X body (in place of the wooden sled). Note the general orientation of the gauge face.
7. Remove the upper nut from the cam belt separator bar, set it aside. Position the 920X onto the separator bar stud and position the 920X so that the small notch in the 920X body bracket engages the separator bar. Secure with the small M6 nut, included with the tool. Pull down on the nylon roller and rotate it so it is under the lower span of the cam belt. Position it carefully so that it lies across the belt - perpendicular to the belt travel. Monitor the position of the nylon roller throughout the remaining steps – if big adjustments to the belt’s tension are needed, you may need to reposition the nylon roller to keep it perpendicular to belt travel.

Version 3.1 Using the 920X Belt Tensioning Tool Page 7
WARNING: Damage will result to both the engine and the 920X if the engine is started or even turned over while the tool is installed.
8. Pull down on the 920X roller and slip the reference bar under the roller. This may be done from either the water pump or the cam side of the 920X. Position the reference bar so that it fully contacts the belt and touches the waterpump pulley.
9. At the end of these printed instructions is a worksheet form, use the form to write the
readings that you take from the gauge. There are three areas on the form, one for a new cam belt, one for a used cam belt and one for the balance belt. Use that part of the form that applies to your situation. The worksheet form will help calculate the correct tension for your engine. Read the gauge and record the initial reading in box 1 of the card. Add the deflection value, printed on the card and enter your result in box 2 of the card. Copy that result into boxes 3 and 4. Add and subtract the tolerances (as stated on the card) and enter your corresponding results in boxes 5 and 6. The value in box 2 is ideal setting. In subsequent steps, attempt to reach this value, but do not accept readings that are

Version 3.1 Using the 920X Belt Tensioning Tool Page 8
outside of those values seen in boxes 5 & 6.
10. Remove the reference bar and position the nylon roller
so it lies across the belt, perpendicular to belt travel. 11. While observing the gauge, hold the timing belt
tensioner roller with the thin wrench and loosen the 19mm securing nut. Once the 19mm nut is loose, you will observe how altering the position of the thin wrench immediately changes the 920X reading. Use the gauge’s reading as a guide and position the thin wrench to achieve the correct tension. Once there, tighten the 19mm nut (33 ftlb). Some patience and anticipation is needed as tightening the 19mm nut will invariably alter the tension reading somewhat. Try to achieve the desired reading without going excessively beyond it as stretching the belt is to be avoided. Also, all readings

Version 3.1 Using the 920X Belt Tensioning Tool Page 9
(except the initial reading, made with the reference bar in place) must be double checked after snapping-the-gauge; read about this below. If you have an 87 or later model, cam belt tension is set by altering the position of the spring tensioner. To do this, loosen bolts A & B and push down or pull up on the spring tensioner. Using a pin wrench will make this easier. Once the 920X gauge shows the correct reading, tighten the tensioner bolts A & B.
12. Once an acceptable reading has been reached and the 19mm nut (or spring tensioner)
has been tightened, the 920X can be removed and the engine hardware can be re-installed.

Version 3.1 Using the 920X Belt Tensioning Tool Page 10
Balance Belt
For this procedure, the engine does not need to be in any particular position. Unlike the procedure for tensioning the cam belt, there is to be no “pre-loading” or deflection to be placed on the balance belt other than that provided by the 920X tool.
1. Begin by gaining access to the balance belt. Typically this means removing such items as the air filter box, snorkel, intercooler pipes, and the upper front belt cover. Evaluate the condition of the balance belt for damage or excessive wear. Replace if warranted. Note: a properly adjusted balance belt will, to most people seem VERY loose. Before making any adjustments, take a minute to observe how loose this belt is. This can give you a rough idea of the correct tension.
2. Use a 19mm wrench or socket to remove the M10 bolt and timing belt idler pulley located above the Waterpump. Hint: the bolt may need to be drawn completely out of the roller before the roller can be removed from the mounting boss.
3. Use a 19 mm wrench to loosen the balance belt idler roller and allow it to swing
downward away from the upper span of the balance belt. Also use a 27mm thin wrench together with a 19 mm wrench or socket to loosen the nut of the balance belt tensioner roller. Loosen the securing nut just enough so that the tensioner roller can be repositioned with thin wrench. Note: if the securing nut is too loose, the tension setting will not hold during measurements, if it is too tight, you’ll not be able to change the tension while observing the gauge. Hint: leave the thin wrench standing-up on the tensioner roller, see photo below.

Version 3.1 Using the 920X Belt Tensioning Tool Page 11
4. In place of the timing belt idler pulley, install the 920X body-to-engine fixture. It is to be attached to the engine using the included, socket head cap screw. Use a hex key to install and tighten the socket head cap screw enough to hold the fixture in place but lose enough so that it can be rotated by hand. Rotate the fixture so that its pin points
toward the distributor cap. 5. Prepare the 920X body and gauge. The 920X can be fitted with either a nylon roller or a
wooden sled. For balance belt tensioning the roller must be removed and the sled and spacer installed onto the pin at the lower end of the 920X body (see photo). Secure them by re-installing the e-clip. Also, insert and fix the gauge fully into the 920X body. Secure by tightening the thumb screw. See the photo below for the correct positioning of the gauge to the 920X body.
6. Place the 920X body onto the fixture pin. When installed, the gauge should touch the
distributor cap. Note: Ignition wires may need to be temporarily re-positioned to clear the area of the gauge. Gently pull down on the sled and rotate it under the balance

Version 3.1 Using the 920X Belt Tensioning Tool Page 12
belt. At this point the tension on the balance belt can be loose or tight.
7. Insert the balance belt reference bar between the upper surface of the belt and the
mounting fixture’s arm. See photo below for correct orientation of the reference bar. Note that it must NOT be placed directly under the fixture’s pin, there is a small weld there that will distort the reading. Snap the gauge to ensure a valid reading and record the gauge reading in box 1 of the balance belt tensioning card. See text below for information on “snapping the gauge.” Add the “deflection value” noted on the card to your box 1 figure and enter that sum in box 2, 3 and 4. Do the simple math indicated for boxes 5 and 6. Box 2 has the ideal tension setting and boxes 5 and 6 hold the minimum and maximum settings. Refer to those numbers in the subsequent steps.
8. Gently remove the reference bar. Observe the gauge and slowly alter the position of
the thin wrench until the ideal tension value is reached. Snap the gauge again to ensure a valid reading and make any last adjustments to reach the ideal setting.
9. Secure the balance belt tensioner roller by tightening the securing nut (33 ftlb). Note: be careful to not alter the position of the thin wrench as this will alter the tension setting. Remove the 920X and the mounting fixture. Position the balance belt idler roller and adjust so that it almost touches the balance belt (see sketch above). Install any engine hardware removed previously.
Snapping the Gauge
The 920X itself has some small resistance to change. While this is small, we are also attempting to measure very small deflection forces. To ensure that you have an accurate

Version 3.1 Using the 920X Belt Tensioning Tool Page 13
reading, always snap the gauge - lift the knob at the top of the gauge and release it. This simple step helps to eliminate errors.
Caring for your 920X
The tool is constructed using both mild and stainless steel. The mild steel surfaces are coated using a process of acid etching. This gives the fixture body a soft black finish and that helps to hold light machine oil. The oil helps with the function of the tool and prevents corrosion. The tool will however, rust in the absence of the oil and the oil can be removed in the course of routine handling. After each use, all surfaces of the 920X fixture body (inside and out) should be re-oiled using WD-40 or light gun oil. No lubrication is needed for the gauge.
Reading the Gauge
Here is an example of how to read the gauge. Note: Although not needed for these procedures, the gauge can be zeroed by rotating the outer ring.
Contact [email protected] for replacement parts. Item Number Nomenclature Part Number 1Price
1 920X Body Assy AW-920X-1-06 $90.00 2 920X-To-Engine Fixture AW-920X-2-02 $25.00 3 Nylon Roller MC-94639-A450 $1.50 4 Black Wooden Sled AW-920X-3-02 $2.80 5 Nylon Spacer (used with sled) MC-94639A350 $.50 6 E-Clip MC-92735-A130 $.50 7 M6 Nut MC-91028A417 $.50 8 Cam Belt Reference Bar AW-920X-R1-00 $.5.00 9 Balance Belt Reference Bar AW-920X-R2-00 $5.00 10 M10 X 15mm Socket Head Cap Screw MC-91290-A511 $1.50 12 1 Inch Machinist’s Dial Indicator Gauge HF-00623-00 $30.00 13 Instruction Pages AW-920X-INST-22 $5.00 14 Thumb Screw MC-91290-A138 $.50
1 Prices are current for August, 2007

Version 3.1 Using the 920X Belt Tensioning Tool Page 14
Worksheet Form
Tensioning of Used Cam Belt Tensioning of New Cam Belt
Initial Reading (w/ Ref bar) Initial Reading (w/ Ref bar)
Add deflection value +.198 Add deflection value +.173
Ideal Tension Setting � Ideal Tension Setting �
+ .009 -.009 + .007 -.007 Minimum Minimum
Maximum Maximum
Tensioning of Balance Belt
Reading (w/ Ref bar)
Add deflection value +.180
Ideal Tension Setting �
+ .010 -.010 Minimum
Maximum
Box 1
Box 2
Box 3
Box 4
Box 5
Box 6
Box 1
Box 2
Box 3
Box 4
Box 5
Box 6
Box 2
Box 3
Box 4
Box 5
Box 6
Box 1