Embed Size (px)
Citation preview

Using the GIS Tutorial Series of books from Esri Press

David W. Allen is currently the GIS Manager for the City of Euless, Texas, where he became their first cartographer in 1989. His knowledge of municipal applications is evident in his books, but this is a wide spectrum and can easily translate to other disciplines.
He has also been teaching GIS at Tarrant County College in Arlington, Texas, since 1999. The classroom experience has been a good testing ground for his books, where his students often work through draft copies and suggested new chapters to see if the materials can be understood and absorbed easily. Blank stares = rewrite!
David is also an avid traveler, and has visited many countries around the world. Favorite spot? ... watching the sunset across the Masai Mara in Kenya.

This series of books was designed as a comprehensive set of tutorials and hands-on exercises to complement any GIS certificate or degree program.
For today’s session, we’ll look at the structure of these books, the teaching aids available, and how they can be integrated into a GIS program.

Each book contains a 180 day trial license of ArcEditor which can be installed by the students on their home computers.
The book also contains a DVD with all the necessary data required to complete all the tutorials and exercises in the book.

Part 1 Using and making maps
Chapter 1: Introduction to ArcGIS Chapter 2: Map design Chapter 3: GIS outputs
Part 2 Working with spatial data
Chapter 4: File geodatabasesChapter 5: Spatial dataChapter 6: DigitizingChapter 7: GeocodingChapter 8: Geoprocessing
Part 3 Learning advanced GIS applications
Chapter 9: Spatial analysisChapter 10: ArcGIS 3D AnalystChapter 11: ArcGIS Spatial Analyst
The first tutorial covers a lot of GIS topics with a light touch. It’s a good introduction to all the basic capabilities of ArcGIS.
Chapter 1: Mapping where things are
Chapter 2: Mapping the most and least
Chapter 3: Mapping density
Chapter 4: Finding what’s inside
Chapter 5: Finding what’s nearby
Chapter 6: Mapping change
Chapter 7: Measuring geographic distribution
Chapter 8: Analyzing patterns
Chapter 9: Identifying clusters
Independent projects
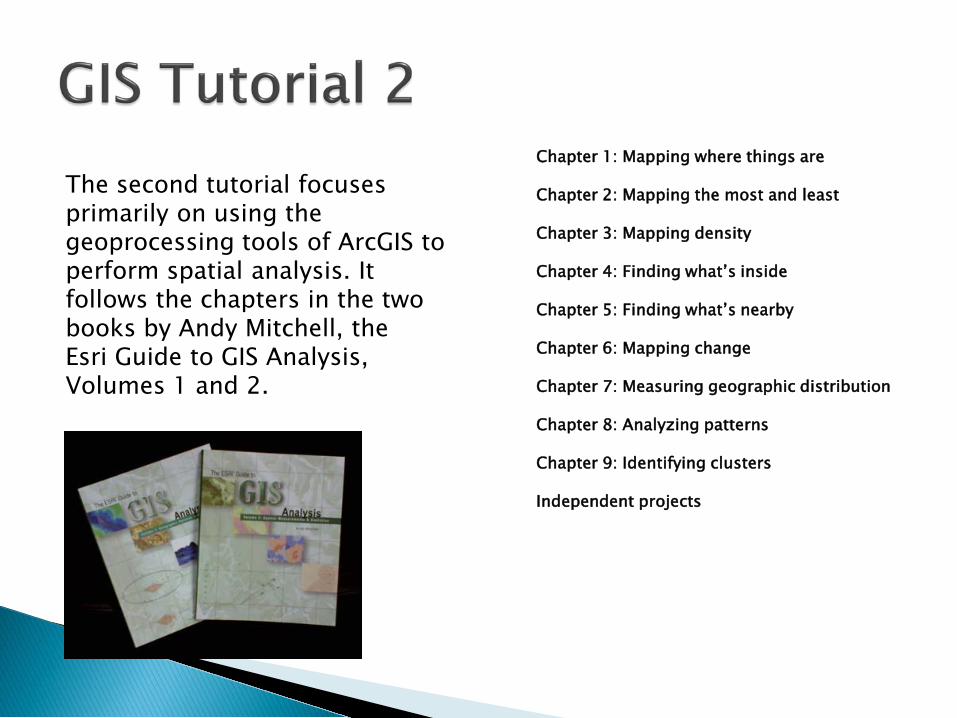
The second tutorial focuses primarily on using the geoprocessing tools of ArcGIS to perform spatial analysis. It follows the chapters in the two books by Andy Mitchell, the Esri Guide to GIS Analysis, Volumes 1 and 2.

Part 1 Designing a framework for the complex geodatabase
Chapter 1: Designing the geodatabase schema
Chapter 2: Creating a geodatabase
Chapter 3: Populating a geodatabase
Part 2 Working with data
Chapter 4: Working with features
Chapter 5: Working with topology
Part 3 Optimizing the workflow
Chapter 6: Customizing the interface
Chapter 7: Automating processes
Part 4 Using advanced techniques for labeling and symbolizing
Chapter 8: Developing labels and annotation
Chapter 9: Exploring cartographic techniques
The third tutorial is the most advanced of the three. Part 1 begins with a blank slate and has students design and build their own datasets from scratch.
Parts 2 and 3 cover advanced topics in ArcEditor and ArcInfo. These include Python scripting, ModelBuilder, and creating custom menus.
The final part of the book covers advanced cartographic techniques including custom legends, labeling, and custom symbols.

For this session, we’re going to focus on GIS Tutorial 2.
Well look at the structure of the book and how it is designed to be used in a GIS class.

The chapter headings match the chapters in the Mitchell books exactly. This allows you to use the Mitchell books as a reference text, with this book being the hands-on tutorials.
Each chapter includes several tutorials, which can be worked with the students in class. Following each is an exercise that students work on their own to reinforce the topics covered in the tutorial.

Each tutorial begins with a title and basic description of what will be covered.
Next is a set of learning objectives. These can be used to document progress, and as a good index when students refer back to sections of the book.
There is also a reading assignment from the Mitchell book, if it is being used as the text for the course.

Following is an introduction of the topic. In the event that you are not using the Mitchell books as a supplemental text for the course, these introductions provide a good substitute.
The Mitchell books, however, provide more real-world examples as well as diagrams sample maps to reinforce the topic.

A scenario is provided which sets up the tutorial and describes the underlying basis for the analysis being done.
These are helpful when the student is not familiar with the type of data or processes being used.
It also reinforces the idea that analysis is done for a specific purpose, and knowing that purpose helps to interpret the results.

A description of the data is provided so that the student will understand the inputs and outputs of the processes.
This is a condensed version of the metadata for each data set and highlights what will be necessary for this particular tutorial. Full metadata is provided for each dataset, which can be viewed in ArcCatalog.

A title is given to each segment of the tutorial, with descriptions of the processes and step-by-step instructions.
Illustrations show exactly what the student will be seeing, and in some instances the particular point of interest is highlighted.
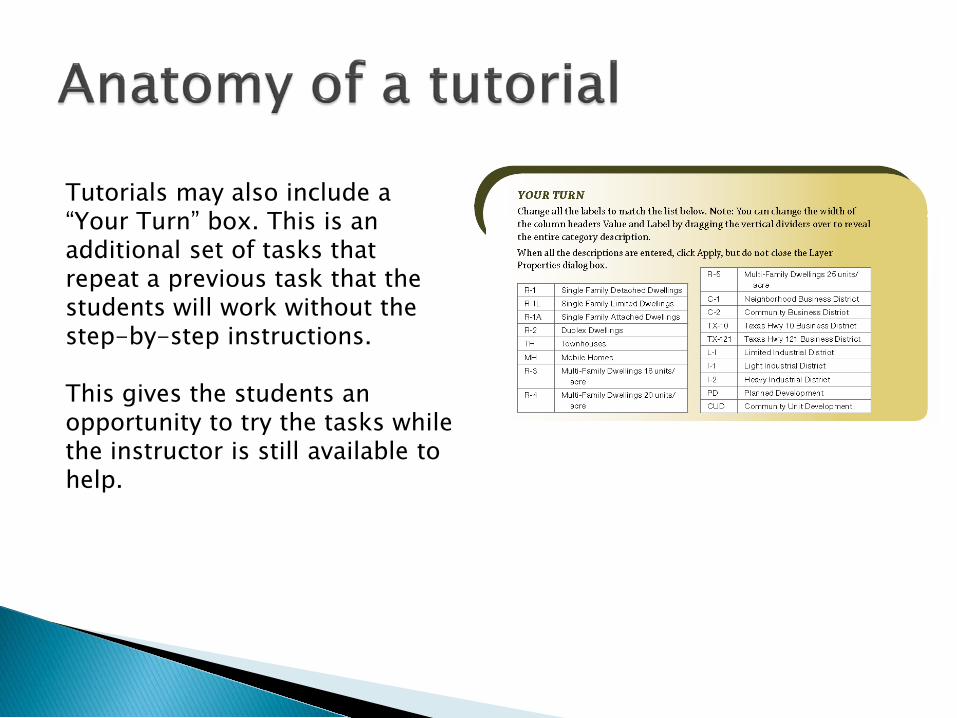
Tutorials may also include a “Your Turn” box. This is an additional set of tasks that repeat a previous task that the students will work without the step-by-step instructions.
This gives the students an opportunity to try the tasks while the instructor is still available to help.

At the end of the tutorial, the final product is shown. The student is instructed to save their final map to the “MyAnswers” folder.

Following the tutorial is an exercise that the students will work independently. It includes a brief scenario and any additional information about the data that students might need to know.
The process follows the concepts shown in the tutorial, and an outline is provided as an aide. Note that there are not step-by-step instructions at this point.

Students are asked to turn in either a printed map or a screen capture of the tutorial and exercise when they are completed.
Instructors may decide if they would like either or both of these turned in.

Each tutorial includes a review. This goes back over the main topics of the tutorial.

Tutorials also include a set of study questions to help encourage student discussion about the subject.
The section finishes with some examples of how this topic might be applied to other scenarios. This is also a good spark for student discussion.

Materials are provided to instructors that allow them to prepare and manage their classrooms for the use of these books.

Materials are provided to instructors that allow them to prepare and manage their classrooms for the use of these books.
This includes completed versions of all the tutorials and exercises, with completed maps.

The materials also include a sample syllabus, and a Teacher’s Guide

The materials also include a sample syllabus, and a Teacher’s Guide

The sample syllabus contains the basic outline of how the book can be used in class, as well as a template for other class requirements. Each instructor can modify this syllabus to meet their course needs, and add any local information that may be necessary.

The teacher’s guide starts with instructions on what it contains.

Information is provided for each tutorial:
•Class Preparation•Learning Objectives•Estimated time to complete
Tutorial and Exercise•Grading criteria•Study questions (and answers)•Names of the completed maps

As a whole, these books cover all the major subject matter for any GIS program.