Embed Size (px)
Citation preview
Recording Your Class Session
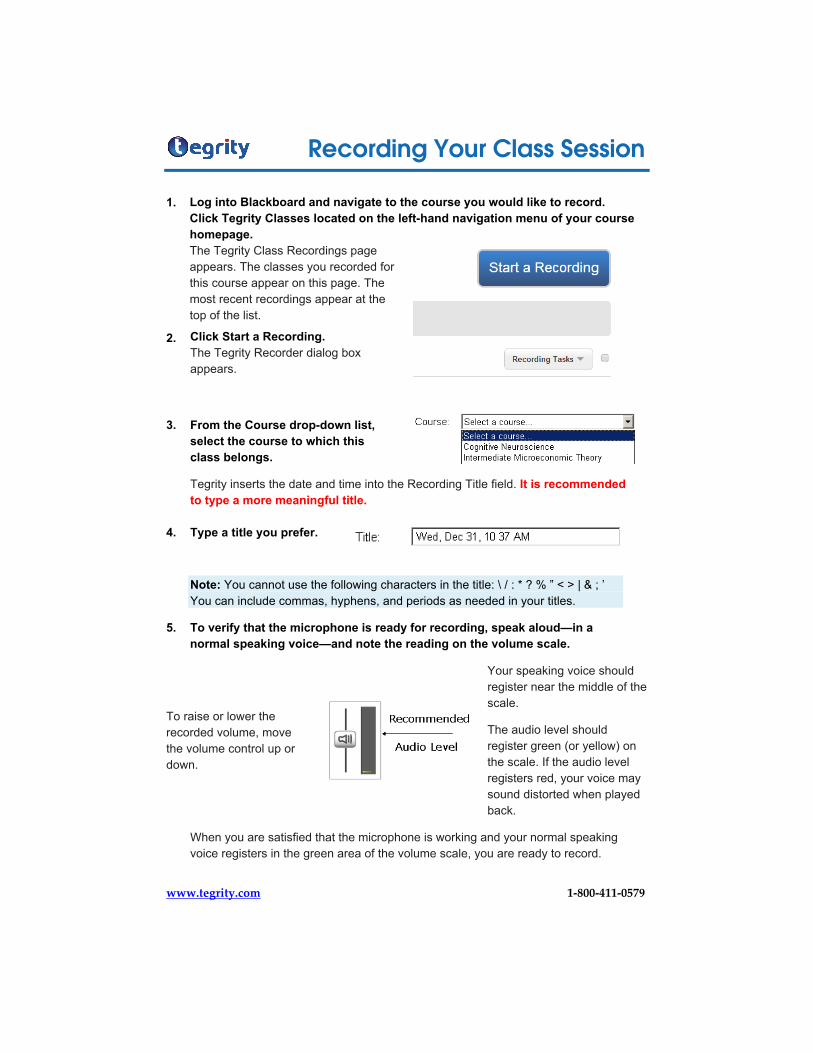
1. Log into Blackboard and navigate to the course you would like to record. Click Tegrity Classes located on the left-hand navigation menu of your course homepage.The Tegrity Class Recordings pageappears. The classes you recorded forthis course appear on this page. Themost recent recordings appear at thetop of the list.
2. Click Start a Recording.The Tegrity Recorder dialog box appears.
3. From the Course drop-down list, select the course to which this class belongs.
Tegrity inserts the date and time into the Recording Title field. It is recommended to type a more meaningful title.
4. Type a title you prefer.
Note: You cannot use the following characters in the title: \ / : * ? % ” < > | & ; ’ You can include commas, hyphens, and periods as needed in your titles.
5. To verify that the microphone is ready for recording, speak aloud—in a normal speaking voice—and note the reading on the volume scale.
To raise or lower the recorded volume, move the volume control up or down.
Your speaking voice should register near the middle of the scale.
The audio level should register green (or yellow) on the scale. If the audio level registers red, your voice may sound distorted when played back.
When you are satisfied that the microphone is working and your normal speaking voice registers in the green area of the volume scale, you are ready to record.
www.tegrity.com 1-800-411-0579

Recording Your Class Session 6. Click the Record a Class button.
7. Read the information in the dialog box that appears and click OK. The dialog box closes and the screen becomes dark for a moment.
8. Wait for the recording control icons to appear in the taskbar. The following icons appear:h Pause—Temporarily stops the
recording. Click to pause; click again to resume.
h Stop—Ends the recording session after you click Yes in a confirmation dialog box.
h Recording Volume—Indicates the recorded audio level.
9. Begin presenting the class material.Conduct your class as usual. You can open and use almost any windows-based application as needed. For example, you can use PowerPoint, browse the Internet, or use Excel or Internet Explorer. Your interactions with these applications are recorded simultaneously with your lecture.
10. When you finish recording your lecture, click the Stop icon on the taskbar. A Tegrity Recorder dialog box asks you to confirm that you want to end the recording.
11. To end the recording, select the required option, as described below, and click Yes.