Embed Size (px)
Citation preview

Easy 1-2-3 installation
R20 RecessedLight ExtenderUser’s Manual

Congratulations on the purchase of the Recessed Light Extender. Once installed, you can provide directed light to specific areas around your house.
Getting Started…The 45153 Recessed Light Extender model requires a “R20” size light bulb. You can use Incandescent, CFL or LED typelight bulb. Do not use a Halogentype light bulb.
The Recessed Light Extender is very simple to assemble and even easier to install.
The Recessed Light Extender consists of two parts –
1. Light Assembly (ratchet screw base, rocker/swivel mount and securing collar)
2. Cover Ring (alignment pin holes, snap clip holes)
Assembly1. Remove the Recessed Light Extender Assembly and Cover Ring from packaging. Take note of the alignment pins and snap clips on securing collar.
2. Position the Recessed Light Extender screw base through the cover ring hole. Position the Alignment pins to the alignment hole on the cover ring.
3. Firmly push the cover ring onto the securing collar snap clips until each clip snaps into place.
No tools required
Includes universal
cover ring that
fits all recessed
lighting fixtures up
to 8” openings
UP TO
8”
See back for troubleshooting

4. Loosen the adjustment ring on the securing collarand slide the collar down the shaft towards the lamp hood until the collar is just above the ring line of the swivel joint.
Your recessed light extender is now ready to install.
Installation1. Turn the power off to thefixture. Simply unscrew thelight bulb from the existingrecessed can light. Insertthe light bulb into theRecessed Light Extender andscrew securely into place. Note: For the R20 size Recessed Light Extender, use a R20 size light bulb.
Use Incandescent, CFL or LED type bulbs. Not for use with Halogen type bulbs.
2. Screw in the Recessed Light Extender into the recessed light socket until the screw base begins to click. The Recessed Light Extender has a safety ratchet mechanism to ensure the extender cannot be screwed in too far and damage the socket.
3. Slide the cover ring up to the ceiling and tighten the adjustment ring for a snug fit. (The cover ring should cover most existing recessed light rings.)
To direct light to a specific area, hold the extender shaft and position lamp hood to desired location using the rocker/swivel mechanism.
Turn power back on...
illustrations
illustrations
illustrations
45153-111/30/09
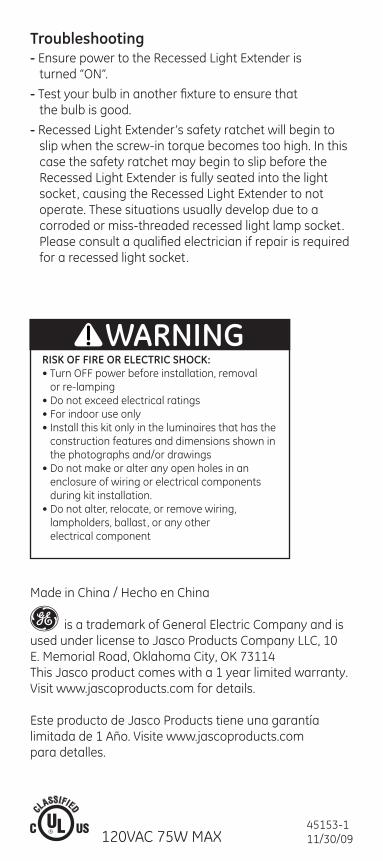
Troubleshooting- Ensure power to the Recessed Light Extender is turned “ON”.
- Test your bulb in another fixture to ensure that the bulb is good.
- Recessed Light Extender’s safety ratchet will begin to slip when the screw-in torque becomes too high. In this case the safety ratchet may begin to slip before the Recessed Light Extender is fully seated into the light socket, causing the Recessed Light Extender to not operate. These situations usually develop due to a corroded or miss-threaded recessed light lamp socket. Please consult a qualified electrician if repair is required for a recessed light socket.
Made in China / Hecho en China is a trademark of General Electric Company and is used under license to Jasco Products Company LLC, 10 E. Memorial Road, Oklahoma City, OK 73114This Jasco product comes with a 1 year limited warranty. Visit www.jascoproducts.com for details.
Este producto de Jasco Products tiene una garantía limitada de 1 Año. Visite www.jascoproducts.com para detalles.
120VAC 75W MAX
RISK OF FIRE OR ELECTRIC SHOCK:• Turn OFF power before installation, removal
or re-lamping• Do not exceed electrical ratings• For indoor use only• Install this kit only in the luminaires that has the
construction features and dimensions shown in the photographs and/or drawings
• Do not make or alter any open holes in an enclosure of wiring or electrical components during kit installation.
• Do not alter, relocate, or remove wiring, lampholders, ballast, or any other electrical component
WARNING!