Embed Size (px)
Citation preview
Photoshop Lab colorspace
A quick and easy 26 step process for enhancing your photos
What is Lab color space
• All digital photos exist in a digital colorspace• Photos by default exist in one of several RGB
color spaces ( Adobe, sRGB, CMYK, Lab )• Most users work in Adobe or sRGB by default• These work well for most instances• Why muck with Lab color space• Lab has the power to make some powerful
edits ( color noise reduction, and sharpening )

How can Lab do this
• Lab has 3 components– L = Lightness– A = A channel controls Red and Green color– B = B channel controls the Blue and Yellow
• By separating the color from the luminescence information some powerful manipulations difficult in other color spaces become possible if not easy

Slicing and Dicing in Lab
Easy powerful adjustments
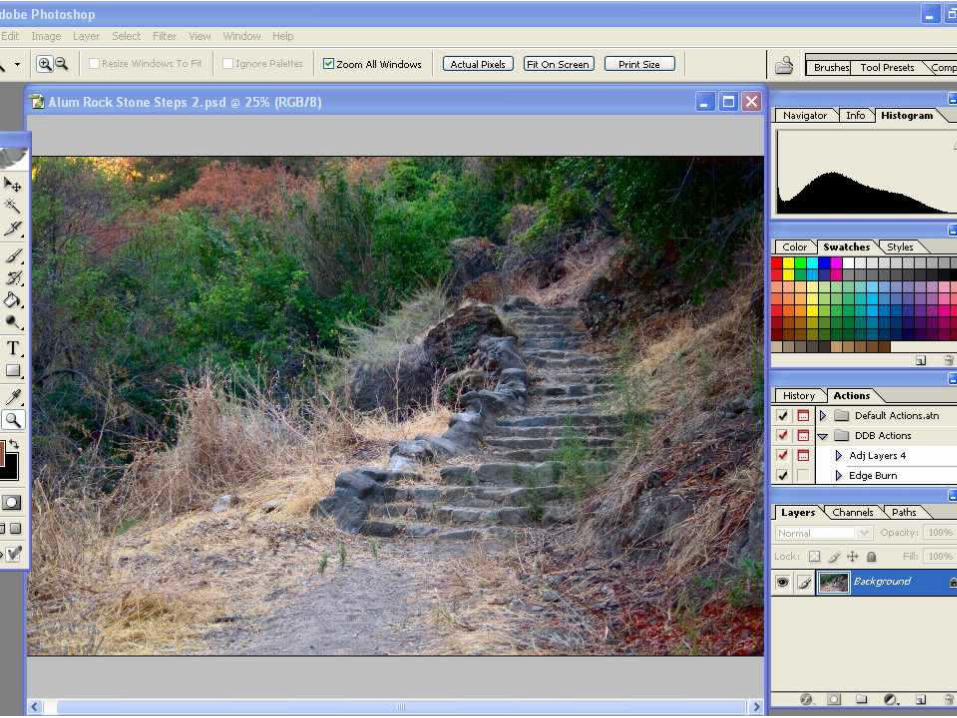
Open An Image
• Open image into photoshop
• For JPEG or Raw usual method
• For Photos with layers the image will be opened in the usual way but will need to be flattened prior to processing
• Good advice – Once opened save under new name to protect original
Convert to Lab colorspace
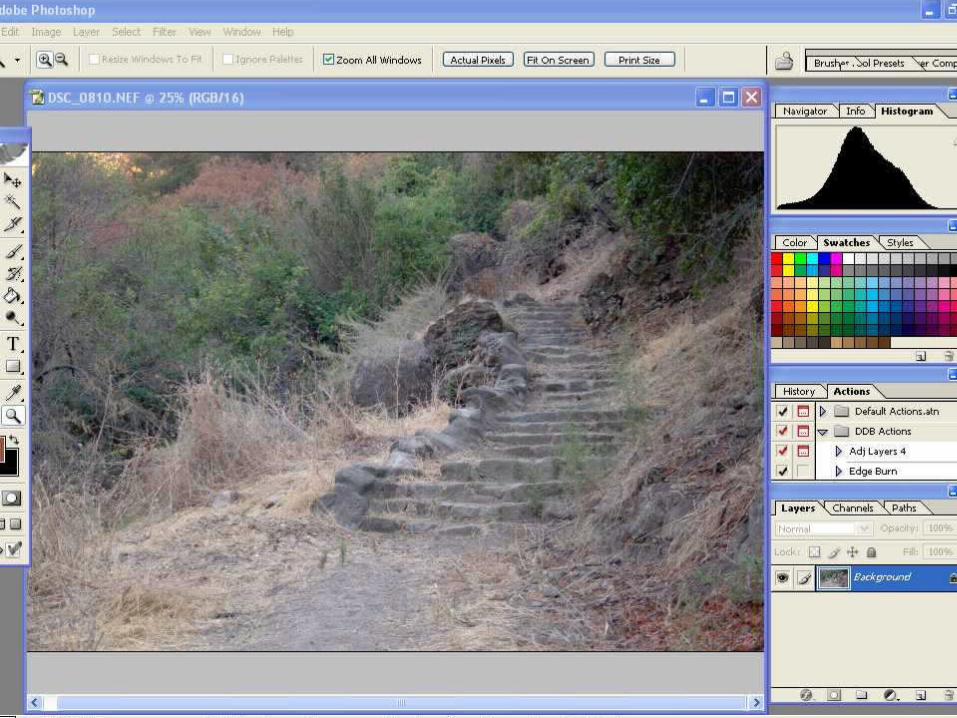
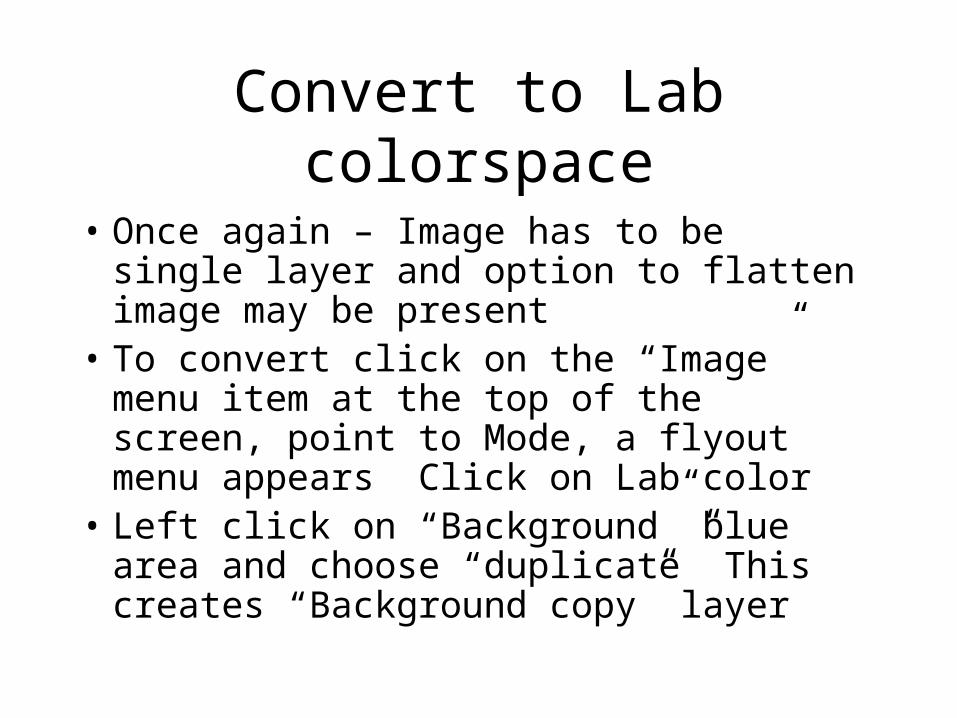
• Once again – Image has to be single layer and option to flatten image may be present
• To convert click on the “Image” menu item at the top of the screen, point to Mode, a flyout menu appears Click on Lab color
• Left click on “Background” blue area and choose “duplicate” This creates “Background copy” layer

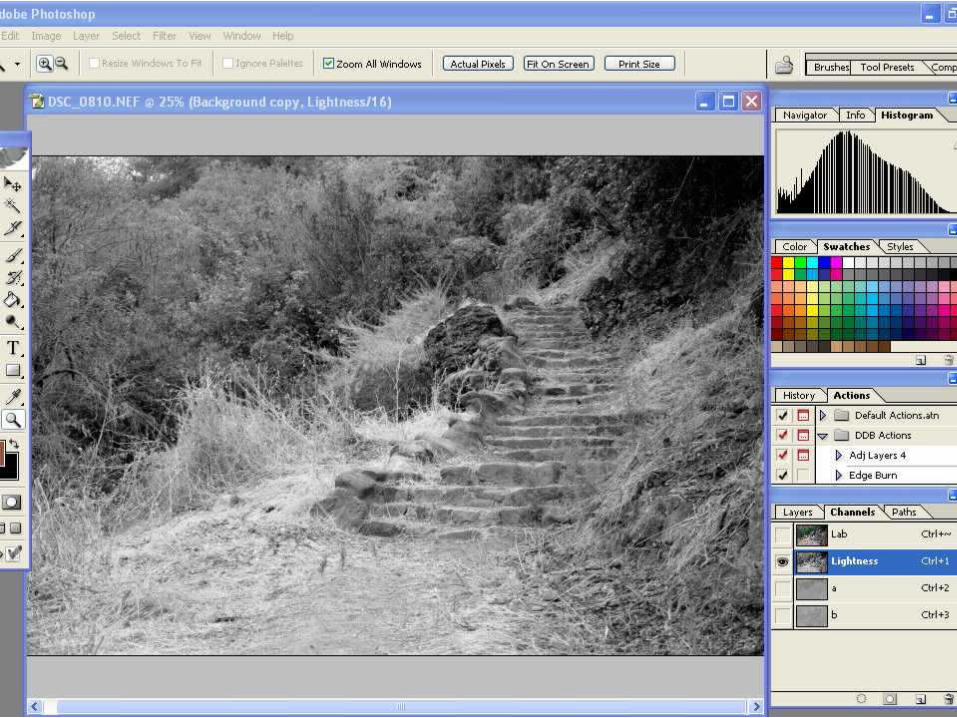
Background Copy - Channels
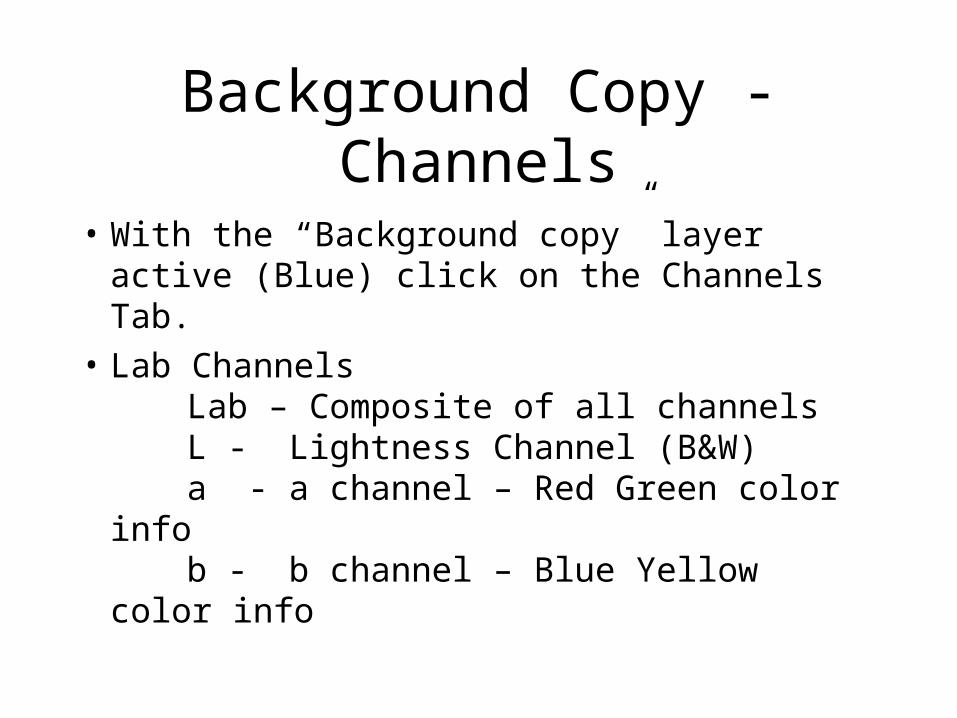
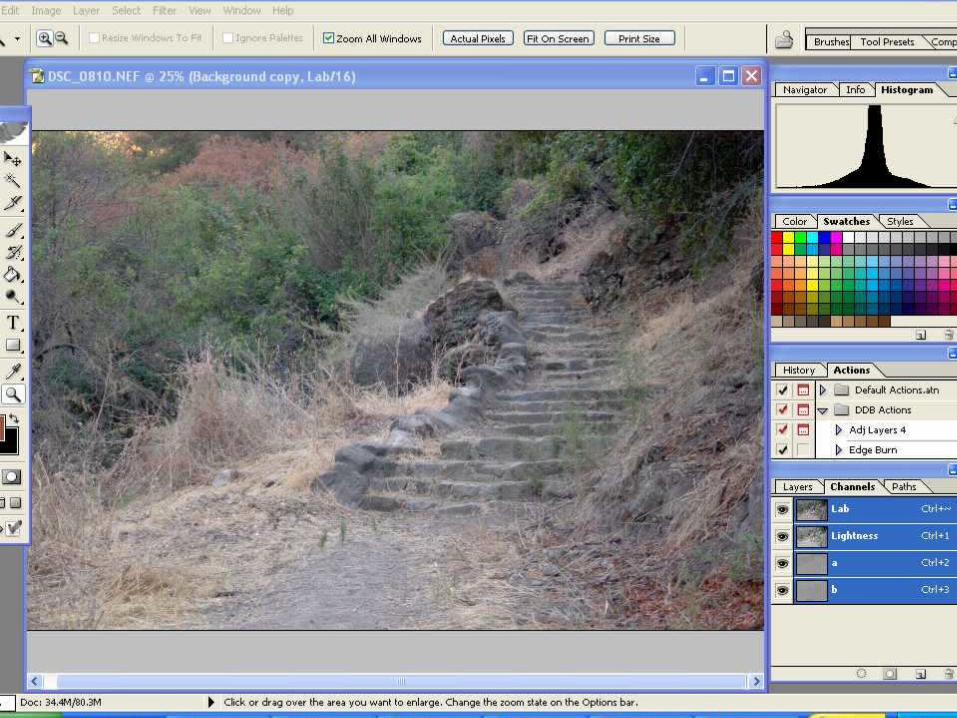
• With the “Background copy” layer active (Blue) click on the Channels Tab.
• Lab ChannelsLab – Composite of all channelsL - Lightness Channel (B&W)a - a channel – Red Green color infob - b channel – Blue Yellow color
info

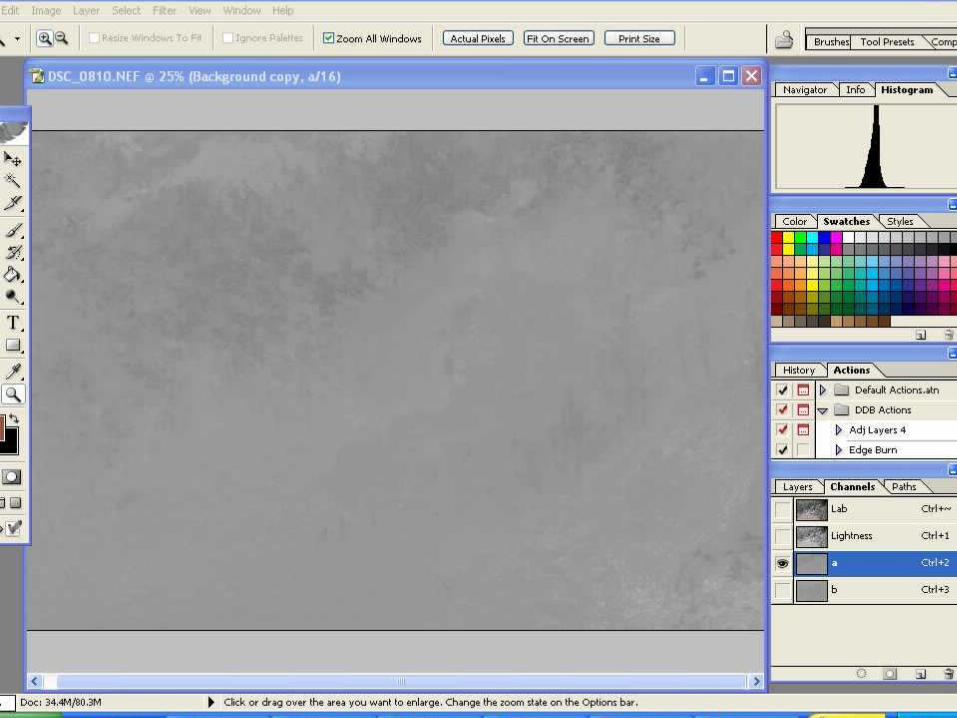
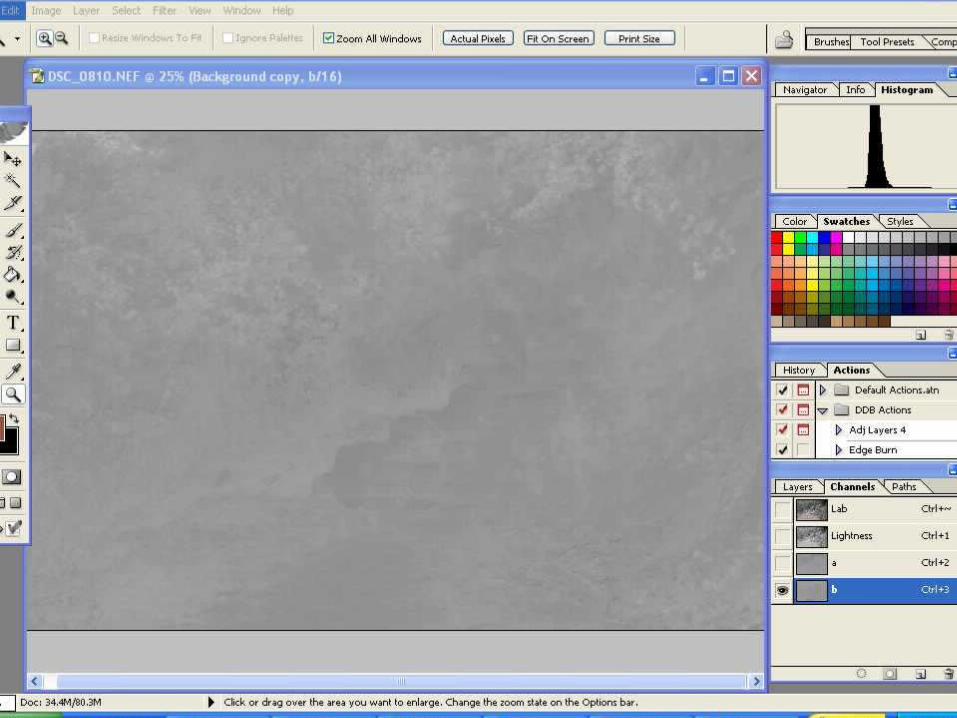
Seclection of a channel to view
• Click on the “Lightness” channel (blue area)
• Only that channel is highlighted (blue)
• The image is now B&W showing the “Lightness” info.
• Note: The image of the a and b channels is not very interesting that is apparently normal

To Adjust Contrast & Brightness
• Click on “Layers” menu item (top of screen)
• Place cursor on “New Adjustment Layer”
• In flyout menu click on Curves
• A dialog box appears click OK
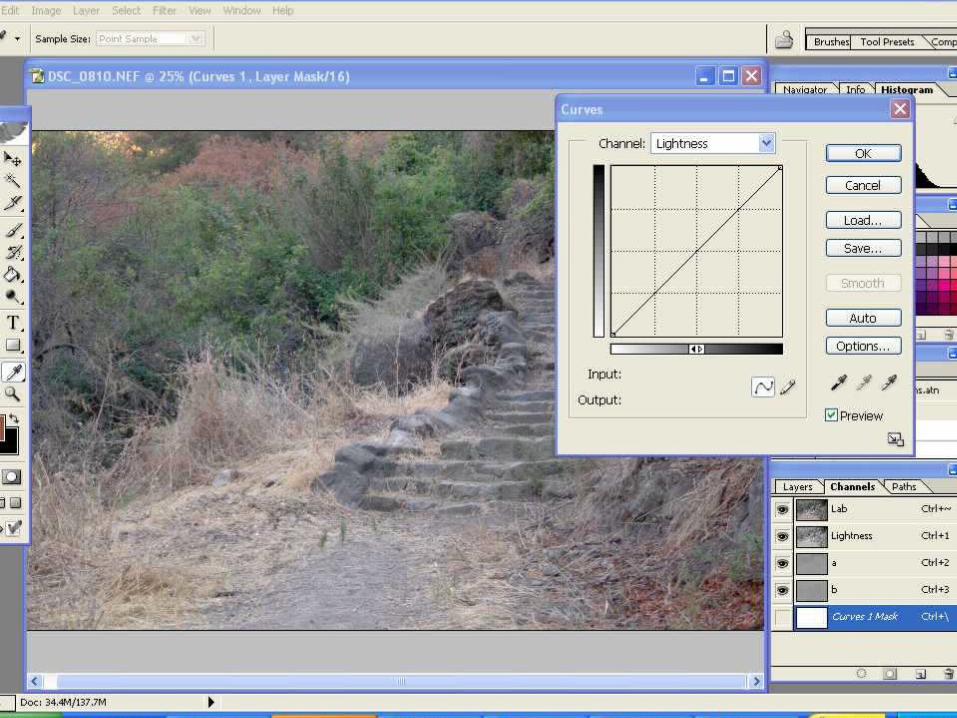
• A new curves window appears

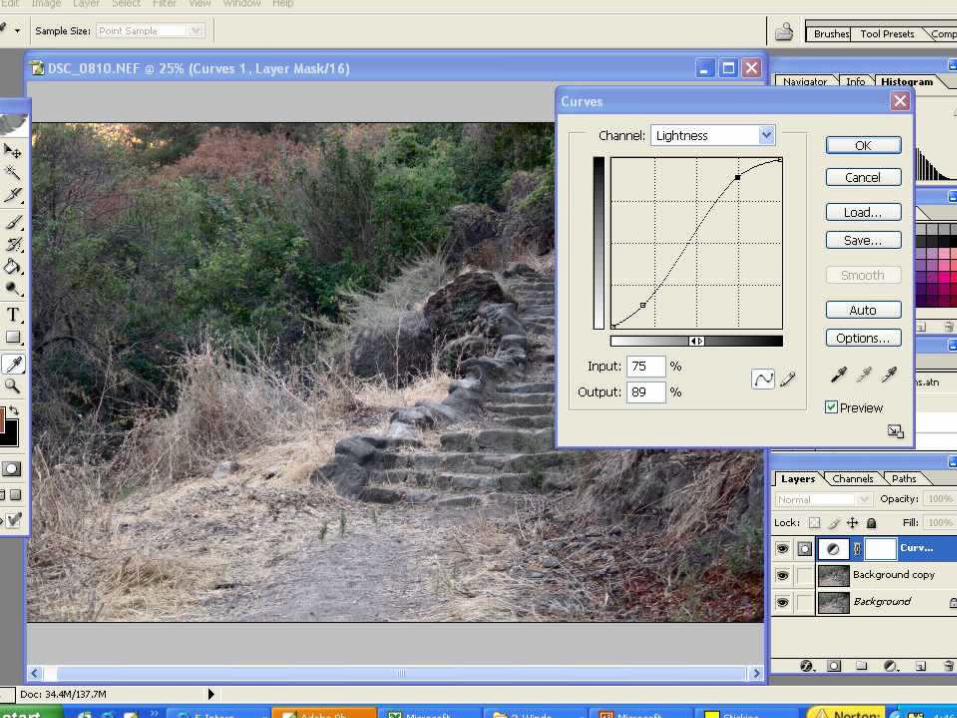
Lightness Adjustments
• Modifying the placement and or shape of the line makes the adjustments
• There are control points at either end of the line. Open circles are inactive control points which become black when active.
• To add control points click on line• Pointing to control point/ Click and hold and
move changes point placement• To remove a control point: click to make the point
active (black) and hit the delete key
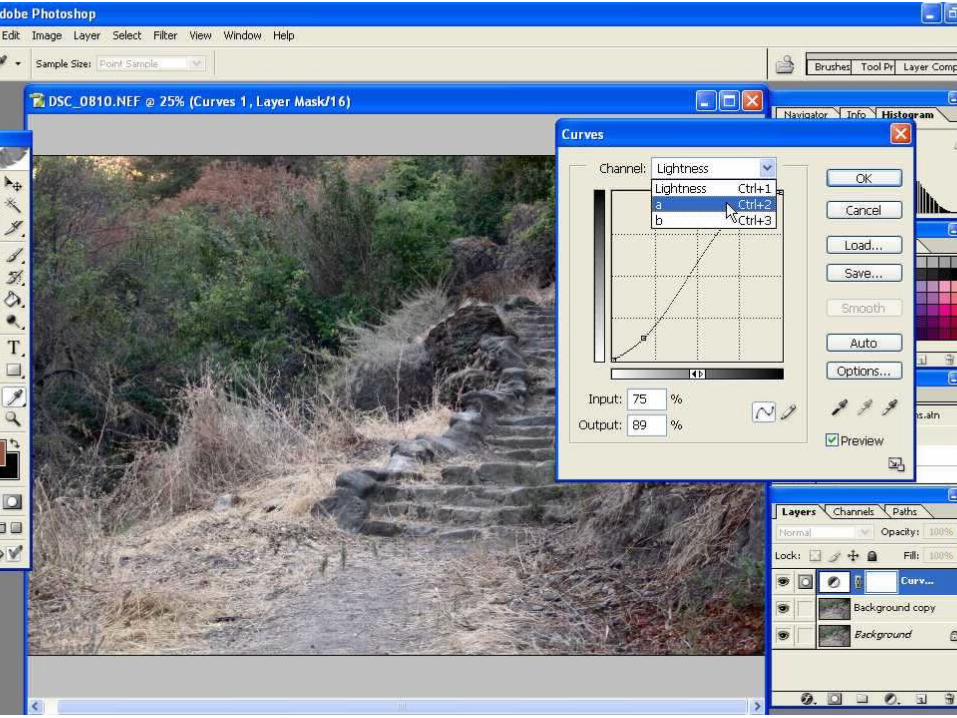
On To Color Adjustments
• Remember these changes are made to the “Curves” layer. This layer adjust the layer just beneath the “Curves” layer. In this case the “Background copy” layer. The “background” layer remains unchanged
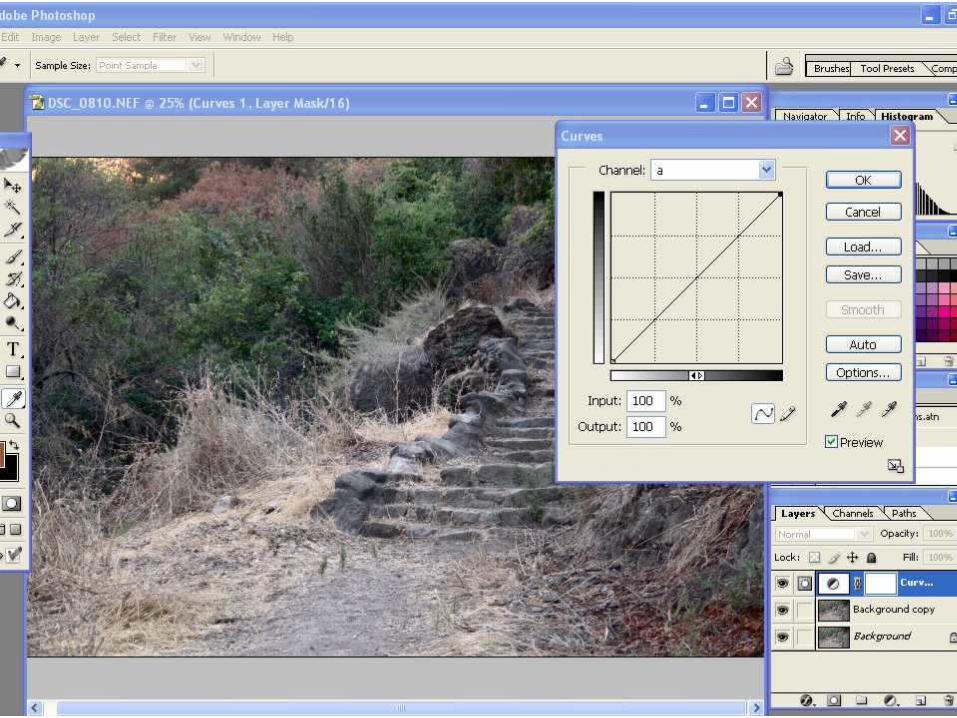
• Within the curves window click on the Channel drop down. (just above the curve graph) and choose “a” channel
Color Adjustment – Good stuff
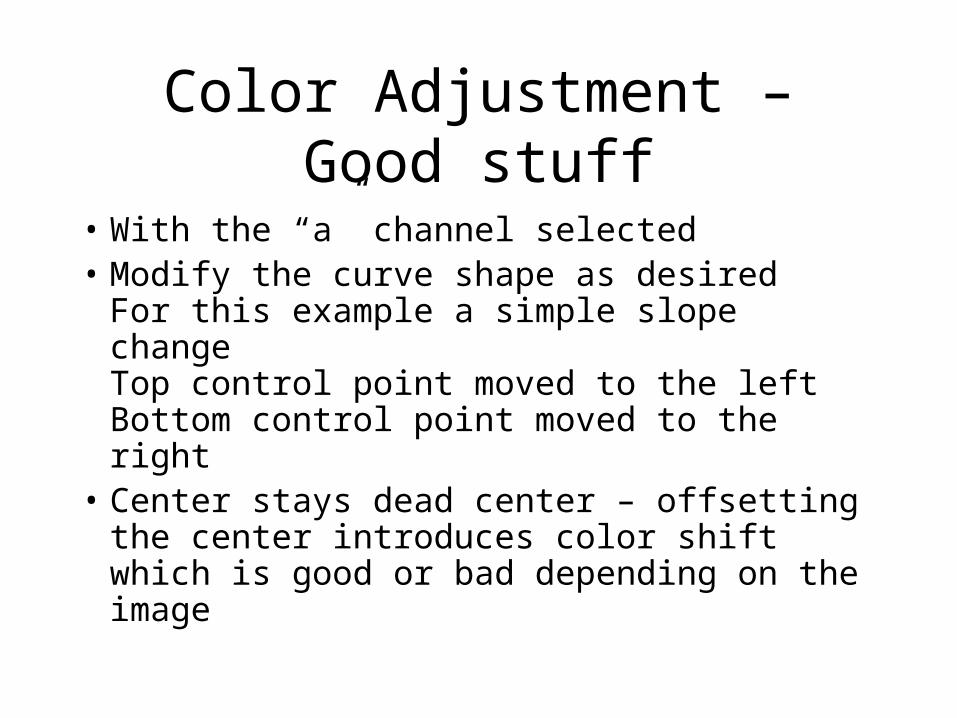
• With the “a” channel selected• Modify the curve shape as desired
For this example a simple slope changeTop control point moved to the leftBottom control point moved to the right
• Center stays dead center – offsetting the center introduces color shift which is good or bad depending on the image

Color Adjust b curve
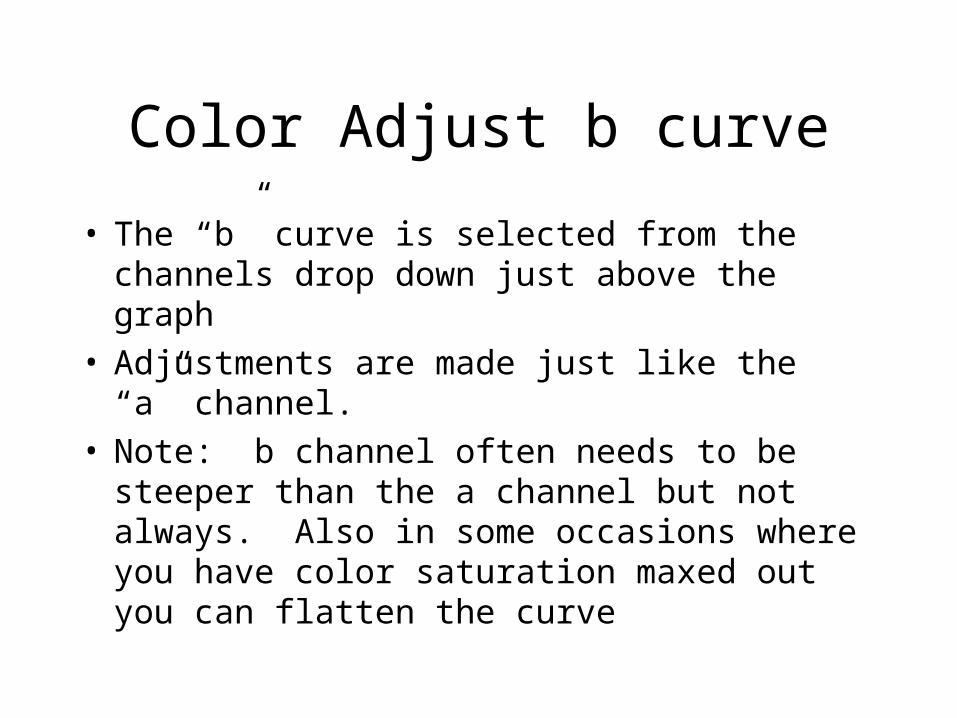
• The “b” curve is selected from the channels drop down just above the graph
• Adjustments are made just like the “a” channel.• Note: b channel often needs to be steeper than the
a channel but not always. Also in some occasions where you have color saturation maxed out you can flatten the curve
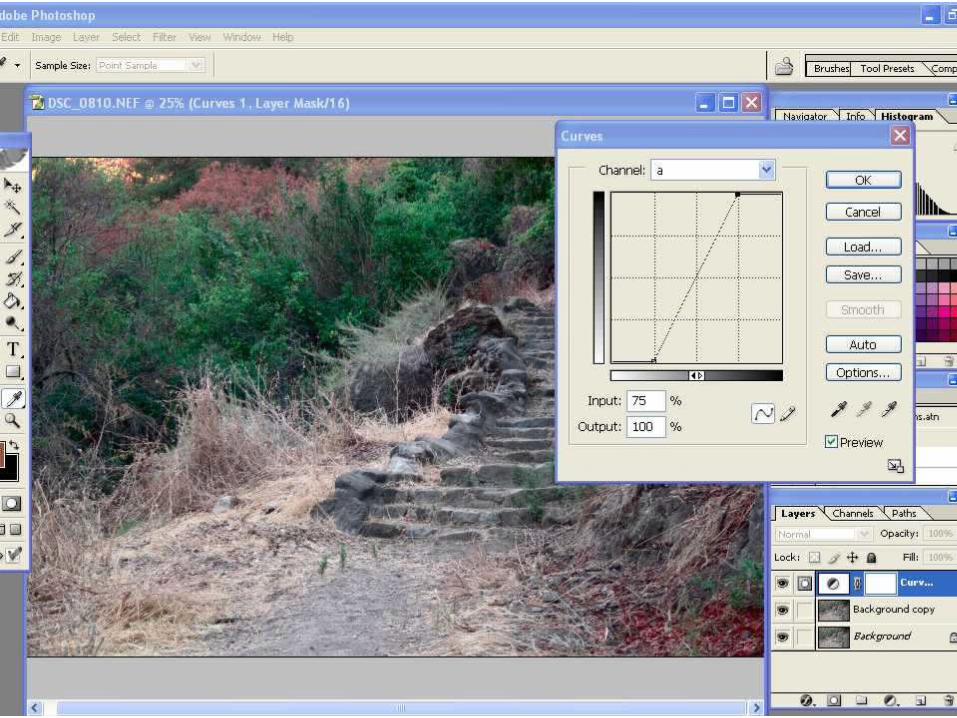
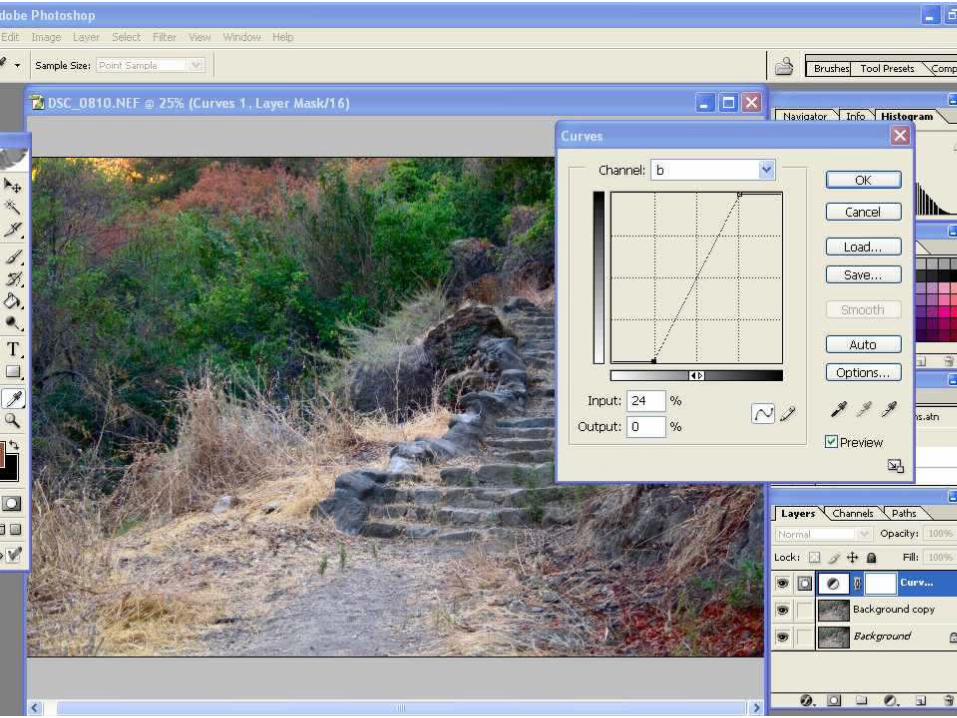
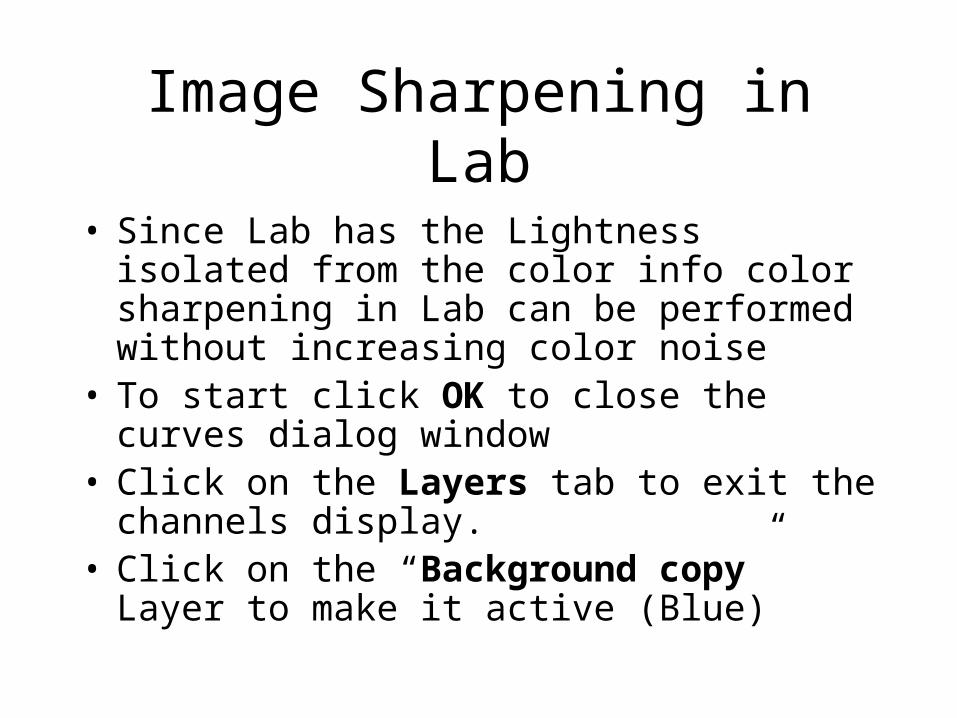
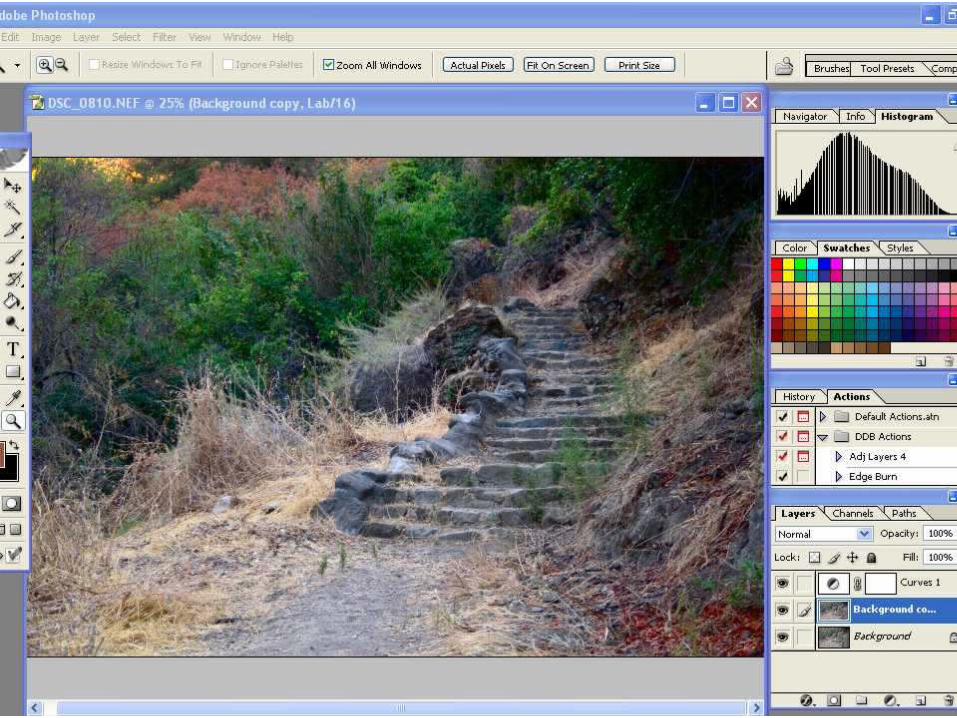
Image Sharpening in Lab
• Since Lab has the Lightness isolated from the color info color sharpening in Lab can be performed without increasing color noise
• To start click OK to close the curves dialog window
• Click on the Layers tab to exit the channels display.
• Click on the “Background copy” Layer to make it active (Blue)
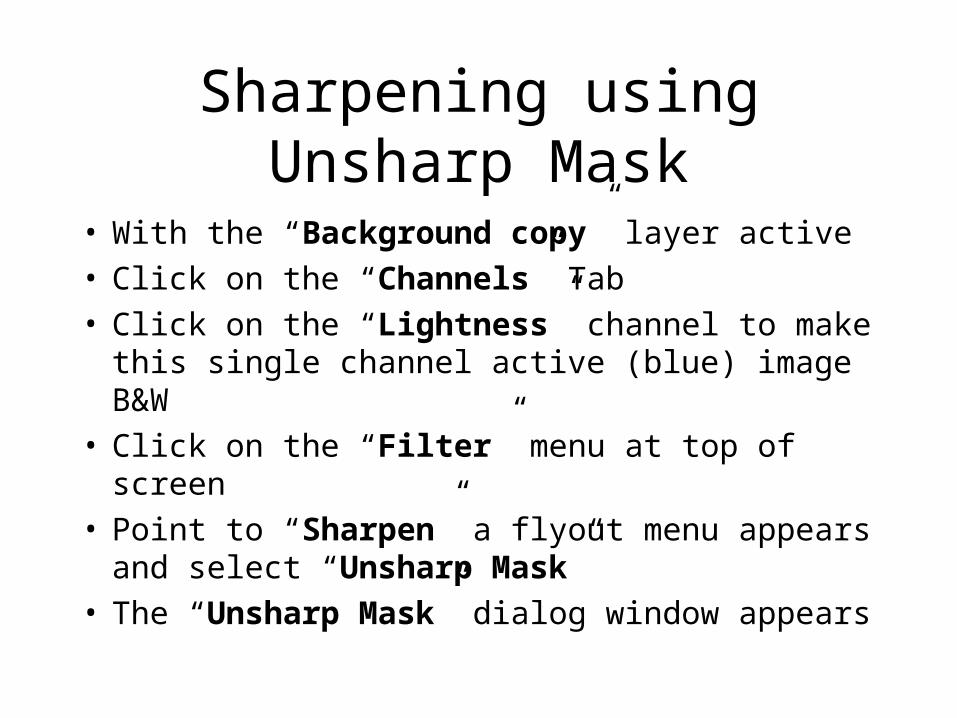
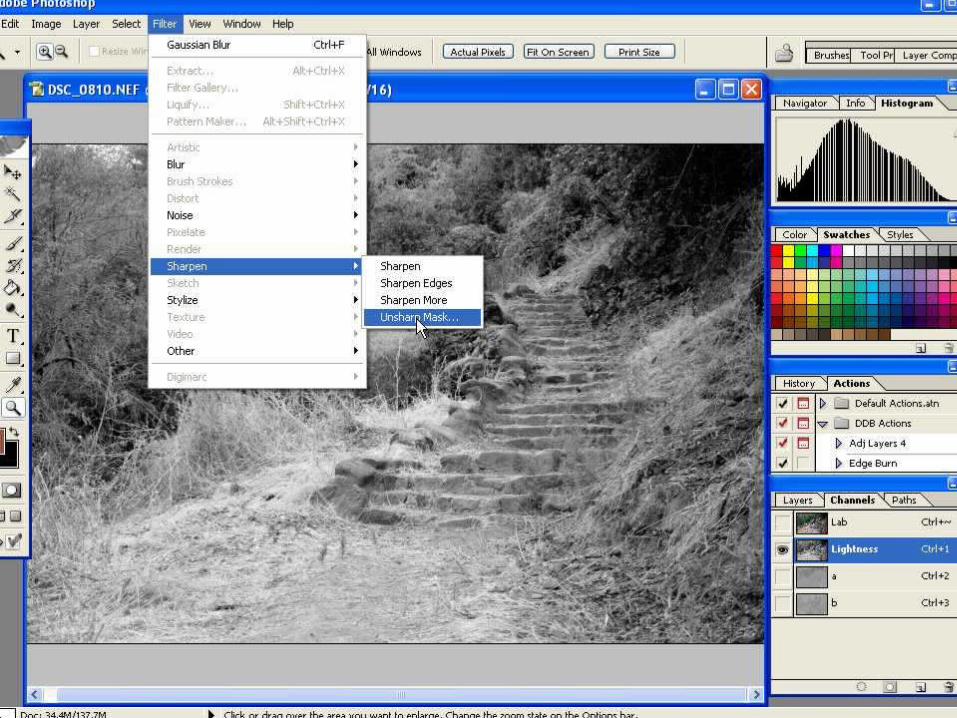
Sharpening using Unsharp Mask
• With the “Background copy” layer active• Click on the “Channels” Tab• Click on the “Lightness” channel to make this
single channel active (blue) image B&W• Click on the “Filter” menu at top of screen• Point to “Sharpen” a flyout menu appears and
select “Unsharp Mask”• The “Unsharp Mask” dialog window appears

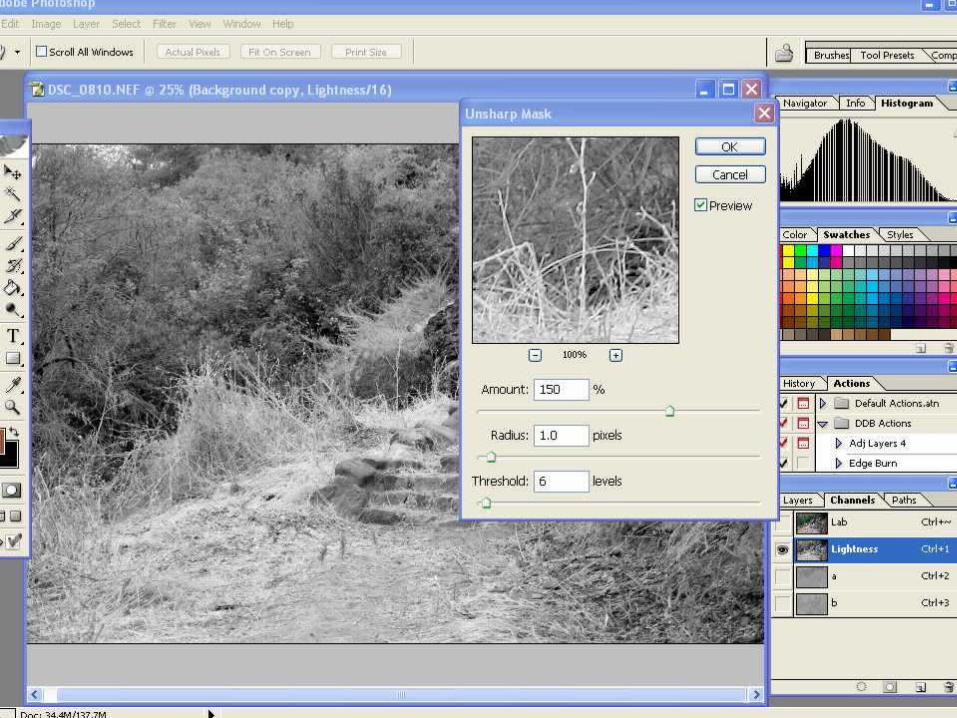
Unsharp Mask Setting
• Threshold – 0 to 6 are generally appropriate
• Radius – 1 to 3 good starting value
• Amount – 50 to 200 good starting value
• For this exampleThreshold = 6Radius = 1Amount = 150
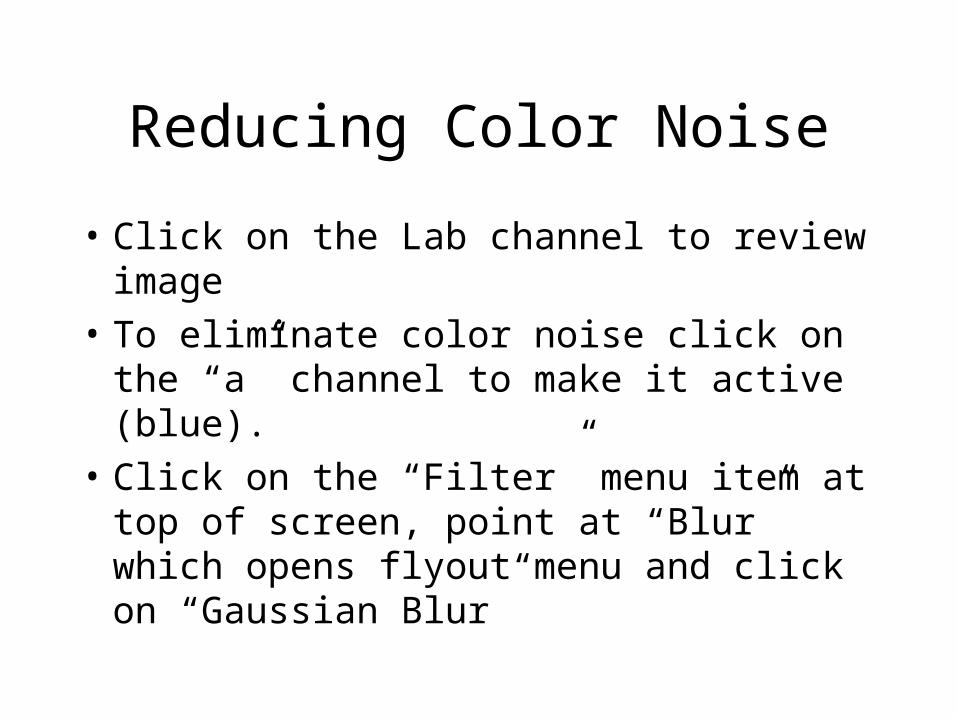
Reducing Color Noise
• Click on the Lab channel to review image
• To eliminate color noise click on the “a” channel to make it active (blue).
• Click on the “Filter” menu item at top of screen, point at “Blur” which opens flyout menu and click on “Gaussian Blur”

Color Noise Removal
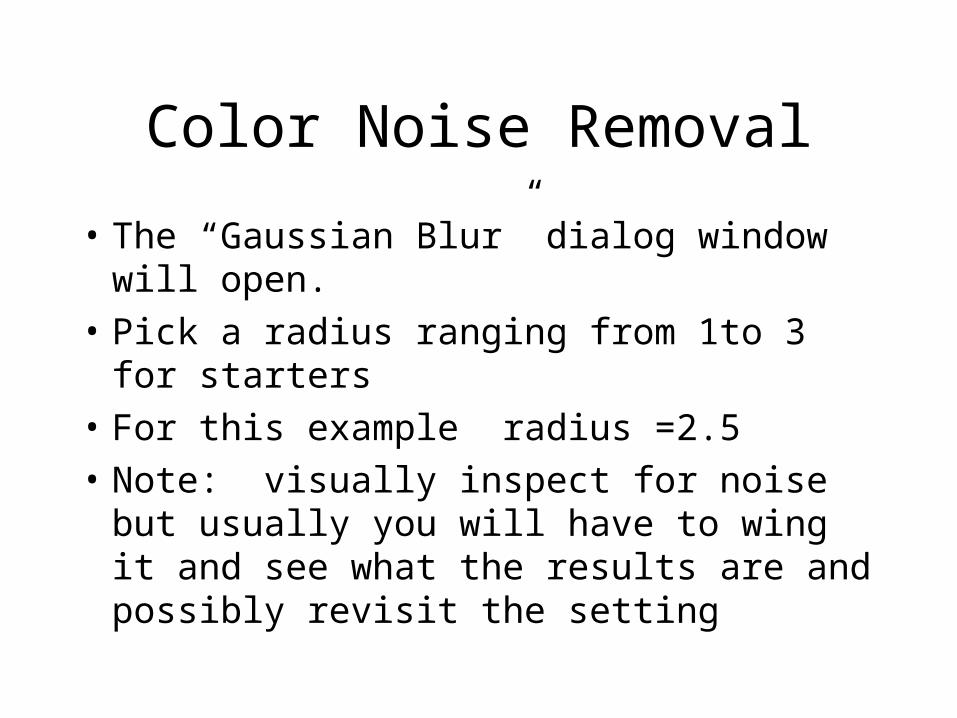
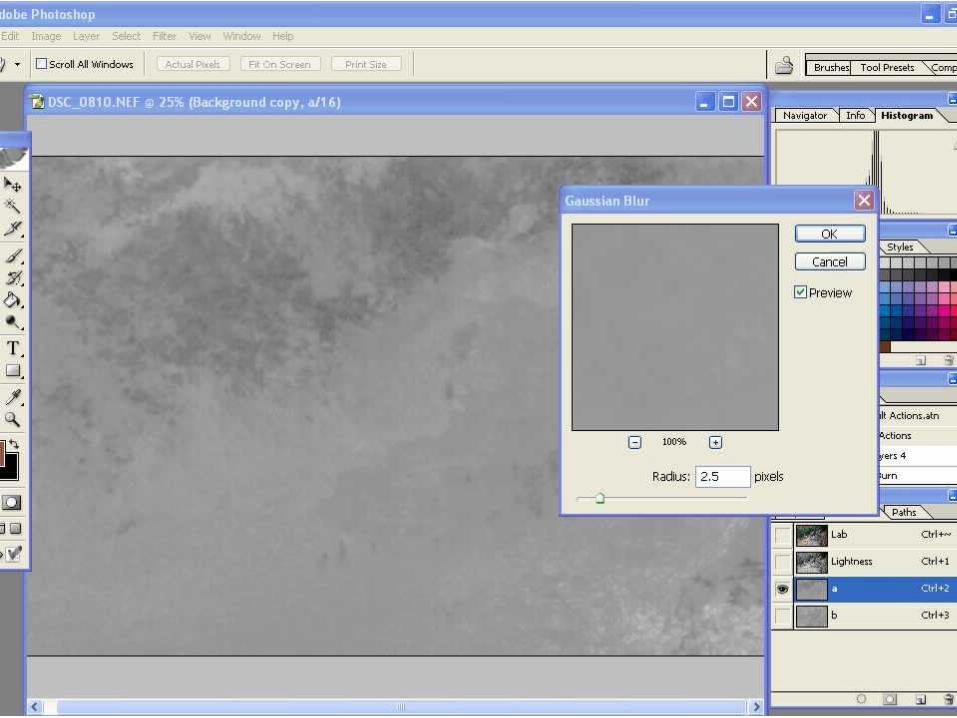
• The “Gaussian Blur” dialog window will open.
• Pick a radius ranging from 1to 3 for starters
• For this example radius =2.5
• Note: visually inspect for noise but usually you will have to wing it and see what the results are and possibly revisit the setting
Color noise removal from “b” channel
• Repeat the process same as “a”channel
• Note: The “b” channel usually has the most noise (blue camera pixels) and typically will require a higher blur setting. In some cases the scratch filter may be useful
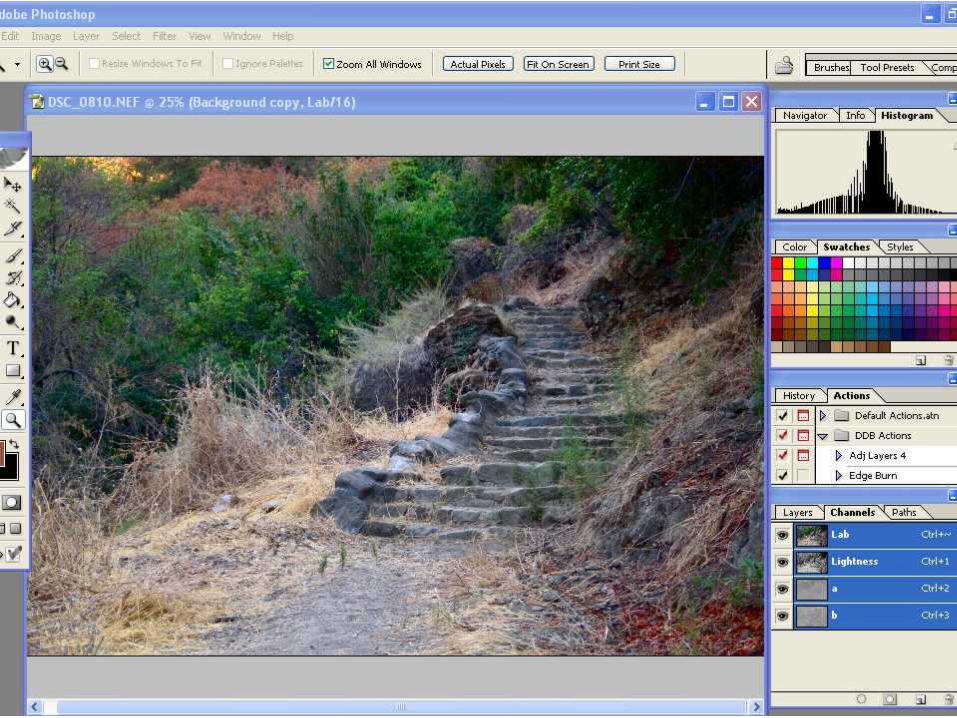
• When complete click on the “Lab” channel to see the final product
Getting Back to RGB
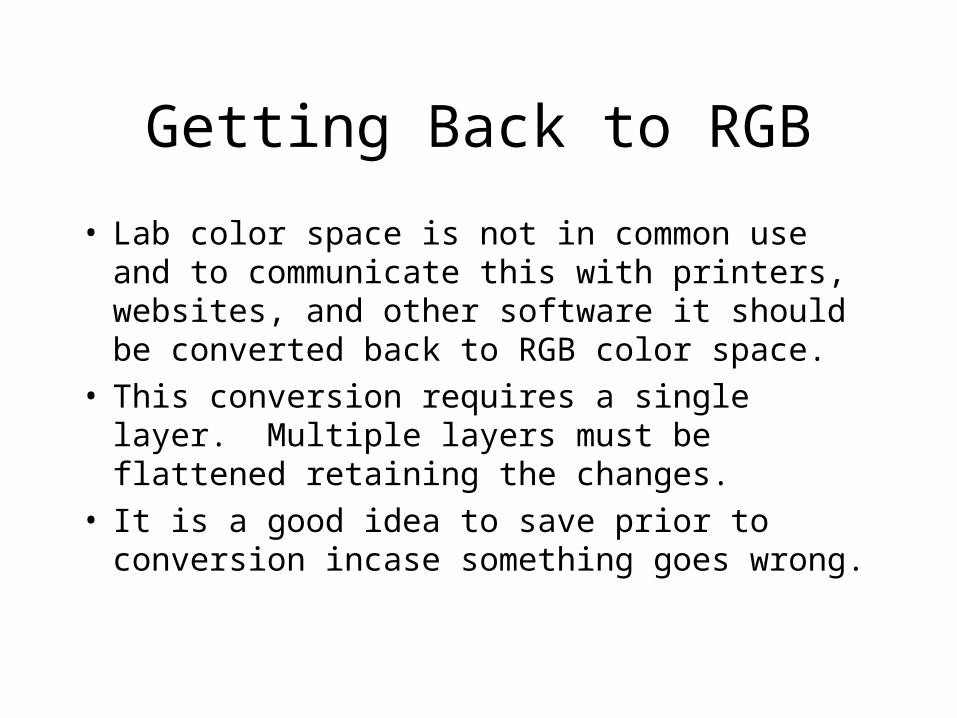
• Lab color space is not in common use and to communicate this with printers, websites, and other software it should be converted back to RGB color space.
• This conversion requires a single layer. Multiple layers must be flattened retaining the changes.
• It is a good idea to save prior to conversion incase something goes wrong.

Conversion to RGB
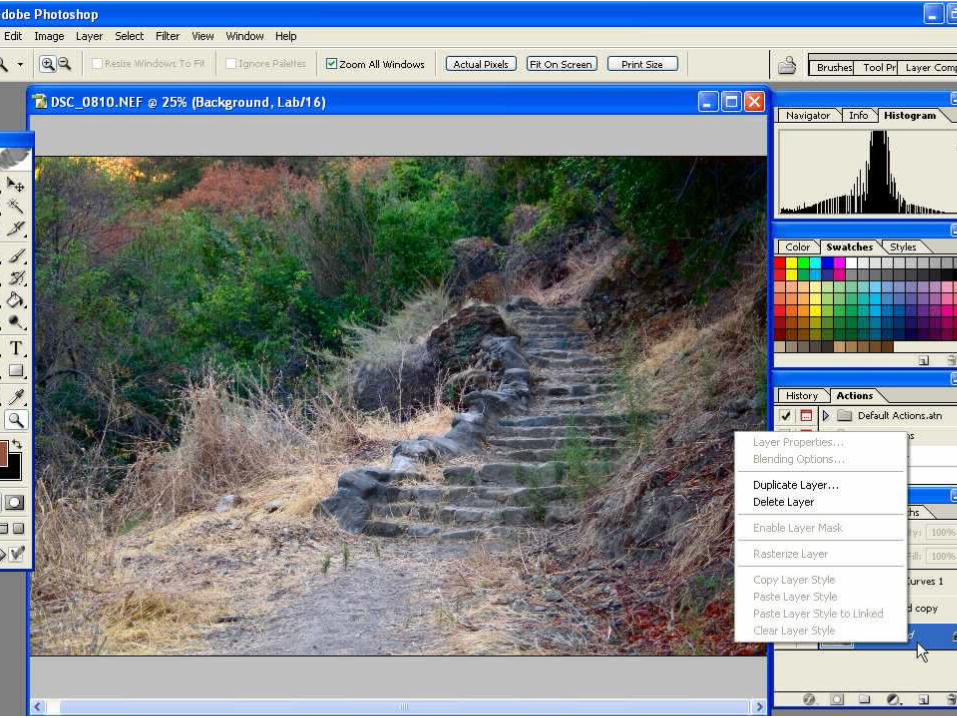
• Click on the “Layers” tab at the top of the layers window
• 3 Layers will be visibleCurves Layer – has color and contrastBackground Copy – has sharpening and color noise removal changesBackground – this is the backup and can be deleted
• Right click on the Background Layer and delete
Conversion to RGB (2)
• Click on the “Layer” menu item at the top of the screen
• Click on the “Flatten Image” at the bottom of the drop down menu
• Click on the “Image” menu item at the top of the screen
• Point at the “Mode” in the drop down menu
• Click on the “RGB color” in the flyout menu
• Progress bar indicates conversion
• Save final version
• Collect admiration, royalties, and awards