Embed Size (px)
Citation preview
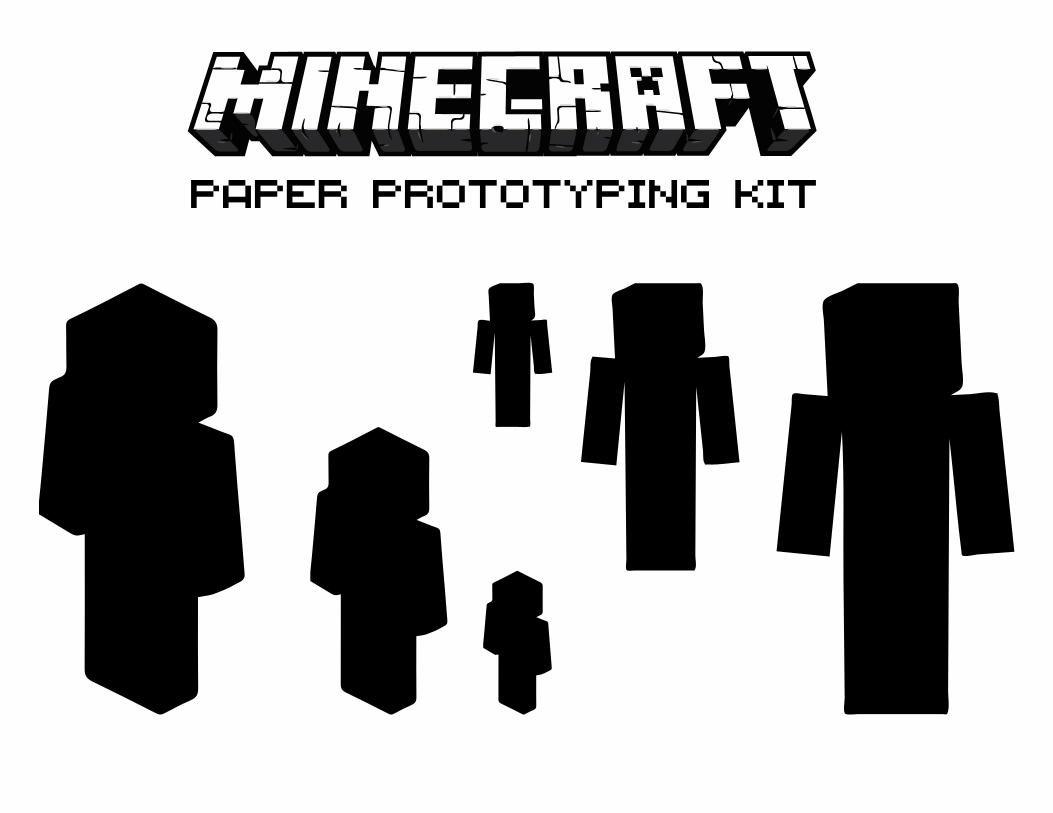
Paper Prototyping Kit
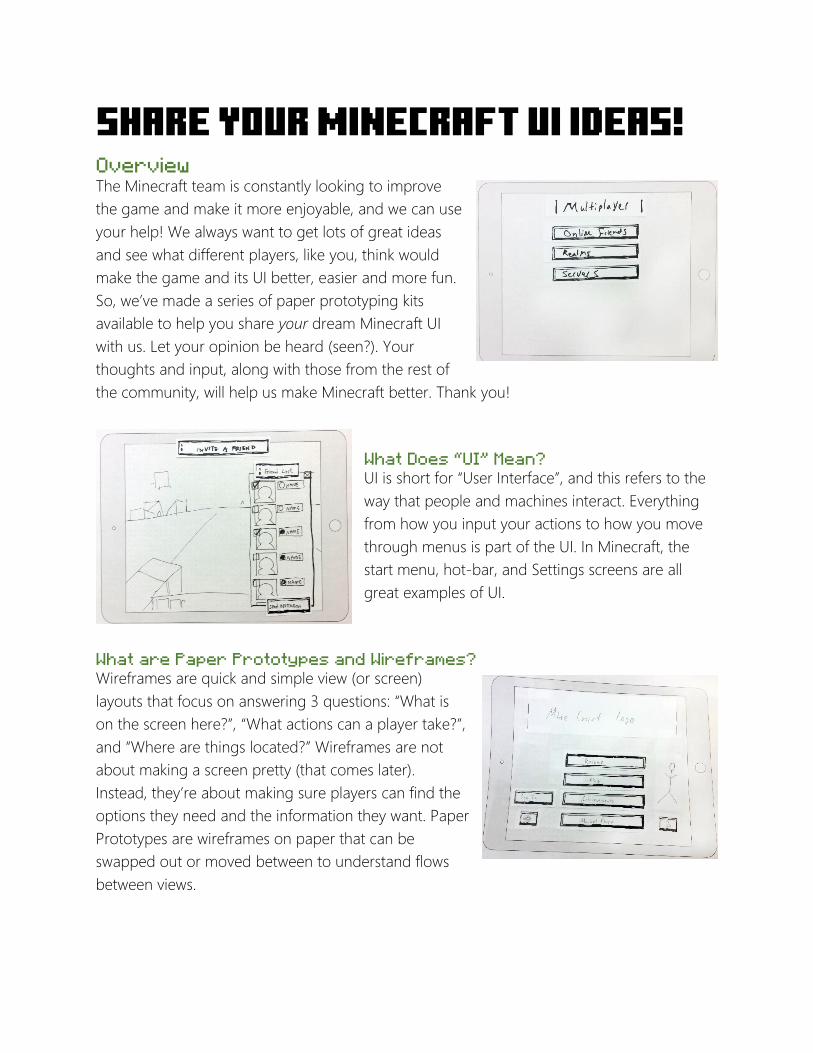
Share Your Minecraft UI IDEAs! Overview The Minecraft team is constantly looking to improve the game and make it more enjoyable, and we can use your help! We always want to get lots of great ideas and see what different players, like you, think would make the game and its UI better, easier and more fun. So, we’ve made a series of paper prototyping kits available to help you share your dream Minecraft UI with us. Let your opinion be heard (seen?). Your thoughts and input, along with those from the rest of the community, will help us make Minecraft better. Thank you!
What Does “UI” Mean? UI is short for “User Interface”, and this refers to the way that people and machines interact. Everything from how you input your actions to how you move through menus is part of the UI. In Minecraft, the start menu, hot-bar, and Settings screens are all great examples of UI.
What are Paper Prototypes and Wireframes? Wireframes are quick and simple view (or screen) layouts that focus on answering 3 questions: “What is on the screen here?”, “What actions can a player take?”, and “Where are things located?” Wireframes are not about making a screen pretty (that comes later). Instead, they’re about making sure players can find the options they need and the information they want. Paper Prototypes are wireframes on paper that can be swapped out or moved between to understand flows between views.
Activities Over time, the Minecraft team is planning to announce Community UI Design Challenges that you can use the available paper prototyping kits to work on.
We’ll ask you to create views for different parts or features of the game, the way you think they should work.
When you’re happy with your creation, you can take a picture of your UI masterpiece and send it to us. We’ll let you know how to share your awesome idea examples (with both the Minecraft Team and the rest of the community) with each challenge announcement.
We’ll use all the ideas shared by the community in our efforts to make the game better for everyone on every device.
What’s Included in the Kits? Each Minecraft paper prototyping kit has one or more screen grid, simple sketchy UI components to cut out and place in your screens, and a ‘Draw Your Own’ sheet for you to sketch and cut out your own custom components.
• Screen Grid : Use this to frame and layout the rest of your UI as it would look on the screen. Which screen grid you have depends on which kit you downloaded:
o PC Kit: Monitor o Console Kit: TV o Tablet Kit: Umm… Tablet o Phone Kit: Yep, a smaller Phone screen.
• Scroll Extension : Cut this out and attach it to the bottom of your screen grid to represent an extra section of the screen players can scroll to and see more components and info.
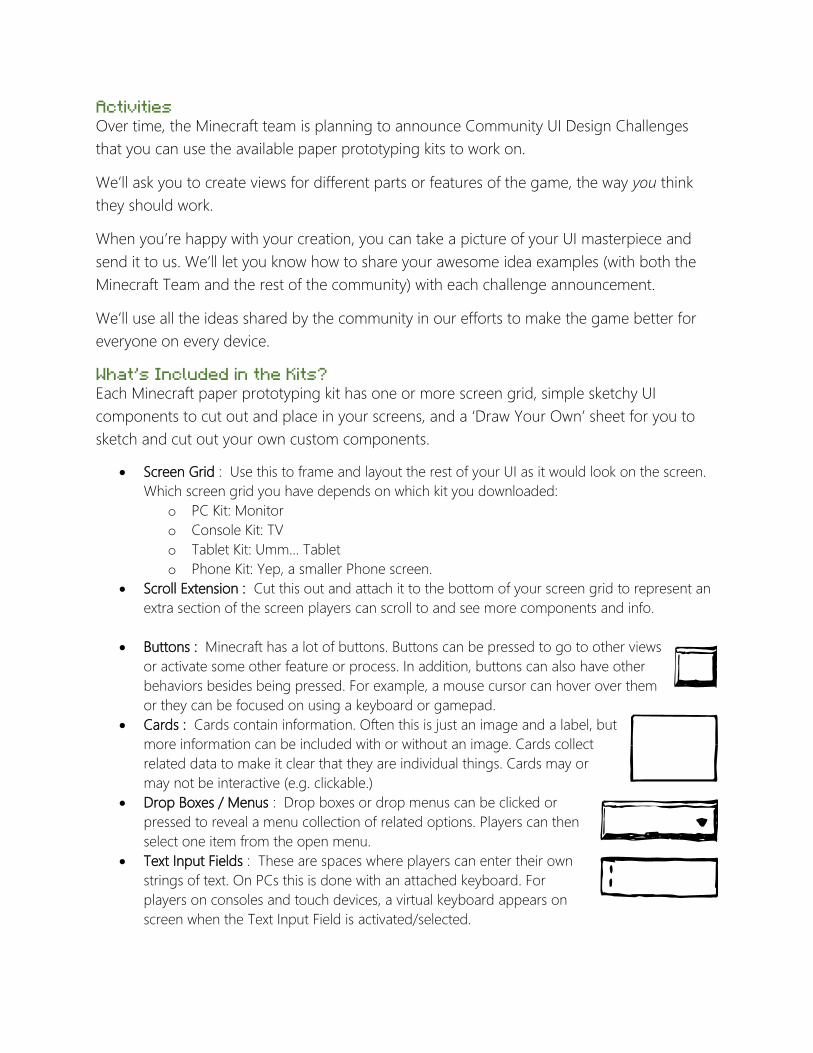
• Buttons : Minecraft has a lot of buttons. Buttons can be pressed to go to other views or activate some other feature or process. In addition, buttons can also have other behaviors besides being pressed. For example, a mouse cursor can hover over them or they can be focused on using a keyboard or gamepad.
• Cards : Cards contain information. Often this is just an image and a label, but more information can be included with or without an image. Cards collect related data to make it clear that they are individual things. Cards may or may not be interactive (e.g. clickable.)
• Drop Boxes / Menus : Drop boxes or drop menus can be clicked or pressed to reveal a menu collection of related options. Players can then select one item from the open menu.
• Text Input Fields : These are spaces where players can enter their own strings of text. On PCs this is done with an attached keyboard. For players on consoles and touch devices, a virtual keyboard appears on screen when the Text Input Field is activated/selected.
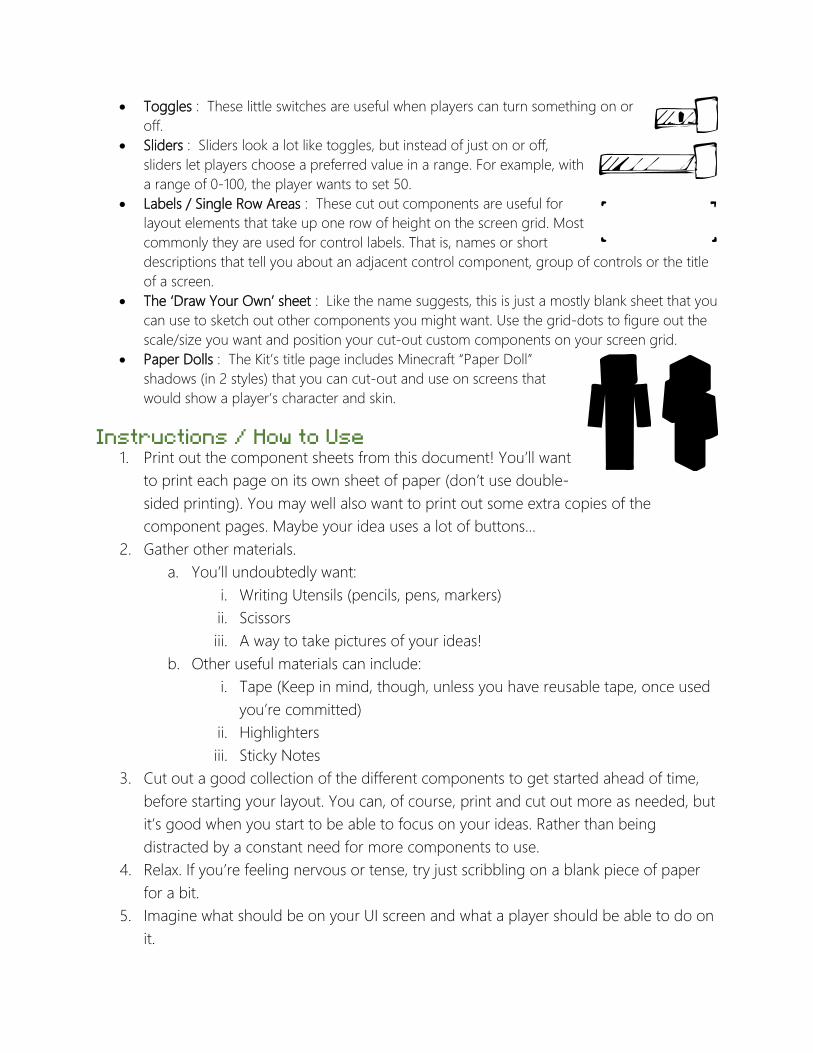
• Toggles : These little switches are useful when players can turn something on or off.
• Sliders : Sliders look a lot like toggles, but instead of just on or off, sliders let players choose a preferred value in a range. For example, with a range of 0-100, the player wants to set 50.
• Labels / Single Row Areas : These cut out components are useful for layout elements that take up one row of height on the screen grid. Most commonly they are used for control labels. That is, names or short descriptions that tell you about an adjacent control component, group of controls or the title of a screen.
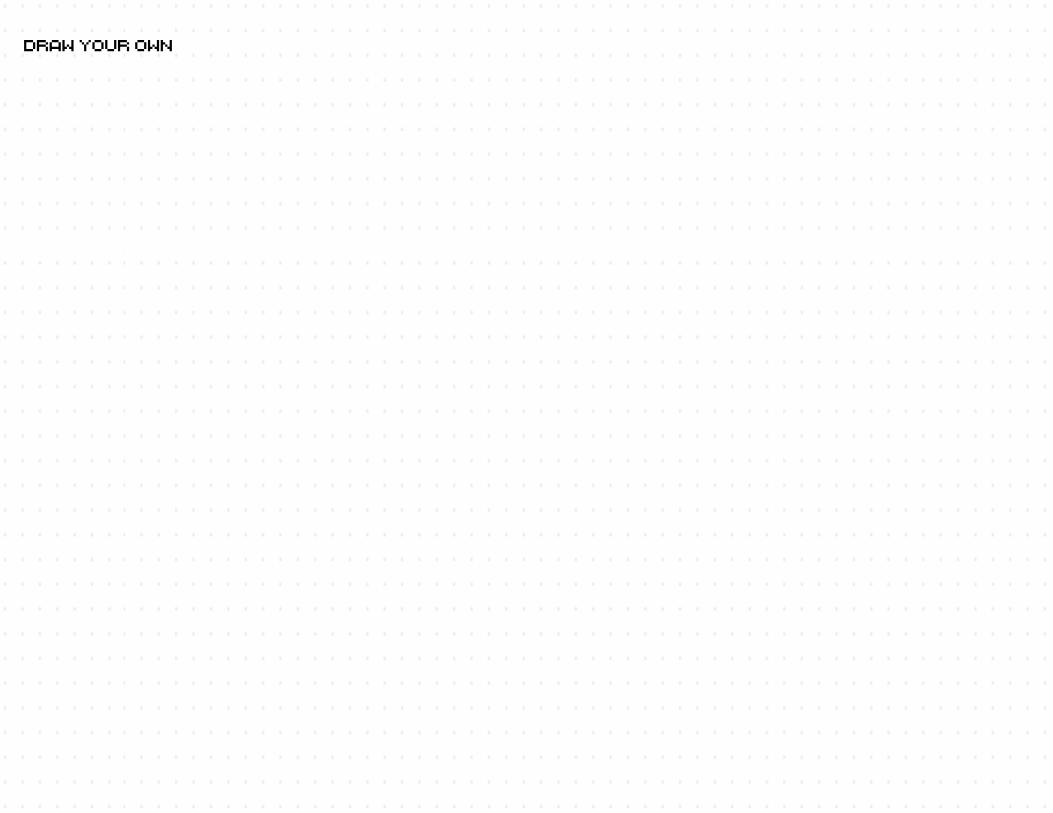
• The ‘Draw Your Own’ sheet : Like the name suggests, this is just a mostly blank sheet that you can use to sketch out other components you might want. Use the grid-dots to figure out the scale/size you want and position your cut-out custom components on your screen grid.
• Paper Dolls : The Kit’s title page includes Minecraft “Paper Doll” shadows (in 2 styles) that you can cut-out and use on screens that would show a player’s character and skin.
Instructions / How to Use 1. Print out the component sheets from this document! You’ll want
to print each page on its own sheet of paper (don’t use double-sided printing). You may well also want to print out some extra copies of the component pages. Maybe your idea uses a lot of buttons…
2. Gather other materials. a. You’ll undoubtedly want:
i. Writing Utensils (pencils, pens, markers) ii. Scissors iii. A way to take pictures of your ideas!
b. Other useful materials can include: i. Tape (Keep in mind, though, unless you have reusable tape, once used
you’re committed) ii. Highlighters iii. Sticky Notes
3. Cut out a good collection of the different components to get started ahead of time, before starting your layout. You can, of course, print and cut out more as needed, but it’s good when you start to be able to focus on your ideas. Rather than being distracted by a constant need for more components to use.
4. Relax. If you’re feeling nervous or tense, try just scribbling on a blank piece of paper for a bit.
5. Imagine what should be on your UI screen and what a player should be able to do on it.
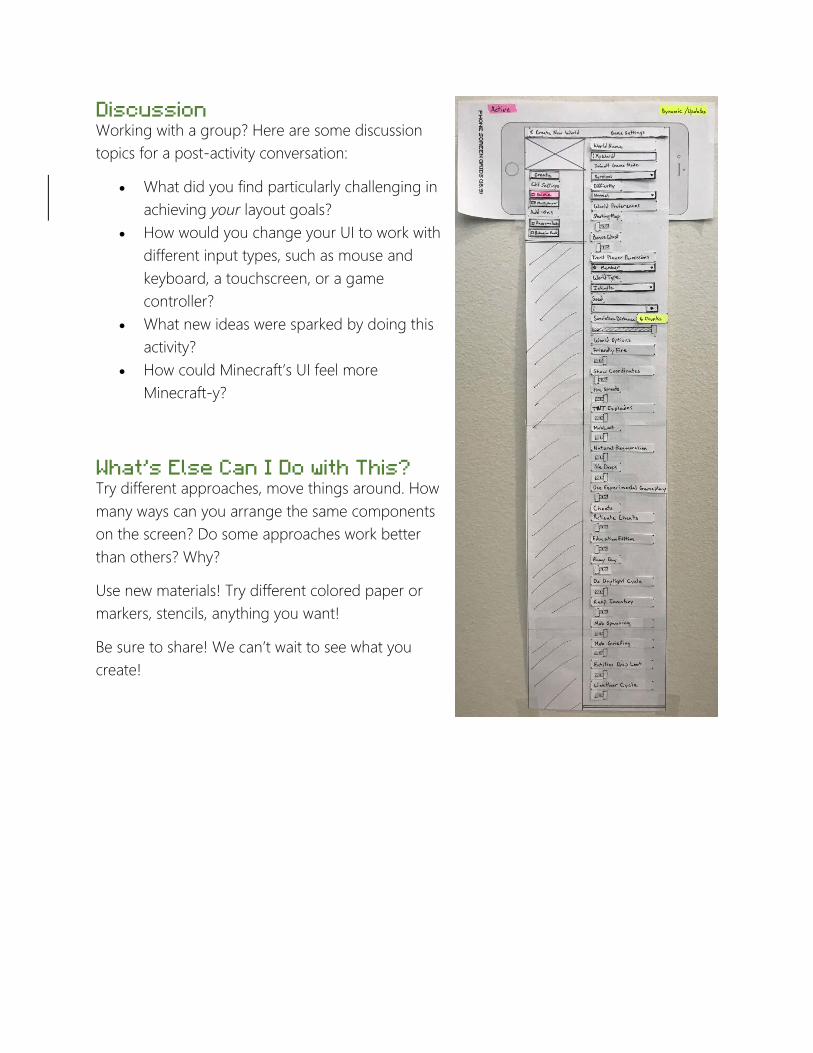
6. Start assembling your vision using the provided components, custom drawn components, etc. Trial and error is a good thing: so, iterate. Remember there’s no wrong way to do it: draw, write, cut, fold…
a. As you work, don’t be afraid to adjust something you made previously. One great thing about using separate paper components, is how quick and easy it is to change your mind and completely re-order your design. If you need a component that you don’t see in the kit, draw and cut it out yourself.
b. Consider how each view interacts in a flow. You can lay your views on a table to see how they might work, or attach them to each other with string, shapes, etc.
c. Be creative ! 7. When you’re ready, take a picture and send us your vision. 8. Consider recreating your vision in another kit and seeing how your screens would look
and work with a different display and input type.
Controls As you are laying out a screen, think about how each input type can navigate and interact with the components you have placed.
• Try holding a gamepad, phone, tablet, or keyboard and mouse in your hand. • How does your input type select, interact, and work with each component? • Does your screen work with multiple input types? How would you have to change
your ideas for to work really well for other inputs?
Discussion Working with a group? Here are some discussion topics for a post-activity conversation:
• What did you find particularly challenging in achieving your layout goals?
• How would you change your UI to work with different input types, such as mouse and keyboard, a touchscreen, or a game controller?
• What new ideas were sparked by doing this activity?
• How could Minecraft’s UI feel more Minecraft-y?
What’s Else Can I Do with This? Try different approaches, move things around. How many ways can you arrange the same components on the screen? Do some approaches work better than others? Why?
Use new materials! Try different colored paper or markers, stencils, anything you want!
Be sure to share! We can’t wait to see what you create!
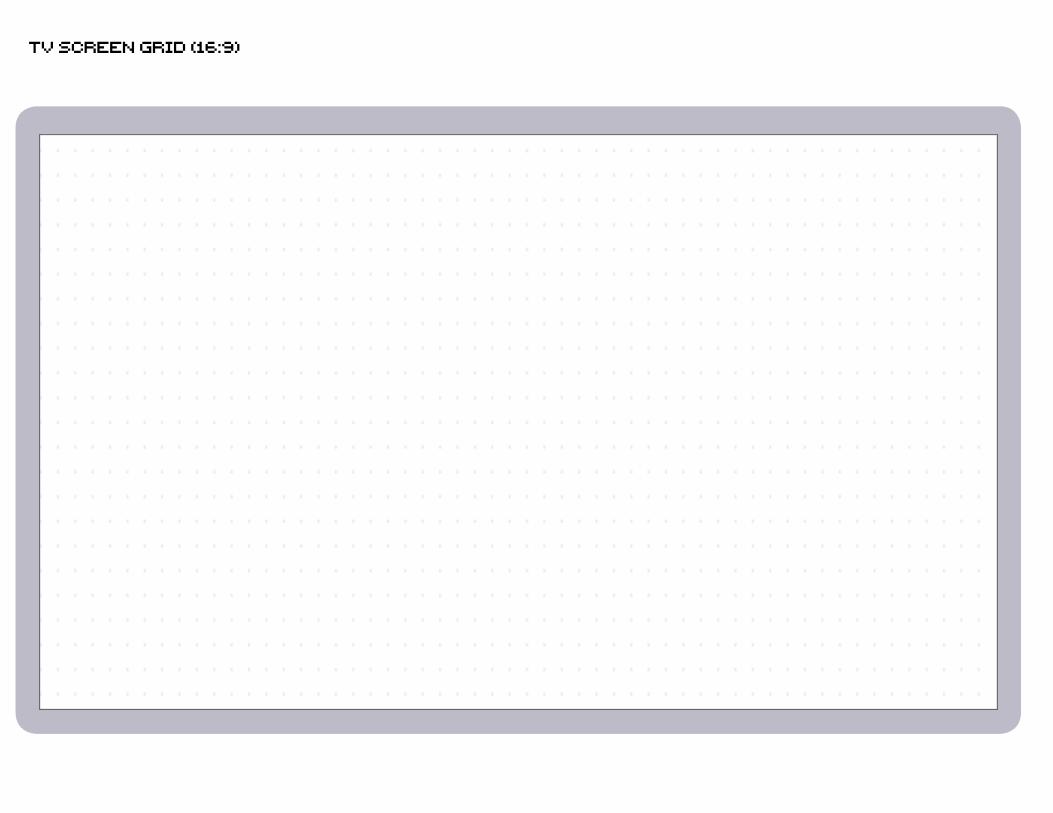
TV Screen Grid (16:9)
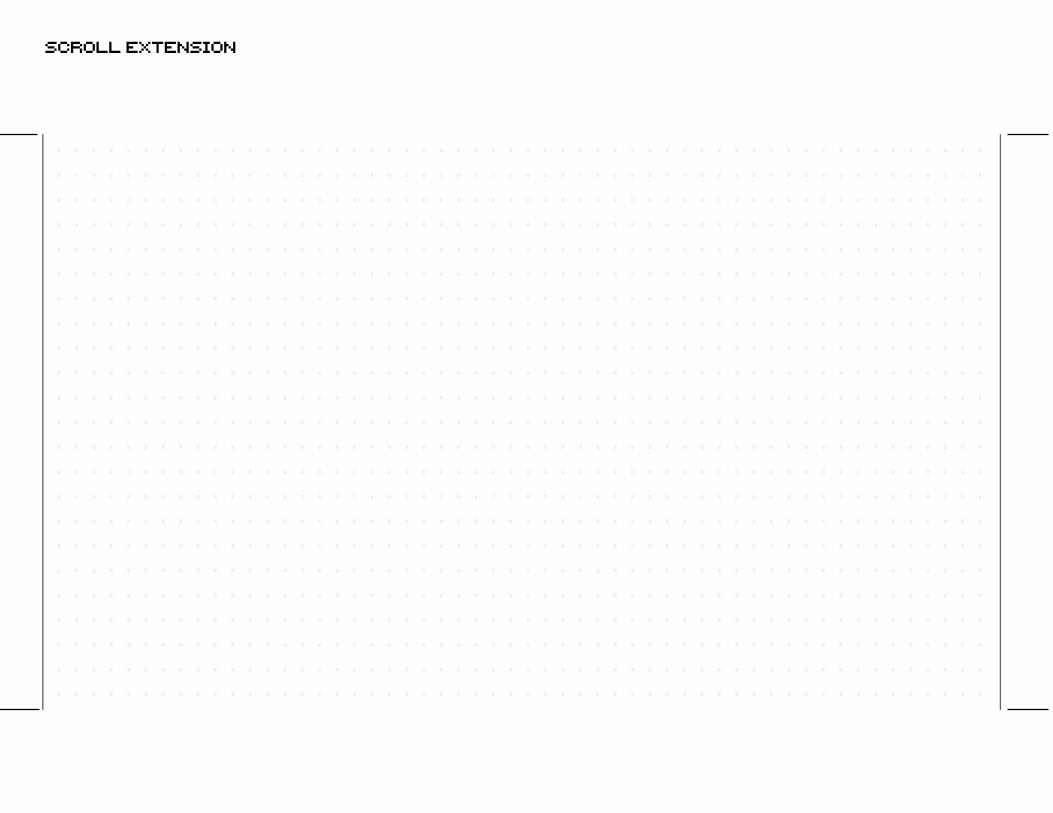
Scroll Extension
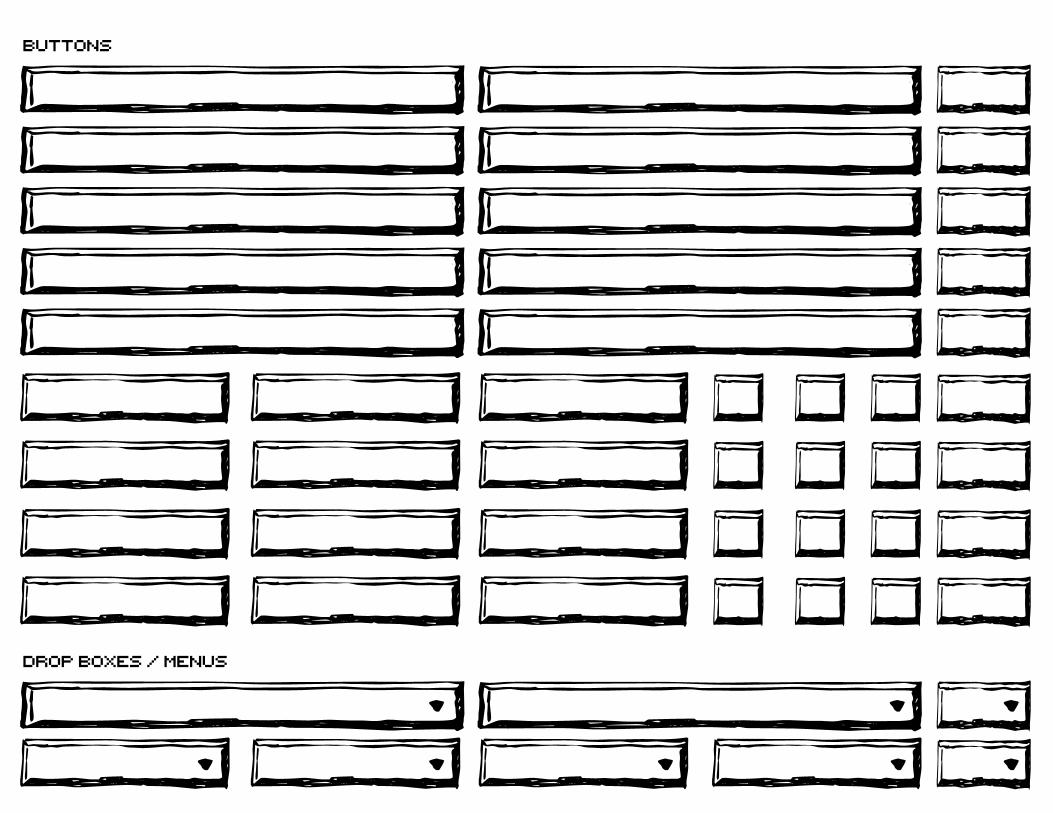
Buttons
Drop Boxes / Menus
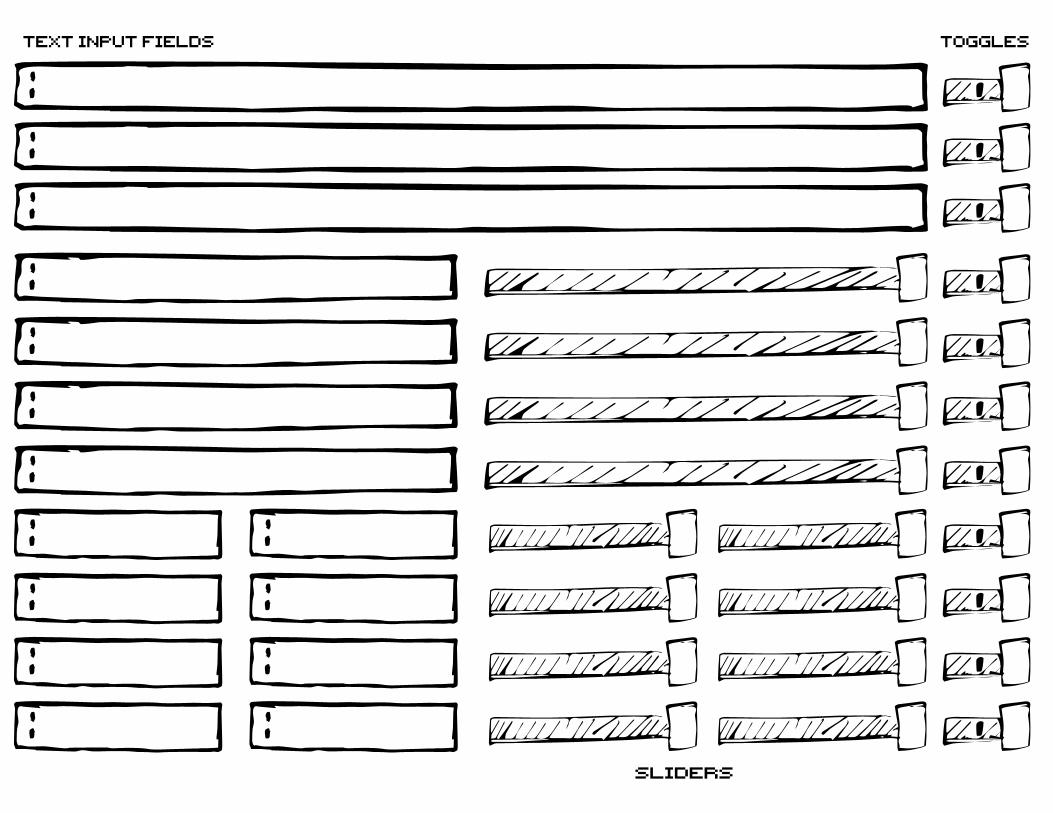
Text Input Fields Toggles
Sliders
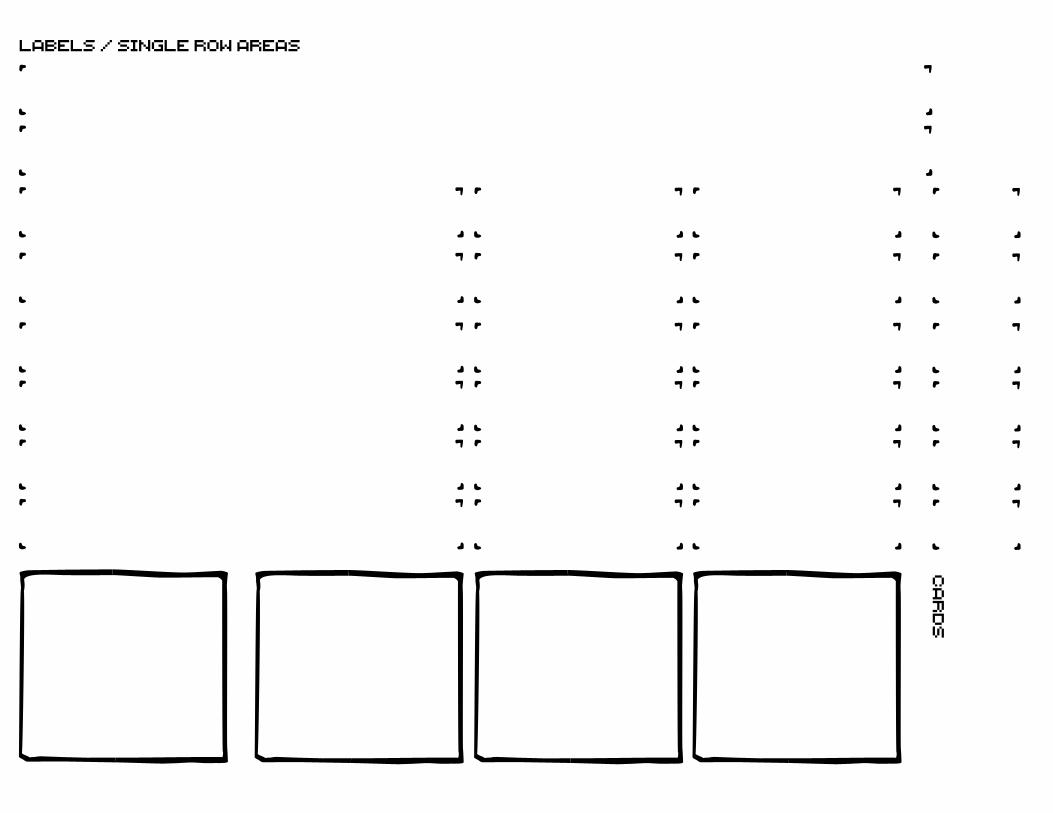
Labels / Single Row Areas
Ca
rd
s
Draw Your Own