Embed Size (px)
Citation preview
Oracle® Retail Invoice Matching CloudServiceManage the Accounting Interface User Guide
Release 19.1.000F31261-01August 2020
Oracle Retail Invoice Matching Cloud Service Manage the Accounting Interface User Guide, Release19.1.000
F31261-01
Copyright © 2020, Oracle and/or its affiliates. All rights reserved.
Primary Author:
Contributing Authors:
Contributors:
This software and related documentation are provided under a license agreement containing restrictions onuse and disclosure and are protected by intellectual property laws. Except as expressly permitted in yourlicense agreement or allowed by law, you may not use, copy, reproduce, translate, broadcast, modify,license, transmit, distribute, exhibit, perform, publish, or display any part, in any form, or by any means.Reverse engineering, disassembly, or decompilation of this software, unless required by law forinteroperability, is prohibited.
The information contained herein is subject to change without notice and is not warranted to be error-free. Ifyou find any errors, please report them to us in writing.
If this is software or related documentation that is delivered to the U.S. Government or anyone licensing it onbehalf of the U.S. Government, then the following notice is applicable:
U.S. GOVERNMENT END USERS: Oracle programs (including any operating system, integrated software,any programs embedded, installed or activated on delivered hardware, and modifications of such programs)and Oracle computer documentation or other Oracle data delivered to or accessed by U.S. Government endusers are "commercial computer software" or “commercial computer software documentation” pursuant to theapplicable Federal Acquisition Regulation and agency-specific supplemental regulations. As such, the use,reproduction, duplication, release, display, disclosure, modification, preparation of derivative works, and/oradaptation of i) Oracle programs (including any operating system, integrated software, any programsembedded, installed or activated on delivered hardware, and modifications of such programs), ii) Oraclecomputer documentation and/or iii) other Oracle data, is subject to the rights and limitations specified in thelicense contained in the applicable contract. The terms governing the U.S. Government’s use of Oracle cloudservices are defined by the applicable contract for such services. No other rights are granted to the U.S.Government.
This software or hardware is developed for general use in a variety of information management applications.It is not developed or intended for use in any inherently dangerous applications, including applications thatmay create a risk of personal injury. If you use this software or hardware in dangerous applications, then youshall be responsible to take all appropriate fail-safe, backup, redundancy, and other measures to ensure itssafe use. Oracle Corporation and its affiliates disclaim any liability for any damages caused by use of thissoftware or hardware in dangerous applications.
Oracle and Java are registered trademarks of Oracle and/or its affiliates. Other names may be trademarks oftheir respective owners.
Intel and Intel Inside are trademarks or registered trademarks of Intel Corporation. All SPARC trademarks areused under license and are trademarks or registered trademarks of SPARC International, Inc. AMD, Epyc,and the AMD logo are trademarks or registered trademarks of Advanced Micro Devices. UNIX is a registeredtrademark of The Open Group.
This software or hardware and documentation may provide access to or information about content, products,and services from third parties. Oracle Corporation and its affiliates are not responsible for and expresslydisclaim all warranties of any kind with respect to third-party content, products, and services unless otherwiseset forth in an applicable agreement between you and Oracle. Oracle Corporation and its affiliates will not beresponsible for any loss, costs, or damages incurred due to your access to or use of third-party content,products, or services, except as set forth in an applicable agreement between you and Oracle.

Contents
Send Us Your Comments
Preface
Audience viii
Documentation Accessibility viii
Customer Support viii
Improved Process for Oracle Retail Documentation Corrections viii
Oracle Help Center (docs.oracle.com) ix
Conventions ix
1 Financial Interface Overview
2 Manage General Ledger Options
Define General Ledger Segments for a Set of Books 2-1
Maintain Dynamic Department Segments for a Set of Books 2-2
Create a Dynamic Department Mapping 2-2
Maintain a Dynamic Department Mapping 2-3
Maintain Dynamic Class Segments for a Set of Books 2-3
Create a Dynamic Class Mapping 2-3
Maintain a Dynamic Class Mapping 2-4
Maintaining Dynamic Location segments for a Set of Books 2-4
Create a Dynamic Location Mapping 2-4
Maintain a Dynamic Location Mapping 2-5
3 Manage General Ledger Cross Reference
Search for a General Ledger Cross Reference 3-1
Create a General Ledger Cross Reference 3-2
Maintain General Ledger Cross References 3-4
iii
4 Manage Financial Posting Errors
Search for Financial Posting Errors 4-1
Resolve Accounts Payable Interface Errors 4-3
iv

List of Figures
2-1 GL Options Maintenance Window 2-1
2-2 Dynamic Mapping for Departments Pane 2-2
2-3 Dynamic Mapping for Departments Pane 2-3
2-4 Dynamic Mapping for Classes Pane 2-3
2-5 Dynamic Mapping for Classes Pane 2-4
2-6 Dynamic Mapping for Location Pane 2-5
2-7 Dynamic Mapping for Location Pane 2-5
3-1 GL Cross Reference Window 3-1
3-2 GL Cross Reference Maintenance Window 3-2
3-3 GL Cross Reference Maintenance Window 3-4
4-1 Financial Posting Error Search Window 4-2
4-2 Financial Posting Error Search Results 4-3
4-3 A/P Interface Error Handling Window 4-3
v

List of Tables
3-1 GL Cross Reference Search Fields 3-1
4-1 Financial Posting Search Fields 4-2
vi
Send Us Your Comments
Oracle Retail Invoice Matching Cloud Service Manage the Accounting Interface UserGuide, Release 19.1.000
Oracle welcomes customers' comments and suggestions on the quality andusefulness of this document.
Your feedback is important, and helps us to best meet your needs as a user of ourproducts. For example:
• Are the implementation steps correct and complete?
• Did you understand the context of the procedures?
• Did you find any errors in the information?
• Does the structure of the information help you with your tasks?
• Do you need different information or graphics? If so, where, and in what format?
• Are the examples correct? Do you need more examples?
If you find any errors or have any other suggestions for improvement, then please tellus your name, the name of the company who has licensed our products, the title andpart number of the documentation and the chapter, section, and page number (ifavailable).
Note:
Before sending us your comments, you might like to check that you have thelatest version of the document and if any concerns are already addressed.To do this, access the Online Documentation available on the OracleTechnology Network Web site. It contains the most current DocumentationLibrary plus all documents revised or released recently.
Send your comments to us using the electronic mail address: [email protected]
Please give your name, address, electronic mail address, and telephone number(optional).
If you need assistance with Oracle software, then please contact your supportrepresentative or Oracle Support Services.
If you require training or instruction in using Oracle software, then please contact yourOracle local office and inquire about our Oracle University offerings. A list of Oracleoffices is available on our Web site at http://www.oracle.com.
vii

Preface
This document describes the Invoice Match user interface. It provides step-by-stepinstructions to complete most tasks that can be performed through the user interface.
AudienceThis document is for users and administrators of Oracle Retail Invoice Match. Thisincludes merchandisers, buyers, business analysts, and administrative personnel.
Documentation AccessibilityFor information about Oracle's commitment to accessibility, visit the OracleAccessibility Program website at http://www.oracle.com/pls/topic/lookup?ctx=acc&id=docacc.
Access to Oracle Support
Oracle customers that have purchased support have access to electronic supportthrough My Oracle Support. For information, visit http://www.oracle.com/pls/topic/lookup?ctx=acc&id=info or visit http://www.oracle.com/pls/topic/lookup?ctx=acc&id=trsif you are hearing impaired.
Customer SupportTo contact Oracle Customer Support, access My Oracle Support at the following URL:
https://support.oracle.com
When contacting Customer Support, please provide the following:
• Product version and program/module name
• Functional and technical description of the problem (include business impact)
• Detailed step-by-step instructions to re-create
• Exact error message received
• Screen shots of each step you take
Improved Process for Oracle Retail DocumentationCorrections
To more quickly address critical corrections to Oracle Retail documentation content,Oracle Retail documentation may be republished whenever a critical correction isneeded. For critical corrections, the republication of an Oracle Retail document may at
Preface
viii
times not be attached to a numbered software release; instead, the Oracle Retaildocument will simply be replaced on the Oracle Technology Network Web site, or, inthe case of Data Models, to the applicable My Oracle Support Documentationcontainer where they reside.
Oracle Retail product documentation is available on the following web site:
https://docs.oracle.com/en/industries/retail/index.html
An updated version of the applicable Oracle Retail document is indicated by Oraclepart number, as well as print date (month and year). An updated version uses thesame part number, with a higher-numbered suffix. For example, part numberE123456-02 is an updated version of a document with part number E123456-01.
If a more recent version of a document is available, that version supersedes allprevious versions.
Oracle Help Center (docs.oracle.com)Oracle Retail product documentation is available on the following web site:
https://docs.oracle.com/en/industries/retail/index.html
(Data Model documents can be obtained through My Oracle Support.)
ConventionsThe following text conventions are used in this document:
Convention Meaning
boldface Boldface type indicates graphical user interface elements associatedwith an action, or terms defined in text or the glossary.
italic Italic type indicates book titles, emphasis, or placeholder variables forwhich you supply particular values.
monospace Monospace type indicates commands within a paragraph, URLs, codein examples, text that appears on the screen, or text that you enter.
Preface
ix
1Financial Interface Overview
Invoice Matching uses the Retail Financial Integration (RFI) system to interface withOracle Financials. When documents are posted, they populate financial staging tableswhich are then picked up by RFI and passed on to Oracle Financials.
For each Set of Books set up in the Merchandising system, the G/L Options screenallows the retailer to define the layout of the chart of accounts segments to be sent tothe financial system with each document when it is posted. Each document will includebalanced accounting entries using the appropriate account segments for each type oftransaction code associated with the document.
Up to 4 account segments can be flagged as dynamic, which means they vary basedon details such as location, department, or class associated with the document. If asegment is flagged as dynamic, the retailer maps the possible values of the dynamicentity to the corresponding account segment value for that entity. For instance, ifdepartment is flagged as dynamic, then each department from the merchandisingsystem will be mapped to the chart of account segment associated with thedepartment in the financial system.
1-1
2Manage General Ledger Options
The General Ledger Options screen supports the creation and maintenance of thefollowing:
1. The definition of the General Ledger segments which will be used to pass accountsegments to the financial system for each Set of Books setup in the Merchandisesystem.
2. Dynamic segments for Departments.
3. Dynamic segments for Class.
4. Dynamic segments for Location.
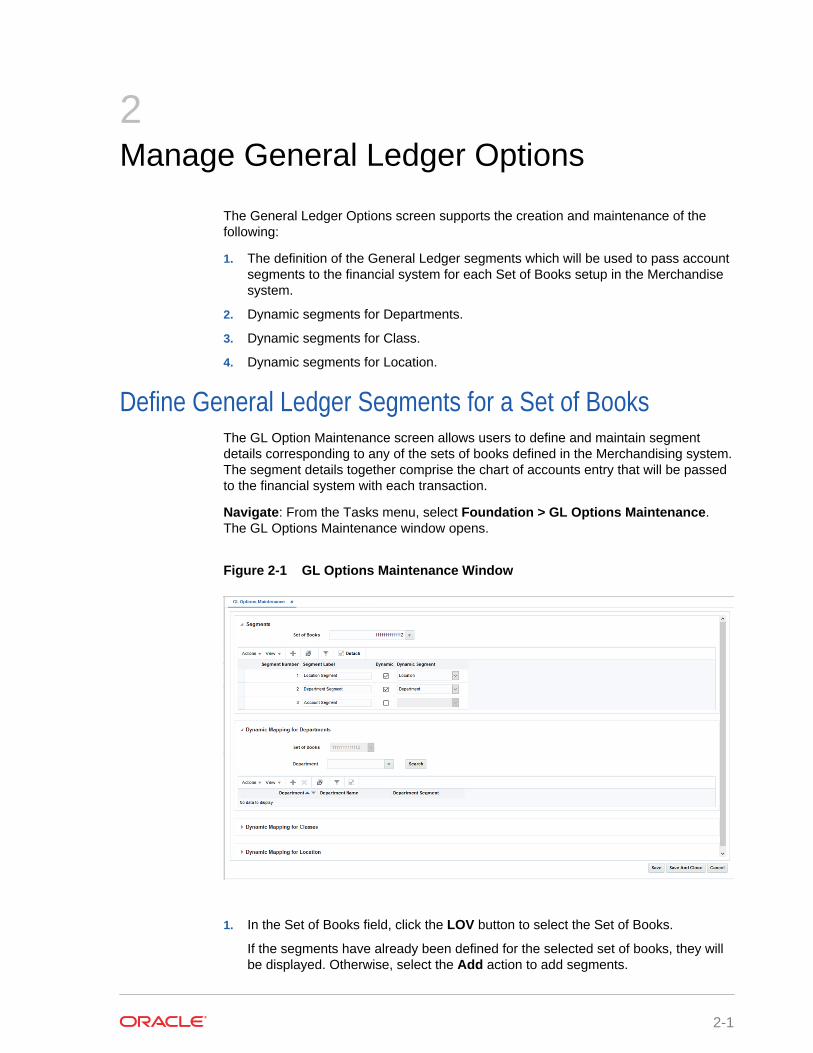
Define General Ledger Segments for a Set of BooksThe GL Option Maintenance screen allows users to define and maintain segmentdetails corresponding to any of the sets of books defined in the Merchandising system.The segment details together comprise the chart of accounts entry that will be passedto the financial system with each transaction.
Navigate: From the Tasks menu, select Foundation > GL Options Maintenance.The GL Options Maintenance window opens.
Figure 2-1 GL Options Maintenance Window
1. In the Set of Books field, click the LOV button to select the Set of Books.
If the segments have already been defined for the selected set of books, they willbe displayed. Otherwise, select the Add action to add segments.
2-1
2. In the Segment Label field, enter the description you want to appear in thecolumn heading for this segment on the G/L Cross Reference screen.
3. For Dynamic Segments select the Dynamic check box, then select the dynamicsegment.
Entering a dynamic segment will activate the corresponding pane on the lowerportion of the screen.
Note:
Segment pane - This pane displays the segment details correspondingto the set of books and is always enabled when you search for a set ofbooks. From this pane, you can create, update, and delete segmentdetails from a set of books. In addition, you can select up to 4 segmentsas dynamic. Two of the dynamic segments (Company and Location) varybased on the location on a document. The Department and Classsegments will vary based on the Department and Class in which theitems on the document resides.
Maintain Dynamic Department Segments for a Set of BooksIf one of the General Ledger segments for the set of books is defined as dynamic forthe department, the 'Dynamic Mapping for Departments' pane is enabled. If a dynamicdepartment segment is not defined, the pane will not open. From here, you can add,maintain, or delete dynamic department segments for the set of books.
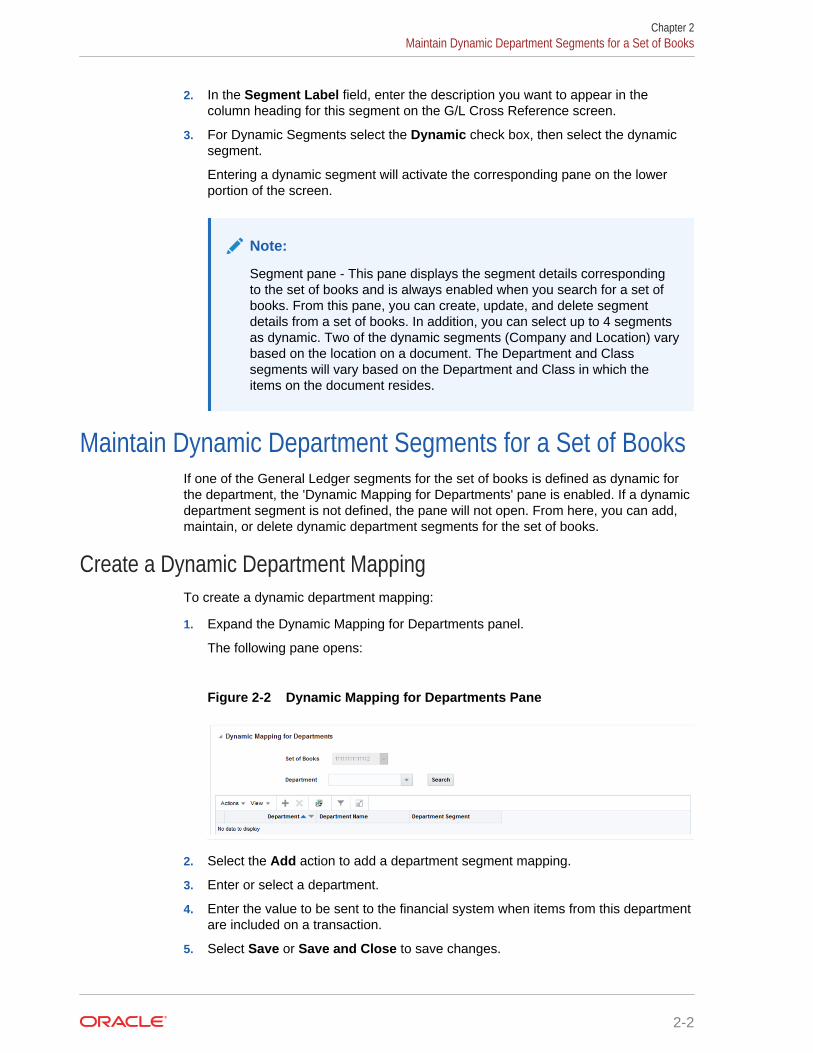
Create a Dynamic Department MappingTo create a dynamic department mapping:
1. Expand the Dynamic Mapping for Departments panel.
The following pane opens:
Figure 2-2 Dynamic Mapping for Departments Pane
2. Select the Add action to add a department segment mapping.
3. Enter or select a department.
4. Enter the value to be sent to the financial system when items from this departmentare included on a transaction.
5. Select Save or Save and Close to save changes.
Chapter 2Maintain Dynamic Department Segments for a Set of Books
2-2
Maintain a Dynamic Department MappingTo make changes to a dynamic mapping:
1. Expand the Dynamic Mapping for Departments panel.
The following pane opens:
Figure 2-3 Dynamic Mapping for Departments Pane
2. Enter of select the department you wish to edit.
3. Select the Search button to find the dynamic department mapping.
4. Update the department segment.
5. Select Save or Save and Close to save changes.
Maintain Dynamic Class Segments for a Set of BooksIf one of the General Ledger segments for the set of books defined as dynamic for theclass, the 'Dynamic Mapping for Classes pane is enabled. If a dynamic class segmentis not defined, the pane will not open. From here, you can add, maintain, or deletedynamic class segments for the set of books.
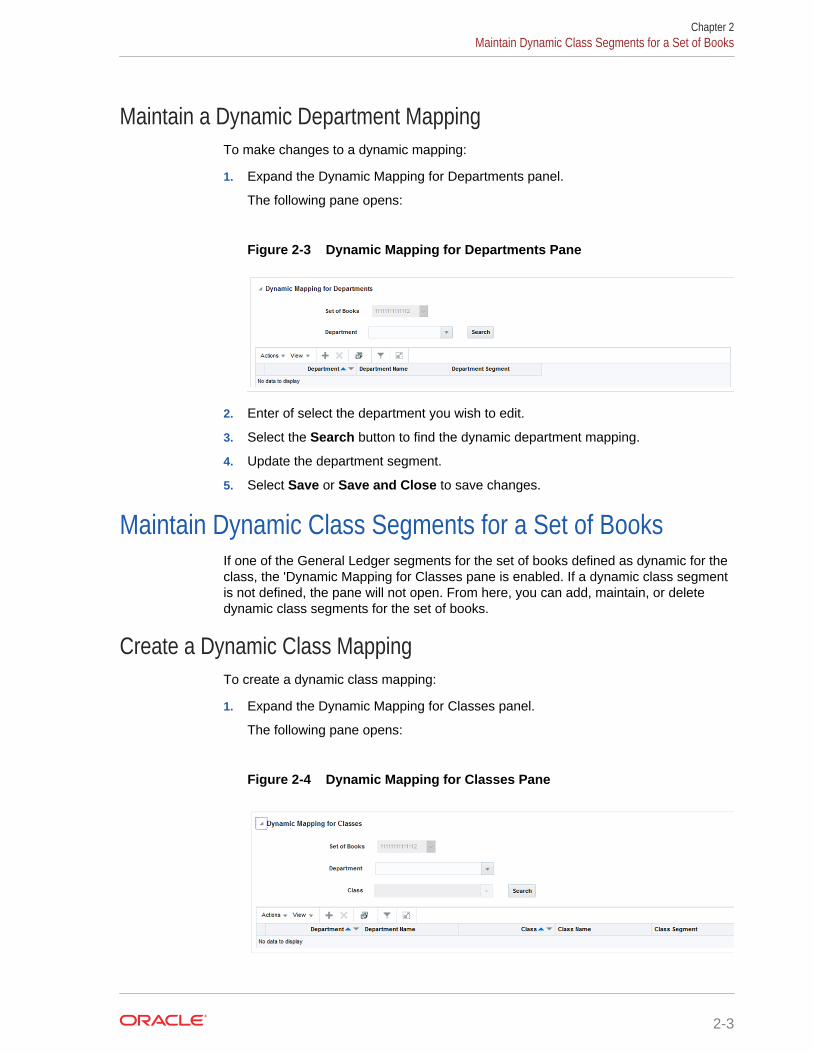
Create a Dynamic Class MappingTo create a dynamic class mapping:
1. Expand the Dynamic Mapping for Classes panel.
The following pane opens:
Figure 2-4 Dynamic Mapping for Classes Pane
Chapter 2Maintain Dynamic Class Segments for a Set of Books
2-3
2. Select the Add action to add a class segment mapping.
3. Enter or select the department which includes the class.
4. Enter or select a class.
5. Enter the value to be sent to the financial system when items from this class areincluded on a transaction.
6. Select Save or Save and Close to save changes.
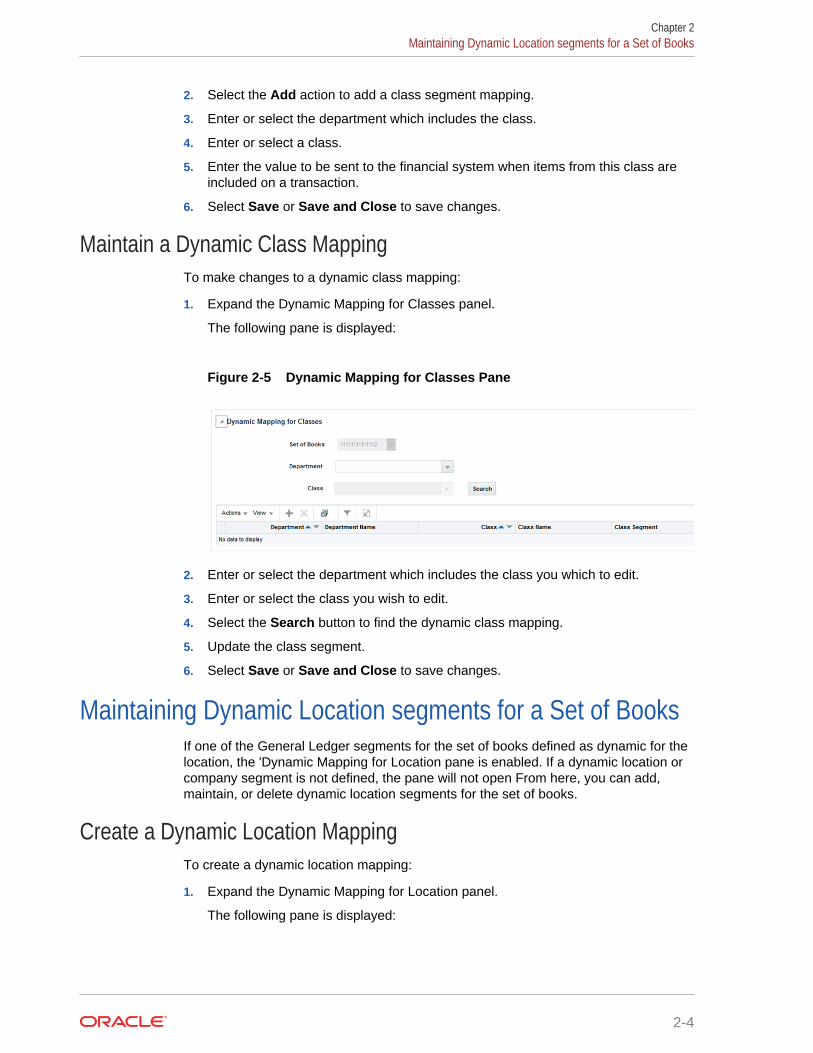
Maintain a Dynamic Class MappingTo make changes to a dynamic class mapping:
1. Expand the Dynamic Mapping for Classes panel.
The following pane is displayed:
Figure 2-5 Dynamic Mapping for Classes Pane
2. Enter or select the department which includes the class you which to edit.
3. Enter or select the class you wish to edit.
4. Select the Search button to find the dynamic class mapping.
5. Update the class segment.
6. Select Save or Save and Close to save changes.
Maintaining Dynamic Location segments for a Set of BooksIf one of the General Ledger segments for the set of books defined as dynamic for thelocation, the 'Dynamic Mapping for Location pane is enabled. If a dynamic location orcompany segment is not defined, the pane will not open From here, you can add,maintain, or delete dynamic location segments for the set of books.
Create a Dynamic Location MappingTo create a dynamic location mapping:
1. Expand the Dynamic Mapping for Location panel.
The following pane is displayed:
Chapter 2Maintaining Dynamic Location segments for a Set of Books
2-4
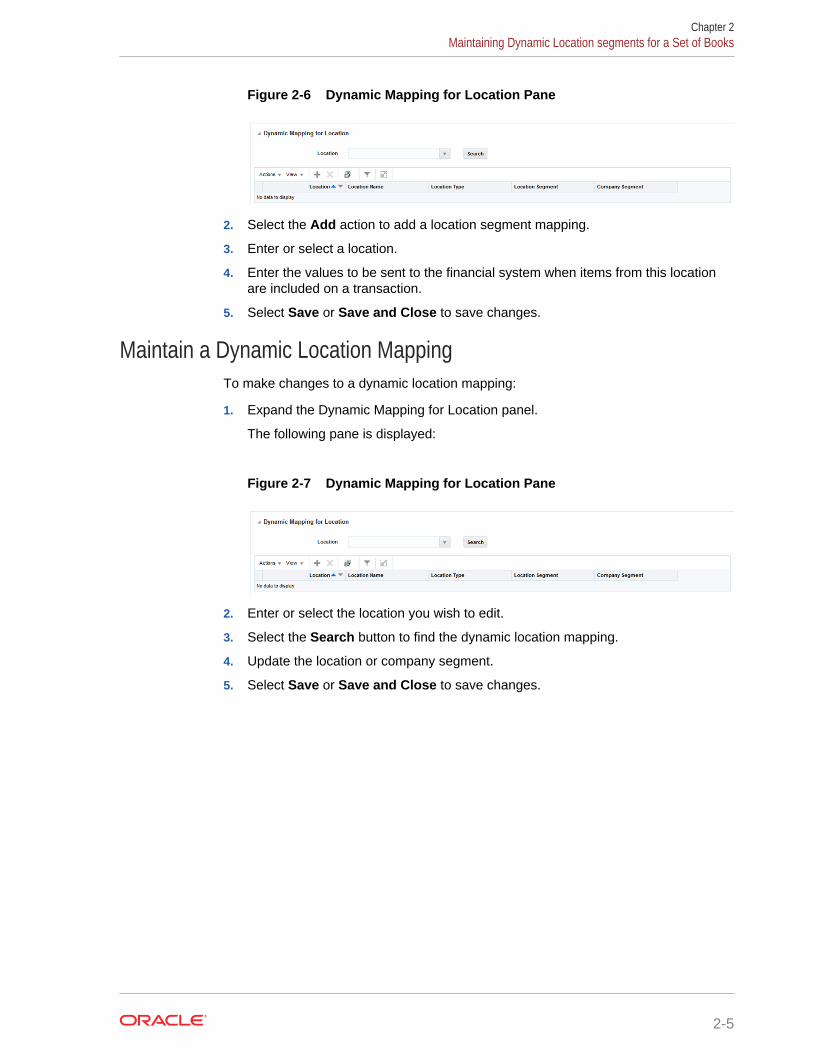
Figure 2-6 Dynamic Mapping for Location Pane
2. Select the Add action to add a location segment mapping.
3. Enter or select a location.
4. Enter the values to be sent to the financial system when items from this locationare included on a transaction.
5. Select Save or Save and Close to save changes.
Maintain a Dynamic Location MappingTo make changes to a dynamic location mapping:
1. Expand the Dynamic Mapping for Location panel.
The following pane is displayed:
Figure 2-7 Dynamic Mapping for Location Pane
2. Enter or select the location you wish to edit.
3. Select the Search button to find the dynamic location mapping.
4. Update the location or company segment.
5. Select Save or Save and Close to save changes.
Chapter 2Maintaining Dynamic Location segments for a Set of Books
2-5
3Manage General Ledger Cross Reference
The GL Cross Reference Maintenance screen allows users to build and maintain theaccounting segments necessary to interface Interface Match transactions to externalfinancial systems.
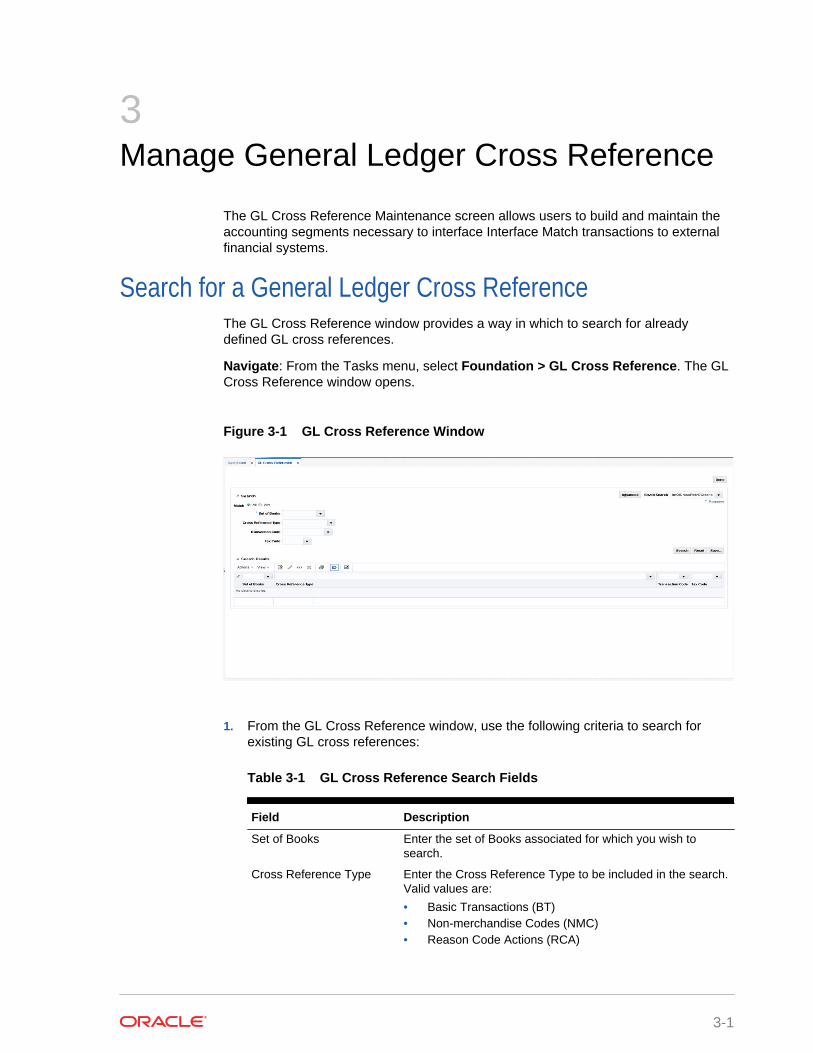
Search for a General Ledger Cross ReferenceThe GL Cross Reference window provides a way in which to search for alreadydefined GL cross references.
Navigate: From the Tasks menu, select Foundation > GL Cross Reference. The GLCross Reference window opens.
Figure 3-1 GL Cross Reference Window
1. From the GL Cross Reference window, use the following criteria to search forexisting GL cross references:
Table 3-1 GL Cross Reference Search Fields
Field Description
Set of Books Enter the set of Books associated for which you wish tosearch.
Cross Reference Type Enter the Cross Reference Type to be included in the search.Valid values are:
• Basic Transactions (BT)• Non-merchandise Codes (NMC)• Reason Code Actions (RCA)
3-1
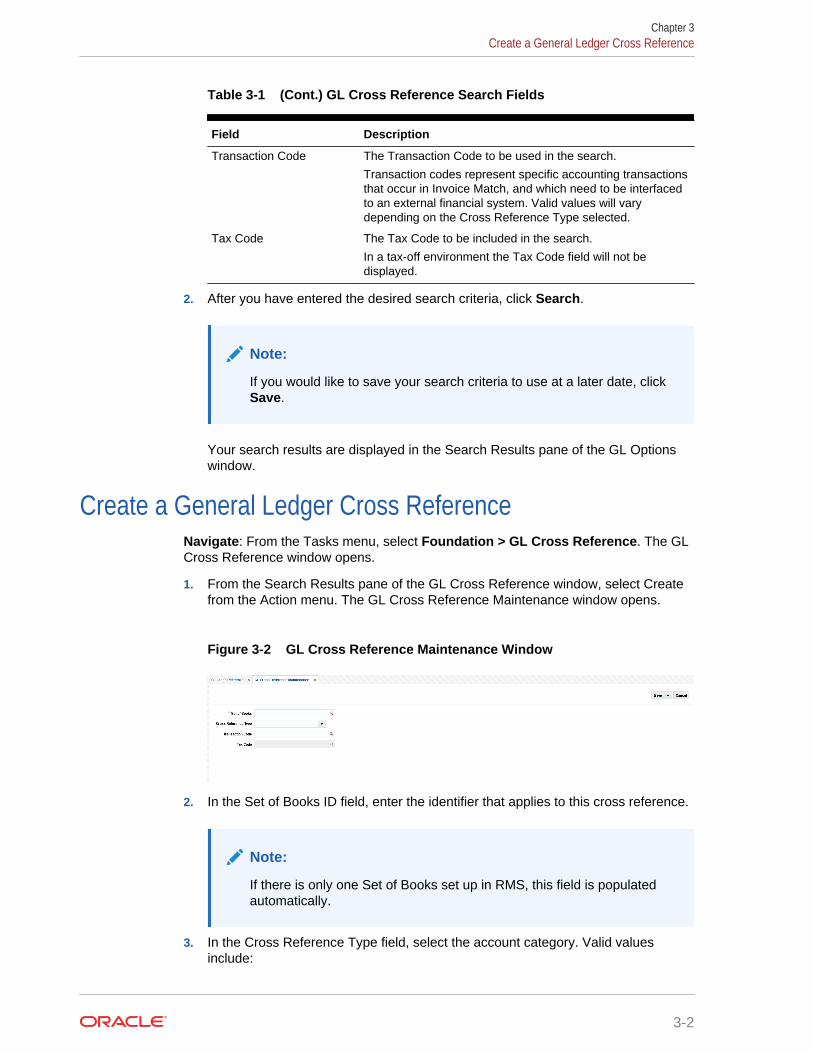
Table 3-1 (Cont.) GL Cross Reference Search Fields
Field Description
Transaction Code The Transaction Code to be used in the search.
Transaction codes represent specific accounting transactionsthat occur in Invoice Match, and which need to be interfacedto an external financial system. Valid values will varydepending on the Cross Reference Type selected.
Tax Code The Tax Code to be included in the search.
In a tax-off environment the Tax Code field will not bedisplayed.
2. After you have entered the desired search criteria, click Search.
Note:
If you would like to save your search criteria to use at a later date, clickSave.
Your search results are displayed in the Search Results pane of the GL Optionswindow.
Create a General Ledger Cross ReferenceNavigate: From the Tasks menu, select Foundation > GL Cross Reference. The GLCross Reference window opens.
1. From the Search Results pane of the GL Cross Reference window, select Createfrom the Action menu. The GL Cross Reference Maintenance window opens.
Figure 3-2 GL Cross Reference Maintenance Window
2. In the Set of Books ID field, enter the identifier that applies to this cross reference.
Note:
If there is only one Set of Books set up in RMS, this field is populatedautomatically.
3. In the Cross Reference Type field, select the account category. Valid valuesinclude:
Chapter 3Create a General Ledger Cross Reference
3-2
• Basic Transactions
• Non-merchandise Codes
• Reason Code Actions
4. In the Transaction Code field, enter the transaction code for the new GL crossreference. Valid values for basic transactions include:
• TAP – Trade Accounts Payable
• TAX – Tax
• UNR – Unmatched Receipt
• VWT – Variance Within Tolerance
• DWO – Discrepancy Write Off
• RWO – Receipt Write Off
• PPA – Pre-Paid Asset
• DIRAR – Complex Deal Income Receivable
• DIRAF – Fixed Deal Income Receivable
• VCT – Variance Calc Tolerance
• VCCT – Varance Calc Tax Tolerance
• CRN – Credit Note
• TAPNDI – Trade Accounts Payable Non-dynamic item
• CRNNDI – Credit Note Non-dynamic item
• TAXNDI – Tax Non-dynamic item
• TAXRVC – Tax Reverse Charge
• TAXRVO – Tax Reverse Offset
• TAXACQ – Tax-Acquisition
• TAXACO – Tax-Acquisition Offset
For non-merchandise cross reference type use the RMS non-merchandise codesas valid values.
For Reason Code Action cross reference type :
• The Transaction Code can be sequentially assigned and disabled when in addmode. That is, the sequence number is incremented to assign the nextavailable Transaction Code for Reason Code Actions.
• This transaction code is then used on the 'Reason Code' Maintenance toassign specific accounting entries to a Reason Code. The structure allows forone Reason Code Action Transaction Code to be used by multiple ReasonCodes, thereby reducing setup time.
5. In the Tax Code field, enter the tax code associated with the GL cross reference.
Chapter 3Create a General Ledger Cross Reference
3-3

Note:
This field is disabled except when a transaction code of 'TAX', 'TAXNDI','TAXACQ', 'TAXACO', 'TAXRVC', or 'TAXRVO' is being created.
6. Click Save to save your changes. Alternatively, from the drop down menu, selectSave and Close to save your changes and close the window or Save and AddAnother to save your changes and add an additional GL cross reference.
Maintain General Ledger Cross ReferencesNavigate: From the Tasks menu, select Foundation > GL Cross Reference. The GLCross Reference window opens.
1. Perform a search for the GL cross reference you wish to edit. See Search for aGeneral Ledger Cross Reference for additional information.
2. In the search results pane, select the GL cross reference you want to edit andselect Edit from the Action menu. The GL Cross Reference Maintenance windowopens.
Figure 3-3 GL Cross Reference Maintenance Window
3. From the GL Cross Reference Maintenance window, update the enabled fields asnecessary.
4. Click Save to save your changes. Alternatively, from the drop down menu, selectSave and Close to save your changes and close the window or Save and AddAnother to save your changes and add an additional GL cross reference.
Chapter 3Maintain General Ledger Cross References
3-4
4Manage Financial Posting Errors
After invoices are matched, they are sent through the Reason Code Rollup Processand then to the Posting program. The Reason Code Rollup generates debit memos orcredit memos for any discrepancy for the invoices which were resolved with debitmemo or credit memo resolution actions. These resolution debit or credit memos aresent to the posting program along with the matched invoices, manually entered debitmemos, credit memos, credit notes, and non-merchandise invoices. Accountingentries for receipt write-offs are generated by the receipt write-off program and theseare also sent to the financial staging tables for posting to the financial system.
The Financial Posting Error Maintenance screens are accessed through a standardADF basic/advance search screen. In most cases that there will be very few invoicesin Posting Error status at any given time. Therefore, users can usually request to seeall invoices in error status at once.
There are three types of financial posting error transactions which might requireattention. All three types of error transactions show up in the same Search Resultsscreen, but when the particular transaction is selected for correction, a specificmaintenance screen for that type of transaction is called. The three types oftransactions are:
• Standard documents (Merchandise Invoices, Non-Merchandise Invoices, CreditMemos, Debit Memos, and Credit Notes) which are sent to theIM_AP_STAGE_XX tables to be send to the A/P system. These are the mostcommon document interfaced to the financial system.
• Matched merchandise invoices which had been pre-paid or manually paid. Thesedocuments have already been sent to the A/P system for payment (either byInvoice Match or by an external process), so when the 'match' occurs, theaccounting entries associated with the match need to go to the G/L system. Thesetransactions are sent to the IM_FINANCIALS_STAGE table.
• Receipt Write Off (RWO) transactions. When a receipt is sufficiently aged (basedon a supplier option) without matching (fully matching) to an invoice, the 'RWObatch program will 'write-off' the value of the invoice, creating an accounting entryin IM_FINANCIALS_STAGE table which is sent to the G/L system.
Search for Financial Posting ErrorsThe search criteria are used to find all types of financial posting errors. There are twomajor types of errors:
• balancing errors
• account validation errors
Balancing errors can be fixed from one of the Financial Error Maintenance screens.Account validation errors are shown as display only and require the user to fix theaccounting setup configuration and rerun the posting process.
4-1
Navigate: From the Tasks menu, select Financial Posting Error > Financial PostingError Search. The Financial Posting Error Search window opens.
Figure 4-1 Financial Posting Error Search Window
1. Enter criteria as desired to make the search more restrictive. You can search forall documents with an error status by leaving the criteria blank.
Table 4-1 Financial Posting Search Fields
Search Field Description
Vendor Allows the user to enter or select a vendor to be used as partof the search criteria.
Supplier Site Allows the user to enter or select a supplier site to be used aspart of the search criteria.
When a supplier is specified (as the vendor), the supplier sitelist of values only displays sites associated with that supplier.
Order No. Allows the user to enter or select the order number to beused as part of the search criteria.
If either vendor or supplier site is specified, the LOV for ordernumber will include only orders for the supplier (or suppliersite) specified.
Document Allows the user to specify the Vendor's Document ID to beused as search criteria.
Set of Books Allows the user to specify a set of books to be used as searchcriteria.
Set of books is an Advanced Search field.
2. Click Search. The search results pane displays the documents that match thesearch criteria.
Chapter 4Search for Financial Posting Errors
4-2
Figure 4-2 Financial Posting Error Search Results
Resolve Accounts Payable Interface ErrorsMost Invoice Match transactions are expected to be sent to an accounts payablesystem for payment (or adjustment to a payment) to the supplier. These transactionsinclude merchandise invoices, debit memos, credit memos, credit notes, and non-merchandise invoices. When an error occurs, the entry is flagged as a posting error,and the entries are not passed on to the financial system. However, the records areretained to provide information to the user as to what caused the error and, in certainspecific circumstances, how the user can correct the staging entry so it can be posted.
Navigate: From the Tasks menu, select Financial Posting Error > Financial PostingError Search. The Financial Posting Error Search window opens.
1. From the Financial Posting Error Search window, perform a search for financialposting errors. See Search for Financial Posting Errors for additional information.
2. In the Search Results pane, highlight the accounts payable interface error youwant to resolve and select View from the Action menu. The A/P Interface ErrorHandling window is displayed.
Figure 4-3 A/P Interface Error Handling Window
The A/P Interface Error Handling window is divided into three sections:
• Document Header – The top portion is a display only section which showsinformation from the Invoice Match document table.
Chapter 4Resolve Accounts Payable Interface Errors
4-3
• Error Message – The middle portion displays the error message for the entry.
• A/P Stage Head/Detail – The bottom portion shows the details of theaccounting entries which will would have been sent to the financial system.Top row is the 'Header' information and the remaining rows are the detail.
3. From the A/P Stage Head/Detail Table, you can edit the amount field on any of therows with the exception of the first row. The first row is the header (document)amount and cannot be changed.
Note:
Rows cannot be added or deleted from the A/P Interface Detail Table.
All rows after the first row must accumulate to match the first row's total for thecorrection to be accepted. The amount on the first row of the table is assumed tobe correct. If it is not correct, the error must be addressed outside of this errorhandling feature, possibly with help of Oracle Support.
4. Continue making adjustments until the values match. If they do not match exactly,the user must stay on the screen making additional adjustments until they domatch, or all the changes must be rolled back to the state they were in when thescreen was loaded.
5. When the entries are in balance, the Submit button is enabled. If the user selectsthe Submit button, the document is posted, sending the adjusted entries to thefinancial system. If the document is successfully posted, the transaction isremoved from the error handling tables.
Chapter 4Resolve Accounts Payable Interface Errors
4-4