Embed Size (px)
Citation preview

Metal Work Make a Welded Die
Skills Exploration 10–12 1
Make a Welded Die
DescriptionWelders are required to work with many other metalworking trades. To be successful as a welder, one must have an understanding of many other metalworking skill sets and an understanding of the entire project. This activity plan will demonstrate to students how to successfully cut, lay out, assemble, and weld a metal die for use as a paperweight or pencil/pen holder. These tasks will expose students to skills used by welders, metal fabricators, and millwrights.
Lesson ObjectivesThe student will be able to:
• Work safely using metalworking tools
• Use information from a drawing
• Perform accurate layout
• Cut and form materials using hand tools and power tools
• Join metal by welding processes
• Perform finishing techniques using hand tools and power tools
AssumptionsStudents will:
• Have knowledge of measurement systems used in metalworking
• Have knowledge of layout procedures used in metalworking
• Have an understanding of safe shop practices
• Know the safe use of and procedures for hand tools, drill presses, bench grinders, belt sanders, and welders
TerminologyMIG welding (GMAW): a welding method in which electric current flows through the filler metal wire to maintain the arc. An inert or semi-inert gas shields the arc from outside air. MIG is an abbreviation of “metal inert gas”, and GMAW is an abbreviation of “gas metal arc welding.”
Outside corner joint: a welding orientation where the outside edges of two plates butt up to each other, leaving a groove to weld.
Perpendicular: when two lines, edges, or surfaces are at a 90° angle to each other.

Make a Welded Die Metal Work
2 Skills Exploration 10–12
Porosity: a condition in which bubbles form in the weld due to the absorption of atmospheric gases in the molten weld.
Shielding gas: an inert or semi-insert gas used to protect the weld area from atmospheric gases such as oxygen, nitrogen, and water vapour.
Tack weld: a small weld(s) that holds pieces together for assembly. They can be removed more easily than a full weld if adjustments are needed.
Estimated Time6 hours
The time will depend on the students’ experience in the metalwork shop and the number of tools available to them.
Recommended Number of Students20, based on the BC Technology Educators’ Best Practice Guide
Facilities A standard secondary school metalwork shop
Equipment/Machinery• MIG welder (GMAW)
• Bench grinder
• Belt sander
• Drill press
• Bench vise
Personal Protective Equipment• Welding coat
• Welding gloves
• Welding helmet
Tools • Welding magnets
• De-burring tool
• Hacksaw
• Metal file
• Machinist square
Metal Work Make a Welded Die
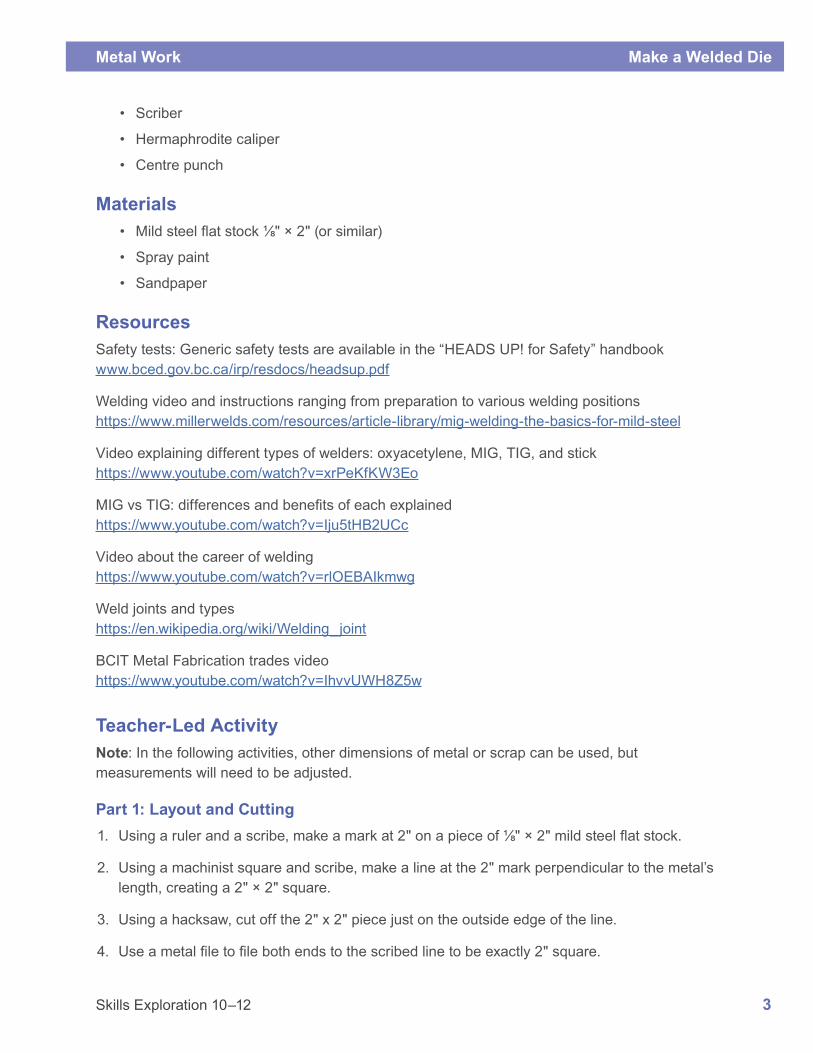
Skills Exploration 10–12 3
• Scriber
• Hermaphrodite caliper
• Centre punch
Materials• Mild steel flat stock ⅛" × 2" (or similar)
• Spray paint
• Sandpaper
ResourcesSafety tests: Generic safety tests are available in the “HEADS UP! for Safety” handbook www.bced.gov.bc.ca/irp/resdocs/headsup.pdf
Welding video and instructions ranging from preparation to various welding positionshttps://www.millerwelds.com/resources/article-library/mig-welding-the-basics-for-mild-steel
Video explaining different types of welders: oxyacetylene, MIG, TIG, and stickhttps://www.youtube.com/watch?v=xrPeKfKW3Eo
MIG vs TIG: differences and benefits of each explainedhttps://www.youtube.com/watch?v=Iju5tHB2UCc
Video about the career of weldinghttps://www.youtube.com/watch?v=rlOEBAIkmwg
Weld joints and typeshttps://en.wikipedia.org/wiki/Welding_joint
BCIT Metal Fabrication trades videohttps://www.youtube.com/watch?v=IhvvUWH8Z5w
Teacher-Led ActivityNote: In the following activities, other dimensions of metal or scrap can be used, but measurements will need to be adjusted.
Part 1: Layout and Cutting1. Using a ruler and a scribe, make a mark at 2" on a piece of ⅛" × 2" mild steel flat stock.
2. Using a machinist square and scribe, make a line at the 2" mark perpendicular to the metal’s length, creating a 2" × 2" square.
3. Using a hacksaw, cut off the 2" x 2" piece just on the outside edge of the line.
4. Use a metal file to file both ends to the scribed line to be exactly 2" square.

Make a Welded Die Metal Work
4 Skills Exploration 10–12
5. Repeat steps 1–4 five more times until you have six 2" × 2" pieces.
Each piece will require layout lines to produce one side of the six die sides (6a–6f).
6. a. For #1, scribe an “X” from corner to corner to find the centre (Figure 1), then centre-punch the intersection.
Figure 1—Scribing for #1
b. For #2, scribe a line from one corner to the diagonal corner. Then from the marked corners, make a line ½" from each corner along the line (Figure 2). Then centre-punch the two intersections.
Figure 2—Scribing for #2

Metal Work Make a Welded Die
Skills Exploration 10–12 5
c. For #3, scribe an “X” from corner to corner to find the centre. Then from one corner and its diagonal corner, scribe a line at ½" (Figure 3), then centre-punch the three intersections.
Figure 3—Scribing for #3
d. For #4, scribe an “X” from corner to corner. From each corner, scribe a line toward the centre at ½" (Figure 4), then centre-punch the four intersections (do not centre-punch the centre of the “X”).
Figure 4—Scribing for #4

Make a Welded Die Metal Work
6 Skills Exploration 10–12
e. For #5, scribe an “X” from corner to corner to find the centre. From each corner, mark a line at ½" (Figure 5), then centre-punch the five intersections.
Figure 5—Scribing for #5
f. For #6, using a hermaphrodite caliper (or other available layout tools) set at ½", scribe parallel lines around all four sides of square. Scribe a line with a hermaphrodite caliper at 1" from one edge (Figure 6), then centre-punch all six intersections.
Figure 6—Scribing for #6
Metal Work Make a Welded Die
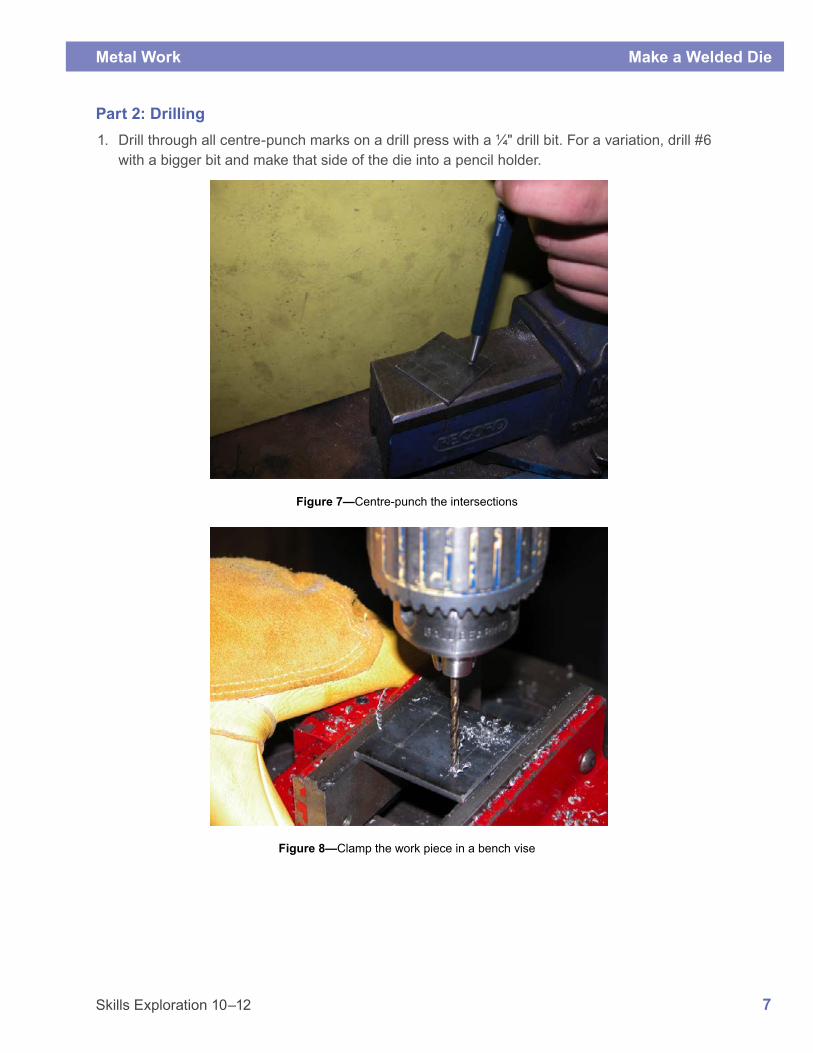
Skills Exploration 10–12 7
Part 2: Drilling1. Drill through all centre-punch marks on a drill press with a ¼" drill bit. For a variation, drill #6
with a bigger bit and make that side of the die into a pencil holder.
Figure 7—Centre-punch the intersections
Figure 8—Clamp the work piece in a bench vise
Make a Welded Die Metal Work
8 Skills Exploration 10–12
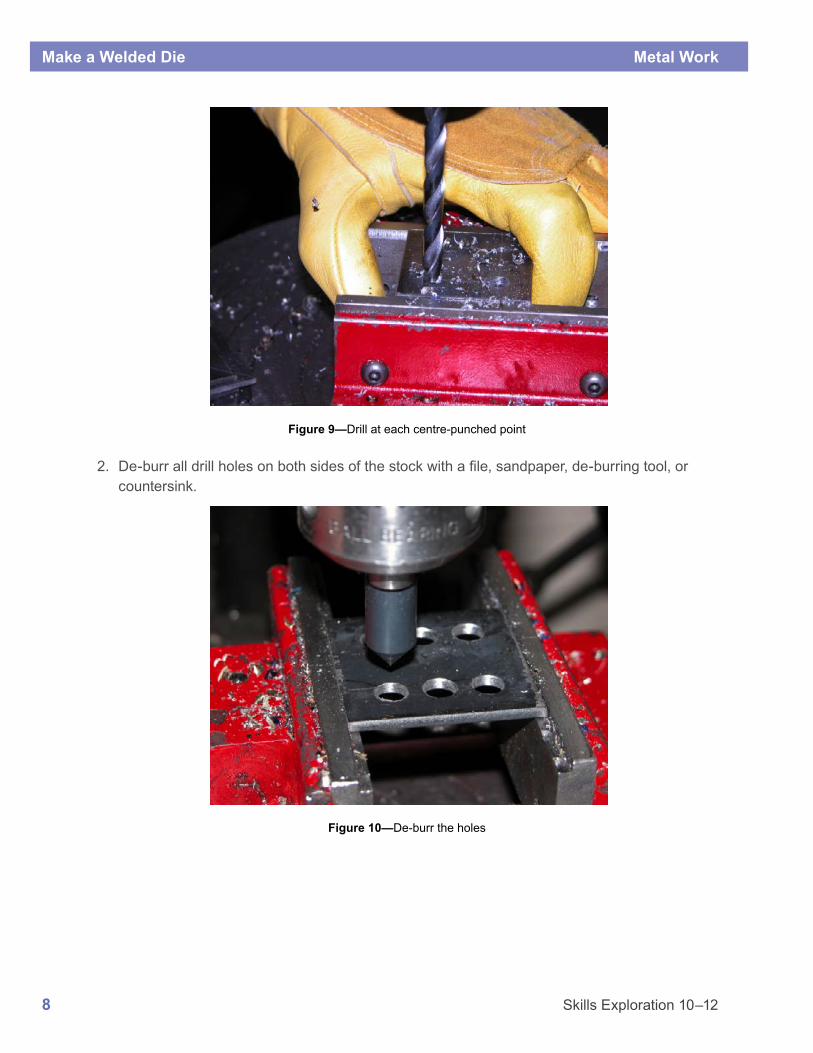
Figure 9—Drill at each centre-punched point
2. De-burr all drill holes on both sides of the stock with a file, sandpaper, de-burring tool, or countersink.
Figure 10—De-burr the holes
Metal Work Make a Welded Die
Skills Exploration 10–12 9
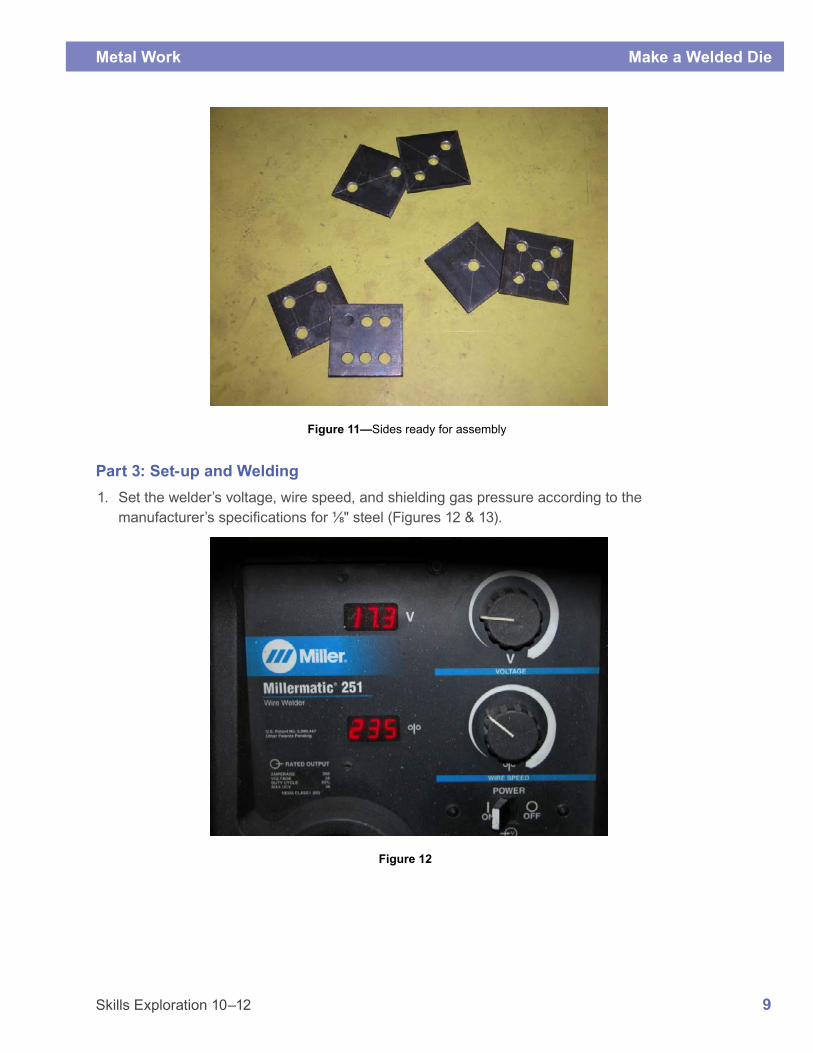
Figure 11—Sides ready for assembly
Part 3: Set-up and Welding1. Set the welder’s voltage, wire speed, and shielding gas pressure according to the
manufacturer’s specifications for ⅛" steel (Figures 12 & 13).
Figure 12

Make a Welded Die Metal Work
10 Skills Exploration 10–12
Figure 13
2. Using a 90° welding magnet, set up pieces #4 and #5 in an open corner joint weld position (Figure 14).
Figure 14

Metal Work Make a Welded Die
Skills Exploration 10–12 11
3. Tack pieces #4 and #5 together in an L shape using the MIG welder (Figure 15).
Figure 15
4. Repeat the previous two steps with pieces #2 and #3 (Figure 16).
Figure 16
5. Place the tacked #4 and #5 on their side along with the tacked #2 and #3 on their side. Orient them toward each other to create a box/cube with no top or bottom.
6. Tack the assembly together with an outside corner joint.

Make a Welded Die Metal Work
12 Skills Exploration 10–12
7. Place #6 on top of the assembly and tack it into place, leaving four outside corner joints.
Figure 17
8. Flip the die over and place #1 piece on top. Tack it into place, leaving four outside corner joints (Figure 17).
9. Fully weld all 12 outside corner joints (Figure 18).
Figure 18

Metal Work Make a Welded Die
Skills Exploration 10–12 13
Part 4: Finishing1. Using a bench grinder or belt sander, clean up all welds, leaving gently rounded corners.
2. Re-weld all gaps and porosity discovered after grinding/sanding, then grind/sand the new welds.
3. Using the sander, a file, or sandpaper, smooth out all surfaces to pre-paint quality.
4. Spray paint the die to keep it from rusting.
AssessmentConsider co-creating the assessment criteria with your students at the beginning of the activity/project. You may want to include the following:
• Layout is correct.
• Completed die is welded square.
• Welds have no visible porosity.
• Sanding and grinding lines not seen in paint.
• Safe work habits were displayed.
Optional Extension ActivityStudents who have experience with MIG welding of steel could fabricate the die using other welders such as a stick welder, oxyacetylene welder, TIG welder, or a combination of multiple types of welders.