Embed Size (px)
Citation preview
Important
Installation Guide & Operating Instruction
Email: [email protected]
www.MobilityBathworks.com
WARRANTY & REGISTRATION
Important :
1. To ensure that your warranty is granted please fill out the product
registration form in 30 Days email it to [email protected] or
mail it to :
Mobility Bathworks
306 A. West Broad St
Quakertown, PA 18951
2. By Filling out the form the manufacturer will be able to process any
warranty claims.
3. The information provided on the Product Registration Form will be kept
on file by Mobility Bathworks.
4. If you want to opt in as personal showroom for your designated area
please let us know so we can put you in our database. $ 200.00 Referral Fee if
a end user buys a walk in tub from us by looking at your Mobility Bathworks
Elite Walk in Tub.
.
www.MobilityBathworks.com

NOTES:
www.MobilityBathworks.com

Safety Instuctions
1. All of Mobility Bathworks Elite Walk in Tub must be installed with a thermostatic, which can
be supplied by installer. Thermostatic Valve is installed to regulate temperature in your walk in
tub, so it‟s not to hot.
2. Mobility Bathworks accepts no responsibility for any injuries, burns, scalds or similar that may
occur.
3. Read and Follow All Instructions
4. Installer is Responsible for getting governmental license and permits.
5. DANGER ! To reduce the risk of injury, do not permit children or a person with immobility to
use the walk in tub unless they are closely supervised at all times.
6. To avoid injury use caution when entering or exiting.
7. Never drop or insert any objects in openings.
8. Ensure walk in tub will fit through all passageways and doors.
9. The anti slip floor must remain clean at all times to minimize the risk of slippage.
10. Mobility Bathworks Walk in Tub is designed to be installed by a licensed tradesperson. We
have a list of recommended Mobility Bathworks installers in your area if you don‟t have one.
11. Avoid the use of alcohol, prescription or over - the - counter drugs medication and sleep
medication prior to or during the use of your Mobility Bathworks Walk in Tub.
12. The Installer must inspect and water test the tub before installation.
13. Consult your physician before using the air system if you are pregnant and / or have a heart
condition.
14. Do not use electrical appliances within 4 feet from your Mobility Bathworks Walk in Tub.
www.MobilityBathworks.com
Unpacking the Walk in Tub
1. Unpack and inspect the Mobility Bathworks Walk in Tub thoroughly for freight damages
even when it doesn‟t look damaged. If there are any noticeable damage
** DO NOT ACCEPT THE WALK IN TUB FROM FREIGHT CARRIER **
Call US ASAP 215-804-9540
2. Mobility Bathworks is responsibility for shipping damages ceases upon delivery of the
Mobility Bathworks Walk in Tub in good order of the carrier.
3. Never lift the Walk in Tub by it‟s plumbing fixtures. Lift the walk in tub by it‟s stainless steel
frame. Two people is required to move a walk in tub.
4. Inspect the plumbing for any fittings that may have loosened in transit.
5. WARNING ! If the walk in tub door comes shipped with the door closed make sure you
leave it open overnight so gasket is fully uncompressed.
6. Follow all instructions in this manual. Failure to read and comply and read with all
instructions can result in product damage or injury to both installer and homeowner. It will
also result in assumption of all liability to the installer.
www.MobilityBathworks.com

Installation Guide
1. Remove access panels that are held on by magnets. Remove these by using the orange
suction cups on the panel and put them in a safe place until installation is complete.
Orange Suction Cup
2. Place all accessories to the side. Only accessories approved by Mobility Bathworks should
be used with this product. If you have questions call us at 215-804-9540.
www.MobilityBathworks.com
3. All Mobility Bathworks Walk in Tubs are tested and operated in our factory prior to
shipment . Transportation and mishandling may cause leaks. So testing the walk in tub when
you have access to all sides is REQUIRED !
4. Place walk in tub on a flat surface where the water can be drained.
5. With clean rag clean the door seal on your walk in tub.
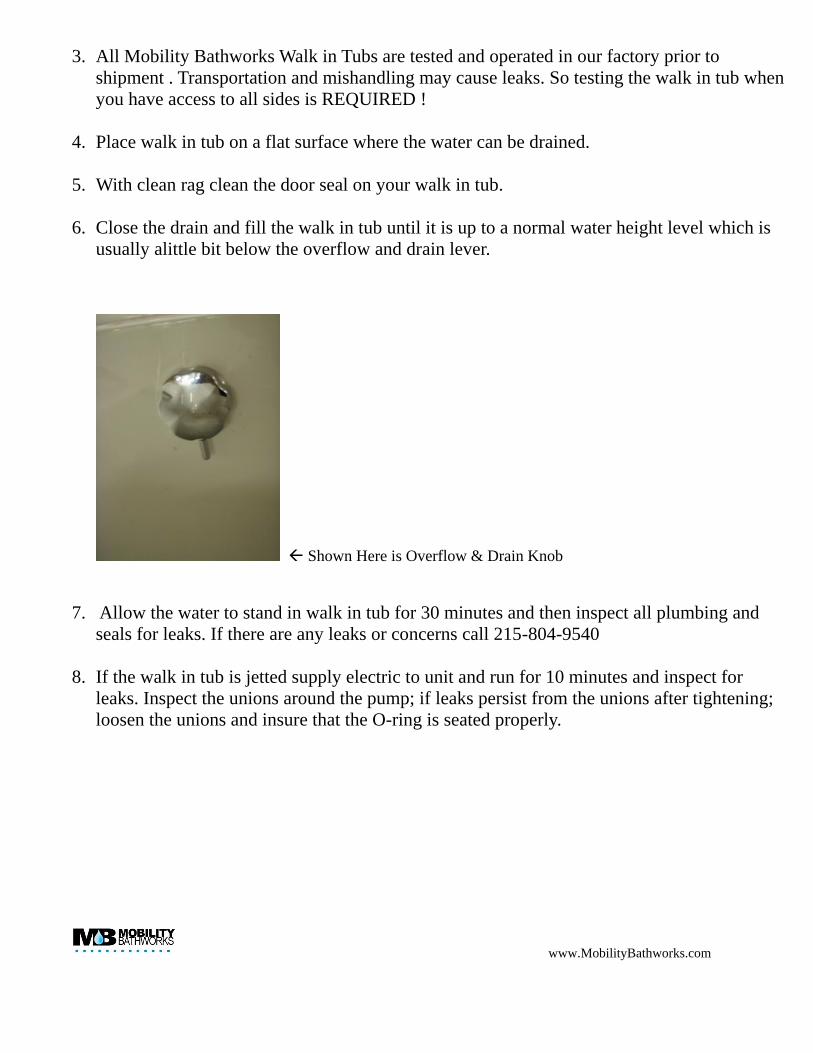
6. Close the drain and fill the walk in tub until it is up to a normal water height level which is
usually alittle bit below the overflow and drain lever.
Shown Here is Overflow & Drain Knob
7. Allow the water to stand in walk in tub for 30 minutes and then inspect all plumbing and
seals for leaks. If there are any leaks or concerns call 215-804-9540
8. If the walk in tub is jetted supply electric to unit and run for 10 minutes and inspect for
leaks. Inspect the unions around the pump; if leaks persist from the unions after tightening;
loosen the unions and insure that the O-ring is seated properly.
www.MobilityBathworks.com

9. Picture description of Pumps :
CG Air Pump 120 Volts ** Hydrotherapy **
www.cgair.com
Syllent Water Pump 115 Volts ** Whirlpool **
www.syllent.com
10. If the pumps do not operate check the breaker to insure power is on and the cable
connecting the controls to the pump is attached.
11. Ensure all jets are opening and working. Make sure they operate at all speeds.
www.MobilityBathworks.com
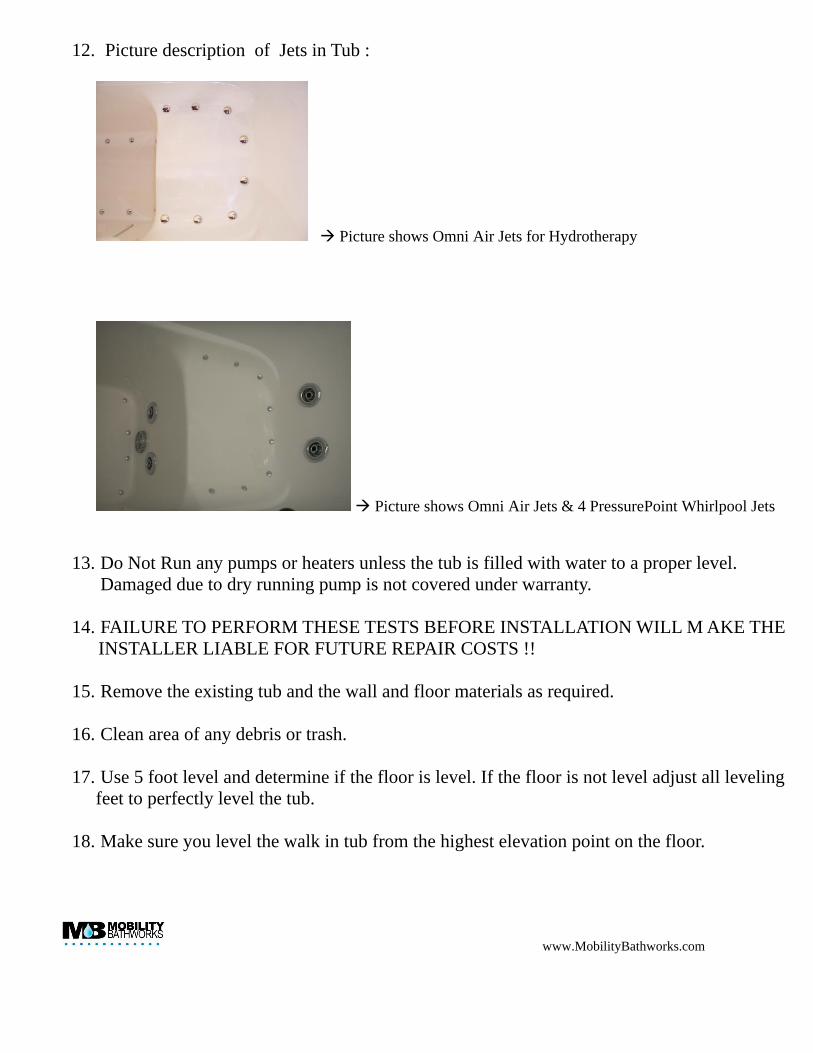
12. Picture description of Jets in Tub :
Picture shows Omni Air Jets for Hydrotherapy
Picture shows Omni Air Jets & 4 PressurePoint Whirlpool Jets
13. Do Not Run any pumps or heaters unless the tub is filled with water to a proper level.
Damaged due to dry running pump is not covered under warranty.
14. FAILURE TO PERFORM THESE TESTS BEFORE INSTALLATION WILL M AKE THE
INSTALLER LIABLE FOR FUTURE REPAIR COSTS !!
15. Remove the existing tub and the wall and floor materials as required.
16. Clean area of any debris or trash.
17. Use 5 foot level and determine if the floor is level. If the floor is not level adjust all leveling
feet to perfectly level the tub.
18. Make sure you level the walk in tub from the highest elevation point on the floor.
www.MobilityBathworks.com
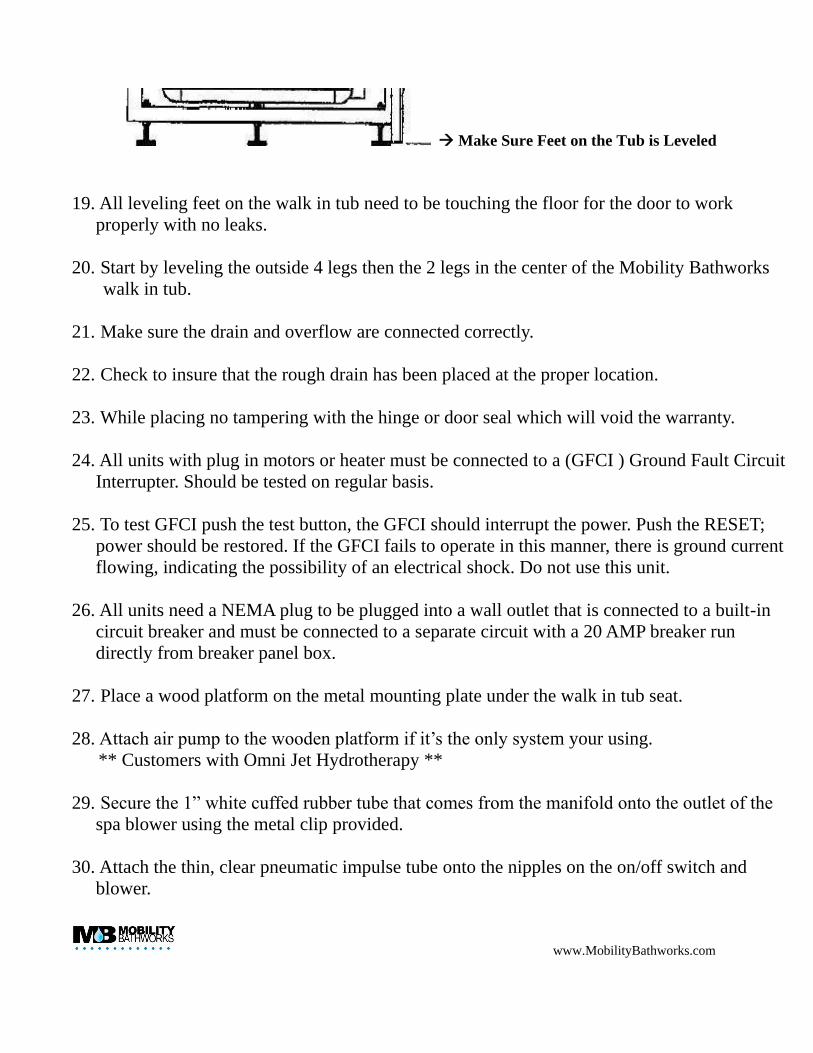
Make Sure Feet on the Tub is Leveled
19. All leveling feet on the walk in tub need to be touching the floor for the door to work
properly with no leaks.
20. Start by leveling the outside 4 legs then the 2 legs in the center of the Mobility Bathworks
walk in tub.
21. Make sure the drain and overflow are connected correctly.
22. Check to insure that the rough drain has been placed at the proper location.
23. While placing no tampering with the hinge or door seal which will void the warranty.
24. All units with plug in motors or heater must be connected to a (GFCI ) Ground Fault Circuit
Interrupter. Should be tested on regular basis.
25. To test GFCI push the test button, the GFCI should interrupt the power. Push the RESET;
power should be restored. If the GFCI fails to operate in this manner, there is ground current
flowing, indicating the possibility of an electrical shock. Do not use this unit.
26. All units need a NEMA plug to be plugged into a wall outlet that is connected to a built-in
circuit breaker and must be connected to a separate circuit with a 20 AMP breaker run
directly from breaker panel box.
27. Place a wood platform on the metal mounting plate under the walk in tub seat.
28. Attach air pump to the wooden platform if it‟s the only system your using.
** Customers with Omni Jet Hydrotherapy **
29. Secure the 1” white cuffed rubber tube that comes from the manifold onto the outlet of the
spa blower using the metal clip provided.
30. Attach the thin, clear pneumatic impulse tube onto the nipples on the on/off switch and
blower.
www.MobilityBathworks.com
31. Before making any electrical connections, make certain that the electrical connection is
turned OFF at the breaker, and take measures that it CANNOT accidentally be turned on
again.
32. Once connected electrically, the spa system is ready to use.
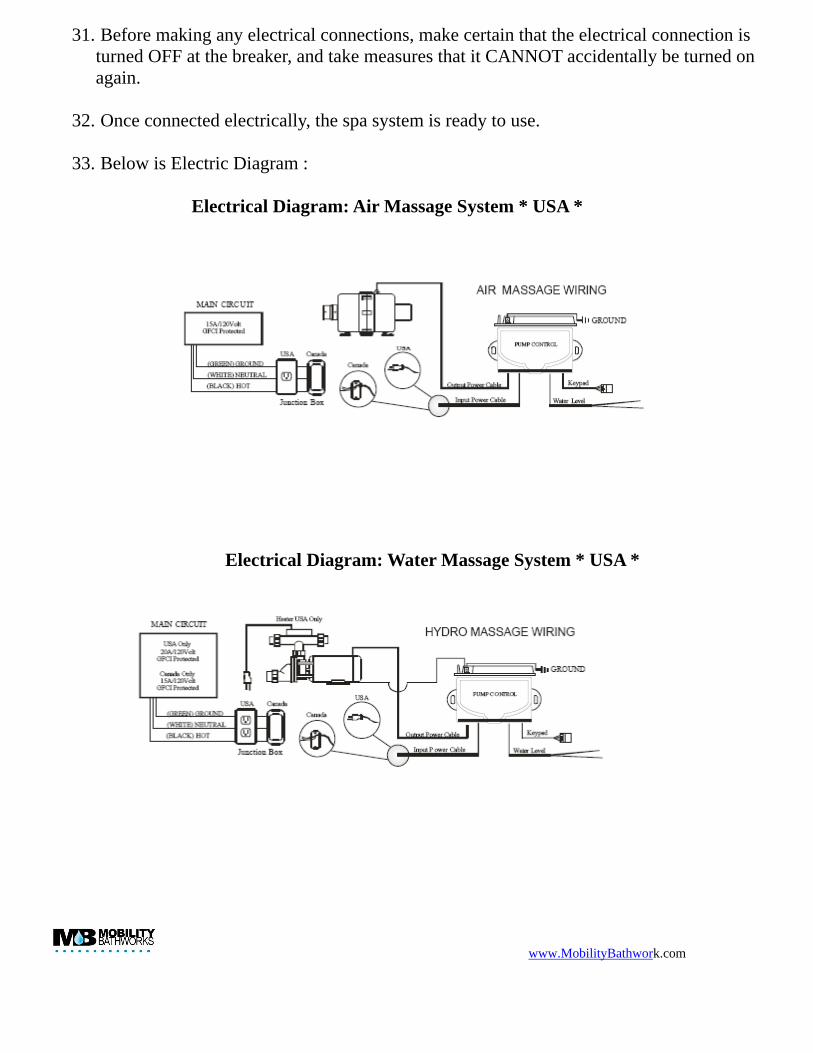
33. Below is Electric Diagram :
Electrical Diagram: Air Massage System * USA *
Electrical Diagram: Water Massage System * USA *
www.MobilityBathwork.com

Electrical Diagram: Hydro & Air Massage System * USA *
*** Do not Use Air and Water Jets at the Same Time **
Electrical Diagram: Hydro & Air Massage System * Canada *
www.MobilityBathworks.com

34. Mark position of the holes for the faucets/ taps and make sure that your piping will not
obstruct by the Mobility Bathworks walk in tub stainless steel frame. DOUBLE CHECK
ALL MEASUREMENTS
35. Drill holes for taps / faucets using correct size core drill bit.
36. Hook up the hot and cold lines with a water heater flex hose adfapter that is ¾” inches with
a female connector. ** Make sure the flex hose has washers on both ends **
37. For “ reverse ” plumbing, where the Mobility Bathworks walk in tub is flipped to the
opposite hand to enable use where a toilet will be in the way of the Mobility Bathworks walk
in tub door, the drain plumbing can be runned under the Mobility Bathworks walk in tub.
38. Again, check if the walk in tub is leveled on both sides of the tub surface.
39. If flanges are available ** required by US Plumbing Code ** pre drill the screw holes than
screw the nail through the flange into the wall.
40. If you don‟t have a flange you can just silicone around the whole walk in tub to the walls.
www.MobilityBathworks.com

41. If your walk in tub didn‟t come with flanges but you still desired them you can get a tile
bead from American Standard :
Tile Bead Flanges
Avaliable : http://www.plumbersurplus.com/Prod/American-Standard-751755-100-Universal-Tile-Bead-Kit-
(single)/41887/Cat/51
** Below is Installation Guide **
www.MobilityBathworks.com
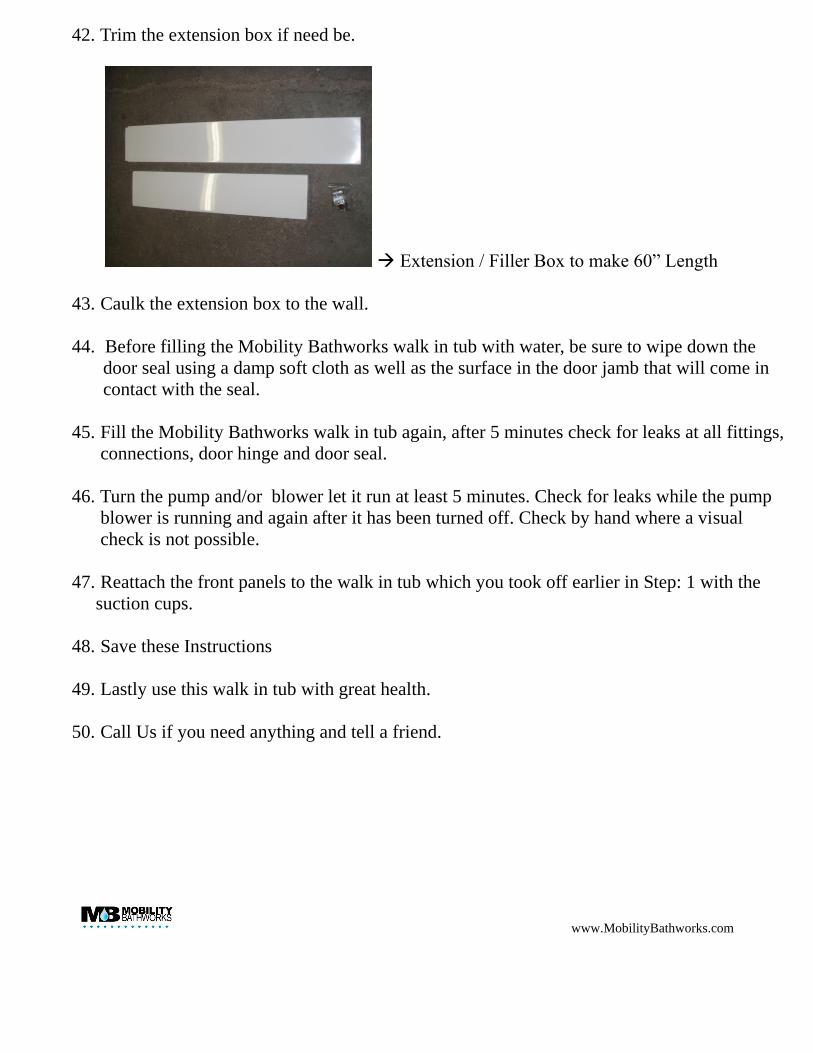
42. Trim the extension box if need be.
Extension / Filler Box to make 60” Length
43. Caulk the extension box to the wall.
44. Before filling the Mobility Bathworks walk in tub with water, be sure to wipe down the
door seal using a damp soft cloth as well as the surface in the door jamb that will come in
contact with the seal.
45. Fill the Mobility Bathworks walk in tub again, after 5 minutes check for leaks at all fittings,
connections, door hinge and door seal.
46. Turn the pump and/or blower let it run at least 5 minutes. Check for leaks while the pump
blower is running and again after it has been turned off. Check by hand where a visual
check is not possible.
47. Reattach the front panels to the walk in tub which you took off earlier in Step: 1 with the
suction cups.
48. Save these Instructions
49. Lastly use this walk in tub with great health.
50. Call Us if you need anything and tell a friend.
www.MobilityBathworks.com

Customer Use & Operation Guide
1. Enter the walk in tub then close the door and seal it by pulling the handle toward you into the
locked position. Below are pictures of the walk in tub handle.
Bowling Ball Handle
Roman Door Handle
2. A few tips on the door handle. Even though the walk in tub handle is put together with the
strongest materials available it will not withstand a person putting their whole weight against it
while either trying to pull themselves up out of the bath or using excessive force closing the
door. If used in either of these ways the bottom of the handle will ultimately break away from
it‟s fixing. The handle is designed as a closing mechanism and nothing more. User misuse of the
handle will not be covered by the warranty.
3. Close the floor drain by twisting the overflow knob :
www.MobilityBathworks.com
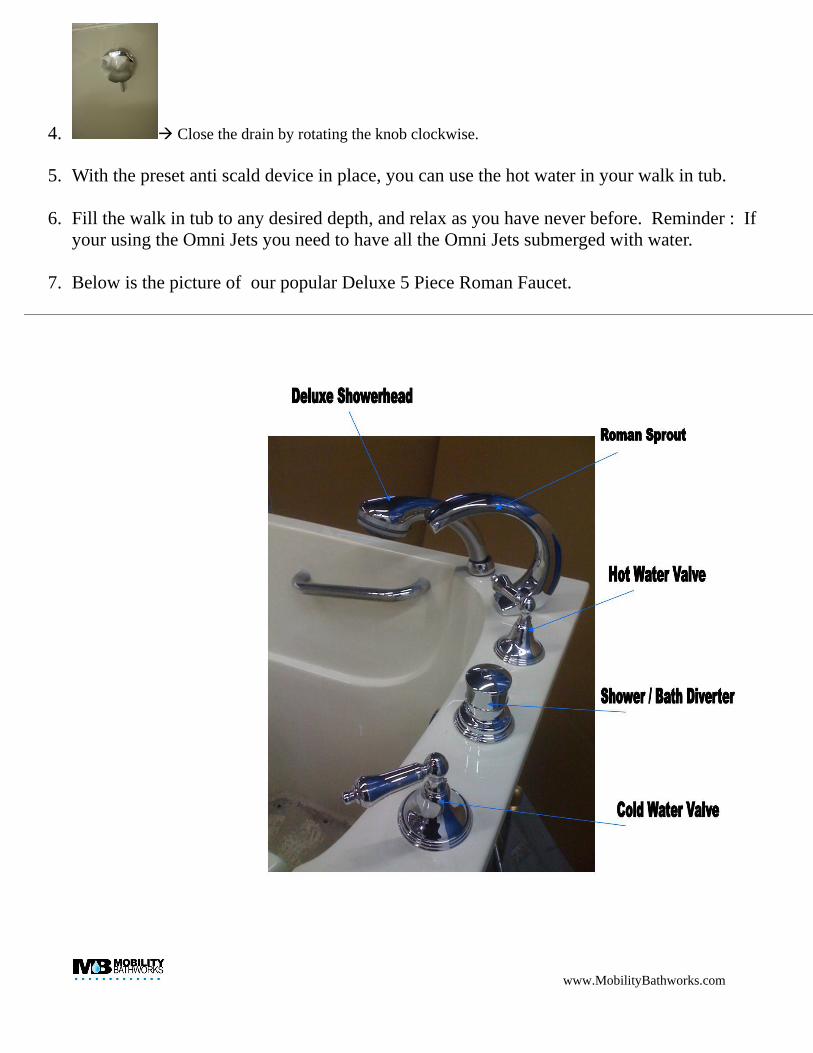
4. Close the drain by rotating the knob clockwise.
5. With the preset anti scald device in place, you can use the hot water in your walk in tub.
6. Fill the walk in tub to any desired depth, and relax as you have never before. Reminder : If
your using the Omni Jets you need to have all the Omni Jets submerged with water.
7. Below is the picture of our popular Deluxe 5 Piece Roman Faucet.
www.MobilityBathworks.com
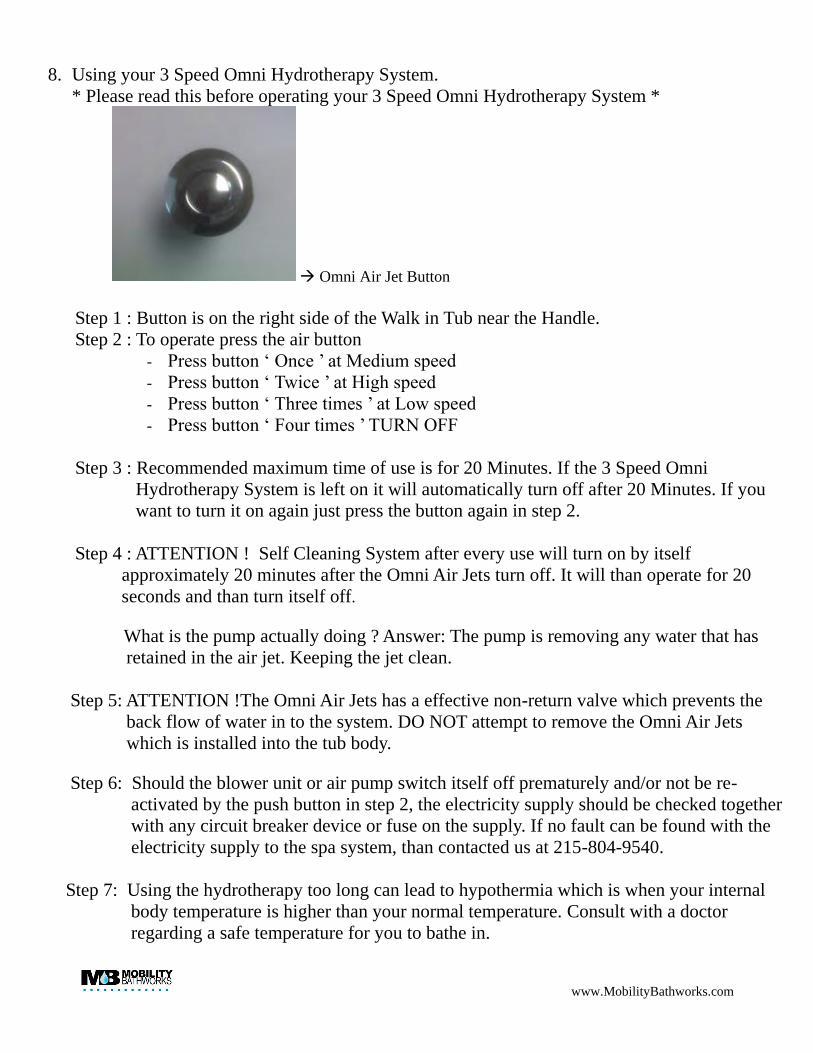
8. Using your 3 Speed Omni Hydrotherapy System.
* Please read this before operating your 3 Speed Omni Hydrotherapy System *
Omni Air Jet Button
Step 1 : Button is on the right side of the Walk in Tub near the Handle.
Step 2 : To operate press the air button
- Press button „ Once ‟ at Medium speed
- Press button „ Twice ‟ at High speed
- Press button „ Three times ‟ at Low speed
- Press button „ Four times ‟ TURN OFF
Step 3 : Recommended maximum time of use is for 20 Minutes. If the 3 Speed Omni
Hydrotherapy System is left on it will automatically turn off after 20 Minutes. If you
want to turn it on again just press the button again in step 2.
Step 4 : ATTENTION ! Self Cleaning System after every use will turn on by itself
approximately 20 minutes after the Omni Air Jets turn off. It will than operate for 20
seconds and than turn itself off.
What is the pump actually doing ? Answer: The pump is removing any water that has
retained in the air jet. Keeping the jet clean.
Step 5: ATTENTION !The Omni Air Jets has a effective non-return valve which prevents the
back flow of water in to the system. DO NOT attempt to remove the Omni Air Jets
which is installed into the tub body. Step 6: Should the blower unit or air pump switch itself off prematurely and/or not be re-
activated by the push button in step 2, the electricity supply should be checked together
with any circuit breaker device or fuse on the supply. If no fault can be found with the
electricity supply to the spa system, than contacted us at 215-804-9540.
Step 7: Using the hydrotherapy too long can lead to hypothermia which is when your internal
body temperature is higher than your normal temperature. Consult with a doctor
regarding a safe temperature for you to bathe in.
www.MobilityBathworks.com
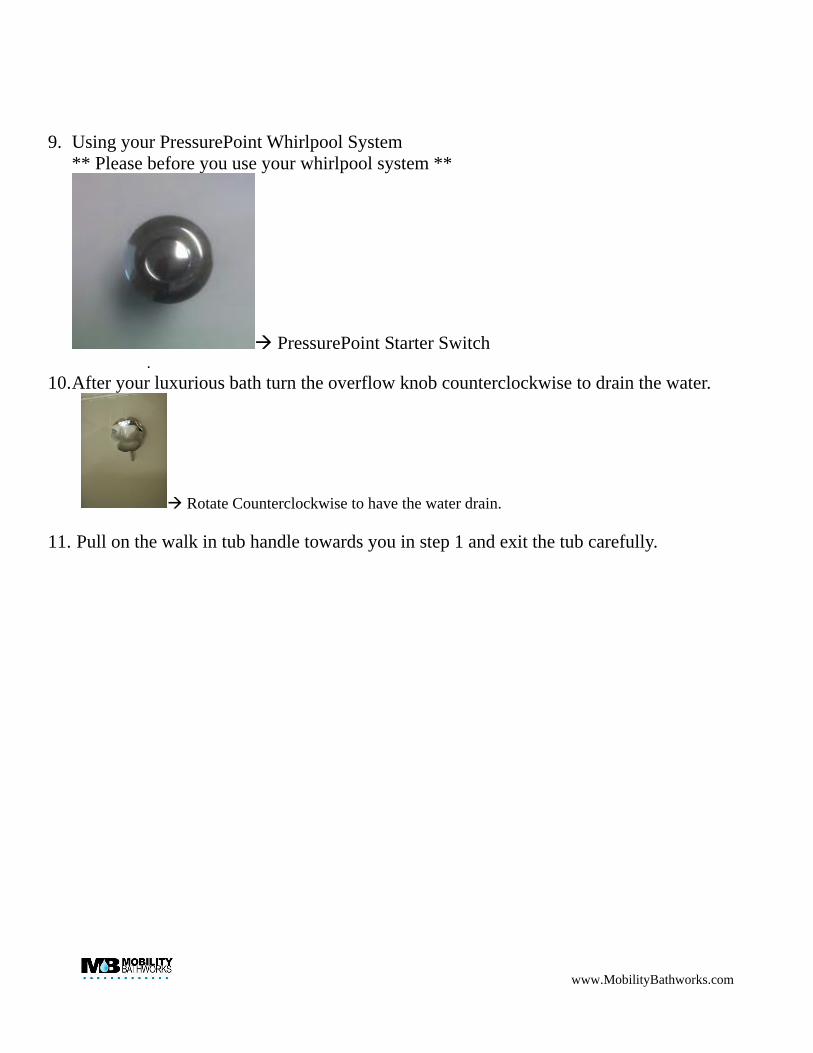
9. Using your PressurePoint Whirlpool System
** Please before you use your whirlpool system **
PressurePoint Starter Switch .
10. After your luxurious bath turn the overflow knob counterclockwise to drain the water.
Rotate Counterclockwise to have the water drain.
11. Pull on the walk in tub handle towards you in step 1 and exit the tub carefully.
www.MobilityBathworks.com

Care for your Walk in Tub
1. Regular care of your Mobility Bathworks walk in tub will keep it clean and have it working at
it‟s best.
2. DO NOT under any circumstances use wire brushes, metal sponges, knives, steel wool or
scouring pads on any part of the Mobility Bathworks walk in tub.
3. DO NOT under any circumstances, use powerful solvent such as acetone, lacquer, paint thinner,
benzene or abrasive cleaner on any part of the Mobility Bathworks walk in tub.
4. DO NOT use ammonia or chlorine –based agents on any plated surface, as they will de-plated
the surface and void the warranty on the plated finish.
5. DO NOT use any liquids, powders or oils if you have a air or/and water jet system.
6. Oil or grease spots can be lifted with denatured alcohol
7. Use liquid, non-bleach dish washing detergent to remove any construction residue.
8. Lightly rubbing with a liquid cleaning compound (such as polishing compound used for cars )
followed by a light application of liquid or paste wax, will restore luster to any duller surface.
9. Clean plated surfaces with warm water only.
10. Very important to keep your Walk in tub fixtures clean on a regular basis. The best way to
counteract from detrimental affects occurring is to prevent water from remaining on any
finished surface on the walk in tub. WIPE DOWN YOUR WALK IN TUB AFTER EVERY
USE !
11. Very Important ! Clean the door jamb and seal free of dirt or debris with a mild dish washing
detergent and warm water using a soft cloth once a week.
www.MobilityBathworks.com

Question & Answer Session
Question # 1 : The door seal is not completely compressed. Should I try to adjust the door to
make it tighter ?
Answer : No, there is no need to. Never adjust, move, undo or tamper with the door hinge.
Question # 2 : How often should I clean my bath ?
Answer: Wipe after every use of your walk in tub. It is always important to wipe your door seal and
remove debris.
Question# 3 : Can I have a bubble bath in my walk in tub ?
Answer: Use some oils but do not use salts in your walk in tub.
Question# 4: If I chip a walk in tub with a sharp object, what should I do ?
Answer: Buy a fiberglass repair kit and apply to the chip.
Question# 5: Can I use the door to lean on for supporting getting in or out of the bath ?
Answer: No, do not use the walk in tub door for support. Do not alter the door fittings, tamper
with the hinge or try to get a closer fit on the seal.
Question# 6: Is there any routine maintenance to the door or hinge ?
Answer: No, Do not tamper with walk in tub door & handle.
www.MobilityBathworks.com