Embed Size (px)
Citation preview

M A N U A L
1 Rag2 Drift3 Grease4 Hope Nylon Wheel Support Bush (HTT167), Pro 2/3 seal tool (HTT175), Pro 2 EVO rear main bearing tool (HTT182) and rear freehub bearing tool (HTT180, now packaged with HTT182)
5 Degreaser6 T25 Torx key7 Plastic mallet (or soft hammer)8 Small flat-head screwdriver9 Cassette lockring tool10 Chain whip11 Plumber’s gripsNot pictured: Vice, methylated spirits
Tools for the job Essential kit
04 Flip the hub shell so it’s driveside down on the wheel support. Using a drift and hammer, tap the driveside bearing down
to remove it from the hub. Make sure to alternate the drift’s position while hammering in order to knock the bearing out evenly. The hub shell is now empty. Give the end caps, axle and internals a good clean with some degreaser and a rag.
03 Sit the wheel non-drive side down on the Hope wheel support (HTT167). Tap the axle firmly downwards with a plastic
mallet. This will knock out the axle, with the non-driveside bearing attached, and pop out the rubber seal. Put the seal safely to one side. Open your vice and sit the bearing on top of the jaws, then tap the axle with the mallet to remove it.
05 Hope recommend replacing the freehub body when parts start to wear, because it’s cheaper than buying the pawls, seals,
etc separately. If you just want to refresh the bearings, start by popping out the seal and sliding it off. Note its orientation, with a step on its inner side. Slide the pawls out, noting their orientation, and remove the springs, without bending them.
10 Now to install the main bearings. Sit the hub non-drive side down on the wheel support. Lightly grease the bearing seat
behind the freehub ratchet. Sit the new bearing in place, making sure it’s square. Tap the Hope main bearing tool (HTT182) gently with the mallet until the bearing is fully seated, slightly deeper than the lip below the freehub ratchet.
09 Grease the spring locations. Sit the open end of the first spring in the bore and turn it to locate it fully. Repeat on all
four springs. Use a small flat-head screwdriver to compress one of the springs slightly, then slide the first pawl down into position. Repeat on all four pawls. Reinstall the seal behind the freehub body, with the stepped side against the pawls.
11 Flip the hub over so the non-drive side is facing upwards. Lightly grease the axle surface, then slide the axle back through
the hub, making sure the bearing step end goes in last, because it’s where the freehub body sits. Slide the new bearing over the axle and towards its location in the hub. Use the bearing tool and mallet to fit the bearing.
16 Use a very small amount of grease to lubricate the O-rings in the hub’s end caps. Push them firmly back on to
the axle, sitting them in place. Check that the non-driveside seal is still in place too. Re-fit your cassette, torqueing the lockring to 34Nm. Re-fit your disc rotor, torqueing the bolts to 5.6Nm.
15 Now slide the Hope seal tool (HTT175) over the freehub body. With the tool sat against the driveside seal, use the palm of your
hand to press down on it firmly. The seal should then pop into place. Remove the tool and check that the hub still spins smoothly and that the freehub ratchet is working correctly.
Mountain Biking UK 137
WO R K S H O P W I S D O MYou can follow the same basic procedure to replace the bearings in a standard Pro 2 hub, but watch out because the bearing sizes differ.
It’s important to buy the right tools. Using a socket with a rounded edge to press in bearings could damage the seals. The wheel support isn’t essential – you could use a block of wood instead.
Work in a clean environment and keep track of all the parts you remove from the hub. That way, you won’t mistake one internal spacer for another or even miss one entirely.
If the hub binds up when it’s put back in your frame, you’ve probably forgotten the spacer that sits between the freehub body and main bearing.
How to service Shimano Saint pedals Keep your flats spinning smoothly with our step-by-step guide ON SALE 10 JANUARY NEXT MONTH
4
3
71
8
9
10
11
5
2
6
Q I’m looking to spend around £600-700 on my first proper bike. I’m
after a second-hand full sus trail rig. I’m only 15 so you can see why it’s such a tough decision!
I was thinking maybe a 2011/12 Boardman Team FS or a Giant Trance X4. Any advice? Dan Couldery, via email
A Dan, when it comes to deciding what bike to buy, it doesn’t get any easier
with age. Trust us! Both the Boardman Team FS and Giant Trance X4 are great bikes for the money, and if you can find a decent second-hand one in good condition, then great. Just be sure to check over all the pivots for play and cycle the suspension through to check for leaky seals or anything that might need some attention.
The two bikes you’ve picked are both solid choices and have always done well in our tests. On paper, the Boardman stacks up better than the Giant when you compare the specs. The Team FS uses an air fork where the Trance comes equipped with a less adjustable coil model. The Boardman also has 10mm more fork travel, better brakes and gears, and comes in just under the all-important 30lb mark. c
QI’ve just bought a
2014 Cube Aim 26
and I’m keen to hit
my local trails regularly
next year. I’m looking to
upgrade some parts pretty
soon though, including the
fork. Could you recommend
something you’d consider
mid-range please, as I don’t
have a massive budget.
Jamie Osbourne, Grimsby
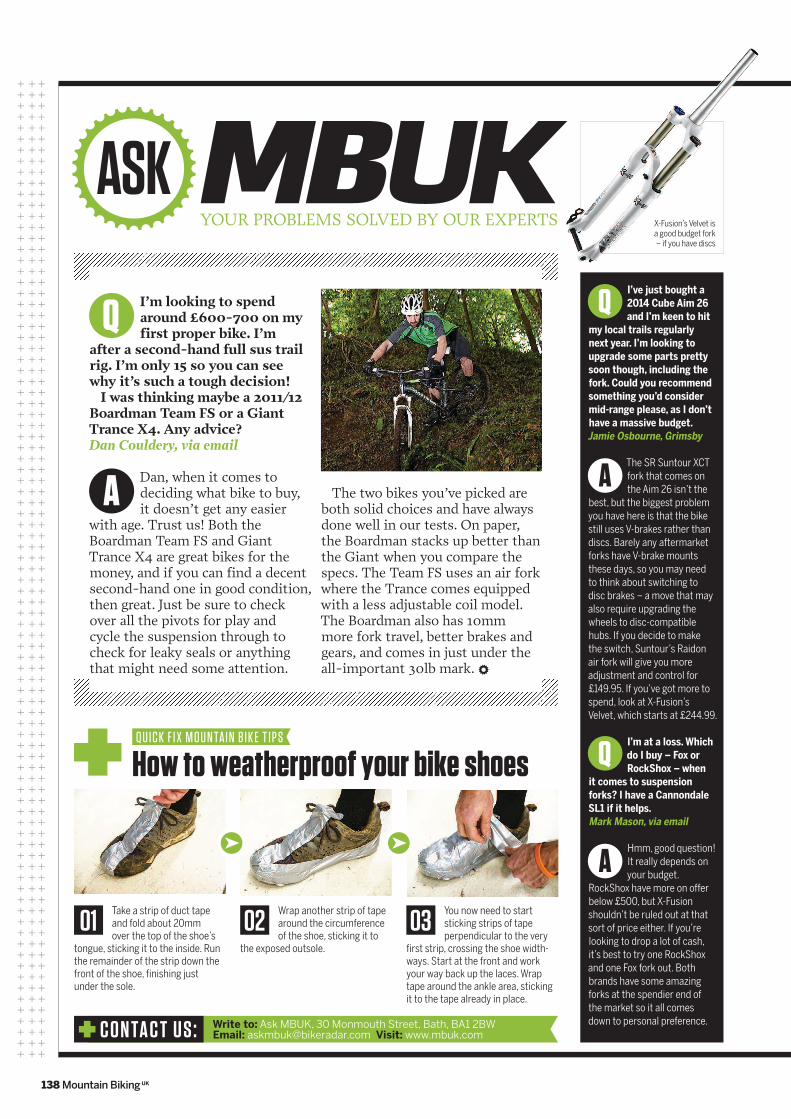
A The SR Suntour XCT
fork that comes on
the Aim 26 isn’t the
best, but the biggest problem
you have here is that the bike
still uses V-brakes rather than
discs. Barely any aftermarket
forks have V-brake mounts
these days, so you may need
to think about switching to
disc brakes – a move that may
also require upgrading the
wheels to disc-compatible
hubs. If you decide to make
the switch, Suntour’s Raidon
air fork will give you more
adjustment and control for
£149.95. If you’ve got more to
spend, look at X-Fusion’s
Velvet, which starts at £244.99.
QI’m at a loss. Which
do I buy – Fox or
RockShox – when
it comes to suspension
forks? I have a Cannondale
SL1 if it helps.
Mark Mason, via email
A Hmm, good question!
It really depends on
your budget.
RockShox have more on offer
below £500, but X-Fusion
shouldn’t be ruled out at that
sort of price either. If you’re
looking to drop a lot of cash,
it’s best to try one RockShox
and one Fox fork out. Both
brands have some amazing
forks at the spendier end of
the market so it all comes
down to personal preference.
01 Take a strip of duct tape and fold about 20mm over the top of the shoe’s
tongue, sticking it to the inside. Run the remainder of the strip down the front of the shoe, finishing just under the sole.
03 You now need to start sticking strips of tape perpendicular to the very
first strip, crossing the shoe width-ways. Start at the front and work your way back up the laces. Wrap tape around the ankle area, sticking it to the tape already in place.
02 Wrap another strip of tape around the circumference of the shoe, sticking it to
the exposed outsole.
How to weatherproof your bike shoesQUICK F IX MOUNTAIN B IK E T IPS
Write to: Ask MBUK, 30 Monmouth Street, Bath, BA1 2BW Email: [email protected] Visit: www.mbuk.comCONTACT US :
YOUR PROBLEMS SOLVED BY OUR EXPERTS
ASK
138 Mountain Biking UK
X-Fusion’s Velvet is a good budget fork – if you have discs