Embed Size (px)
Citation preview


How To Batch Register Your Students
For Instructors Or Program Admin

About Batch Registration
Batch Registration is the most efficient and organized way to register a large group of students directly into your course.
It is available through an Instructor or Program Admin account.
Batch Registration can be completed with OR without student access codes. If completed without student access codes, the student will be prompted to enter their access code after logging in.
Batch Registration works best for First Time/New Students ONLY. If the student already has an existing account, the student will have to self register the access code as an existing user and then join the instructor’s course using the Instructor’s Course ID. Click here for instructions on how to register as an existing user.
The course size limit is 50. Exceeding 50 students per course may impact the performance of the course gradebook. DO NOT REGISTER MORE THAN 50 STUDENTS PER COURSE.

What You Will Need Before Doing Batch Registration
An Instructor Account You will need an instructor Login Name and Password. If you haven’t yet created an instructor account, contact your local Pearson Representative to request an instructor access code. Click here.
Get Students’ Information Full Name, Email Address, and Student Access Code (option)Note: If password reset following registration is requested, the information to reset the password will be sent to the email address used during registration. If your students do not have a valid Email Address, you can use a generic valid email address to register your students. A single email address can be used to register multiple students if necessary.
Okay. Let’s Begin…

Go to MyEnglishLab.com, Find Your Course, and then click the “Login” button.
STEP 1: Log Into MyEnglishLab
(example screenshot)

STEP 2: Create A Course
Click on SETTINGS tab and then click on Create a new course. Follow the onscreen instructions to enter the course information. Once the course is created, click on Settings tab again to return to the Settings page.
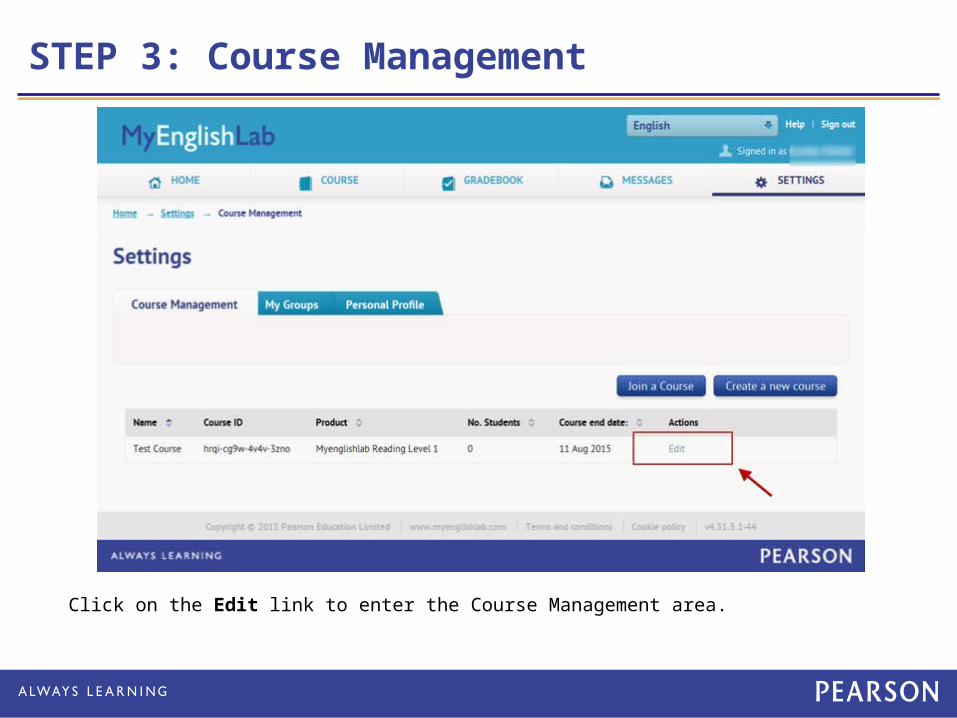
STEP 3: Course Management
Click on the Edit link to enter the Course Management area.

STEP 4: Course Management
Under the Manage Students tab, click on Register new student(s).

STEP 5: Course Management
On this screen you can register one or more students. Click on the Register Multiple Students tab and then click on Download Template button. Use the downloaded Excel template document to enter your students information.

• All column headings highlighted in red are required to complete the Batch Registration(Full Name, Last Name, Email Address, User Name, L1 language, & Country of residence)
• First and Last Name: Do not leave trailing spaces after entering the names.
• Email address: A valid email address is required if password reset is requested. Information to reset password will be sent to the email address used during registration. If your students do not have a valid Email Address, you can use a generic valid email address to register your students. A single email address can be used to register multiple students if necessary.
• User Names: This is auto populated using Excel Formulas. If you would like to define your own username, delete the auto populated information. Username must be at least six characters long. We recommend that you use your email address as an easy way to remember your username.
• Password: Enter a password that is between 8 and 32 characters long, and has one number. Do not include blank spaces, your name, or your username
• Using the dropdown list, select your student’s Language and Country of residence.
• Batch registration has a limit of 50 students per course
• Save the Excel document to your desktop.
STEP 6: Entering Students Information in The Template
Sample Excel Template

STEP 7: Input Batch Template
Return to your Course Management area (see Steps 3-5). Click on the Import file button, click on Choose file, locate your Excel template, and then click on OK button. This will import the students information from the Excel template.

STEP 8: Review Batch and Submit for Processing
Click on (1) View to review the batch. You can correct errors or update each student information by clicking on the (2) Edit. If you are happy with the information, click on (3) Submit batch. Accept the terms and then click on (4) Submit button to process.

STEP 9: Batch Completed
You will be alerted on the MyEnglishLab Home page once the batch registration has been processed. Batch Registration process can take up to 1 hour depending on the batch registration queue system.
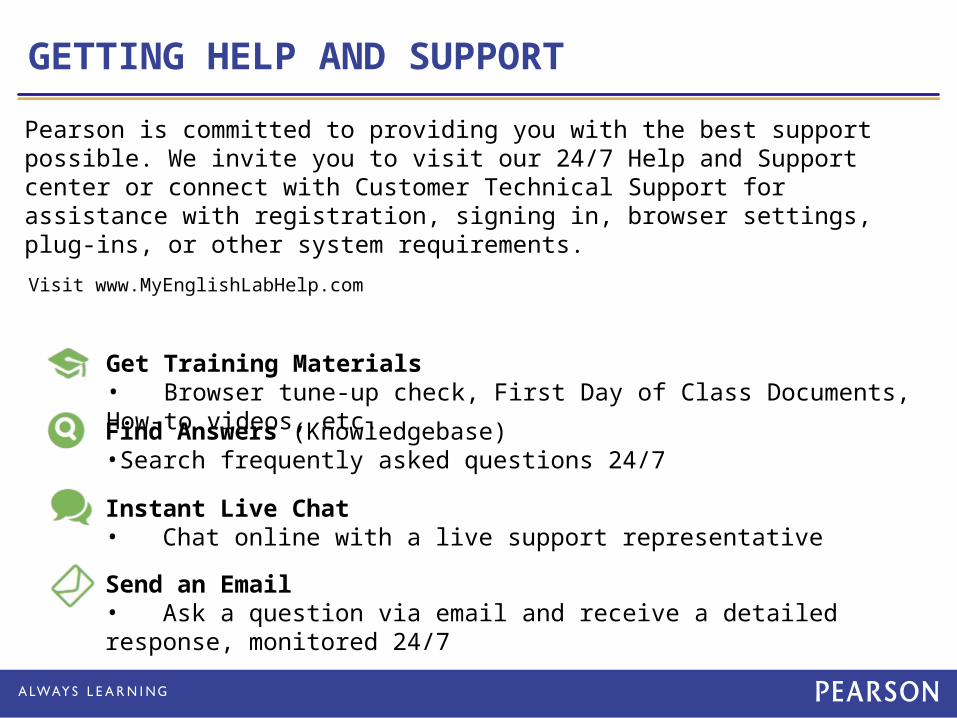
Visit www.MyEnglishLabHelp.com
Find Answers (Knowledgebase)•Search frequently asked questions 24/7
Instant Live Chat• Chat online with a live support representative
Send an Email• Ask a question via email and receive a detailed response, monitored 24/7
Get Training Materials• Browser tune‐up check, First Day of Class Documents, How‐to videos, etc.
Pearson is committed to providing you with the best support possible. We invite you to visit our 24/7 Help and Support center or connect with Customer Technical Support for assistance with registration, signing in, browser settings, plug-ins, or other system requirements.
GETTING HELP AND SUPPORT

Good luck!