Embed Size (px)
Citation preview

Create and Edit a Blended
Course
This job aid provides you step-by-step instructions on how to create
and edit a blended course. Click on one of the two topics to access its
information:
• Create a Blended Course
• Edit a Blended Course
Supplemental Resources
The following companion-based resources support this job aid:
• Create a Blended Course eLearning
• Workday Learning Vocabulary
• Learning Partners Agency Contacts
Intended Audience
Individuals with the following Workday Learning roles:
• Learning Partner
• Content Creator
Revision Date
July 2, 2021. Disregard all previous versions.
Questions and Assistance
Visit the Workday Learning webpage:
https://www.oregon.gov/das/HR/Pages/Workday-Learning.aspx
Icon Key
Additional
Information
Reminder/
Remember Important

Create and Edit a Blended Course
Revision Date: July 2, 2021 2 | P a g e
Create a Blended Course
Step 1: Create a Blended Course From the Workday Home Screen,
1. Click on Learning Admin.
2. Click on Course.
3. Select the Create Blended Course radio button.
4. Click OK.

Create and Edit a Blended Course
Revision Date: July 2, 2021 3 | P a g e
Step 2: Add Course Details
On the Create Blended Course screen:
1. Add all course details as they pertain to your course.
a. Fields with a red asterisk (*) are required.
b. Security Categories is also a required field.
Once the course is created, the Effective Date is the only field
that cannot be edited. To create an offering for a learning
event that has already happened, make sure the Effective
Date is far enough in the past to accommodate the offering’s
historical date.

Create and Edit a Blended Course
Revision Date: July 2, 2021 4 | P a g e
2. OPTIONAL: The Advanced, Cost, and Pricing sections are only
used by specific agencies. Contact your Learning Partner to
determine if these sections apply to your agency.

Create and Edit a Blended Course
Revision Date: July 2, 2021 5 | P a g e
3. Search for and add Lesson Details:
a. Allowed Instructors – The list of Instructors who are
authorized to teach the course.
b. Allowed Assessors – Ignore this field as the State of Oregon
does not use this feature.
c. Locations – The list of locations where an offering will occur.
If you are unsure which locations will include an instructor-led
offering, you can select All Locations. When you create the
offering(s), you can identify the specific locations at that
time.

Create and Edit a Blended Course
Revision Date: July 2, 2021 6 | P a g e
4. Click on Add Lesson.
5. Choose a lesson type:
a. External Content – A webpage.
b. Instructor Led/Classroom Training – An in-person event located
within a brick and mortar space, example include a training or
conference room, computer lab, or conference building.
c. Instructor Led/Webinar – An in-person event located within a
virtual environment.
d. Media – Examples include video, eLearning, and documents.
Survey and Training Activity are not lesson types that are
used by the State of Oregon.
You can add multiple lessons to a single Blended Course.

Create and Edit a Blended Course
Revision Date: July 2, 2021 7 | P a g e
Once the Lesson type is selected,
6. Add the appropriate Lesson Details.
a. To continue adding Lessons Details, click on one of the below
topics:
• External Content
• Instructor Led/Classroom Training and Instructor
Led/Webinar
• Media
For additional information regarding the terms and
definitions, review the available materials within
Supplemental Resources.

Create and Edit a Blended Course
Revision Date: July 2, 2021 8 | P a g e
External Content:
Add all lesson details as they pertain to your lesson. Fields with a red
asterisk (*) are required.
1. Identify the Lesson Order.
2. Make the appropriate selection for Make Lesson Mandatory.
3. Add a website link to Content URL.
4. Add the Lesson Title.
5. Enter the Lesson’s Description.
6. OPTIONAL: Select Add Lesson to add additional lessons to your
Blended Course.
7. Once finished, proceed to Step 3: Submit.
The Content URL must begin with either “http://” or
“https://”.

Create and Edit a Blended Course
Revision Date: July 2, 2021 9 | P a g e
Instructor Led/Classroom Training and Instructor Led/Webinar
From within either the Instructor Led/Classroom Training lesson or the
Instructor Led/Webinar lesson, add all details as they pertain to your
lesson. Fields with a red asterisk (*) are required.
1. Identify the Lesson Order.
2. Make the appropriate selection for Make Lesson Mandatory.
3. Add the Lesson Title.
4. Make the appropriate selection for Track Attendance.
5. Make the appropriate selection for Track Grades.
6. Enter the Lesson’s Description.
7. OPTIONAL: Select Add Lesson to add additional lessons to your
Blended Course.
8. Once finished, proceed to Step 3: Submit.
Grading Scheme is a dynamic field, connected to the Track
Grades indicator. If Track Grades is unselected, Grading
Scheme is automatically removed from the Lesson Details.

Create and Edit a Blended Course
Revision Date: July 2, 2021 10 | P a g e
Media
Add all details as they pertain to your lesson. Fields with a red asterisk
(*) are required.
1. Identify the Lesson Order.
2. Make the appropriate selection for Make Lesson Mandatory.
3. Add the Lesson Title.
4. Enter the Lesson’s Description.
5. Add the Media file.
6. OPTIONAL: Select Add Lesson to add additional lessons to your
Blended Course.
7. Once finished, proceed to Step 3: Submit.
Media files include SCORM, PowerPoints, video files, and
documents such as Word, Excel, PDFs.

Create and Edit a Blended Course
Revision Date: July 2, 2021 11 | P a g e
Step 3: Submit Once all the lessons are created,
1. Click Submit to automatically open the Learning Admin dashboard.
Select Save for Later to finish creating the blended course
later. Your progress will be saved. You can access your
partially completed course within your Inbox.
Although you created a course, you have not created an
offering. Until an offering is added, the course is not
accessible to Learners.

Create and Edit a Blended Course
Revision Date: July 2, 2021 12 | P a g e
Step 4: Schedule an Offering From the Learning Admin dashboard,
1. Click on Manage Learning Content.
On the Manage Learning Content screen,
2. Search for the blended course using one of two different methods:
a. Use and modify the search options on the left side, or
b. Type the course name in the Search bar and click Search.
3. Locate and click on the desired learning content.

Create and Edit a Blended Course
Revision Date: July 2, 2021 13 | P a g e
From the bottom of the course screen,
4. Click Schedule.

Create and Edit a Blended Course
Revision Date: July 2, 2021 14 | P a g e
5. From the Schedule Course Offering screen, there are several areas
to add relevant information.
a. Enable Auto-Enrollment from the Waitlist – If selected,
Learners will automatically be enrolled in the course when
seats become available.
b. Minimum Enrollment Capacity – The minimum number of
Learners required for the offering to occur.
c. Maximum Enrollment Capacity – The maximum number of
Learners allowed to attend the offering.
d. Offering Number – The unique identifier to help Learning
Partners and Content Creators manage all offerings
associated with this course.
e. Unlimited Capacity – If selected, this will allow an unlimited
number of Learners to attend the offering.
f. Waitlist Capacity – If the offering includes a waitlist, this is
the number of Learners that can be added to the waitlist.

Create and Edit a Blended Course
Revision Date: July 2, 2021 15 | P a g e
6. The Advanced, Cost and Pricing sections are optional. They are
only used by specific agencies. Contact your Learning Partner to
determine if your agency uses these sections and if so, what data
should be added.
7. Within Instructor Led Details, add the relevant information.
a. Primary Instructors – The trainer(s) who can train the course
and manage course offerings.
b. Primary Assessors – Ignore as this is not used by the State of
Oregon.
c. Primary Location – The location(s) where offerings can occur.
This field is only used when the course includes an “Instructor
Led/Classroom” offering.
8. To continue adding an offering, click on one of the two topics
below to be directed to those instructions:
• Instructor Led / Classroom
• Instructor Led / Webinar
Create and Edit a Blended Course
Revision Date: July 2, 2021 16 | P a g e
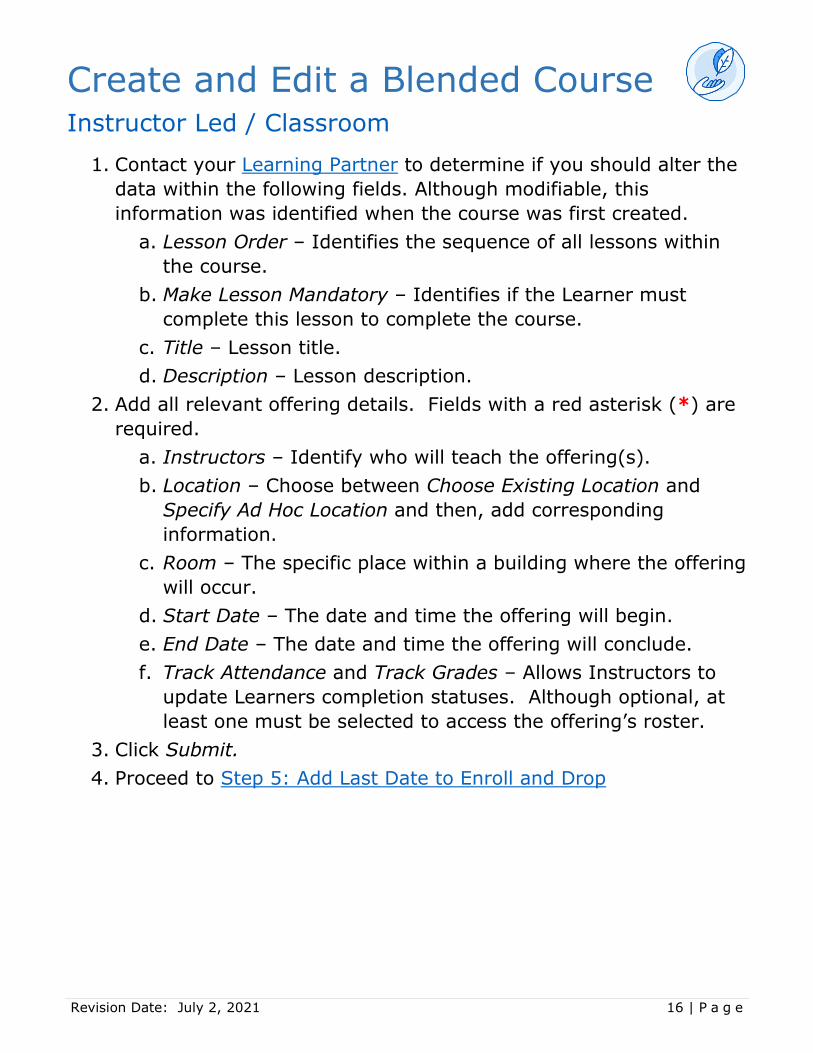
Instructor Led / Classroom
1. Contact your Learning Partner to determine if you should alter the
data within the following fields. Although modifiable, this
information was identified when the course was first created.
a. Lesson Order – Identifies the sequence of all lessons within
the course.
b. Make Lesson Mandatory – Identifies if the Learner must
complete this lesson to complete the course.
c. Title – Lesson title.
d. Description – Lesson description.
2. Add all relevant offering details. Fields with a red asterisk (*) are
required.
a. Instructors – Identify who will teach the offering(s).
b. Location – Choose between Choose Existing Location and
Specify Ad Hoc Location and then, add corresponding
information.
c. Room – The specific place within a building where the offering
will occur.
d. Start Date – The date and time the offering will begin.
e. End Date – The date and time the offering will conclude.
f. Track Attendance and Track Grades – Allows Instructors to
update Learners completion statuses. Although optional, at
least one must be selected to access the offering’s roster.
3. Click Submit.
4. Proceed to Step 5: Add Last Date to Enroll and Drop

Create and Edit a Blended Course
Revision Date: July 2, 2021 17 | P a g e

Create and Edit a Blended Course
Revision Date: July 2, 2021 18 | P a g e
Instructor Led / Webinar
1. Contact your Learning Partner to determine if you should alter the
data within the following fields. Although modifiable, this
information was identified when the course was first created.
e. Lesson Order – Identifies the sequence of all lessons within
the course.
f. Make Lesson Mandatory – Identifies if the Learner must
complete this lesson to complete the course.
g. Title – Lesson title.
h. Description – Lesson description.
2. Add all relevant offering details. Fields with a red asterisk (*) are
required.
a. Instructors – Identify who will teach the offering(s).
b. Webinar URL – The URL address of the webinar. It must start
with either https:// or http://.
c. Webinar Login Details – Provides additional login information
to the Learner such as troubleshooting tips and tricks,
alternate phone number, etc.
d. Additional Information – Provides extra information to the
Learner.
e. Start Date – The date and time the offering will begin.
f. End Date – The date and time the offering will conclude.
g. Track Attendance and Track Grades – Allows Instructors to
result Learners completion statuses. Although optional, at
least one must be selected to access the offering’s roster.
3. Click Submit.
4. Proceed to Step 5: Add Last Date to Enroll and Drop

Create and Edit a Blended Course
Revision Date: July 2, 2021 19 | P a g e

Create and Edit a Blended Course
Revision Date: July 2, 2021 20 | P a g e
Step 5: Add Last Date to Enroll and Drop Once you submit the offering data, a pop-up window will appear.
1. Click Edit Additional Data.
2. Add the last date Learners can enroll into the offering.
3. Add the last date Learners can drop the offering.
4. Click Submit.
If you skip this step, Learners will not be able to see or enroll
into the offering. If Skip is selected, an action item directing
you to complete this task will appear within your Inbox ( ).

Create and Edit a Blended Course
Revision Date: July 2, 2021 21 | P a g e
Edit the Blended Course
Step 1: Locate the Blended Course From the Workday Home screen,
1. Click on Learning Admin.
2. Click on Manage Learning Content.

Create and Edit a Blended Course
Revision Date: July 2, 2021 22 | P a g e
On the Manage Learning Content screen,
3. Search for the blended course using one of two different methods:
a. Use and modify the search options on the left side, or
b. Type the course name in the Search bar and click Search.
4. Locate and click on the desired learning content.
Step 2: Edit the Blended Course
On the course,
1. Click Edit. The Edit Course screen will open.

Create and Edit a Blended Course
Revision Date: July 2, 2021 23 | P a g e
2. Select which version to edit. You can choose from:
a. Update Current Version to revise the existing record.
b. Select Version to identify a previous version to revise.
c. Add New Version Effective to create a new version with a
future revision date.
3. Click OK.
4. Edit the course details as needed.
5. Click Submit to finalize your updates.
If you decide to add a new version, your edits will not be
accessible to Learners until the identified effective date.