Embed Size (px)
Citation preview

C250 JB+ Tuner Install Guide
Last Updated: 3/25/14
Use subject to terms and conditions posted at http://www.burgertuning.com/terms.htm
THIS PART IS LEGAL FOR USE ONLY IN COMPETITION RACING VEHICLES AS DEFINED UNDER
CALIFORNIA LAW, AND IS NOT LEGAL FOR USE IN ANY OTHER MOTOR VEHICLE. California law defines a
"racing vehicle" as "a competition vehicle not used on public highways." (Calif. Health & Safety Code 39048) This part
may only be used on competition racing vehicles operated exclusively on a closed course in conjunction with a
sanctioned racing event. Competition-only motor vehicles may not be driven to a racing event on a public highway and
must be transported on a trailer or other carrier. USE OF THIS PART IN ANY OTHER VEHICLE MAY SUBJECT
YOU TO FINES AND PENALTIES FOR VIOLATION OF FEDERAL AND/OR STATE LAW, WILL VOID YOUR
WARRANTY FROM BURGER MOTORSPORTS, LLC, AND CAN VOID YOUR VEHICLE'S WARRANTY. It is
your responsibility to comply with all applicable federal and state laws relating to use of this part, and Burger
Motorsports, LLC hereby disclaims any liability resulting from the failure to use this part in compliance with all
applicable federal and state laws.
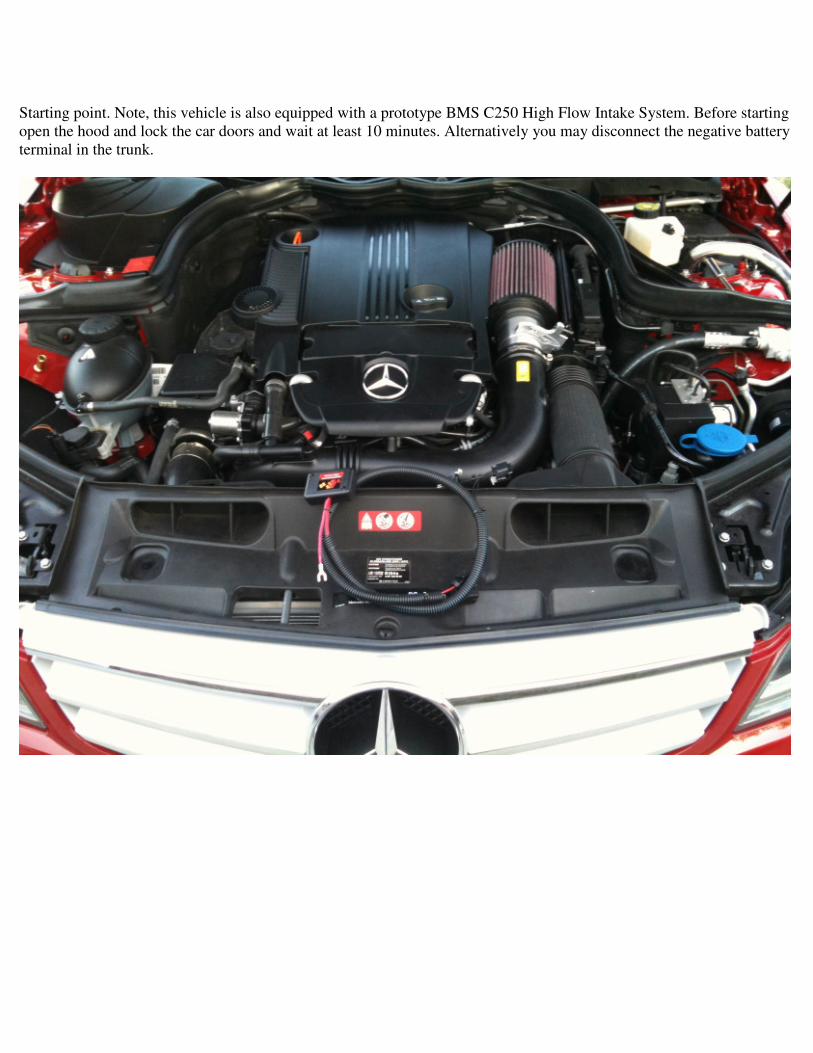
Starting point. Note, this vehicle is also equipped with a prototype BMS C250 High Flow Intake System. Before starting
open the hood and lock the car doors and wait at least 10 minutes. Alternatively you may disconnect the negative battery
terminal in the trunk.

1) Remove the engine cover by lifting it straight up and off.

2) Position the JB+ in the install location as shown and route the harness loosely. Using a 10mm socket loosen the
ground nut, red in this photo, slide the JB+ ground under the nut, and tighten it.

3) Locate the MAP sensor and remove it's plug by pulling the gray clip out approx 1/8" and then pushing it in while
pulling the connector out.


4) Insert the matching JB+ female connector in to the original sensor. Then plug the original connector in to the JB+
connector with 3 male pins sticking out of it. This connector is a simple friction fit and does not require anything to stay
in place.

5) Locate the solenoid at the center front of the engine and remove it's plug by pushing in on the metal clip sides while
pulling it out.

6) Plug the JB+ female solenoid connector in to the solenoid.

7) Plug the JB+ male connector in to the original solenoid connector.

8) Finally, reinsert the engine cover by placing it over the top of the engine, lining up the 4 locking tabs underneath it,
and pushing it straight down.
Installation is complete!
Adjustment:
The tune ships preset for most DME versions, which is approximately 50% on the internal dial. But due
to car to car variance adjustment may be necessary. If the dial is set too high the vehicle will experience
"reduced power" conditions where the gas pedal feels dead until you restart the car, and an over-boost
code may be triggered. If you experience either of these conditions then lower the dial by 10% until
they subside. To do this remove the two screws exposing the JB+ circuit board, and use a small
screwdriver to turn the dial towards the "MIN" setting. Note even at the MIN setting the tuner is still
adding horsepower. For OEM performance levels remove the tuner completely.