Embed Size (px)
Citation preview

Auto Section Control
Customer and Dealer TrainingFebruary, 2014
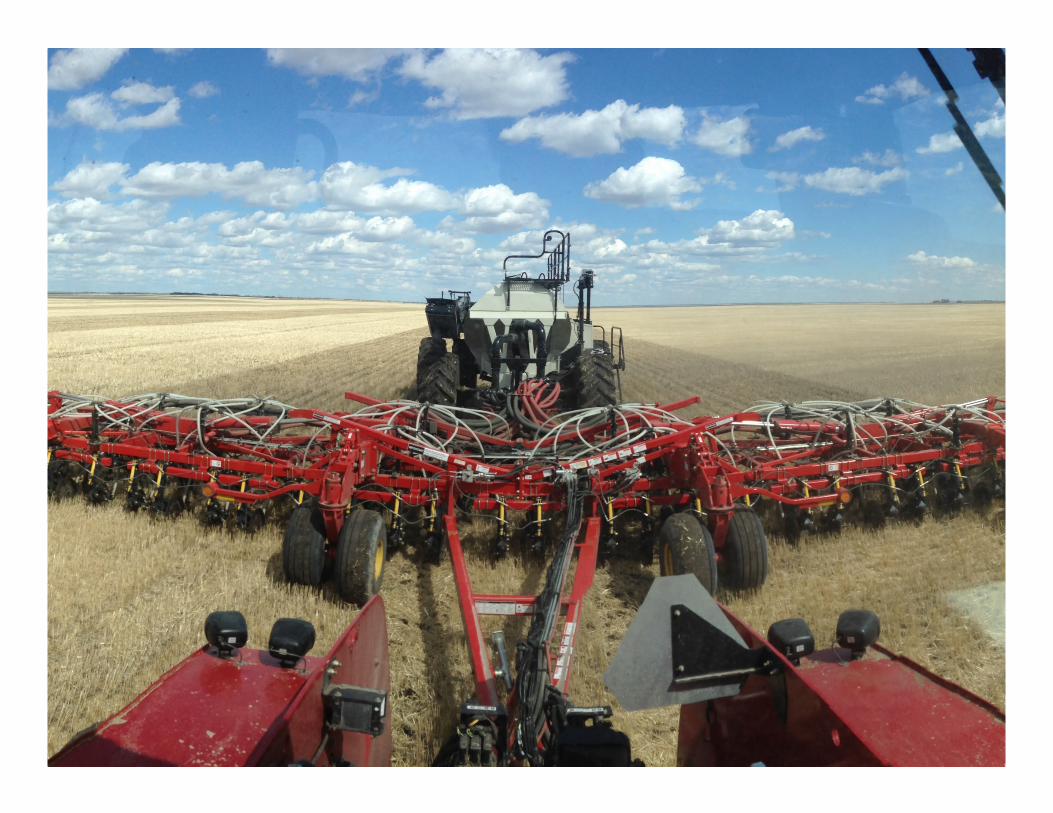
Retrofit Kit Installation
• Preparation
– Special tools required
• Come-along, winch, or similar.
• Digital level
• Straight Edge
Retrofit Kit Installation
• Preparation
– Remove existing primary components
• Includes all distribution items from primary elbow to
coupler plates on drill
– Remove bellows, but save for re-use
Retrofit Kit Installation
• Install Primary Stand
– Assemble primary mount stand to hitch in the
same place that the existing mount was
– Snug hardware, but do not tighten
– Allow assembly to tip forward in slot

Retrofit Kit Installation
• Install Hydraulic Manifold Components
– Install hydraulic manifold mounting plate on the
tabs over the front axle

Retrofit Kit Installation
• Install Secondary Couplers (if drill is connected)
– Install secondary hoses to the drill using supplied
secondary coupler plates
– Sections on the drill must match the sections being
supplied by the airseeder
• DOUBLE CHECK DRILL HOSE ROUTING!!!!!!

Retrofit Kit Installation
• Primary Alignment
– Zero digital level to frame rail
– Tip the primary stand rearward until the stand is
level
– Tighten primary stand hardware

Retrofit Kit Installation
• Primary Alignment
– Check alignment of primary elbows to s-pipes
using straight edge
– Adjust height and angle by loosening u-bolts
holding primary elbow to stand

Retrofit Kit Installation
• Bellows Preload
– Loosen hardware and tip stand forward again
– Mark horizontal section of primary elbows 4” back
from the inlet
Retrofit Kit Installation
• Bellows Preload
– Reinstall bellows and fasten to s-pipe
– Begin to winch/ratchet primary stand back
(inserting primary elbows into bellows) until
bellows reach the 4” marks
– Tighten clamp to secure bellows to the elbow
– Continue winching the stand forward until the
stand is vertical again
– Tighten primary stand hardware