Embed Size (px)
Citation preview

Advanced Facebook Ad’s
Power Editor 101

• Power Editor can be found in your Ad’s Manager Section

• If you do not see it use the direct link
www.facebook.com/ads/manage/powereditor
• You MUST be using Chrome Browser

• There is a short little install process to get the Power Editor set up• The prompts take you through the entire process• YouTube.com has SEVERAL videos also

• If you have Power Editor already – Always click the download to Power Editor button at the top left of the page• This will update the Power Editor with any new activity you have had
on Facebook (posts you may want to promote)

• Start with Ad Account’s (don’t worry about the prompt, you have not made any changes to upload yet)

• Then select Pages (type in the beginning of the page name and it will pop up for you to select)
• If you have more than one page you will be advertising you will need to repeat this process for each page

• If you have ad’s currently running use the More Options

• This is an important step in making sure Power Editor is updated with any changes and all activity on Facebook
• The next step is to get to know your dashboard and options• Start with the manage Ad’s Screen
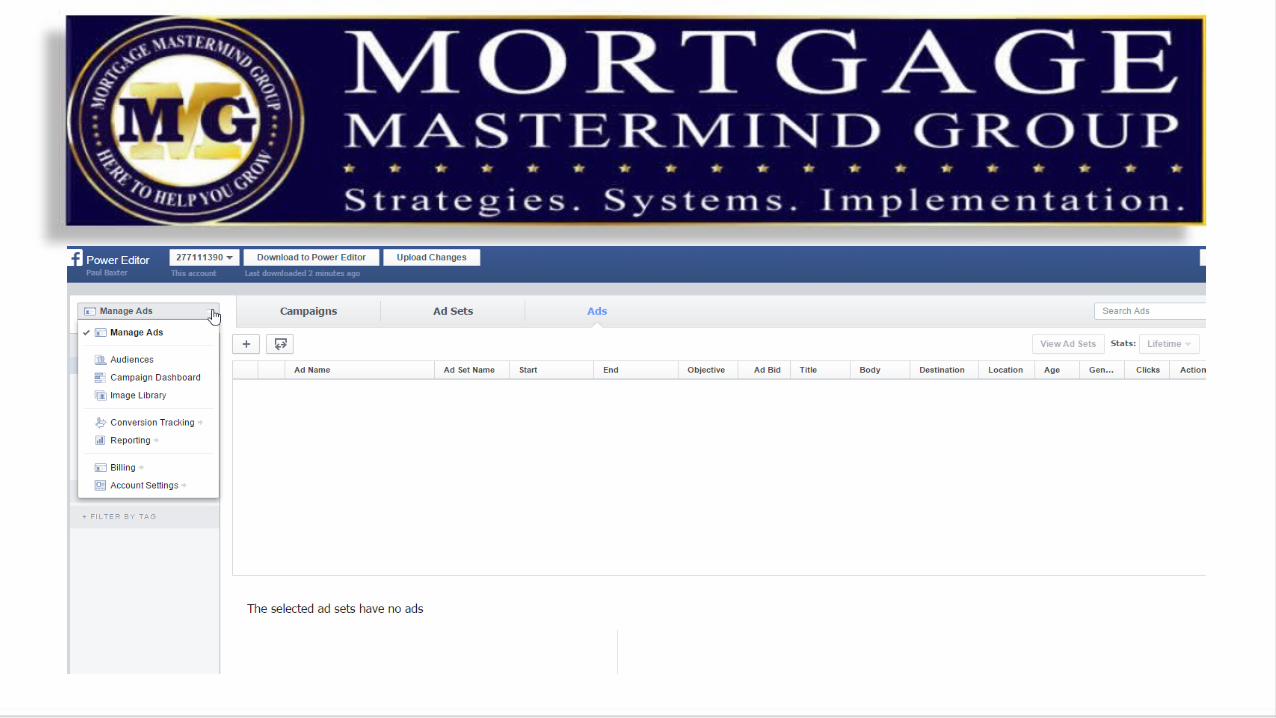
• Once you select the “category” or view, the dashboard for that view is available
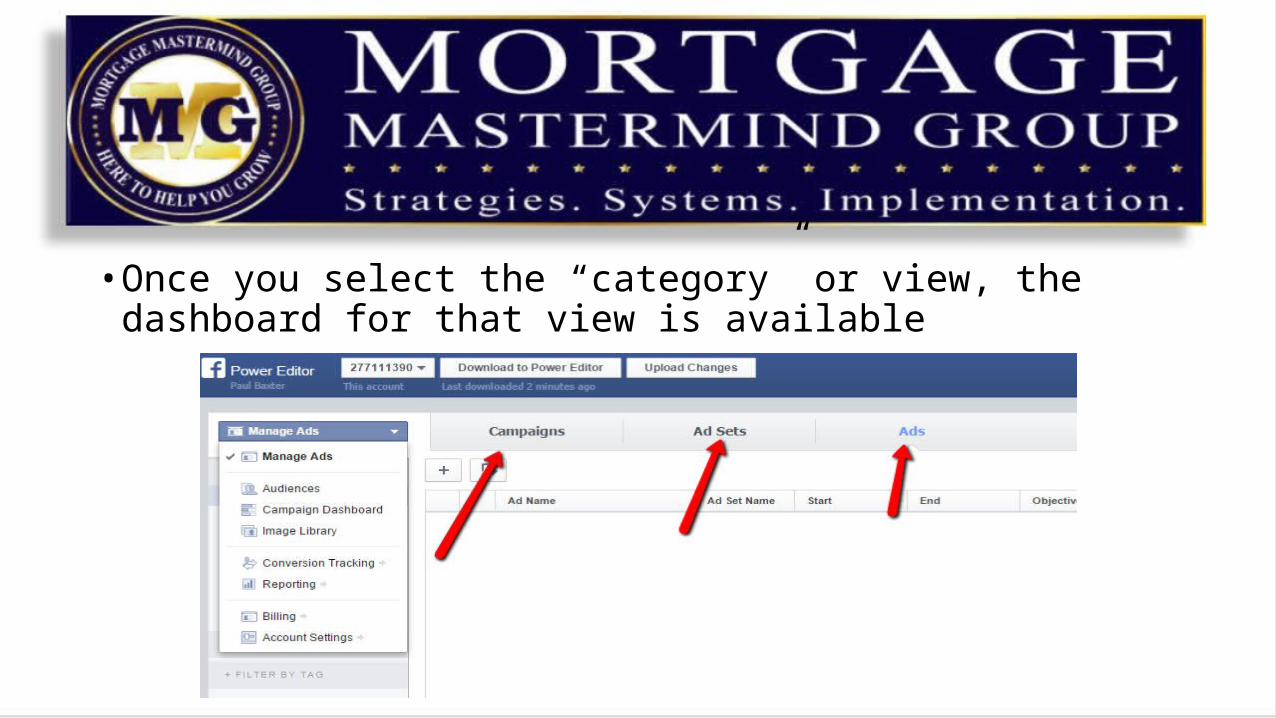
• Campaigns are the main “Purpose” of your ad (you can have many ad sets in the same campaign)

• Select a campaign to see more options

• Quick Ad, Clone, Delete, Export, Revert are available at the top

• Ad Sets are the each ads complete over view for that specific ad. This includes Bidding and Budget, Targeting, Scheduling, and Ad Placement

• Ad’s is the actual ad copy, audience and pricing all in one for each individual ad

• Any of your custom audiences including uploaded before 10/2014, website audiences and look alike audiences are available in Power Editor as well

• The Image Library (yes you can ad images to the library)

• Using Power Editor to manage your Ad’s• Start by creating a campaign (focus on a niche, or promote your Live
presentation) • Select the Plus option while in Manage Ad’s/Campaigns

• Set up the Campaign name and campaign goal

• You MUST Upload Any changes you make for them to actually happen on Facebook (you do not have to do this with every step, but don’t forget to do it or your ad will never become active)

• Make an Ad for your new campaign• Select the Not Uploaded Option in the left side tool bar
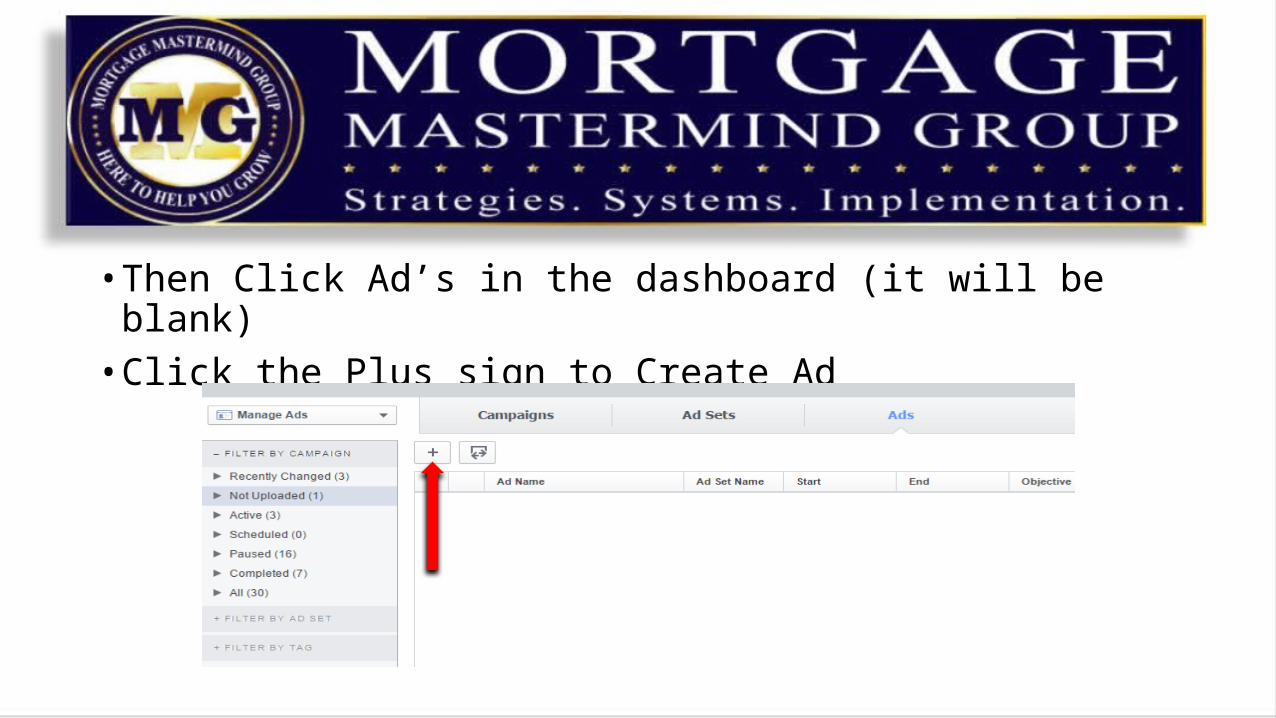
• Then Click Ad’s in the dashboard (it will be blank)• Click the Plus sign to Create Ad

• Name your Ad and Ad Set

• Each Ad type will have different features available to you• Each walks you through the set up of the Ad

• In Power editor you can select an existing Page Post or Create a New one• To use an existing page post – click the bubble for that option and
scroll through your posts to select the one you want to promote
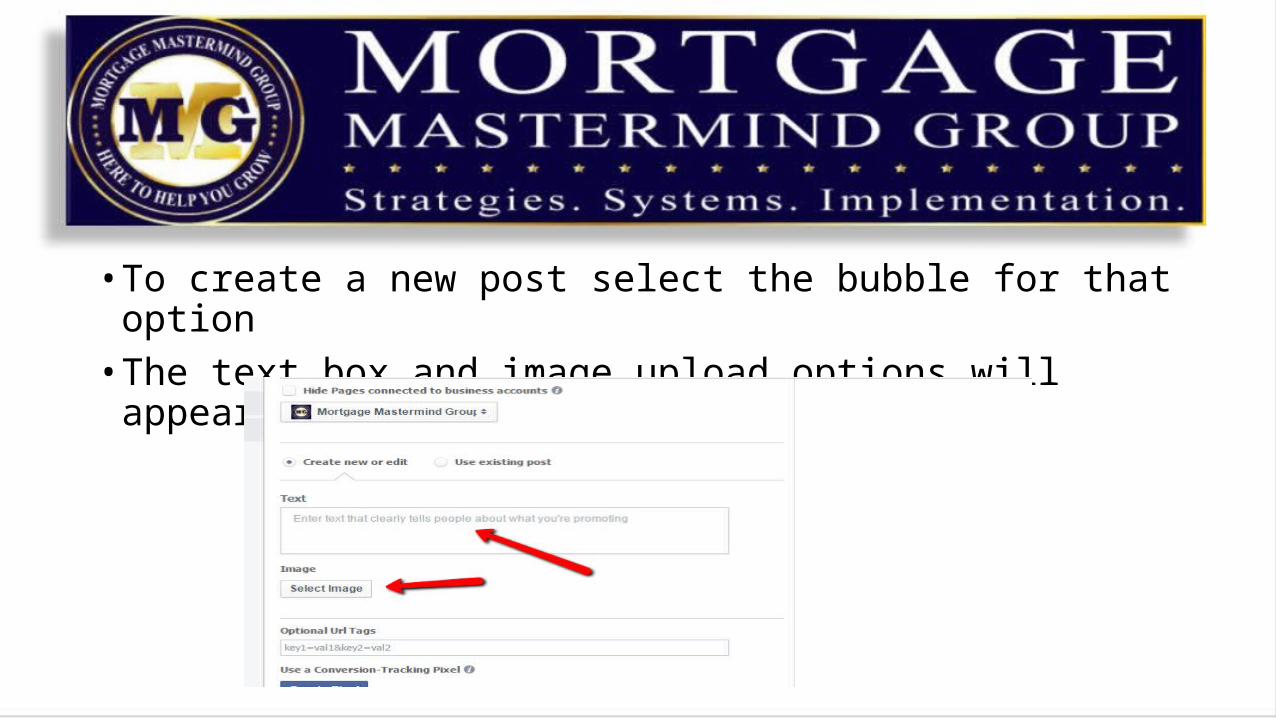
• To create a new post select the bubble for that option• The text box and image upload options will appear


• Now Click Ad Sets to set up the target audience, budget, schedule and placement

• Set your budget and any scheduling you want for your ad

• Scroll down to audience and select Edit Audience

• You can use your custom audiences (saved audiences)• Start with your location• Use age if you are targeting Reverse Mortgage

• Choose from multiple demographics

• Use behaviors to Hone in on your exact Target

• Once you complete your new campaign and ad set, Upload Changes

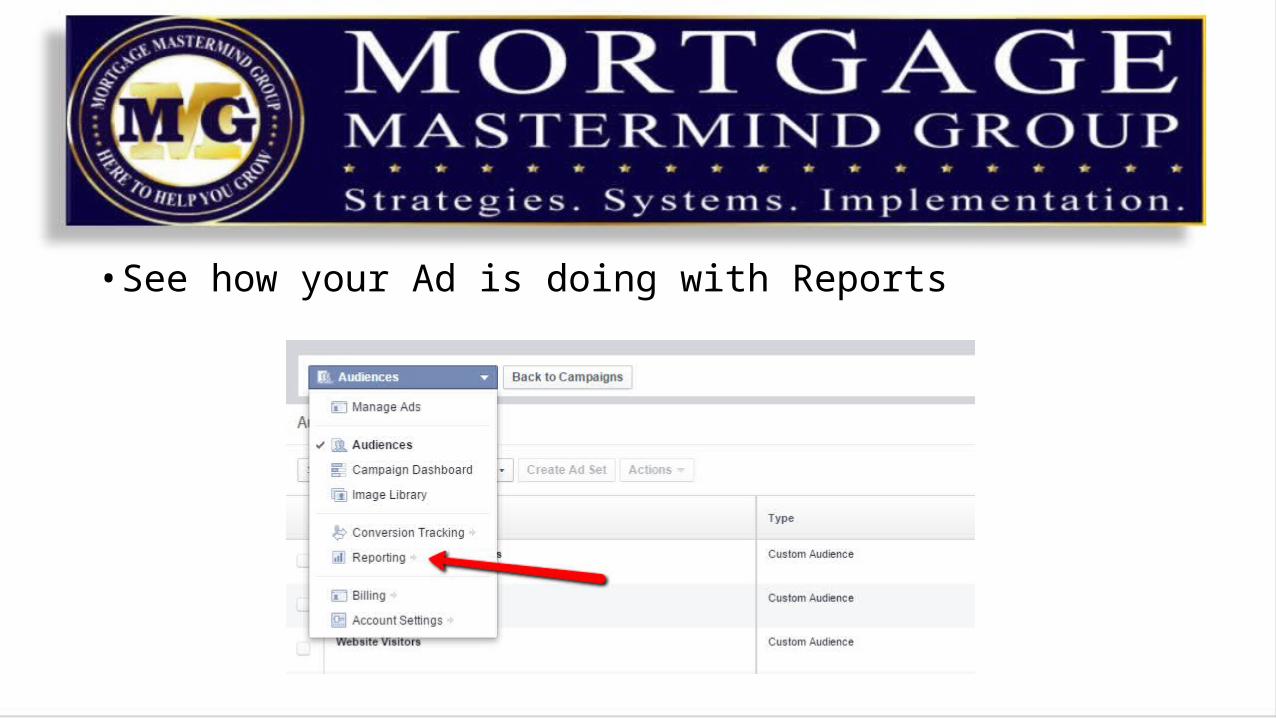
• See how your Ad is doing with Reports


• Power Editor Your All in 1 Ad’s Shop

Q and A