Embed Size (px)
Citation preview
4-H Fibres and Fabrics Series Mastering Sew Green
Table of Contents
Introduction 1
What is Sew Green? 3
Skill Builder 1: Repurpose
7
Skill Builder 2: Refashion
10
Skill Builder 3: Reinvent
14
Skill Builder 4: Redecorate
18
Skill Builder 5: Repair
21
Skill Builder 6: Rebuild
24
Showcase Challenge 27
Portfolio Page 29
Project Summary 2
Project Planning 5
Introduction If you have taken at least 2 fibres and fabrics projects and are 15 years old or older (as of Jan 1 of the current club year), then this Master level project is for you. This is your opportunity to put your sewing skills and creativity into action.
In this project you are required to complete 3 of the 6 builders. You might like to take the remaining builders next year. Sewing Green is about “upcycling” using existing fabric sources to create new just for you clothes, home décor or other fun new items. You will learn about the impact textiles have on the environment. Your 4-H leader will be with you to help, provide resources and act as a mentor. This is your chance to be creative and to design sewing projects that are unique to your personal style.
Learning is 3D!
To help you get the most out of your learning, each project
meeting has the following parts: Dream it! Plan for success
Do it! Hands on learning Dig it! What did you learn?
Do It
Dig It
Dream It
- Draft 2011 -
Sew Much Fun !
This Sew Much Fun box will appear throughout the manual. Check out the web-site link ideas wherever you see Sew Much Fun! These links will lead you to fun online content to help you with your 4-H project.
Meet Needles!
Needles knows a lot about sewing! Needles will help you sew your
way through this project . Needles has important
tips to keep in mind and great fun facts and trivia
for you.

Each section or Skill Builder (or Builder) in this project has activities that will help your project group learn to do by doing while learning new skills and having fun!
What Skills Will You Learn?
To complete this project, you must: Complete the activities in 3 of the 6 Builders OR a similar activity that fo-
cuses on the same skills, as you and your leader may plan other activities. Plan and complete the Showcase Challenge. Complete the Portfolio Page. Participate in your club’s Achievement (See the inside back cover for more
information about 4-H Achievements).”
Members will be able to... Activities I Will Do
Skill Builder
1
Repurpose Develop a project action plan Learn methods to alter fabrics Demonstrate one of the techniques
Repurpose 1 or 2 projects
Optional: Environmental Footprint
Skill Builder
2
Refashion Develop a project action plan Learn alteration skills Demonstrate one of the techniques
Refashion 1 or 2 garments
Optional: Plan and host a clothing swap
Skill Builder
3
Reinvent Develop a project action plan Identify good fabric sources Learn how to price your sewing
Reinvent 1 or 2 project items
Skill Builder
4
Redecorate Develop a project plan Explore sewing Home Décor
Sew 1-2 home décor items
Skill Builder
5
Repair Learn and demonstrate mending
skills Learn proper clothing storage.
Reorganize your closet Mend 2-3 items Optional: Sew padded
hanger cover
Skill Builder
6
Rebuild Learn to plan a “green” wardrobe Explore how a “green” business
works
Plan a coordinated wardrobe
To volunteer at a local Thrift Store
When you successfully complete your builders, you will showcase what you have learned.
Showcase &
Portfolio
Explain how you were successful in using the skills listed above
Showcase Challenge My Portfolio Page
Page
6
9
13
17
20
24
27 29
2
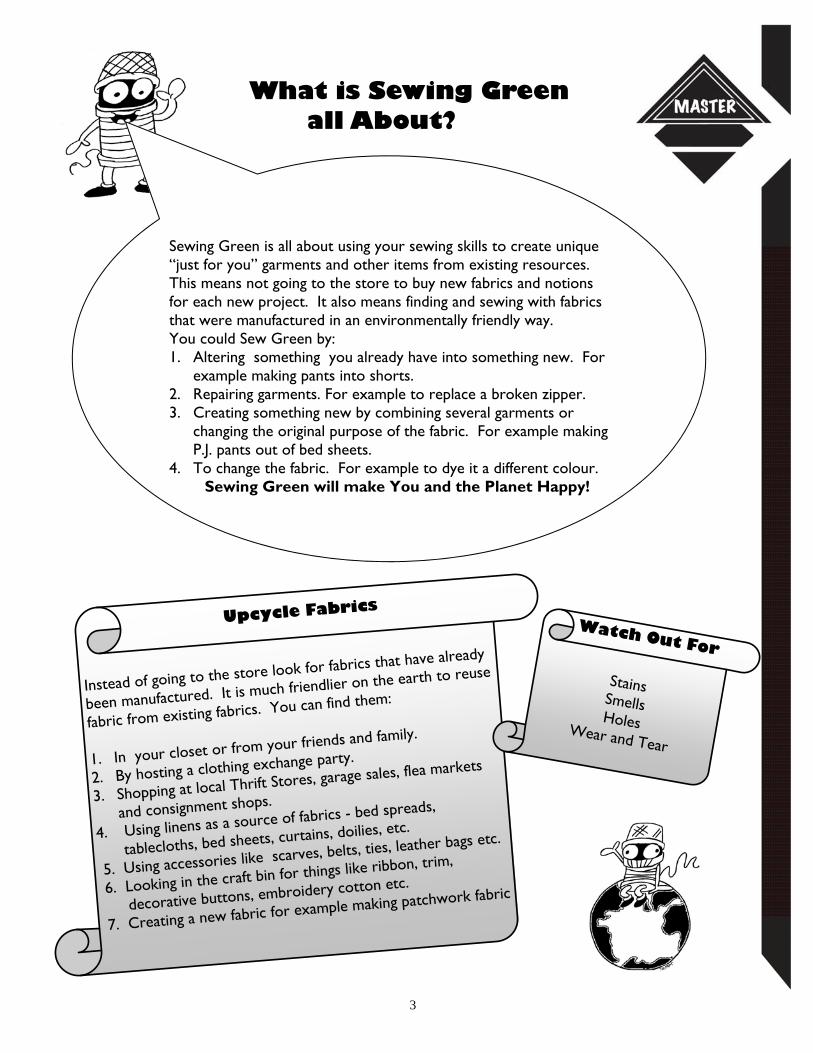
What is Sewing Green all About?
Instead of going to the store look for fabrics that have already
been manufactured. It is much friendlier on the earth to reuse
fabric from existing fabrics. You can find them:
1. In your closet or from your friends and family.
2. By hosting a clothing exchange party.
3. Shopping at local Thrift Stores, garage sales, flea markets
and consignment shops.
4. Using linens as a source of fabrics - bed spreads,
tablecloths, bed sheets, curtains, doilies, etc.
5. Using accessories like scarves, belts, ties, leather bags etc.
6. Looking in the craft bin for things like ribbon, trim,
decorative buttons, embroidery cotton etc.
7. Creating a new fabric for example making patchwork fabric
Upcycle Fabrics
Stains
Smells Holes Wear and Tear
Watch Out For
Sewing Green is all about using your sewing skills to create unique “just for you” garments and other items from existing resources. This means not going to the store to buy new fabrics and notions for each new project. It also means finding and sewing with fabrics that were manufactured in an environmentally friendly way. You could Sew Green by: 1. Altering something you already have into something new. For
example making pants into shorts. 2. Repairing garments. For example to replace a broken zipper. 3. Creating something new by combining several garments or
changing the original purpose of the fabric. For example making P.J. pants out of bed sheets.
4. To change the fabric. For example to dye it a different colour. Sewing Green will make You and the Planet Happy!
3

Deconstruction Now that you have your fabrics what is next? Laundering Wash garments according to the care label. If there is no label or you are not sure of the fiber content hand wash and hang to dry. Cutting If you are using the garment for its fabric, use a stitch ripper and sharp fabric shears to take the garment apart. Start by trimming away any lin-ing. Open up side seams, darts, hems and any other areas that are stitched together. Pull out any remaining threads and press smooth with an iron on the wrong side of the fabric. Depending on your project, you may not want to take apart certain ele-ments of the garment such as collars, cuffs, button plackets, pockets etc. Keep For future use keep any accessories such as buttons, buckles, zippers, straps, D-rings etc. You may also be able to save any trim, lace or rib-bon. Use a little liquid seam sealant on the ends to prevent them from unraveling. Throw Out Often linings are in poor shape throw them out. Discard interfacings, and any worn or stained areas. Now you are ready to create your first Sew Green Project!
Sew Much Fun
Check out these eco-friendly fabric
websites.
Sonic Fabrics made from recycled audio
cassette tapes www.sonicfabric.com
Fabrics made from plastic pop bottles.
http://eartheasy.com/wear_ecospun.htm
Eco-Friendly Fabrics When you can’t find secondhand fabrics suitable for your project it makes sense to use new materials. When ever possible choose eco-friendly fabrics. Organic cotton—cotton provides half of the world’s fibre needs. Non organic cotton is grown using 25% of the world’s pesticide use. Organic cotton is grown without using chemicals which has a lower impact on the environment. Hemp—Hemp is grown in Manitoba and is a renewable resource. It produces a larger fibre yield than any other source. The fabric is durable, naturally resistant to untraviolet light and naturally pest resistant. The more it is worn the softer the fabric gets. Bamboo– Bamboo grows quickly with out herbicides or pesticides. It is easly renewable. Bamboo fabric is breathable and moisture wicking, making it warm in the winter and cool in the summer. It’s natural antibacterial properties keep it from absorbing and retaining odors. Recycled Polyester— is a fibre that is made from plastics such as plastic soda bottle. It can make many types of fabrics such as fleece and canvas. It is also used in carpets, home furnishings, auto upholstery and fibrefill.
4

This project is designed to expand and strengthen your sewing skills. The following steps will help you to plan your project. For each builder you will be asked to:
What Sew Green project do you want to accomplish? By setting clear goals for yourself, you will know what targets to aim for and when you have reached them.
1. Set Goals –Dream It!
You will develop a framework for successful
achievement of your goals by identifying what actions
you need to take and what resources you might
need to reach your goals.
2. Develop a Plan—Dream It!
“Learning to do by doing” is the most effective method of developing high quality sewing skills. Fine tune your current skills
and develop new skills by putting your plan into action. Sewing Green is about resourcefulness and
creativity . To reach your goals spend some time researching ideas and sewing techniques that will be helpful.. Through out the project are many links to interesting and fun websites to get your research started. Use your network of people to help make
your project a success.
3. Accomplish Goals—Do It!
Keeping records of your actions,
accomplishments and thoughts
throughout the year will help you to
reflect back on what you have learnt
and how successful you have been in
accomplishing your original goals.
4. Evaluate Success - Dig It!
Return to the page 2 checklist and select the 3 builders you will complete this year.
5

Goal Setting Writing down your project goals will help you plan your progress and will help you measure your success. Goals are most effective when t they are SMART goals. SMART goals are:
S – Is the goal Specific? A specific goal has a much greater chance of being completed Does it tell who, what, where, when, why and how? Goals should be straightforward and emphasize what you want to happen. Specifics help us to focus our efforts and clearly define what we are going to do. Use action words such as direct, organize, coordinate, lead, develop, plan, build etc.
A – Is it Attainable? Is your goal within your reach given your current situation? You can attain most any goal you set when you plan your steps wisely and establish a time frame to carry out those steps. When you identify goals that are most important to you, you begin to figure out ways you can make them come true. You develop the attitudes, abilities, skills, and financial capacity to reach them. Goals you set which are too far out of your reach, you probably won't commit to doing.
M – Is it Measurable? Can you tell when you have achieved it? Establish concrete criteria for measuring progress. To determine if your goal is measurable, ask questions such as......How much? How many? How will I know when I have reached my goal? Choose a goal with measurable progress, so you can see the change occur.
R – Is it Realistic? - To be realistic, a goal must represent something that you are willing and able to complete. Your goal is probably realistic if you truly believe that it can be accomplished.
T – Is it Timely? - A goal should be grounded within a time frame. When do you want to complete your goal by? Setting a timeframe sets your mind in motion to begin working on the goal. If you don't set a time, the commitment is too vague. Work tends not to happen because you feel you can start at any time. Without a time limit, there's no urgency to start taking action now. Putting an end point on your goal gives you a clear target to work towards.
FOR EXAMPLE: A general goal would be “Sew something using old blue jeans.” But a SMART goal would say “Over the next two project meetings I will repurpose one pair of used blue jeans into one new blue jean skirt to be modeled on achievement day.”
6
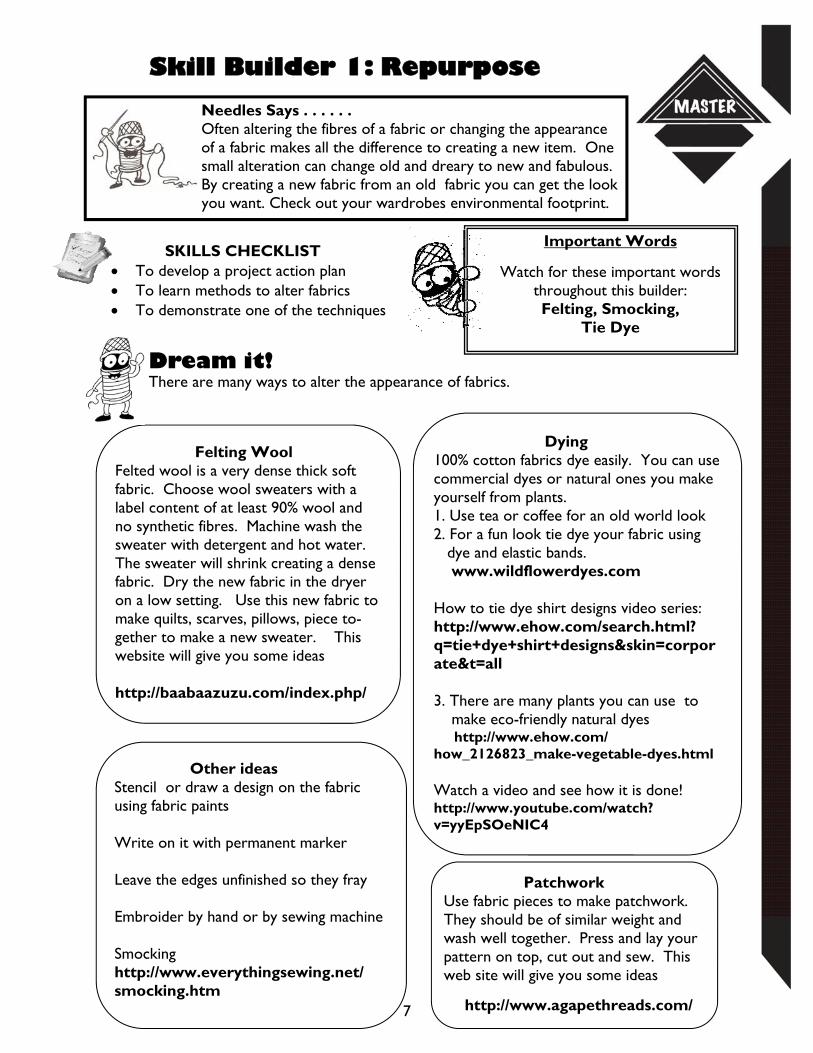
Dream it! There are many ways to alter the appearance of fabrics.
7
Skill Builder 1: Repurpose
SKILLS CHECKLIST To develop a project action plan To learn methods to alter fabrics To demonstrate one of the techniques
Important Words
Watch for these important words throughout this builder: Felting, Smocking,
Tie Dye
Felting Wool Felted wool is a very dense thick soft fabric. Choose wool sweaters with a label content of at least 90% wool and no synthetic fibres. Machine wash the sweater with detergent and hot water. The sweater will shrink creating a dense fabric. Dry the new fabric in the dryer on a low setting. Use this new fabric to make quilts, scarves, pillows, piece to-gether to make a new sweater. This website will give you some ideas http://baabaazuzu.com/index.php/
Patchwork Use fabric pieces to make patchwork. They should be of similar weight and wash well together. Press and lay your pattern on top, cut out and sew. This web site will give you some ideas
Other ideas Stencil or draw a design on the fabric using fabric paints Write on it with permanent marker Leave the edges unfinished so they fray Embroider by hand or by sewing machine Smocking http://www.everythingsewing.net/smocking.htm
Dying 100% cotton fabrics dye easily. You can use commercial dyes or natural ones you make yourself from plants. 1. Use tea or coffee for an old world look 2. For a fun look tie dye your fabric using dye and elastic bands. www.wildflowerdyes.com How to tie dye shirt designs video series: http://www.ehow.com/search.html?q=tie+dye+shirt+designs&skin=corporate&t=all 3. There are many plants you can use to make eco-friendly natural dyes http://www.ehow.com/how_2126823_make-vegetable-dyes.html Watch a video and see how it is done! http://www.youtube.com/watch?v=yyEpSOeNIC4
http://www.agapethreads.com/
Needles Says . . . . . . Often altering the fibres of a fabric or changing the appearance of a fabric makes all the difference to creating a new item. One small alteration can change old and dreary to new and fabulous. By creating a new fabric from an old fabric you can get the look
you want. Check out your wardrobes environmental footprint.
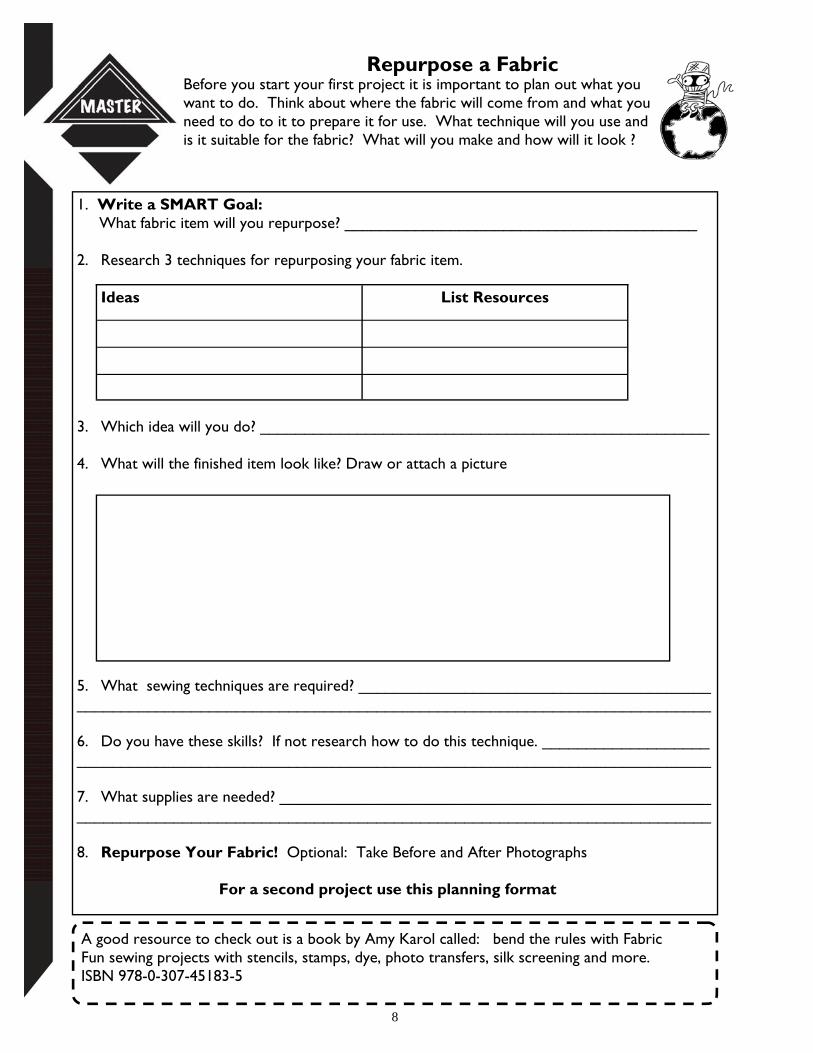
Repurpose a Fabric Before you start your first project it is important to plan out what you want to do. Think about where the fabric will come from and what you need to do to it to prepare it for use. What technique will you use and is it suitable for the fabric? What will you make and how will it look ?
1. Write a SMART Goal: What fabric item will you repurpose? ________________________________________ 2. Research 3 techniques for repurposing your fabric item. 3. Which idea will you do? ___________________________________________________ 4. What will the finished item look like? Draw or attach a picture 5. What sewing techniques are required? ________________________________________ ________________________________________________________________________ 6. Do you have these skills? If not research how to do this technique. ___________________ ________________________________________________________________________ 7. What supplies are needed? _________________________________________________ ________________________________________________________________________ 8. Repurpose Your Fabric! Optional: Take Before and After Photographs For a second project use this planning format
Ideas List Resources
A good resource to check out is a book by Amy Karol called: bend the rules with Fabric Fun sewing projects with stencils, stamps, dye, photo transfers, silk screening and more. ISBN 978-0-307-45183-5
8
What’s Next?
In the next builder you will make alterations to an existing garment to create a new one. Explore the fun of planning and having a clothing exchange party with your friends and family. With your leader discuss what you will need to bring to the next meeting.
9
Dig it! How Did it Go? - Answer these questions:
1. There are many good reasons for sewing green. Can you list 3? 2. Did you make any changes to your original design? What were they?
Do it! Repurpose Now it is time to turn your plan into reality. Using one of the fabric altering techniques repurpose your fabric choice into something new! Take your time and pay attention to details. Soon you will have a one of a kind item to show your friends! Optional: Take before and after photographs.
Needles Fun Facts!
In 400 AD Molluscs a kind of shellfish were used to produce a purple dye. It was very expensive to make as it took so many Molluscs. They became scarce due to over harvesting by the Romans. One pound of cloth dyed with this purple dye could be worth $20,000 today.
Optional: Environmental Footprints 1. What is your wardrobes environmental footprint? Check out these websites and find out. Take the quiz and see how you do! http://planetgreen.discovery.com/games-quizzes/clothing-carbon-footprint-quiz/ http://www.colour-connections.com/EcoMetrics/household.html http://www.climatechangeconnection.org/documents/You_are_what_you_wear.pdf 2. Attach your findings to your project manual.

Skill Builder 2: Refashion
.
Important words
Watch for these important words throughout this builder:
Tailor, Alteration
Needles Says…. One of the easiest ways to update a garment is to make
small alterations. This is quick, easy and gives you the chance to get creative. Hosting a Clothing Swap Party is an awesome way to find new to you clothes. Have Fun!
10
There are many things you can do to refashion a garment:
SKILLS CHECKLIST To develop a project action plan To learn alteration skills To demonstrate one alteration technique
Lengthen or Shorten Pants to shorts Long sleeve to short sleeve or
short sleeve to long sleeve Add a band or take one off - lace,
contrasting fabric etc. What can you think of?
Add To It Trim, lace, rick rack, bias tape etc. Change the buttons Appliqué, patch Add a ruffle Topstitch with contrasting colour What can you think of?
Convert It Turn blue jeans into a skirt Turn a dress into a skirt or a shirt Make two garments into one Add a skirt to a t-shirt Take off pockets or add them Turn a pullover into a cardigan Turn a jacket into a vest What can you think of?
Customize It Refitting—let out or take in to fit your
body type Tailor a jacket or fit pants to your
body type Add details that are unique to your
personal style– e.g.. embroider a favourite quote on a sleeve What can you think of?
Dream it!

Refashion a Garment Before you start your first project it is important to plan out what you will do. Think about what garment will you alter, how will you alter it and what sewing techniques are required. Choose one or two garments to refashion.
Refashion: Garment #1 Plan 1. Write a SMART Goal What Garment will you alter? ————————————— ——————————— 2. Research 3 ideas for alterations
3. Which idea will you do? ________________________________________________ 4. What will the finished design look like? Draw or attach a picture. 5. What sewing techniques are required?______________________________________ 6. Do you have these skills? If not, research how to do the technique. ___________________________________________________________ 7. What supplies are needed?________________________________________________ ____________________________________________________________ 8. Refashion Your Garment! Optional: Take Before and After Photographs For a second garment use this planning format.
11
Sew Much More
Here are some cool ways you can alter a t-shirt. Google Image—Upcycle T-shirts How to make a pair of blue jeans into a skirt http://www.sewing.org/html/jeans_skirt.html
Alteration Idea Resource : website, book, leader etc
Needles Fun Facts Did you know that approximately 12 million tons of textile waste is generated in North America amounting to approximately 68 lbs of waste per household per year. 5% of all landfill production is textile waste. Over 90% of textile waste is recyclable.
12
Do it! Refashion Now it is time to put your plan into action. Using the alteration techniques that you researched refashion your old garments into something new ! Take your time and pay attention to details. Quality workmanship is in the details. Soon you will have new clothes custom made just for you! Optional: Take before and after pictures.
Optional: Clothing Swap Organizing a clothing swap is a fantastic way to have fun with your friends and get some new clothes at the same time. Invite 5-10 friends of all shapes and sizes and ask them to each bring 10 things from their closets that they do not wear anymore. They must be in good condition, no holes or stains and freshly laundered. Guests could also bring purses, shoes, jewelry, belts etc. As people arrive sort the clothes and accessories into categories. Then go shopping and choose something new. Have mirrors and somewhere to try on the clothes available. Make it fun with music and snacks. Design your own invitation and host a clothing swap party. Who will you invite: ____________________________________________________________ Date: __________________________________________________________________________ Time: _________________________________________________________________________ Where: ________________________________________________________________________ What to bring: Say something like this. 10 or more items you no longer want (tops, pants, dresses, scarves, hats, belts, coats, jackets, pajamas, sportswear, lounge wear, robes, etc.) Please only bring items in good condition that can be worn by someone else. Freshly washed clothing of any season is welcome. All leftover clothes will be donated to charity. RSVP By: ______________________________________________________________________ Have Fun!

Apply it . . . How could you explain to others how to refashion new clothes from old? Can you name 3 kinds of alterations.
Record it . . . Discuss what you have learned with your leader so that the information can be recorded on your Portfolio Page.
Think about this builder and the activities you did … Review the Skills Checklist on page 6. What skills have you developed? Do you need more practice?
Dig it!
What’s Next? In the next builder you will explore how to Reinvent fabrics. This means taking a textile designed for one purpose and using it for another. For example using a pillow-case to make a skirt. With your leader discuss what you will need to bring to the next meeting.
As you work through your Master level project, there are many people who will be able to help you. Your 4-H leader, the Manitoba Agriculture Food and Rural Initiatives staff, and community members are all possibilities to offer guidance, technical help or be a mentor.
Mentors are valuable people in our lives that support and encourage us and point us in the right direction. A mentor is a person who invests time, energy and knowledge in contributing to another person’s growth. Mentors can serve a variety of roles including:
Listening - not talking, but really listening to what the mentee has to say. Role modeling - leading by example is a powerful teacher. Building self-confidence - offering encouragement and appropriate praise. Providing challenges - encouraging personal growth; often referred to as coaching. Offering perspective - helping the mentee to see the big picture by providing feedback that
gives accurate information and encouraging them to explore all available options.
Needles Fun Facts Furoshiki is the word for the traditional wrapping cloths that the Japanese originally used to tie up and carry clothing or other goods. Their use dates back to as early as 710 AD. Today Furoshiki is a great replacement for disposable bags and wrapping paper. For an illustration of different folding
techniques visit the Japanese Ministry of the Environment website ttp://www.env.go.jp/en/focus/attach/060403-5.html
13
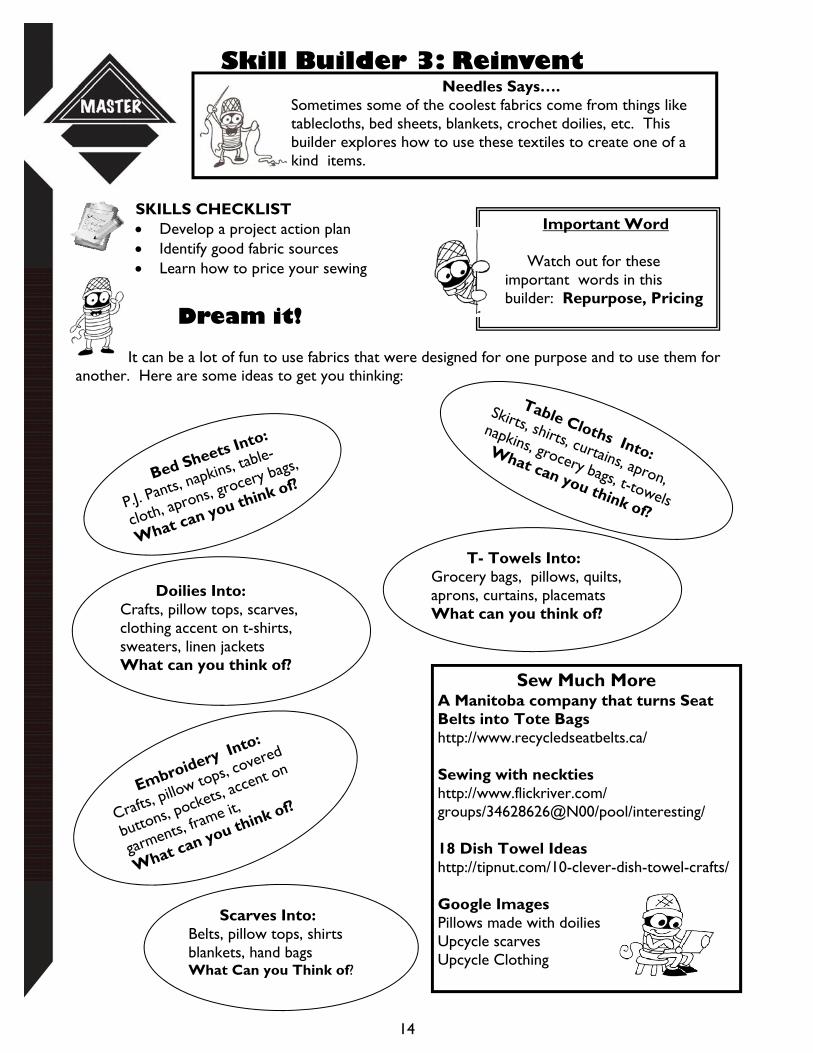
Skill Builder 3: Reinvent
SKILLS CHECKLIST Develop a project action plan Identify good fabric sources Learn how to price your sewing
Dream it! It can be a lot of fun to use fabrics that were designed for one purpose and to use them for
another. Here are some ideas to get you thinking:
14
Needles Says…. Sometimes some of the coolest fabrics come from things like tablecloths, bed sheets, blankets, crochet doilies, etc. This builder explores how to use these textiles to create one of a kind items.
Doilies Into: Crafts, pillow tops, scarves, clothing accent on t-shirts, sweaters, linen jackets What can you think of?
Table Cloths Into:
Skirts, shirts, curtains, apron,
napkins, grocery bags, t-towels
What can you think of?
Bed Sheets In
to:
P.J. Pants, napkins, table-
cloth, aprons, grocery bags,
What can you think of?
T- Towels Into: Grocery bags, pillows, quilts, aprons, curtains, placemats What can you think of?
Embroidery Into:
Crafts, pillow tops, co
vered
buttons, pockets, accent on
garments, fr
ame it,
What can you think of?
Sew Much More A Manitoba company that turns Seat Belts into Tote Bags http://www.recycledseatbelts.ca/ Sewing with neckties http://www.flickriver.com/groups/34628626@N00/pool/interesting/ 18 Dish Towel Ideas http://tipnut.com/10-clever-dish-towel-crafts/ Google Images Pillows made with doilies Upcycle scarves Upcycle Clothing
Scarves Into: Belts, pillow tops, shirts blankets, hand bags What Can you Think of?
Important Word
Watch out for these important words in this builder: Repurpose, Pricing

15
Reinvent a Fabric Before you start your first project it is important to plan out what you want to do. Think about the fabric item that you are going to reinvent. What will you do with it, what resources do you need, what sewing techniques will you use, What will the final project look like? Choose one or two items to Reinvent. Reinvent: Plan #1
1. Write a SMART Goal What fabric item will you reinvent? _________________________________________ 2. Research 3 ideas for reinventing your fabric item. 3. Which idea will you do? ___________________________________________________ 4. What will the finished item look like? Draw or attach a picture
5. What sewing techniques are required? ________________________________________ ________________________________________________________________________ 6. Do you have these skills? If not research how to do this technique. ___________________ ________________________________________________________________________ 7. What supplies are needed? _________________________________________________ ________________________________________________________________________ 8. Reinvent Your Fabric! Optional: Take Before and After Photographs For a second item use this planning format.
Ideas List Resources
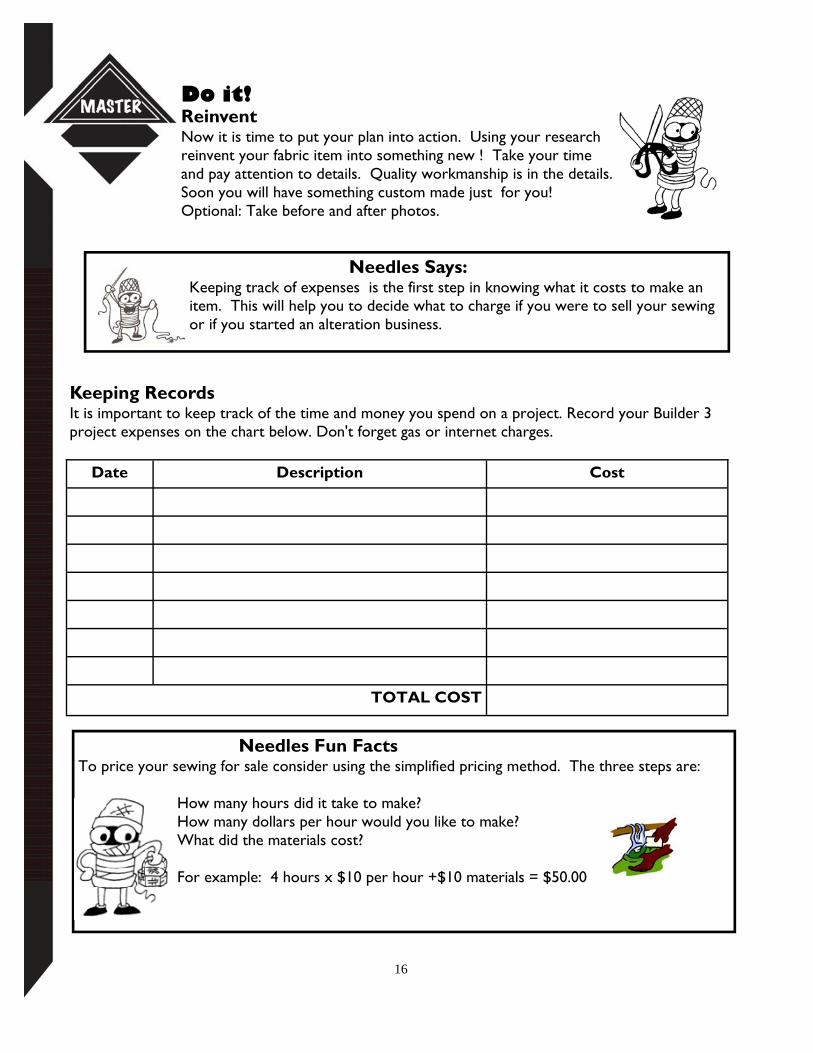
Do it! Reinvent Now it is time to put your plan into action. Using your research reinvent your fabric item into something new ! Take your time and pay attention to details. Quality workmanship is in the details. Soon you will have something custom made just for you! Optional: Take before and after photos.
Date Description Cost
TOTAL COST
Keeping Records It is important to keep track of the time and money you spend on a project. Record your Builder 3 project expenses on the chart below. Don't forget gas or internet charges.
Needles Fun Facts To price your sewing for sale consider using the simplified pricing method. The three steps are:
How many hours did it take to make? How many dollars per hour would you like to make? What did the materials cost? For example: 4 hours x $10 per hour +$10 materials = $50.00
Needles Says: Keeping track of expenses is the first step in knowing what it costs to make an item. This will help you to decide what to charge if you were to sell your sewing or if you started an alteration business.
16
17
Dig it!
What’s Next?
You can sew many items to decorate your home. Builder 5 looks at sewing green to redecorate a room. With your leader discuss what you will need to bring to the next meeting.
Needles Fun Facts! Sewing Green by Betz White is a book of 25 projects made with repurposed and organic materials plus tips and resources for earth friendly stitching. ISBN 978-1-58479-758-6
How Did It Go?
1. What did your item cost and what was the main expense? 2. If you were to buy a similar item new from the store what would it cost? 3. What are the advantages of sewing green vs. buying new?
Needles Fun Facts Uniquely Manitoba is a non-profit organization and is a product devel-opment and marketing initiative for artists, crafts persons and spe-
cialty food producers in Manitoba. They provide an assessment with written feedback on the salability and marketability of products, business development assistance, training and exposure in the Uniquely Manitoba Virtual Gift Shop. Check them out at www.uniquelymanitoba.ca

Skill Builder 4: Redecorate
Dream it! When sewing home décor keep in mind the design principles. Think about colour, line, shape, and texture. Here are some ideas to get you thinking about how you can sew green home décor items.
SKILLS CHECKLIST Develop a project action plan Explore sewing Home Décor items
Needles Says….
Sewing home décor is great fun. Even more so when you get creative by sewing green. In this builder you will choose a room to redecorate. How exciting!
18
Important Words
Watch out for these important words in this builder:
Upholster
Make Pillows, Blankets, and Curtains From: Terry towel, leather, fur, napkins bridesmaid dress, wedding gown, lace, embroidery, make a design with buttons, patchwork, quilt a top, use a scarf, neckties, bandanas, table-cloths, t-towels, handkerchiefs, men's suits, burlap Pillows from clothing http://blog.betzwhite.com/2009/09/easy-repurposed-pillows.html Scarves http://www.ounodesign.com/images/PressCraftScarf_Quilt.pdf Framing Fabric and Lace Google images and type in framing fabric for a look at some fun ideas. What Can you Think of?
Other Ideas Make aprons for the kitchen out of men’s dress shirts. Braid a rug from old t-shirts. Make potholders from fabric scraps—use old towels as the batting. Weave ribbon to make a pillow top. Turn an old boot into a planter. Make damask napkins into a bed duvet cover. Upholster chair seats, foot stools, benches with blankets, towels, tablecloths, etc. Unravel a knit sweater and use the yarn to knit or crochet afghans or pillow tops. What Can You Think Of?

Redecorate Before you start your first redecorating project it is important to plan out what you will do. Select one room and choose 1-2 home décor items to make. Think about what you will alter and what sewing techniques are required. Redecorate: Home Décor item #1 Plan
19
1. Write a SMART Goal What fabric item will you redecorate with? _____________________________________ 2. Research 3 ideas for redecorating with your fabric item. 3. Which idea will you do? ___________________________________________________ 4. What will the finished item look like? Draw or attach a picture 5. What sewing techniques are required? ________________________________________ ________________________________________________________________________ 6. Do you have these skills? If not research how to do this technique. ___________________ ________________________________________________________________________ 7. What supplies are needed? _________________________________________________ ________________________________________________________________________ 8. Time to Redecorate! Optional: Take Before and After Photographs For a second home décor item use this planning format.
Ideas List Resources
Sew Much More When designing home décor items it is a good idea to keep in mind the elements of design; colour, line, shape and texture. http://www.lovetosew.com/fashionstudyguidedesign.htm

Dig it!
Attach a picture of
your new home décor projects.
In this picture: ________________________________________________________________ I want you to notice: ___________________________________________________________ ___________________________________________________________________________
What’s Next? Skill Builder 5 examines how to repair clothing. You will reorganize your clothing closet, learn basic mending skills and sew hanger covers. With your leader discuss what you will need to bring to the next meeting.
Do it! Redecorate Now it is time to put your plan into action. Using your research redecorate your room into something new and fabulous! Take your time and pay attention to details. Quality workmanship is in the details. Soon you will be relaxing in a cool new space! Optional: Take before and after photos.
20

21
Skill Builder 5: Repair
Dream it! Knowing how to store, repair and mend your clothing not only saves you money it is friendly to the earth.
Important Words
Watch out for these important words in this builder:
Mending
Needles Says….
A simple way to Sew Green is to repair clothing items. Learning to mend is an important sewing skill. Clothing repair can also be a business idea. There is a lot
of cool things to learn in this builder!
SKILLS CHECKLIST Learn mending skills Learn proper clothing storage.
What is Mending? Replace a broken zipper, Sew on missing buttons Patch a hole Stitch up a tear Mend a ripped seam Hem pants Hem jeans Replace a drawstring Remove a stain What Can You Think Of?
Stain Removal Guide These websites explain stain removal for all types of stains and fibres. http://www.chemistry.co.nz/stain_frame.htm http://msucares.com/pubs/publications/p1400.pdf http://www.ca.uky.edu/HES/fcs/FACTSHTS/CT-LMH.145.PDF
Prolonging the Life of Your Clothing Allow clothing items at least a 24 hour rest period be-tween wearing. This includes shoes. Treat and remove spots and stains as soon as possible. Never store clothing dirty. Rely on garment label for care instructions. As fabrics, equipment and products change so does garment care technology. Learn what’s new! Use correct storage techniques for all of your clothing. Use flat storage for jeans, stretchy items (sweaters, polo shirts, etc.) and appropriate hangers for other items. Try not to have cloths jammed into your closet. Padded and heavy wooden hangers— Tailored coats, suit jackets, dresses Tubular plastic hangers— all purpose or lightweight blouses, dresses, pants, woven shirts It is not recommended to use wire hangers. See page 19 on how to repurpose wire hangers.
Do it! Reorganize Your Closet
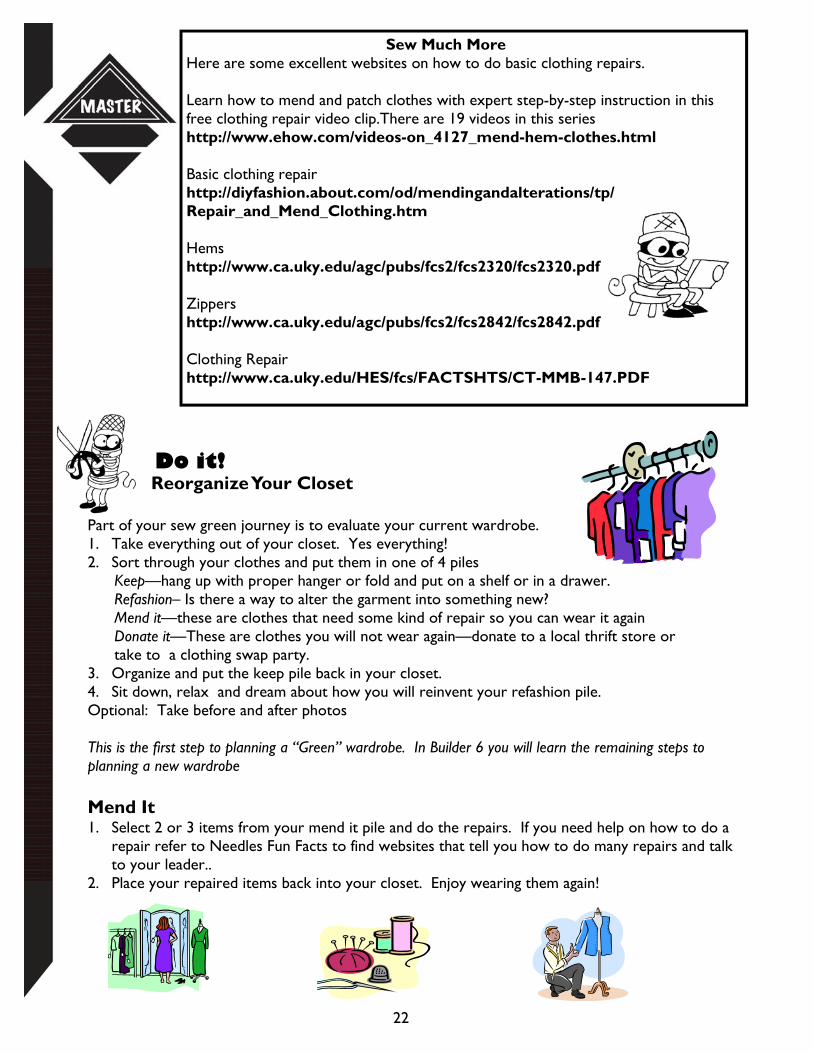
Part of your sew green journey is to evaluate your current wardrobe. 1. Take everything out of your closet. Yes everything! 2. Sort through your clothes and put them in one of 4 piles Keep—hang up with proper hanger or fold and put on a shelf or in a drawer. Refashion– Is there a way to alter the garment into something new? Mend it—these are clothes that need some kind of repair so you can wear it again Donate it—These are clothes you will not wear again—donate to a local thrift store or take to a clothing swap party. 3. Organize and put the keep pile back in your closet. 4. Sit down, relax and dream about how you will reinvent your refashion pile. Optional: Take before and after photos This is the first step to planning a “Green” wardrobe. In Builder 6 you will learn the remaining steps to planning a new wardrobe Mend It 1. Select 2 or 3 items from your mend it pile and do the repairs. If you need help on how to do a
repair refer to Needles Fun Facts to find websites that tell you how to do many repairs and talk to your leader..
2. Place your repaired items back into your closet. Enjoy wearing them again!
22
Sew Much More Here are some excellent websites on how to do basic clothing repairs. Learn how to mend and patch clothes with expert step-by-step instruction in this free clothing repair video clip.There are 19 videos in this series http://www.ehow.com/videos-on_4127_mend-hem-clothes.html Basic clothing repair http://diyfashion.about.com/od/mendingandalterations/tp/Repair_and_Mend_Clothing.htm Hems http://www.ca.uky.edu/agc/pubs/fcs2/fcs2320/fcs2320.pdf Zippers http://www.ca.uky.edu/agc/pubs/fcs2/fcs2842/fcs2842.pdf Clothing Repair http://www.ca.uky.edu/HES/fcs/FACTSHTS/CT-MMB-147.PDF

What’s Next? By sewing green you can have a positive impact on the earth. With a little planning you can build a functional wardrobe. It can also be a business that can earn you some extra money. In the final builder you will explore both of these ideas. With your leader dis-cuss what you will need to bring to the next meeting.
23
Optional: Recover It! One way to make the hangers you already have suitable for hanging your clothes is to sew a cover for them. This activity will show you how to make a hanger cover. Make one or as many as you like and use it in your newly organized closet. Supplies: Wire or plastic hanger, thread, quilted fabric ( scrap, old bed spread, make your own with cotton and batting), trim—lace or bias tape, piece of ribbon. Sew: 1. Trace the hanger shape to make a pattern. Add a 6mm seam allowance. Ex-
tend the bottom as long as you would like it. 2. Using your pattern cut our a front and a back. 3. On the top of the hanger cover, snip into the fabric 13mm 25 mm apart as per diagram. Double fold the cut fabric and topstitch. 4. With right sides together stitch the sides together. Hem the bottom. 5. Turn right side out. If desired you could add bias tape or lace to
the bottom of the hanger for a decorative detail. 6. Place cover on hanger. Optional: tie a bow around the neck of the hanger
with a piece of matching ribbon.
Needles Fun Facts Did you know that most commercial laundry detergents contain petroleum based oil and potentially harmful chemicals? By replacing a petroleum based product with a vegetable based one it could potentially save 460,000 barrels of oil. Baking Soda—Add 1/2 cup baking soda to rinse cycle of washing machine to deodorize, soften and freshen laundry. To remove yellow stains and to brighten
old linens add 4 tablespoons baking soda to the wash cycle. (Check your washing machines manual) Clothesline— Studies show that if you consistently air-dry laundry instead of using a machine dryer, over time you will reduce your energy bill by 5-10%.
Dig it! What did you like about this activity? What did you learn from this activity that you didn’t know before? How will your new skills help you in the future?

Skill Builder 6: Rebuild Needles Says….
How often do you say “I have nothing to wear?” It is estimated that we only wear 20% of our wardrobe 80% of the time. By taking the time to plan a “green” wardrobe you will always have something to wear and you won’t have too many clothes!
SKILLS CHECKLIST
Learn to plan a “green” wardrobe Explore how a “green” business works
24
Dream It! Clothes are a personal statement of who we are, how we feel about ourselves, and what we do. Clothing is important to looking good and feeling great. Building a wardrobe is the way to always have something to wear. It is also a way to live “green”. A workable wardrobe helps you to dress for your personal style, have more outfits at less cost, and have clothing appropriate for all occasions. So Think “green” and explore the basics of wardrobe planning, using the clothing that you already have. Then you can fill in any gaps by sewing something fabulous!
Important Words
Look out for these important words in this builder:
Wardrobe
The Basics of Wardrobe Planning Step 1: Closet Clean -out Find out what you already have and what you can do with it. Start by going through your closet and separating your clothing into groups. Refer to Builder 5 on page 18. Step 2: Activity Scan A carefully planned wardrobe means having clothes for activities that are important to you. Write down the kinds of things you like to do and how much time you spend doing them. What kinds of clothes do you need for these activities? Step 3: Fashion Trends and Ideas Look through magazines, stores, eBay and see what is new for this year. Which ones do you like? Choose classic styles when purchasing big ticket items such as suits, pants, skirts, jackets. Trendy but inexpensive accessories help you to look up to date. Choose them in the brightest colours of the season. Step 4: Inventory your Wardrobe Begin with the clothing you already have. This is called “shopping in your closet.” An inventory is a list that let’s you know what you have so you can mix and match combinations. Try on different combinations. Taking into account your activity scan and fashion updates make a list of ideas for building your wardrobe. What do you need to add? Buying from a list will keep you focused and stop impulse buying. Step 5: Purchase or Sew Items for Your Wardrobe Now that you have a plan decide what your clothing budget will be. Stick to the budget! What do you need first, second and so on. Remember building a wardrobe is an on going process. Visit stores, thrift shops and con-signment shops to see what you can purchase or sew to complete your new wardrobe.

25
Do it!
Make the Most of Your Wardrobe Five Pieces = 6 looks Seven Pieces = 14 looks Eight Pieces = 30 looks Nine Pieces = 42 looks
Build it Green! Have a look through your current wardrobe. What can you do to up date it? 1. Follow the steps on page 24 to plan your wardrobe. 2. Write an inventory of what you have now and make a list of what you would like to add to your
plan to make a functional coordinated wardrobe. 3. What one thing could you sew to give it a “Just for You” style. 4. Using the plan on page 10 plan one garment and sew it.
Planning Tips Decide on a basic colour plan. Neutrals
are always in style and are a good foundation for your wardrobe. Plan your wardrobe for variety and flexibility. Choose a few fun pieces to keep your wardrobe looking fresh and up-to-date. Buy the best quality clothes that you can
afford. They will last longer, wear bet-ter and save you money in the long run.
Take care of the clothes you have. Mix and Match key pieces to create dif-
ferent looks. No two pieces should be the same, but they should coordinate with one another.
One of the simplest plans is to develop a
series of “clusters” or small groups of clothing, that are coordinated in colour, fabric and shape with interchangeable parts. Each cluster is a set of 5 to 20 mix and match items. A cluster is limited to two colours that go together.
Needles Fun Facts When planning a wardrobe cost per wearing is important. An inexpensive shirt may seem like a bargain, but if you only wear it five times, the cost per
wearing is considerably more than an expensive shirt worn once a week. The true cost per wearing is the total cost divided by the number of times worn. Item Cost Times worn Cost per wearing Winter 150 times Coat $150 over 3 yrs $0.50 Formal $80 2 times $40
26
What’s next?
Congratulations on sewing your way through three Builders. You have mastered basic sewing skills as well as learning how to sew green by designing and altering fabrics into new just for you items. If you keep practicing your sewing skills, you will be an expert in no time. Next year why not try the remaining three builders You still have your showcase challenge and portfolio page to complete on the next four pages.
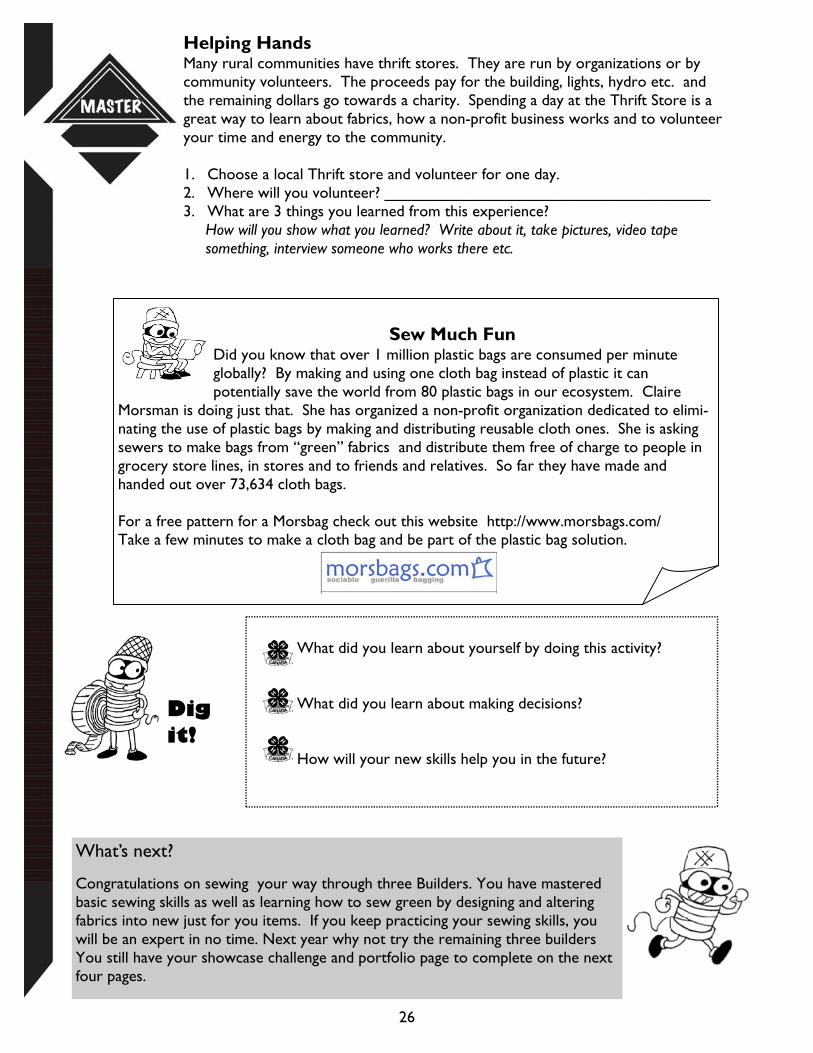
Sew Much Fun Did you know that over 1 million plastic bags are consumed per minute globally? By making and using one cloth bag instead of plastic it can potentially save the world from 80 plastic bags in our ecosystem. Claire
Morsman is doing just that. She has organized a non-profit organization dedicated to elimi-nating the use of plastic bags by making and distributing reusable cloth ones. She is asking sewers to make bags from “green” fabrics and distribute them free of charge to people in grocery store lines, in stores and to friends and relatives. So far they have made and handed out over 73,634 cloth bags. For a free pattern for a Morsbag check out this website http://www.morsbags.com/ Take a few minutes to make a cloth bag and be part of the plastic bag solution.
Dig it!
Helping Hands Many rural communities have thrift stores. They are run by organizations or by community volunteers. The proceeds pay for the building, lights, hydro etc. and the remaining dollars go towards a charity. Spending a day at the Thrift Store is a great way to learn about fabrics, how a non-profit business works and to volunteer your time and energy to the community. 1. Choose a local Thrift store and volunteer for one day. 2. Where will you volunteer? _____________________________________ 3. What are 3 things you learned from this experience? How will you show what you learned? Write about it, take pictures, video tape something, interview someone who works there etc.
What did you learn about yourself by doing this activity? What did you learn about making decisions? How will your new skills help you in the future?
Now that you have finished this project, it is time to think about how you will share your experiences and knowledge with others. You may put your new skills to work by helping at a community event or at your club Achievement or teaching others about your topic. The goal of the Showcase Challenge is to help highlight your new skills and help you understand how you can use them. It can be an opportunity to receive feedback from others on your project. So go back through your manual and find some highlights of your learning (what you are proud of) and think about how you will “showcase” it.
Demonstrate something you made or learned about
Make a poster or display
Act out a play Make a video or slideshow
Teach a class Organize a bake sale
Use your new skills to help with the Club Achievement plans
Or come up with your own idea. It is up to you and your leader!
Dream It! Here are some Showcase Challenge Suggestions:
27
My Showcase Challenge Plan My showcase idea: __________________________________________________________
________________________________________________________________________
What materials and resources do I need? _________________________________________
________________________________________________________________________
Who do I need to help me? ___________________________________________________
________________________________________________________________________
When do I need to have things done by? _________________________________________
________________________________________________________________________
Showcase Challenge Bringing it all together!
28
Do It! Insert or attach your finished product or a photo of you sharing your skills in your Showcase Challenge.
Dig It!
Now that you have showcased your project skills; How did your Showcase Challenge go?
What would you do differently next time?
How will you use your new skills in the future? (in different situations?)

Name: __________________ Date: _____________ Year in 4-H: ____ Club: _____________ Hours Spent on 4-H: ____(Project and Other 4-H Activities)
29
Sewing Green Project Skills Chart To be completed by the leader and the member based on observations and
conversations throughout the project.
Skill Builder
Members will be able to… Each Skill Builder had a Skills Checklist which
identified the skill you will learn.
We know this because… Identify activities completed and record observations
and information from discussions about activities.
1
Repurpose Develop a project action plan Learn methods to alter fabrics Demonstrate one of the techniques
2
Refashion Develop a project action plan Learn alteration skills To demonstrate one of the techniques
3
Reinvent Develop a project action plan Identify good fabric sources Learn how to price your sewing
4
Redecorate Develop a project action plan Explore sewing Home Décor
5
Repair Learn and demonstrate mending skills Learn proper clothing storage.
6
Rebuild Learn to plan a “green” wardrobe Explore how a “green” business works
Additional Comments/Activities:
Showcase Challenge
My 4-H Portfolio Page
Leader Point of Praise!
I am most impressed by… I acknowledge that the member has completed the 4-H project requirements. Leader’s Signature: _______________________________
Member Point of Pride!
What I learned… What I need to improve on… What I want others to notice… Member’s Signature: _______________________________
Above and Beyond! In addition to project skills, 4-H also increases skills in meeting management, communications,
leadership, community involvement through participation in club, area, or provincial 4-H events or activities. List below any activities you participated in this year in 4-H.
(Some examples include Executive Positions Held, Workshops, Communication, Community Service, Rally, Bonspiels, Conferences, Judging, Camps, Trips, Awards, Representation to Area or Provincial Councils, etc)
_____________________________________ _______________________________________
_____________________________________ _______________________________________
_____________________________________ _______________________________________
_____________________________________ _______________________________________
_____________________________________ _______________________________________
_____________________________________ _______________________________________
**Feel Free to add additional pages that include awards, certificates, new clippings, photos or other items that describe your 4-H involvement.
Point of Praise! Another’s perspective on your achievements in 4-H. (community professionals, MAFRI staff, 4-H club head leaders, 4-H Ambassadors, friends of 4-H)
I am most impressed by… I believe that you have learned… In the future I encourage you to… Signature: _______________________________
30

4-H Achievement
4-H Achievement is… a 4-H club celebration when members have completed their projects. Achievements are planned by the club to give recognition to members and leaders for their accomplishments in their 4-H projects and club activities. A 4-H Achievement can take many different formats:
from choosing a theme, to member project displays, to members using their new skills for the event (entertainment, food, decorating, photographer, etc.), to members presenting their project to the whole group, the options are endless and open to the creativity of the members and leaders in each club! Clubs may also plan their Achievement to promote 4-H to the community or to recognize sponsors and others who have helped the club. Members and leaders - be sure to check your project books for the project completion requirements, so you will be ready for your club’s Achievement celebration!
For more information about 4-H and the many 4-H opportunities available please visit
http://www.gov.mb.ca/agriculture/4-h/
If you have any questions, comments or suggestions for this or other 4-H projects contact:
Manitoba 4-H Projects
Manitoba Agriculture Food and Rural Initiatives 1129 Queens Avenue
Brandon, MB R7A 1L9
Email: [email protected]
Phone: 204-726-6613 Fax: 204-726-6260
This manual is for educational use only and is not intended as professional advice.
31

4-H Motto
“Learn To Do by Doing” 4-H Pledge
I pledge, My HEAD to clearer thinking, My HEART to greater loyalty, My HANDS to larger service, My HEALTH to better living, For my club, my community, and my country.
What is 4-H?
4-H is an international youth organization involving more than 7 million members in 80 countries around the world. In Canada, 4-H began in 1913 in Roland, Manitoba as a community-based organization dedicated to growth and development of rural youth. Today’s 4-H program reaches both farm and non-farm youth across Canada. The motto of “Learn to Do by Doing” is embodied in the program, as 4-H focuses on skill development as well as personal development of life skills such as communications, leadership and citizenship.
Manitoba 4-H project material is developed by
Manitoba Agriculture, Food and Rural Initiatives (MAFRI)
4-H Quality Equation Principles
Quality People Promote responsibility, respect, trust, honesty, fairness,
sportsmanship, citizenship, teamwork and caring. Quality Experiences
Provide members with personal development and skill development experiences.
Quality Projects Promote and value quality effort. Promote high quality, safe food production within industry standards.
32