Embed Size (px)
Citation preview
@2011 Mihail L. Sichitiu 1
Android Introduction
Hello ViewsPart 1

@2011 Mihail L. Sichitiu 2
Goal Familiarize with the main types of GUI
components Concepts:
Layouts Widgets Menus

@2011 Mihail L. Sichitiu 3
Linear Layout<?xml version="1.0" encoding="utf-8"?>
<LinearLayout xmlns:android="http://schemas.android.com/apk/res/android" android:orientation="vertical" android:layout_width="fill_parent" android:layout_height="fill_parent">
<LinearLayout android:orientation="horizontal" android:layout_width="fill_parent" android:layout_height="fill_parent" android:layout_weight="1"> <TextView android:text="red" android:gravity="center_horizontal" […………………….]
</LinearLayout> <LinearLayout android:orientation="vertical" android:layout_width="fill_parent" android:layout_height="fill_parent" android:layout_weight="1"> <TextView android:text="row one" android:textSize="15pt" android:layout_width="fill_parent" android:layout_height="wrap_content" android:layout_weight="1"/> <TextView android:text="row two" android:textSize="15pt" android:layout_width="fill_parent" android:layout_height="wrap_content" android:layout_weight="1"/>[…………………………………..] </LinearLayout>
</LinearLayout>
http://developer.android.com/resources/tutorials/views/hello-linearlayout.html

@2011 Mihail L. Sichitiu 4
One Layout, two views
XML File vs Layout Preview

@2011 Mihail L. Sichitiu 5
Relative Layout <?xml version="1.0" encoding="utf-8"?>
<RelativeLayout xmlns:android="http://schemas.android.com/apk/res/android" android:layout_width="fill_parent" android:layout_height="fill_parent"> <TextView android:id="@+id/label" android:layout_width="fill_parent" android:layout_height="wrap_content" android:text="Type here:"/> <EditText android:id="@+id/entry" android:layout_width="fill_parent" android:layout_height="wrap_content" android:background="@android:drawable/editbox_background" android:layout_below="@id/label"/> <Button android:id="@+id/ok" android:layout_width="wrap_content" android:layout_height="wrap_content" android:layout_below="@id/entry" android:layout_alignParentRight="true" android:layout_marginLeft="10dip" android:text="OK" /> <Button android:layout_width="wrap_content" android:layout_height="wrap_content" android:layout_toLeftOf="@id/ok" android:layout_alignTop="@id/ok" android:text="Cancel" /></RelativeLayout>

@2011 Mihail L. Sichitiu 6
Table Layout<?xml version="1.0" encoding="utf-8"?>
<TableLayout xmlns:android="http://schemas.android.com/apk/res/android" android:layout_width="fill_parent" android:layout_height="fill_parent" android:stretchColumns="1">
<TableRow> <TextView android:layout_column="1" android:text="Open..." android:padding="3dip" /> <TextView android:text="Ctrl-O" android:gravity="right" android:padding="3dip" /> </TableRow>
<TableRow> <TextView android:layout_column="1" android:text="Save..." android:padding="3dip" /> <TextView android:text="Ctrl-S" android:gravity="right" android:padding="3dip" /> </TableRow>
<TableRow> <TextView android:layout_column="1" android:text="Save As..." android:padding="3dip" /> <TextView android:text="Ctrl-Shift-S" android:gravity="right" android:padding="3dip" /> </TableRow>
<View android:layout_height="2dip" android:background="#FF909090" />
[………………………]</TableLayout>

@2011 Mihail L. Sichitiu 7
TabLayout One activity per tab Create new Project
HelloTabs

@2011 Mihail L. Sichitiu 8
Create three new activities Right click on
HelloTabs Package Name -> New -> Class
Right click on the new class, Source -> Override/Implement Methods -> Check OnCreate();

@2011 Mihail L. Sichitiu 9
Fill in the OnCreate() methodpublic class ArtistsActivity extends Activity {
public void onCreate(Bundle savedInstanceState) { super.onCreate(savedInstanceState);
TextView textview = new TextView(this); textview.setText("This is the Artists tab"); setContentView(textview); }}
Quick and dirty “by hand”like inHelloWorld
Copy and Paste ArtistsActivity into two more activities: AlbumsActivity and SongsActivity

@2011 Mihail L. Sichitiu 10
Copy the icons Right click ->
Save As, Make
./res/drawable move the icons
into ./res/drawable

@2011 Mihail L. Sichitiu 11
Create ./res/drawable/ic_tab_artists.xml <?xml version="1.0" encoding="utf-8"?>
<selector xmlns:android="http://schemas.android.com/apk/res/android"> <!-- When selected, use grey --> <item android:drawable="@drawable/ic_tab_artists_grey" android:state_selected="true" /> <!-- When not selected, use white--> <item android:drawable="@drawable/ic_tab_artists_white" /></selector>
StateListDrawable object that displays different images for different states of a View
@2011 Mihail L. Sichitiu 12
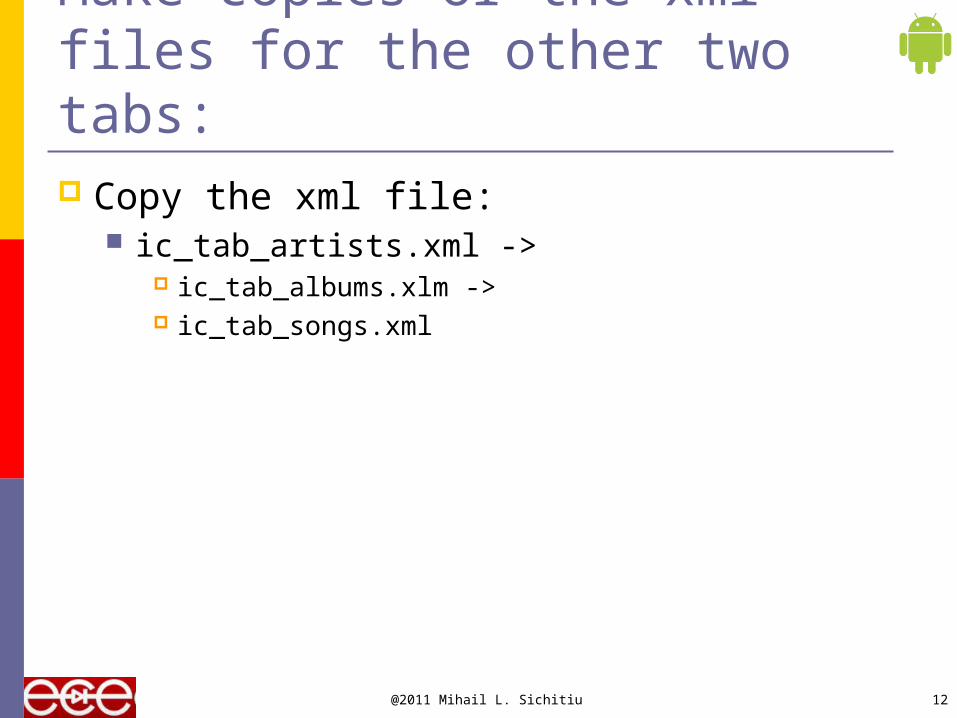
Make copies or the xml files for the other two tabs: Copy the xml file:
ic_tab_artists.xml -> ic_tab_albums.xlm -> ic_tab_songs.xml

@2011 Mihail L. Sichitiu 13
Main Layout <?xml version="1.0" encoding="utf-8"?>
<TabHost xmlns:android="http://schemas.android.com/apk/res/android" android:id="@android:id/tabhost" android:layout_width="fill_parent" android:layout_height="fill_parent"> <LinearLayout android:orientation="vertical" android:layout_width="fill_parent" android:layout_height="fill_parent" android:padding="5dp"> <TabWidget android:id="@android:id/tabs" android:layout_width="fill_parent" android:layout_height="wrap_content" /> <FrameLayout android:id="@android:id/tabcontent" android:layout_width="fill_parent" android:layout_height="fill_parent" android:padding="5dp" /> </LinearLayout></TabHost>

@2011 Mihail L. Sichitiu 14
OnCreate() for HelloTabs (main activity)public void onCreate(Bundle savedInstanceState)
super.onCreate(savedInstanceState);setContentView(R.layout.main);
Resources res = getResources(); // Resource object to get DrawablesTabHost tabHost = getTabHost(); // The activity TabHostTabHost.TabSpec spec; // Resusable TabSpec for each tabIntent intent; // Reusable Intent for each tab
// Create an Intent to launch an Activity for the tab (to be reused)intent = new Intent().setClass(this, ArtistsActivity.class);
// Initialize a TabSpec for each tab and add it to the TabHost spec = tabHost.newTabSpec("artists").setIndicator("Artists",
res.getDrawable(R.drawable.ic_tab_artists)) .setContent(intent); tabHost.addTab(spec);
// Do the same for the other tabs [………………………] tabHost.setCurrentTab(2);}
Main Activity is a TabActivity – has a TabHost
Builder mapping the resources to the tab
Select Tab 2
@2011 Mihail L. Sichitiu 15
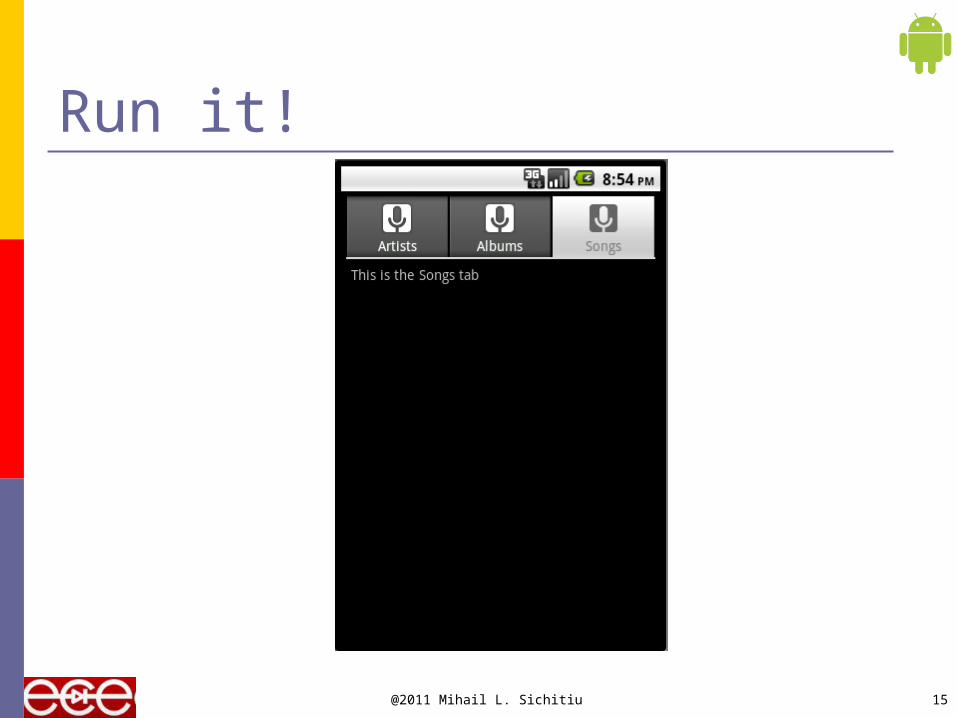
Run it!

@2011 Mihail L. Sichitiu 16
List View List of scrollable items Application will inherit from
ListActivity rather than Activity
Create ./res/layout/list_item.xml Layout for each item

@2011 Mihail L. Sichitiu 17
public class HelloListView extends ListActivity { /** Called when the activity is first created. */
@Overridepublic void onCreate(Bundle savedInstanceState) { super.onCreate(savedInstanceState);
setListAdapter(new ArrayAdapter<String>(this, R.layout.list_item, COUNTRIES));
ListView lv = getListView(); lv.setTextFilterEnabled(true);
lv.setOnItemClickListener(new OnItemClickListener() { public void onItemClick(AdapterView<?> parent, View view, int position, long id) { // When clicked, show a toast with the TextView text Toast.makeText(getApplicationContext(), ((TextView) view).getText(), Toast.LENGTH_SHORT).show(); } });}}
Override the OnCreate method
Setup the list for this application, with this layout and this content
Enables filtering by keyboard
Small Toast showing the text in the clicked item for a short time

@2011 Mihail L. Sichitiu 18
Run it!

@2011 Mihail L. Sichitiu 19
Date Picker Will display a dialogbox
allowing to change the date

@2011 Mihail L. Sichitiu 20
Layout <?xml version="1.0" encoding="utf-8"?>
<LinearLayout xmlns:android="http://schemas.android.com/apk/res/android" android:layout_width="wrap_content" android:layout_height="wrap_content" android:orientation="vertical"> <TextView android:id="@+id/dateDisplay" android:layout_width="wrap_content" android:layout_height="wrap_content" android:text=""/> <Button android:id="@+id/pickDate" android:layout_width="wrap_content" android:layout_height="wrap_content" android:text="Change the date"/></LinearLayout>
@2011 Mihail L. Sichitiu 21
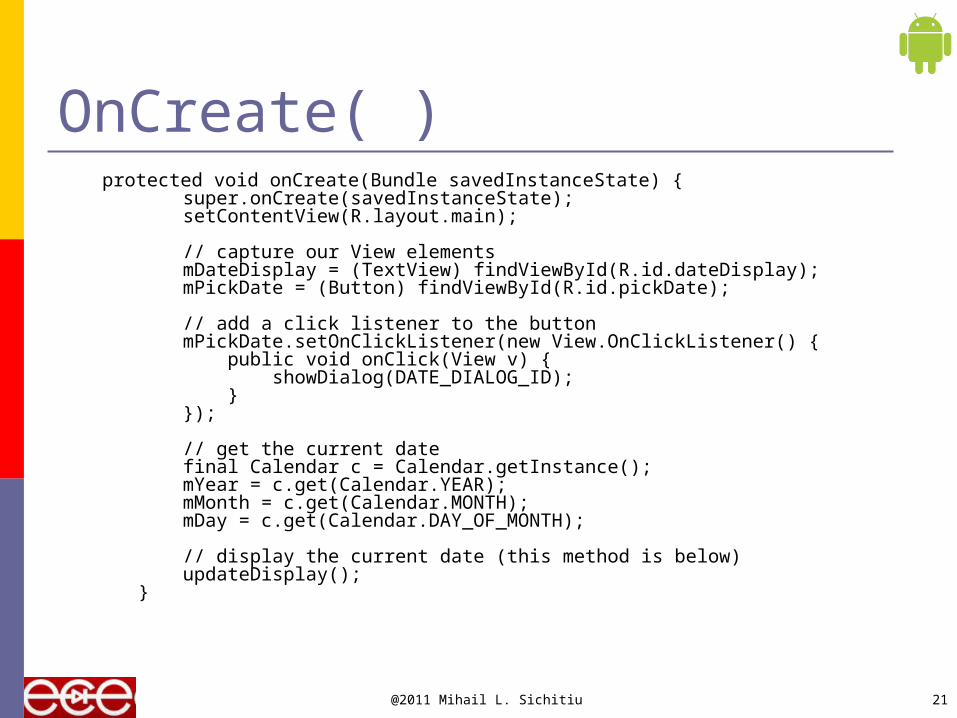
OnCreate( ) protected void onCreate(Bundle savedInstanceState) {
super.onCreate(savedInstanceState); setContentView(R.layout.main);
// capture our View elements mDateDisplay = (TextView) findViewById(R.id.dateDisplay); mPickDate = (Button) findViewById(R.id.pickDate);
// add a click listener to the button mPickDate.setOnClickListener(new View.OnClickListener() { public void onClick(View v) { showDialog(DATE_DIALOG_ID); } });
// get the current date final Calendar c = Calendar.getInstance(); mYear = c.get(Calendar.YEAR); mMonth = c.get(Calendar.MONTH); mDay = c.get(Calendar.DAY_OF_MONTH);
// display the current date (this method is below) updateDisplay(); }

@2011 Mihail L. Sichitiu 22
updateDisplay( ) // updates the date in the TextView
private void updateDisplay() { mDateDisplay.setText( new StringBuilder() // Month is 0 based so add 1 .append(mMonth + 1).append("-") .append(mDay).append("-") .append(mYear).append(" ")); }
@2011 Mihail L. Sichitiu 23
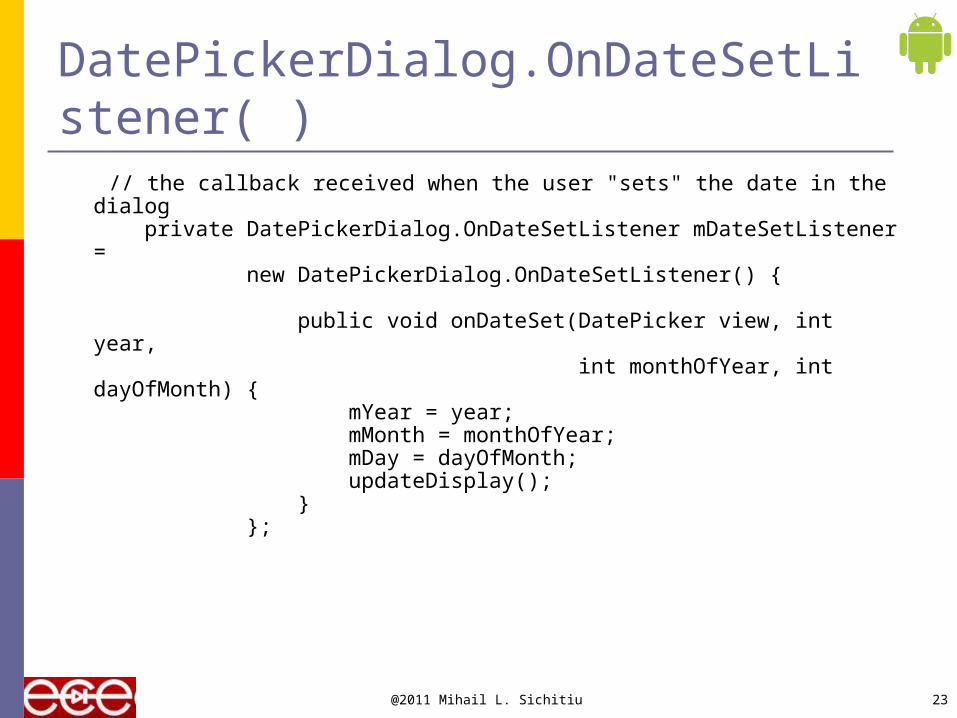
DatePickerDialog.OnDateSetListener( ) // the callback received when the user "sets" the date in the dialog
private DatePickerDialog.OnDateSetListener mDateSetListener = new DatePickerDialog.OnDateSetListener() {
public void onDateSet(DatePicker view, int year, int monthOfYear, int dayOfMonth) { mYear = year; mMonth = monthOfYear; mDay = dayOfMonth; updateDisplay(); } };
@2011 Mihail L. Sichitiu 24
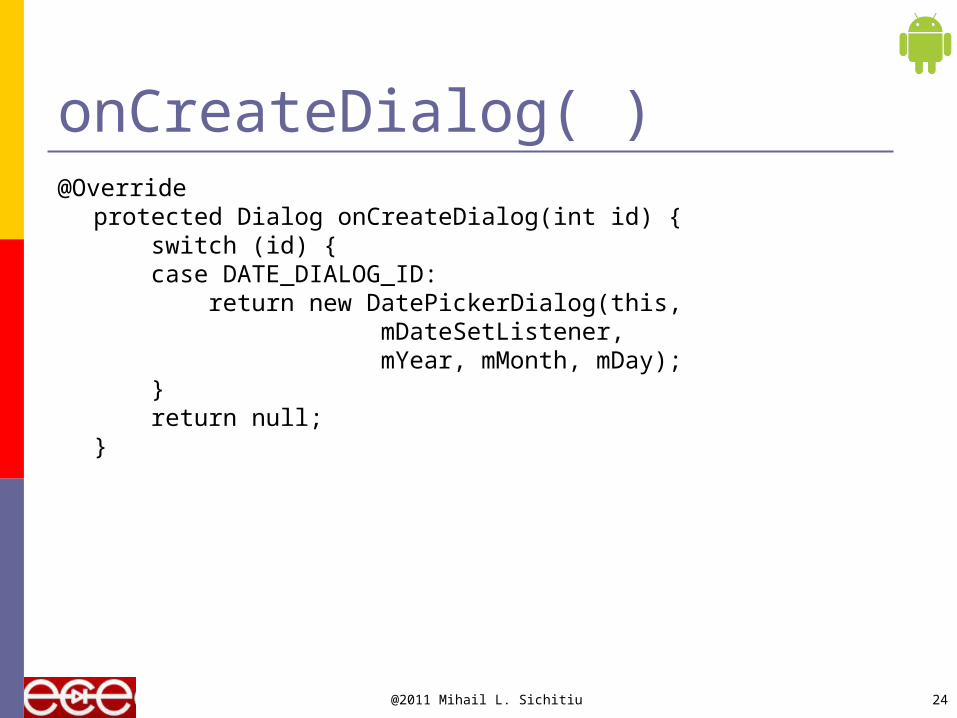
onCreateDialog( )@Override
protected Dialog onCreateDialog(int id) { switch (id) { case DATE_DIALOG_ID: return new DatePickerDialog(this, mDateSetListener, mYear, mMonth, mDay); } return null;}

@2011 Mihail L. Sichitiu 25
Run it!