Embed Size (px)
Citation preview
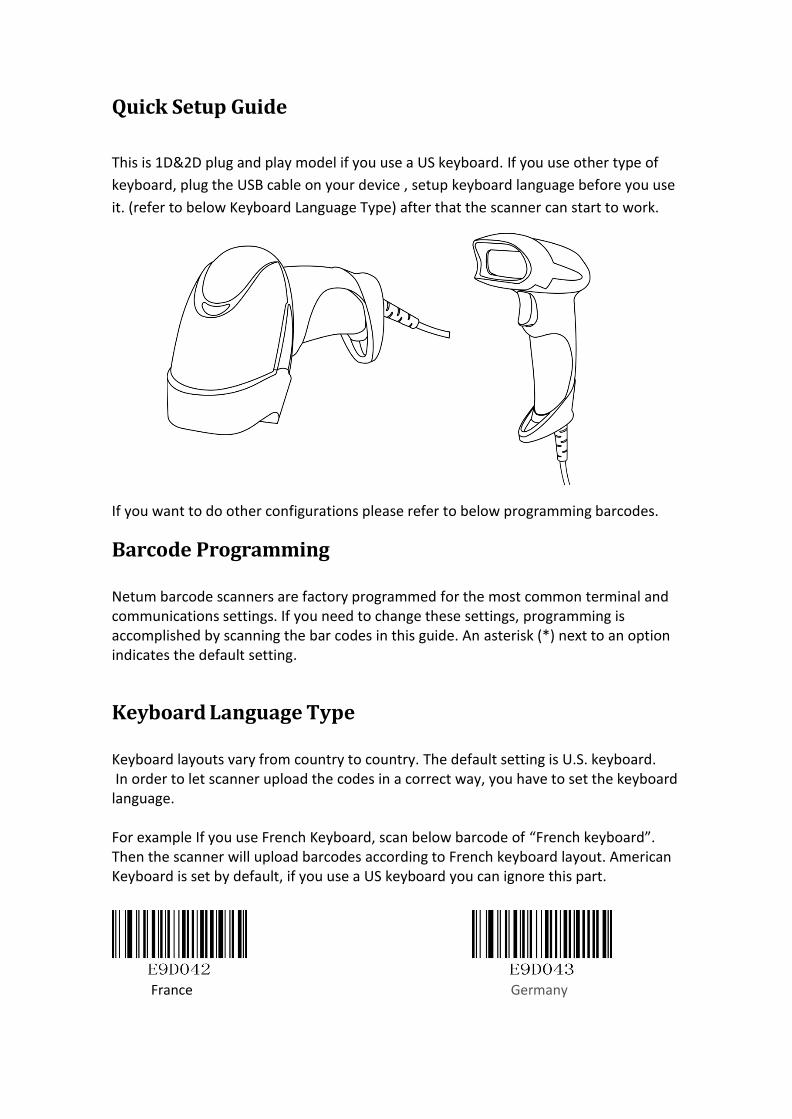
Quick Setup Guide
This is 1D&2D plug and play model if you use a US keyboard. If you use other type of
keyboard, plug the USB cable on your device , setup keyboard language before you use
it. (refer to below Keyboard Language Type) after that the scanner can start to work.
If you want to do other configurations please refer to below programming barcodes.
Barcode Programming Netum barcode scanners are factory programmed for the most common terminal and communications settings. If you need to change these settings, programming is accomplished by scanning the bar codes in this guide. An asterisk (*) next to an option indicates the default setting.
Keyboard Language Type Keyboard layouts vary from country to country. The default setting is U.S. keyboard. In order to let scanner upload the codes in a correct way, you have to set the keyboard language. For example If you use French Keyboard, scan below barcode of “French keyboard”. Then the scanner will upload barcodes according to French keyboard layout. American Keyboard is set by default, if you use a US keyboard you can ignore this part.
France Germany
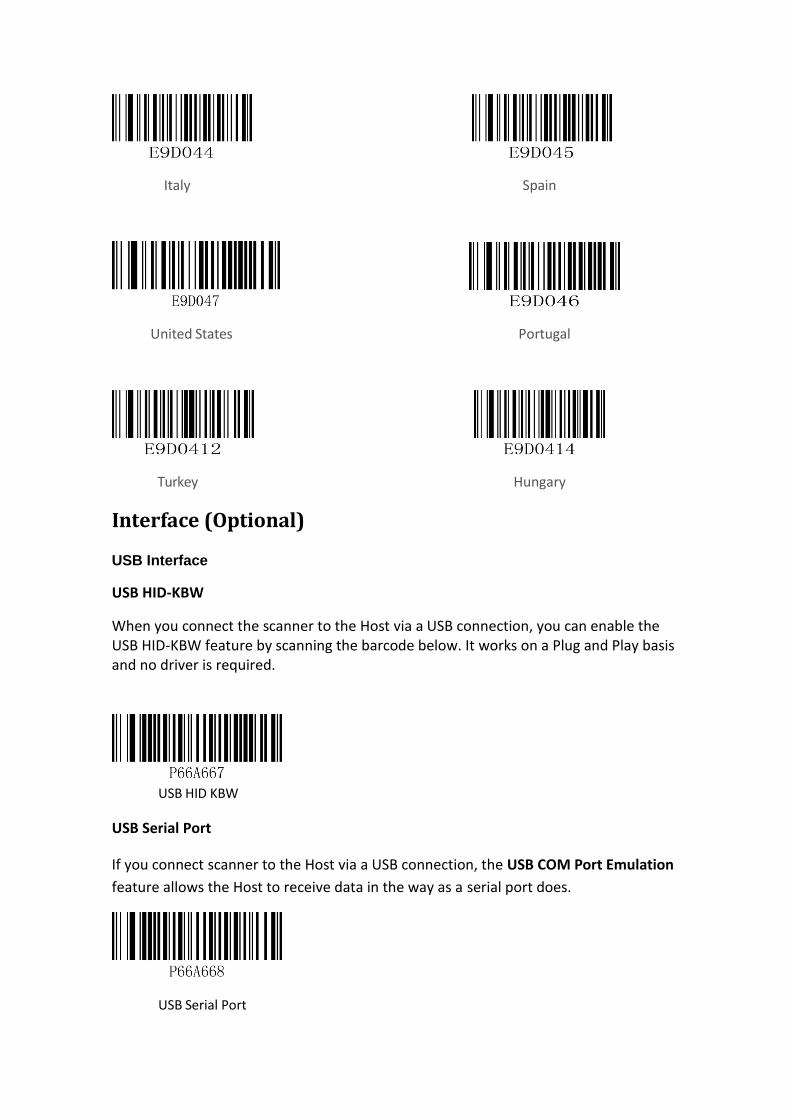
Italy Spain
United States Portugal
Turkey Hungary
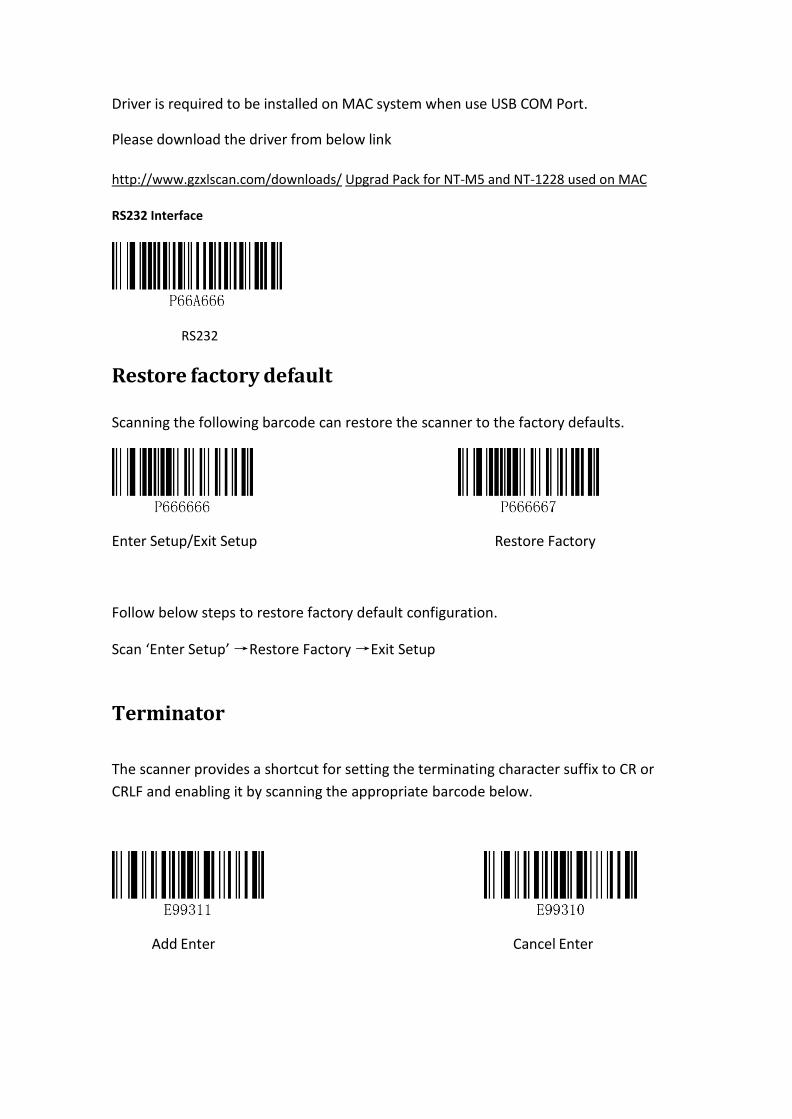
Interface (Optional)
USB Interface
USB HID-KBW
When you connect the scanner to the Host via a USB connection, you can enable the USB HID-KBW feature by scanning the barcode below. It works on a Plug and Play basis and no driver is required.
USB HID KBW
USB Serial Port
If you connect scanner to the Host via a USB connection, the USB COM Port Emulation
feature allows the Host to receive data in the way as a serial port does.
USB Serial Port
Driver is required to be installed on MAC system when use USB COM Port.
Please download the driver from below link
http://www.gzxlscan.com/downloads/ Upgrad Pack for NT-M5 and NT-1228 used on MAC
RS232 Interface
RS232
Restore factory default Scanning the following barcode can restore the scanner to the factory defaults.
Enter Setup/Exit Setup Restore Factory
Follow below steps to restore factory default configuration.
Scan ‘Enter Setup’ →Restore Factory →Exit Setup
Terminator
The scanner provides a shortcut for setting the terminating character suffix to CR or
CRLF and enabling it by scanning the appropriate barcode below.
Add Enter Cancel Enter
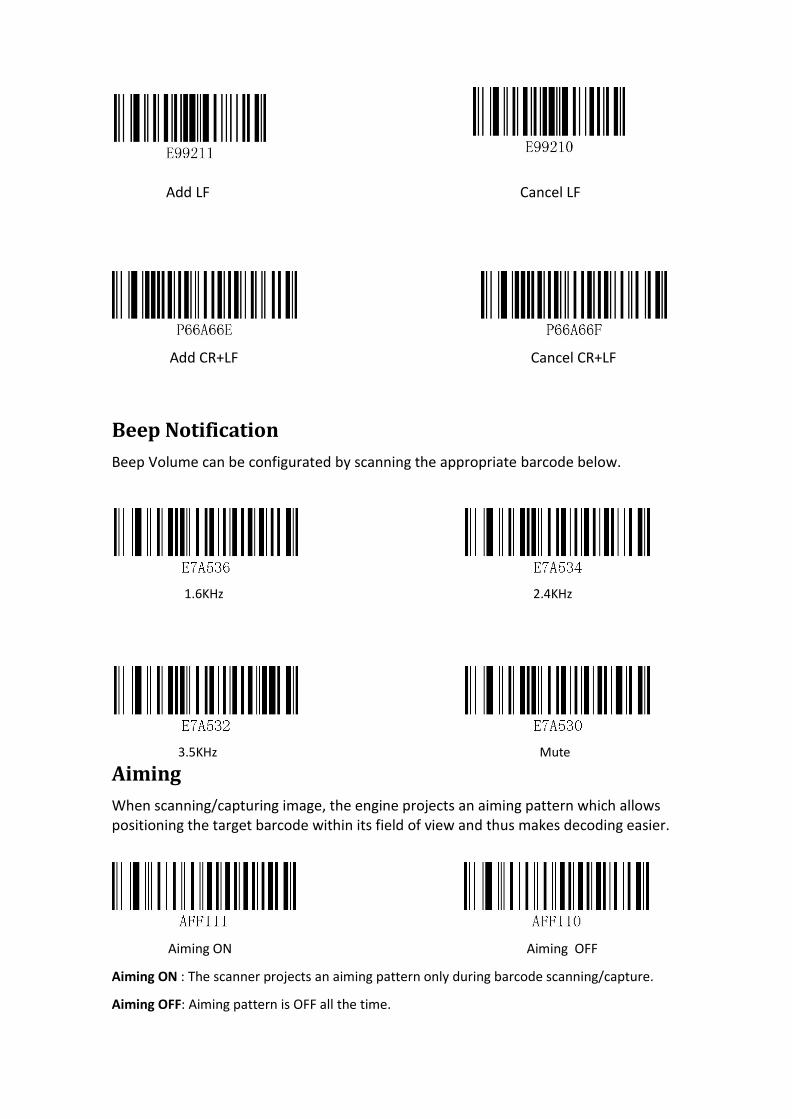
Add LF Cancel LF
Add CR+LF Cancel CR+LF
Beep Notification
Beep Volume can be configurated by scanning the appropriate barcode below.
1.6KHz 2.4KHz
3.5KHz Mute
Aiming
When scanning/capturing image, the engine projects an aiming pattern which allows positioning the target barcode within its field of view and thus makes decoding easier.
Aiming ON Aiming OFF
Aiming ON : The scanner projects an aiming pattern only during barcode scanning/capture.
Aiming OFF: Aiming pattern is OFF all the time.
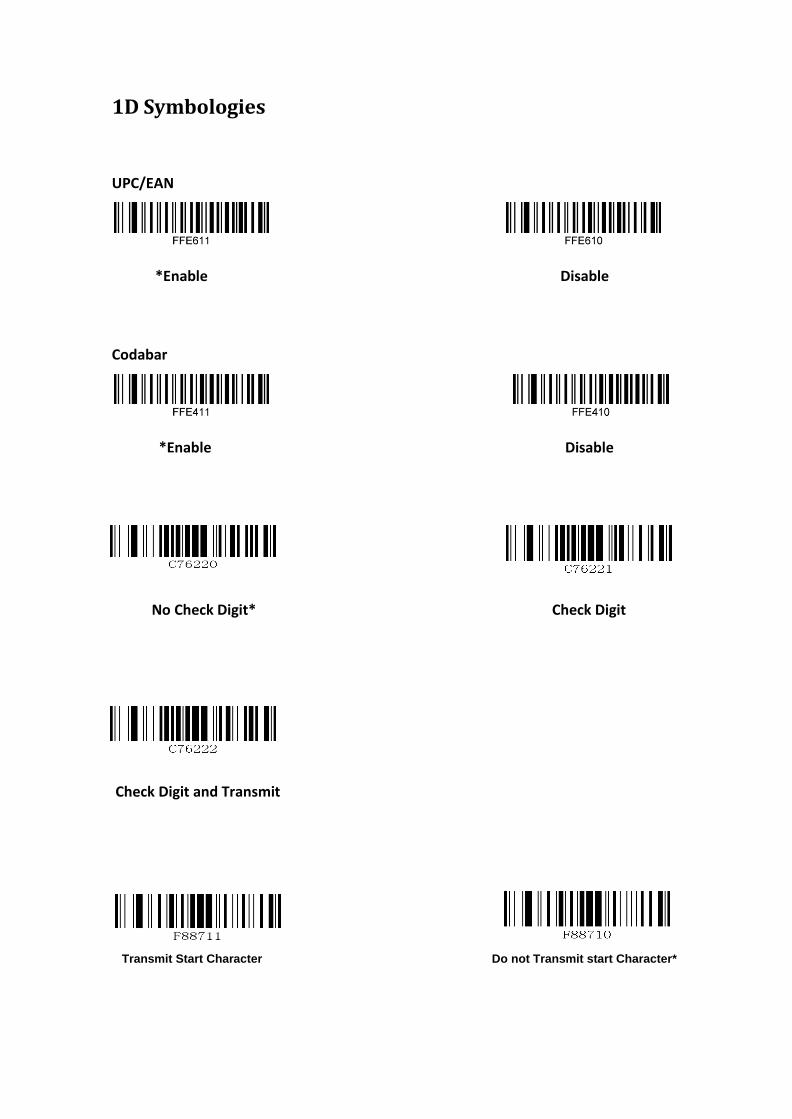
1D Symbologies
UPC/EAN
*Enable Disable
Codabar
*Enable Disable
No Check Digit* Check Digit
Check Digit and Transmit
Transmit Start Character Do not Transmit start Character*
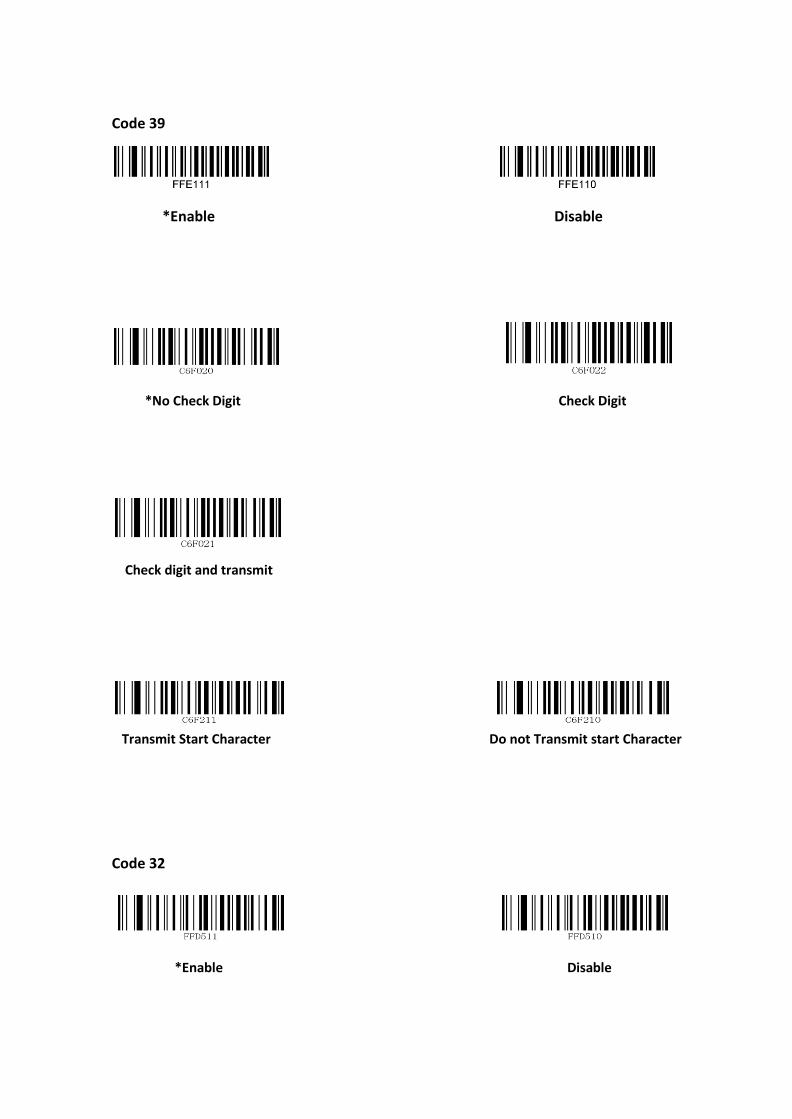
Code 39
*Enable Disable
*No Check Digit Check Digit
Check digit and transmit
Transmit Start Character Do not Transmit start Character
Code 32
*Enable Disable
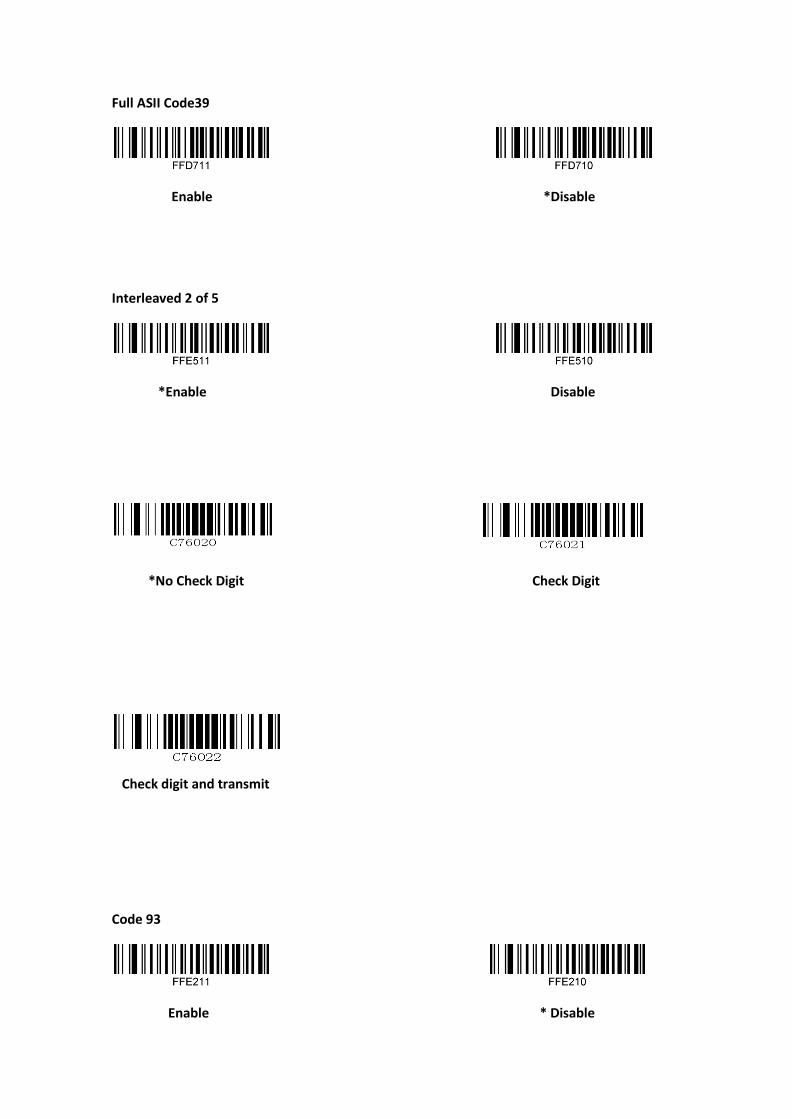
Full ASII Code39
Enable *Disable
Interleaved 2 of 5
*Enable Disable
*No Check Digit Check Digit
Check digit and transmit
Code 93
Enable * Disable
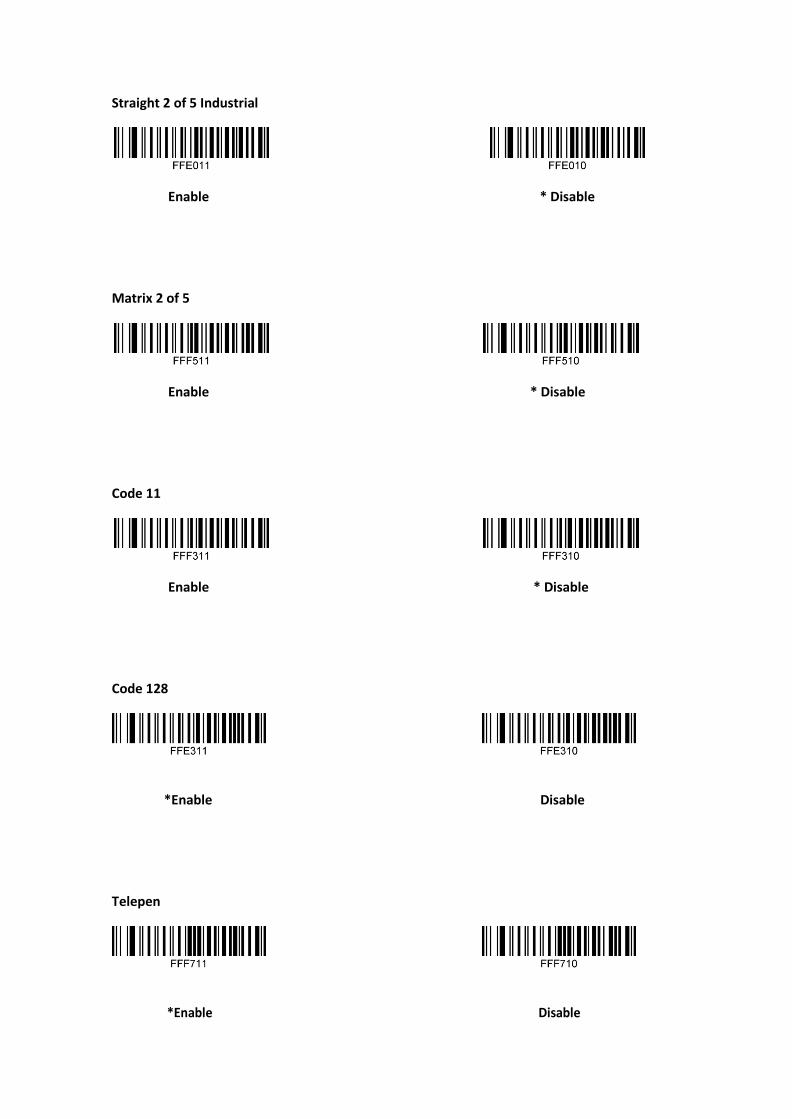
Straight 2 of 5 Industrial
Enable * Disable
Matrix 2 of 5
Enable * Disable
Code 11
Enable * Disable
Code 128
*Enable Disable
Telepen
*Enable Disable
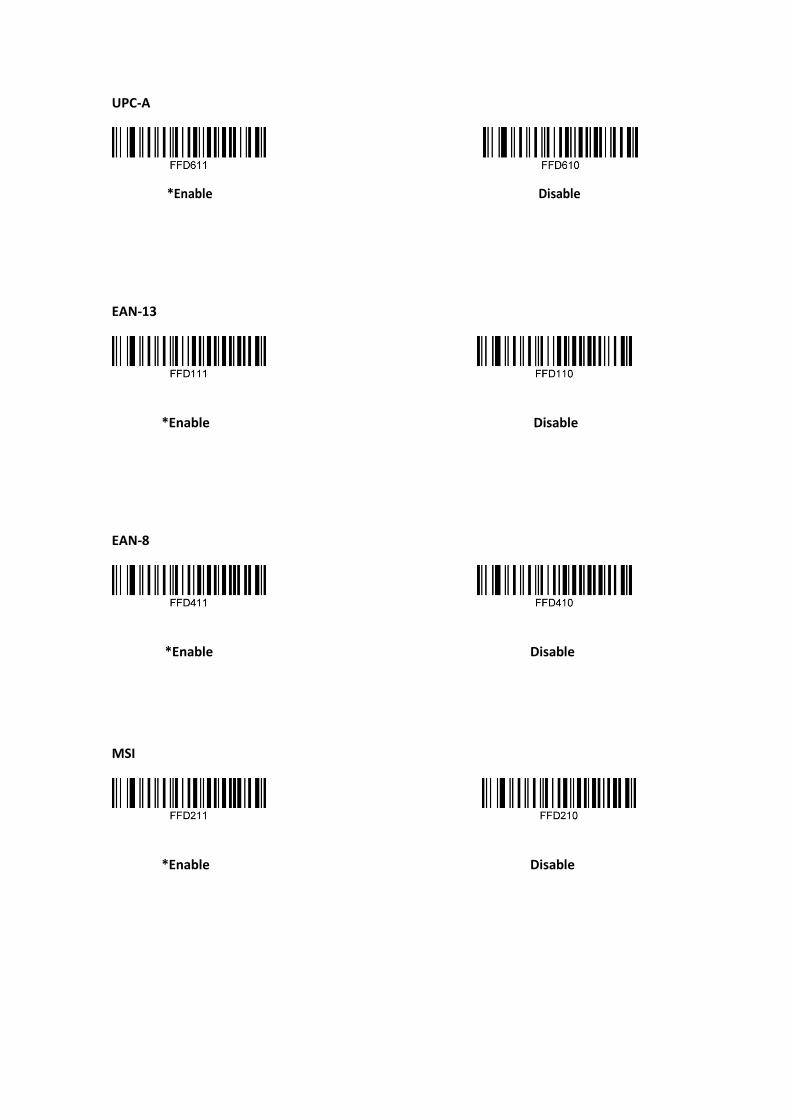
UPC-A
*Enable Disable
EAN-13
*Enable Disable
EAN-8
*Enable Disable
MSI
*Enable Disable
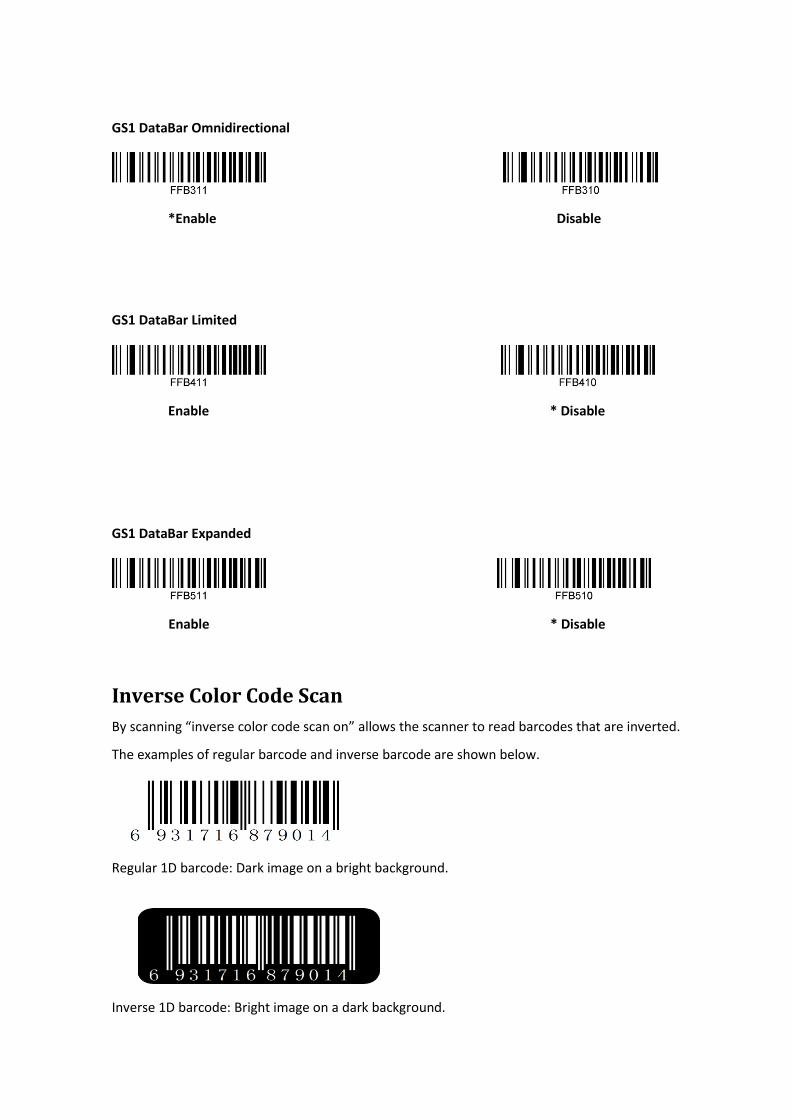
GS1 DataBar Omnidirectional
*Enable Disable
GS1 DataBar Limited
Enable * Disable
GS1 DataBar Expanded
Enable * Disable
Inverse Color Code Scan
By scanning “inverse color code scan on” allows the scanner to read barcodes that are inverted.
The examples of regular barcode and inverse barcode are shown below.
Regular 1D barcode: Dark image on a bright background.
Inverse 1D barcode: Bright image on a dark background.

Inverse Color Code Scan ON
Inverse Color Code Scan OFF (Normal image)
Important Note: Above programming barcodes only applies for 1D barcode. If you
want to enable the scanner to read inverse 2D codes, first find the type of 2D barcodes
from below 2D Symbologies then read the relevant programming code to enable it.
Regular 2D barcode Inverse 2D Barcode
Please refer to the specific type of 2D barcode to enable the scanner reading Inverse 2D barcodes
2D Symbologies
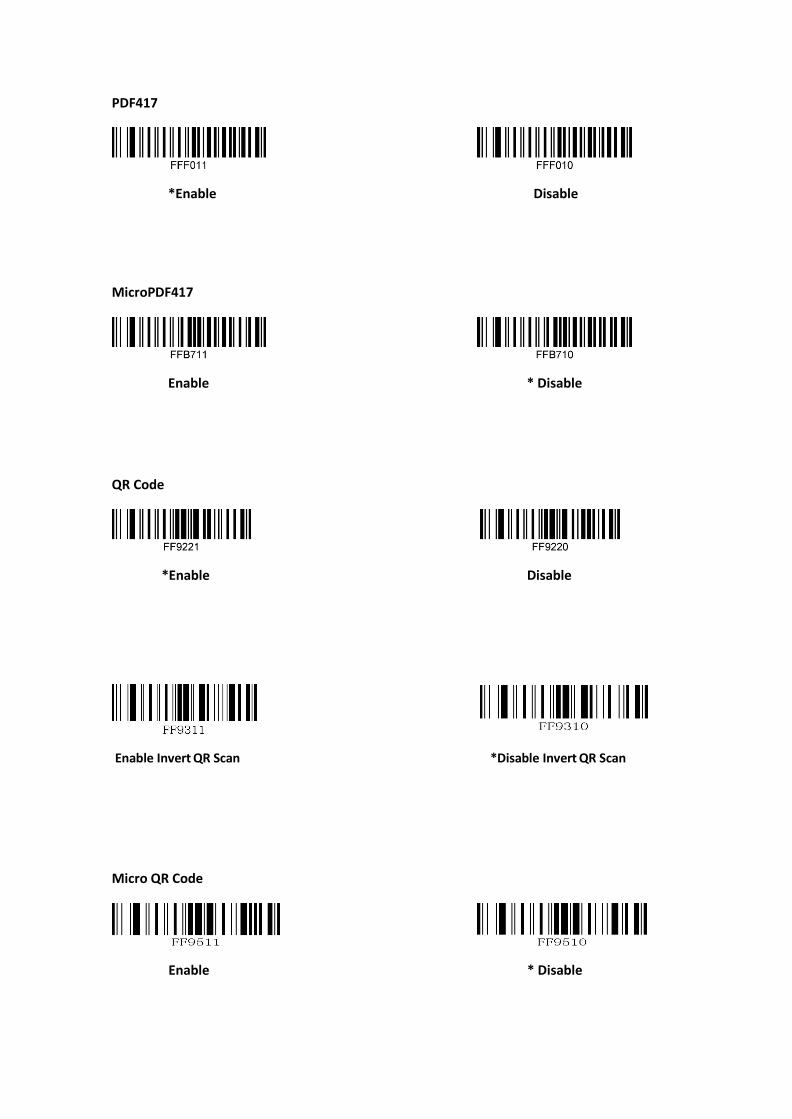
PDF417
*Enable Disable
MicroPDF417
Enable * Disable
QR Code
*Enable Disable
Enable Invert QR Scan *Disable Invert QR Scan
Micro QR Code
Enable * Disable
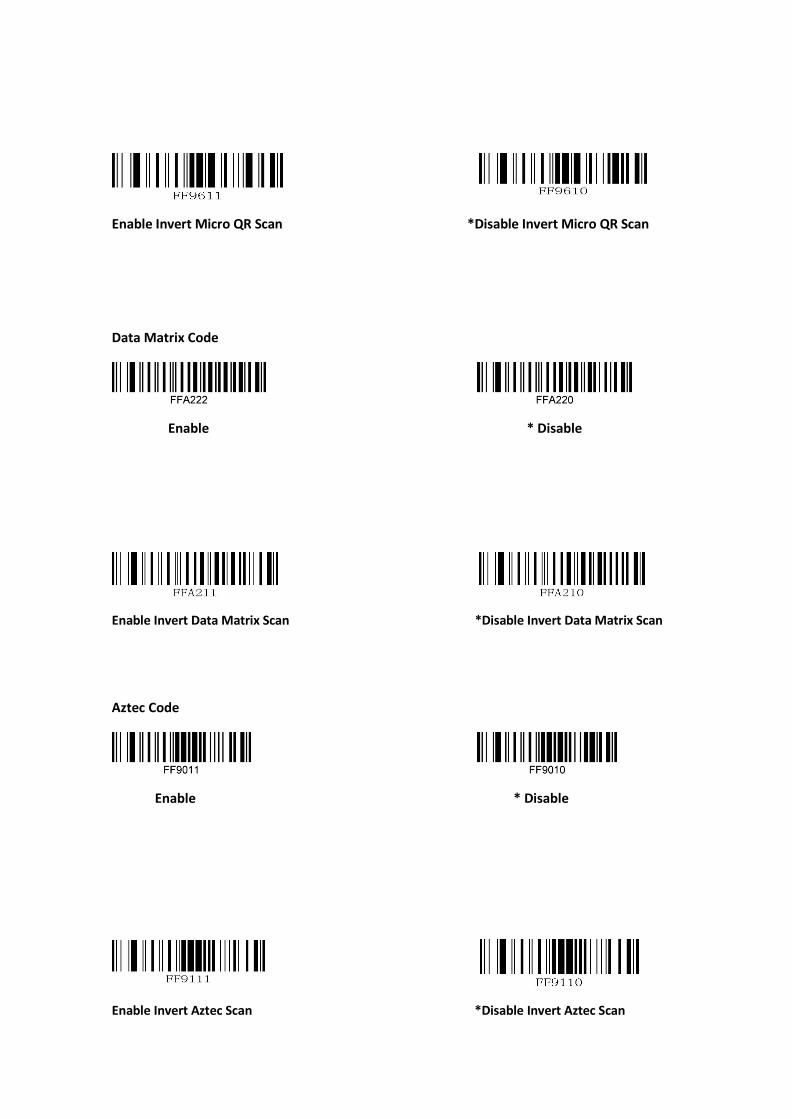
Enable Invert Micro QR Scan *Disable Invert Micro QR Scan
Data Matrix Code
Enable * Disable
Enable Invert Data Matrix Scan *Disable Invert Data Matrix Scan
Aztec Code
Enable * Disable
Enable Invert Aztec Scan *Disable Invert Aztec Scan
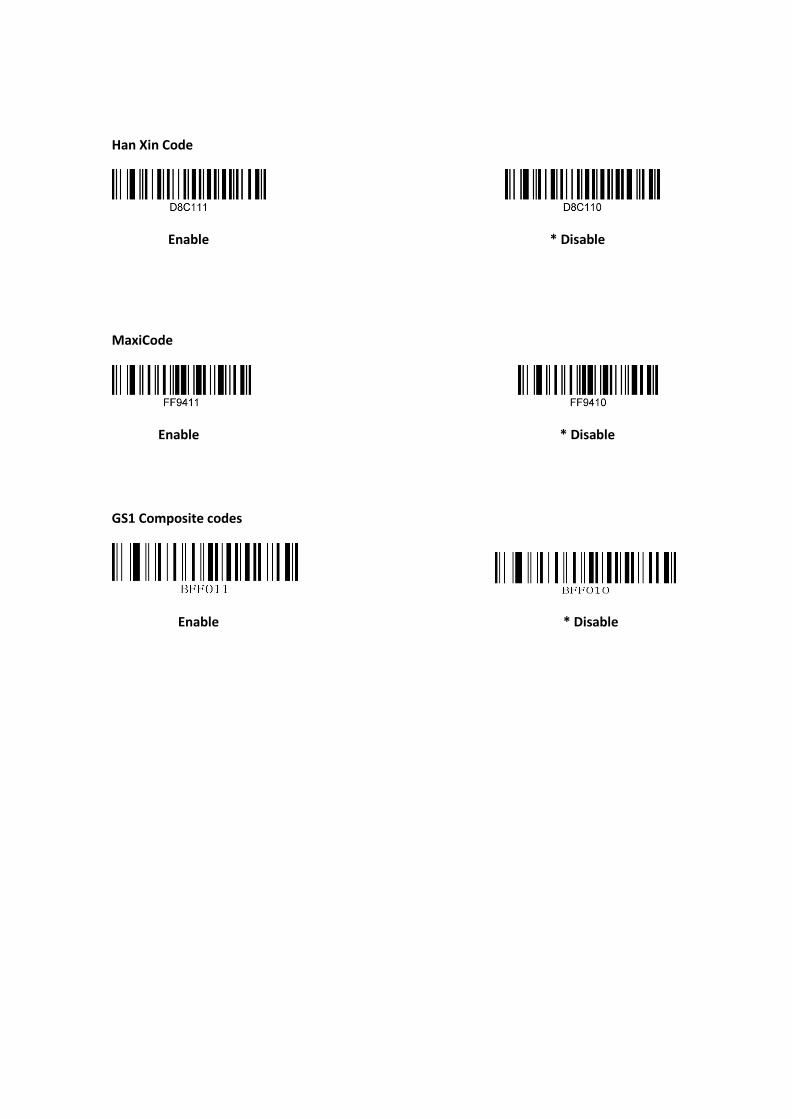
Han Xin Code
Enable * Disable
MaxiCode
Enable * Disable
GS1 Composite codes
Enable * Disable

Program the Custom Prefix & Suffix
Custom one prefix
Example 1
Custom a prefix of “@”.
Check the value of “@” in the ASCII Table . (174)
1.Scan “Enter Setup” barcode to make the device into programming mode.
2. Scan “Set First Prefix”.
3. Scan the numeric barcodes“1”, “7”, “4”.
4.Scan “Exit Setup” barcode to make the device exit programming mode.
Custom one suffix
Example 2
Custom a suffix of “$”
Check the value of “$” in the ASCII Table . (036)
1.Scan “Enter Setup” barcode to make the device into programming mode.
2. Scan ”Set First Suffix”.
3. Scan the numeric barcodes“1”, “3”, “6”.
4.Scan “Exit Setup” barcode to make the device exit programming mode.

Custom several prefixs
Example 3
Custom prefix of “$” and ”@”
Check the value of “@” in the ASCII Table . (174)
1.Scan “Enter Setup” barcode to make the device into programming mode.
2. Scan “Set First Prefix”.
3. Scan the numeric barcodes“1”, “7”, “4”.
4. Scan “Set Second Prefix”.
5. Scan the numeric barcodes“1”, “3”, “6”.
6. Scan “Exit Setup” barcode to make the device exit programming mode.
Custom several suffixs
Example 4
Custom suffix of “$” and ”@”
Check the value of “@” in the ASCII Table . (174)
1.Scan “Enter Setup” barcode to make the device into programming mode.
2. Scan ”Set First Suffix”.
3. Scan the numeric barcodes“1”, “7”, “4”.
4. Scan ”Set Second Suffix”.
5. Scan the numeric barcodes“1”, “3”, “6”.
6. Scan “Exit Setup” barcode to make the device exit programming mode.
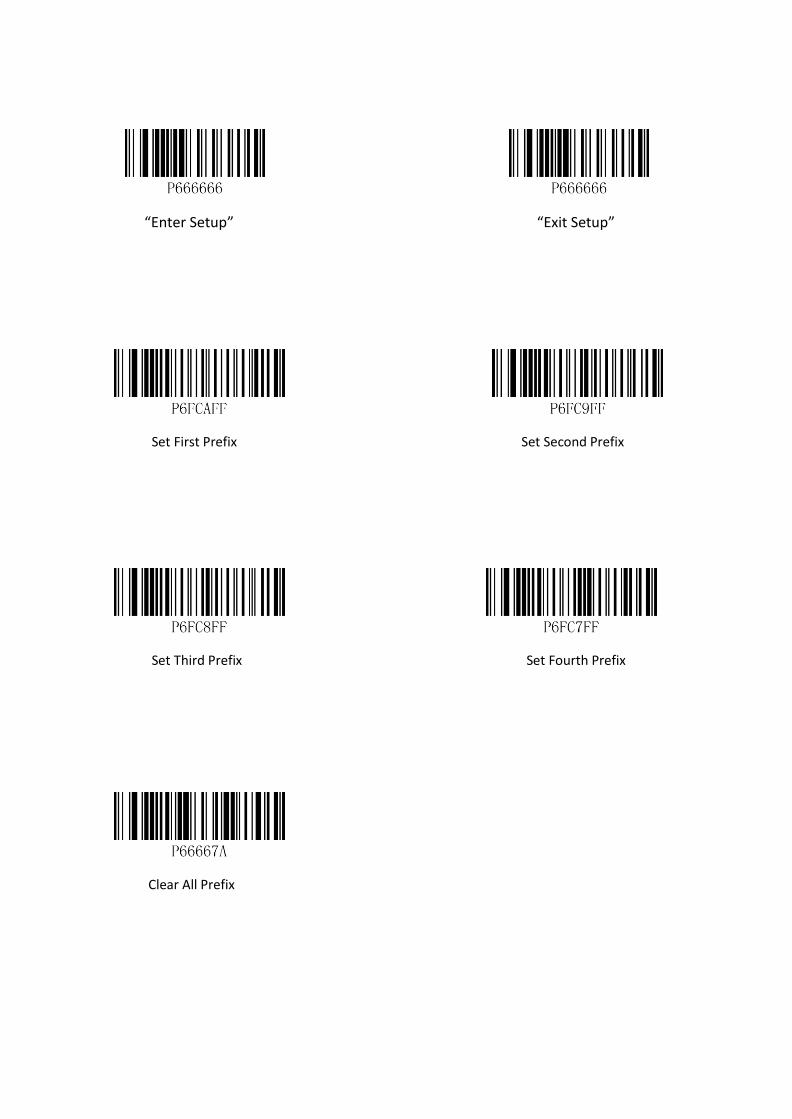
“Enter Setup” “Exit Setup”
Set First Prefix Set Second Prefix
Set Third Prefix Set Fourth Prefix
Clear All Prefix
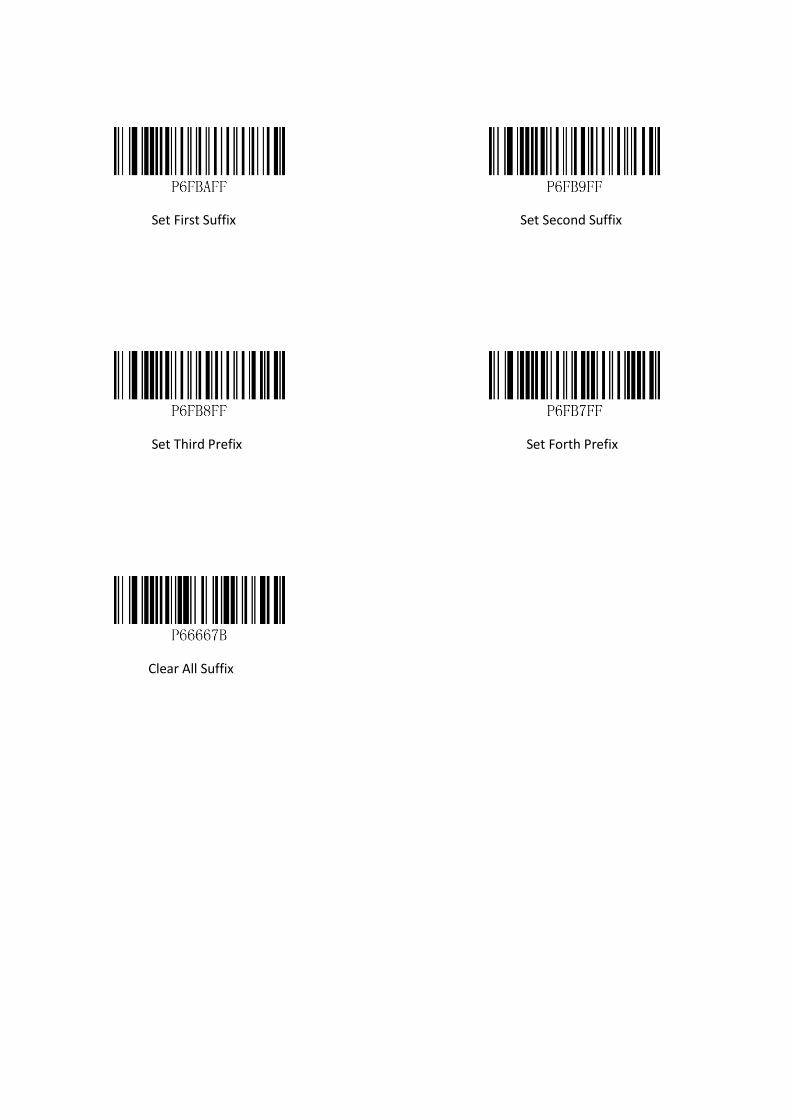
Set First Suffix Set Second Suffix
Set Third Prefix Set Forth Prefix
Clear All Suffix

Byte Code Value
20 /
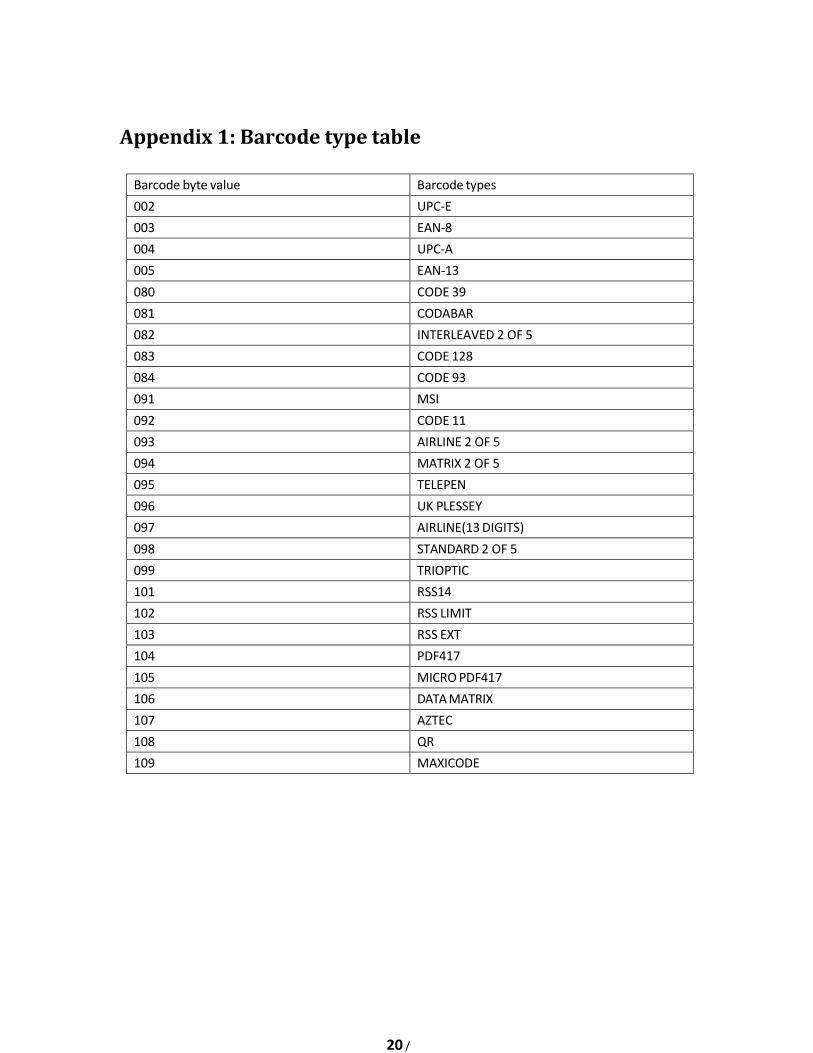
Appendix 1: Barcode type table
Barcode byte value Barcode types
002 UPC-E
003 EAN-8
004 UPC-A
005 EAN-13
080 CODE 39
081 CODABAR
082 INTERLEAVED 2 OF 5
083 CODE 128
084 CODE 93
091 MSI
092 CODE 11
093 AIRLINE 2 OF 5
094 MATRIX 2 OF 5
095 TELEPEN
096 UK PLESSEY
097 AIRLINE(13 DIGITS)
098 STANDARD 2 OF 5
099 TRIOPTIC
101 RSS14
102 RSS LIMIT
103 RSS EXT
104 PDF417
105 MICRO PDF417
106 DATA MATRIX
107 AZTEC
108 QR
109 MAXICODE
21 /
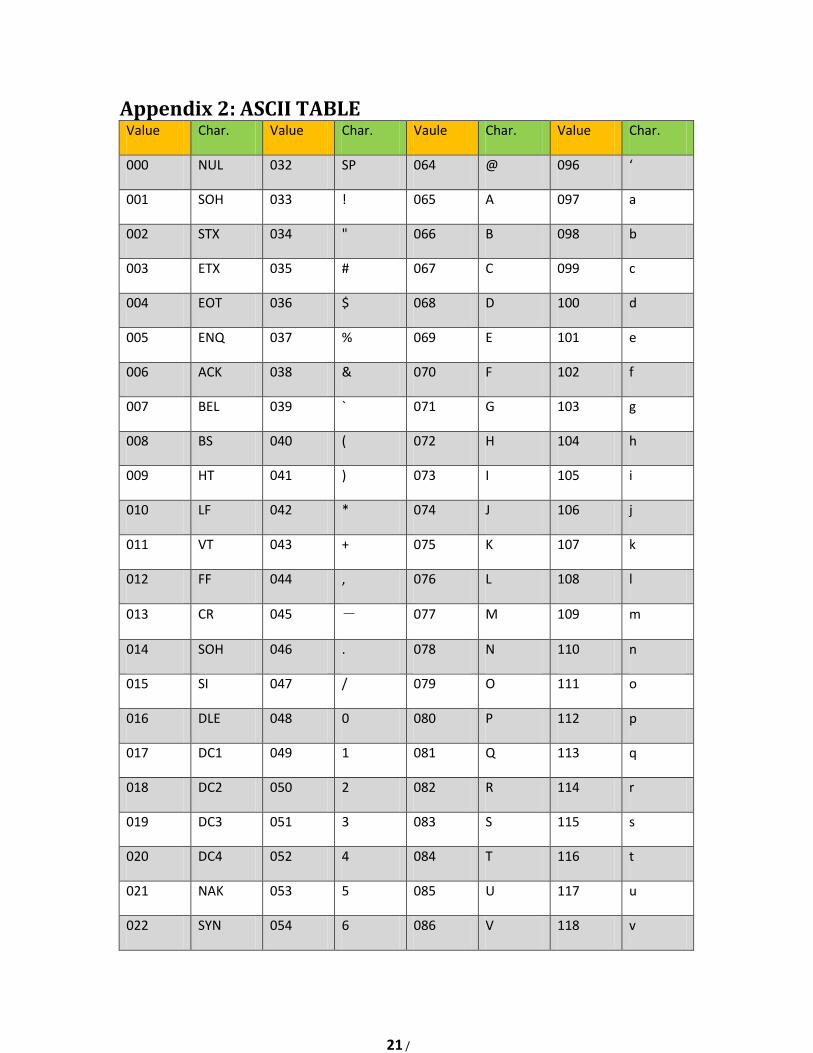
Appendix 2: ASCII TABLE Value Char. Value Char. Vaule Char. Value Char.
000 NUL 032 SP 064 @ 096 ‘
001 SOH 033 ! 065 A 097 a
002 STX 034 " 066 B 098 b
003 ETX 035 # 067 C 099 c
004 EOT 036 $ 068 D 100 d
005 ENQ 037 % 069 E 101 e
006 ACK 038 & 070 F 102 f
007 BEL 039 ` 071 G 103 g
008 BS 040 ( 072 H 104 h
009 HT 041 ) 073 I 105 i
010 LF 042 * 074 J 106 j
011 VT 043 + 075 K 107 k
012 FF 044 , 076 L 108 l
013 CR 045 - 077 M 109 m
014 SOH 046 . 078 N 110 n
015 SI 047 / 079 O 111 o
016 DLE 048 0 080 P 112 p
017 DC1 049 1 081 Q 113 q
018 DC2 050 2 082 R 114 r
019 DC3 051 3 083 S 115 s
020 DC4 052 4 084 T 116 t
021 NAK 053 5 085 U 117 u
022 SYN 054 6 086 V 118 v
22 /
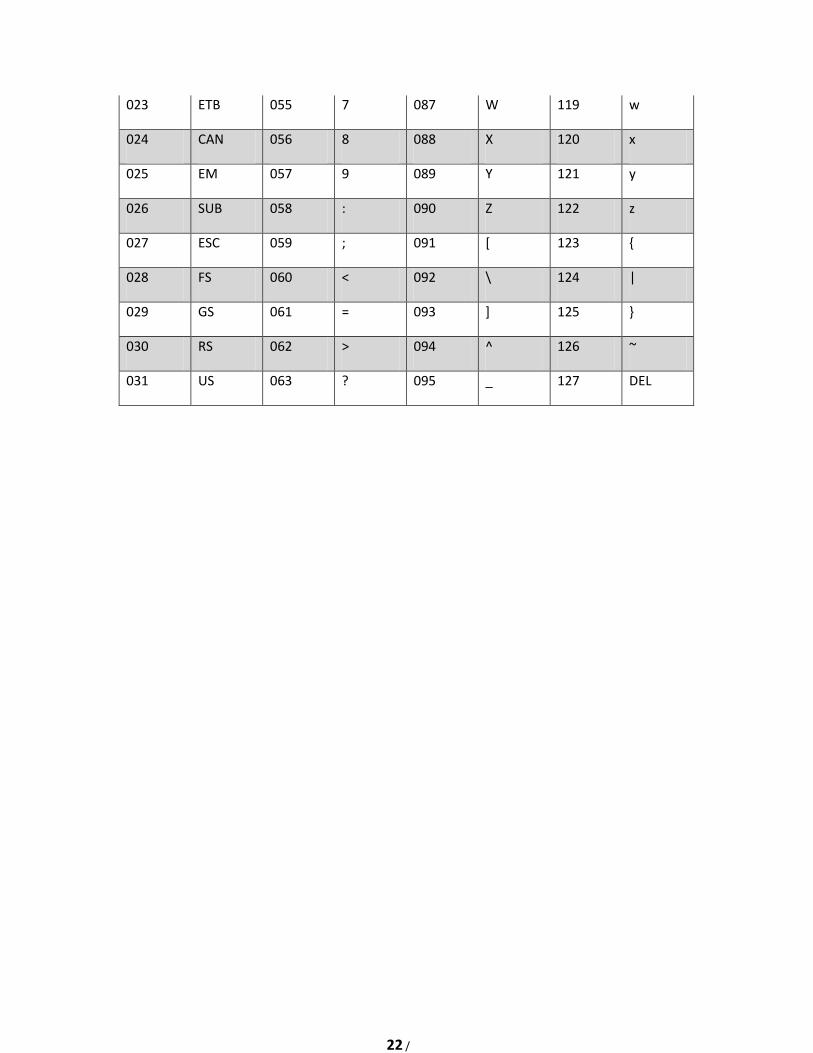
023 ETB 055 7 087 W 119 w
024 CAN 056 8 088 X 120 x
025 EM 057 9 089 Y 121 y
026 SUB 058 : 090 Z 122 z
027 ESC 059 ; 091 [ 123 {
028 FS 060 < 092 \ 124 |
029 GS 061 = 093 ] 125 }
030 RS 062 > 094 ^ 126 ~
031 US 063 ? 095 _ 127 DEL