Embed Size (px)
Citation preview

12/02/09 1

Rod Making – Major Steps• Introduction
• Getting Started – Tapers, Construction & Other Design Considerations
• Initial Steps – Working with Raw Bamboo
• Flaming, Splitting and More Node Work
• Roughing, Heat Treat and Finish Planing
• Gluing
• Final Assembly and Hardware
• Guides, Wrapping and Finishing
• Bags, Tubes and other final items
12/02/09 2

All you ever wanted to Know . . .
• Started fishing in 1959 (age 8)
• Started Fly Fishing in 1969 (older)
• Started making bamboo rods in 1997 (older still)
• Started Brack Hill Tackle in 1998
12/02/09 3
• Celebrated 10th Anniversary in 2008 (very old)

12/02/09 4
Decisions, Decisions, Decisions . . .
• Squares, Pentas and Hexes• 1,2,3 or More Pieces• What’s up with Tapers?
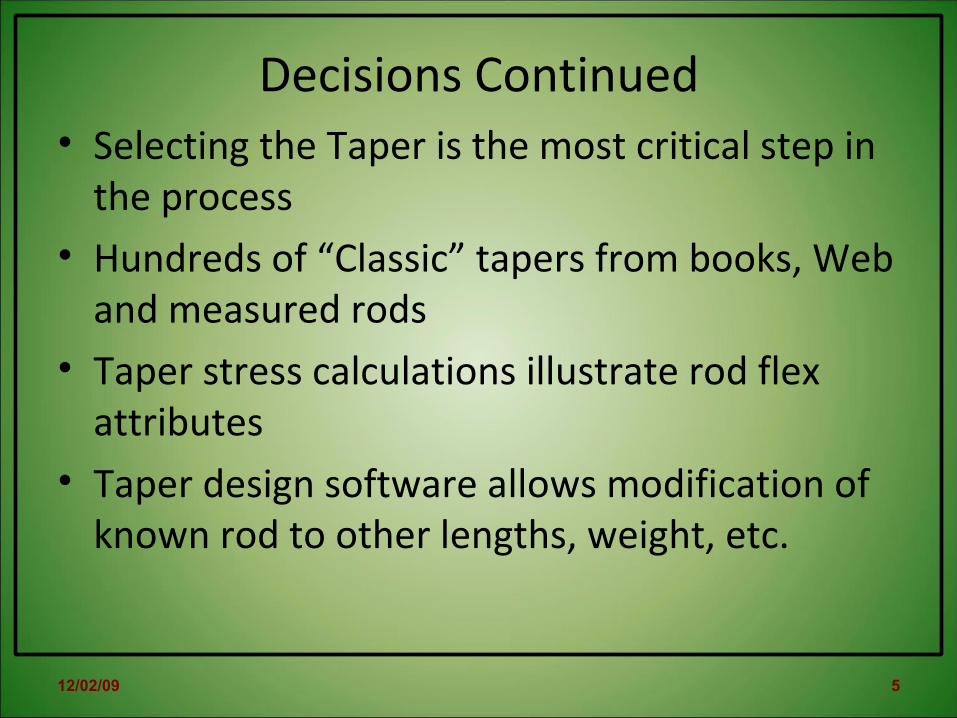
• Selecting the Taper is the most critical step in the process
• Hundreds of “Classic” tapers from books, Web and measured rods
• Taper stress calculations illustrate rod flex attributes
• Taper design software allows modification of known rod to other lengths, weight, etc.
12/02/09 5
Decisions Continued
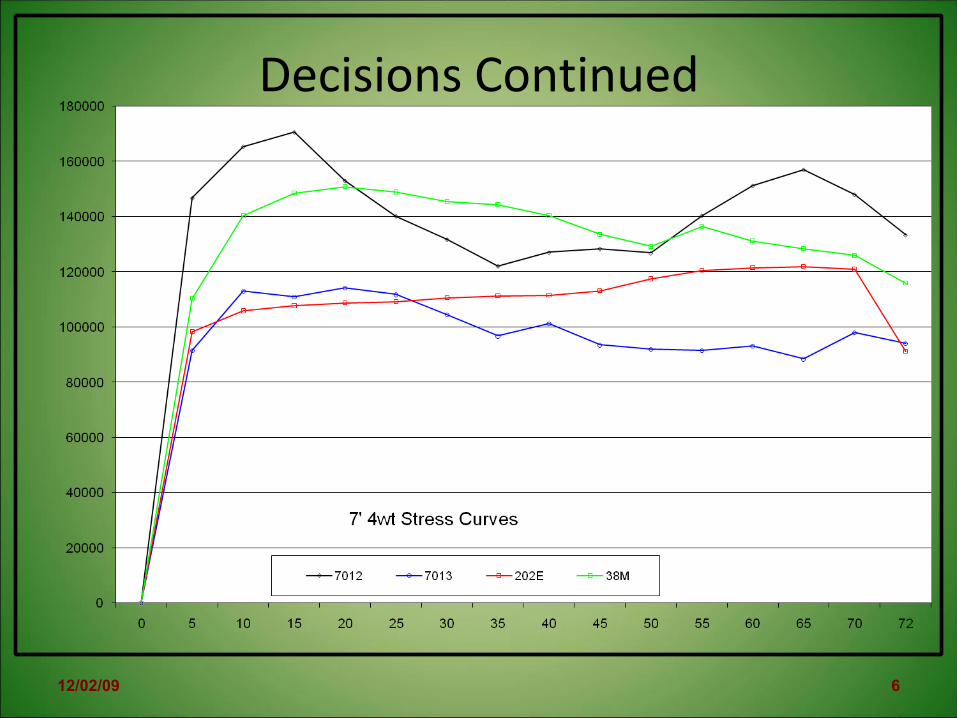
Decisions Continued
12/02/09 6

Intial Steps – Working Bamboo
12/02/09 7

12/02/09 8
• Saw 12’ culm into 2 halves• Top used for Tips, bottom
for Butts and Mids• Remove nodes at each end
when possible• Split each half into quarters• Dress nodes prior to Flaming• Nodeless – No thanks!
Intial Steps (Continued)

12/02/09 9
Intial Steps (Continued)
Node and Diaphragm
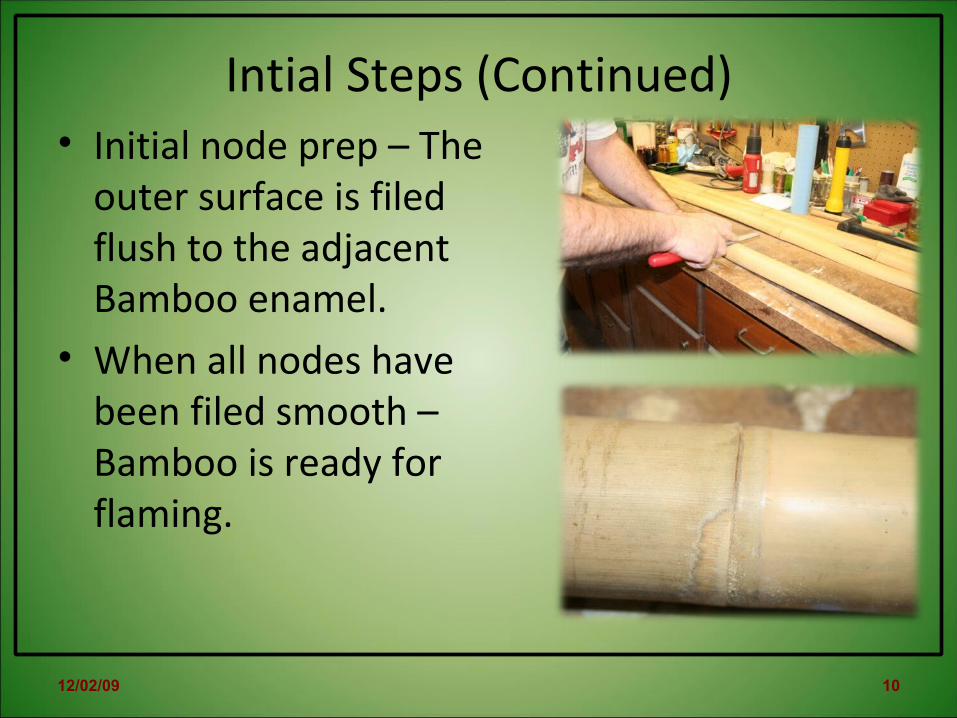
• Initial node prep – The outer surface is filed flush to the adjacent Bamboo enamel.
• When all nodes have been filed smooth – Bamboo is ready for flaming.
12/02/09 10
Intial Steps (Continued)
Flaming, Splitting, More Node Work
12/02/09 11
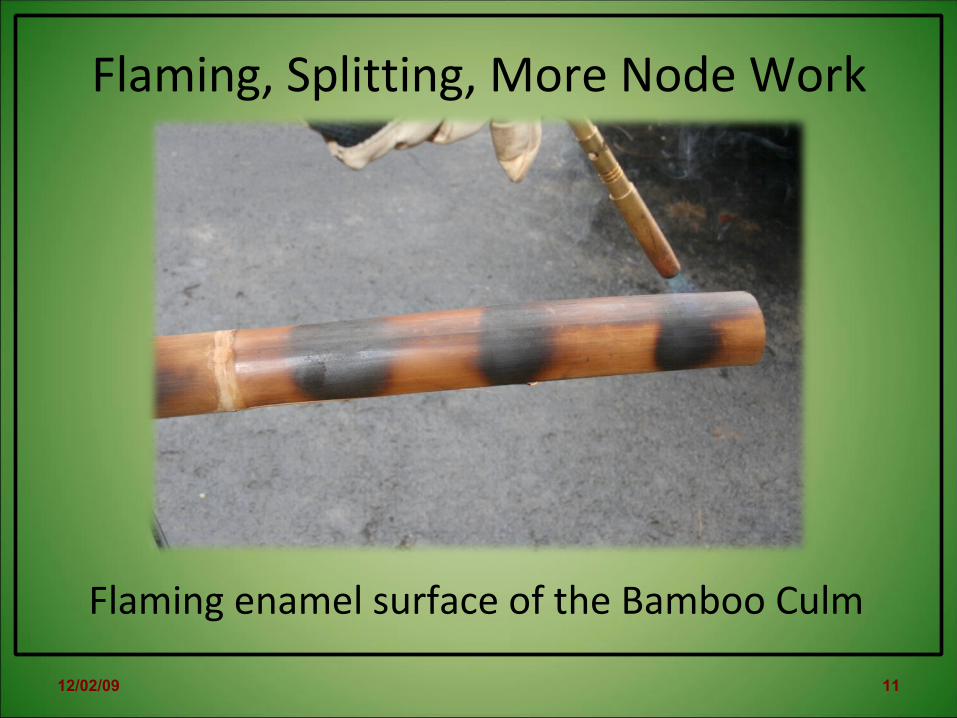
Flaming enamel surface of the Bamboo Culm
12/02/09 12
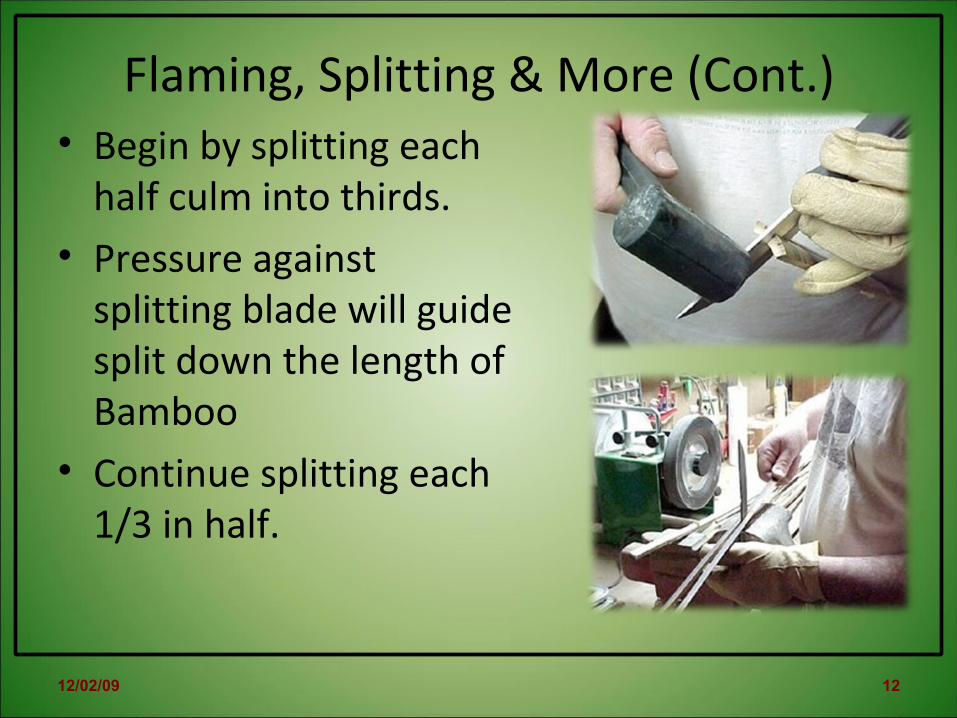
Flaming, Splitting & More (Cont.)• Begin by splitting each
half culm into thirds.• Pressure against
splitting blade will guide split down the length of Bamboo
• Continue splitting each 1/3 in half.
12/02/09 13
Flaming, Splitting & More (Cont.)
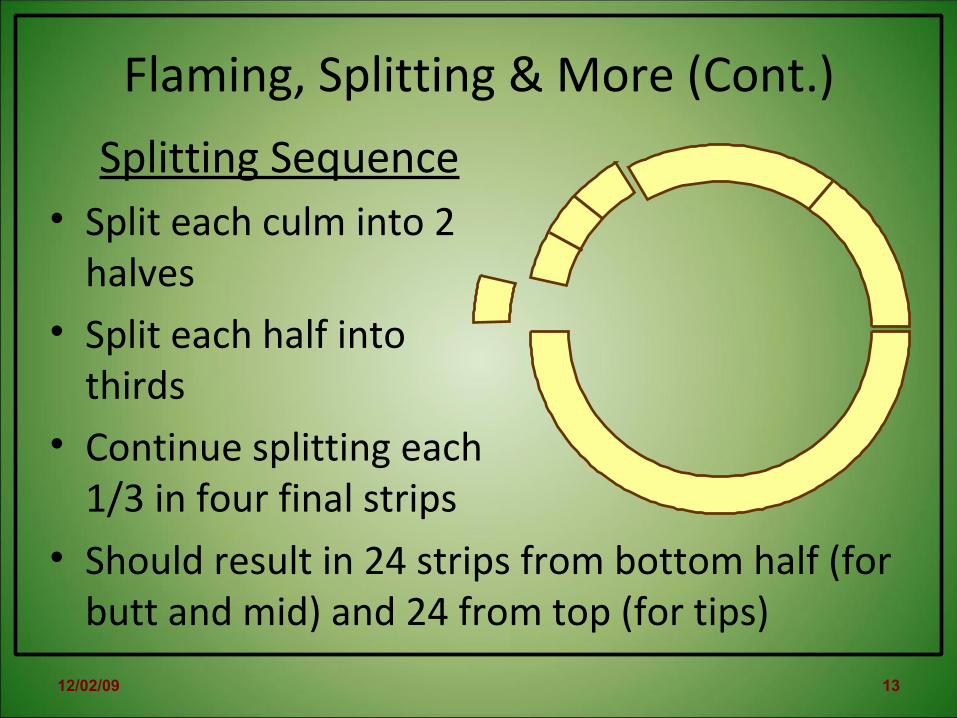
Splitting Sequence• Split each culm into 2
halves• Split each half into
thirds• Continue splitting each
1/3 in four final strips• Should result in 24 strips from bottom half (for
butt and mid) and 24 from top (for tips)

Flaming, Splitting & More (Cont.)
Strip 1
Strip 2
Strip 3
Strip 4
Strip 5
Strip 6
Strip 1
Strip 2
Strip 3
Strip 4
Strip 5
Strip 6
Node Stagger Illustration

• After stagger is arranged, sections are trimmed to rough length.
• Nodes are now “pressed” to align power fibers with adjacent fibers in the strip.
12/02/09 15
Flaming, Splitting & More (Cont.)

• Rough planing (or milling) processes strips into 60° equilateral triangular sections
• Two forms are required• Roughing also reduces the sections to a
consistent size – ready to finish• After roughing, strips are bound in sequence
and heat treated
12/02/09 16
Roughing, Heat Treat and Finish Planing

Roughing, Heat Treat and Finish (continued)
12/02/09 17
End view of 1st Rough Form

12/02/09 18
• End view of first rough form used to cut one 30° angle with Stanley 9 1/2 block plane
• End view of second rough form used to complete triangle cross section with Record Low-Angle block plane
Roughing, Heat Treat and Finish (continued)
12/02/09 19
Roughing, Heat Treat and Finish (continued)

12/02/09 20
Roughing, Heat Treat and Finish (continued)

12/02/09 21
Roughing, Heat Treat and Finish (continued)
12/02/09 22
Roughing, Heat Treat and Finish (continued)
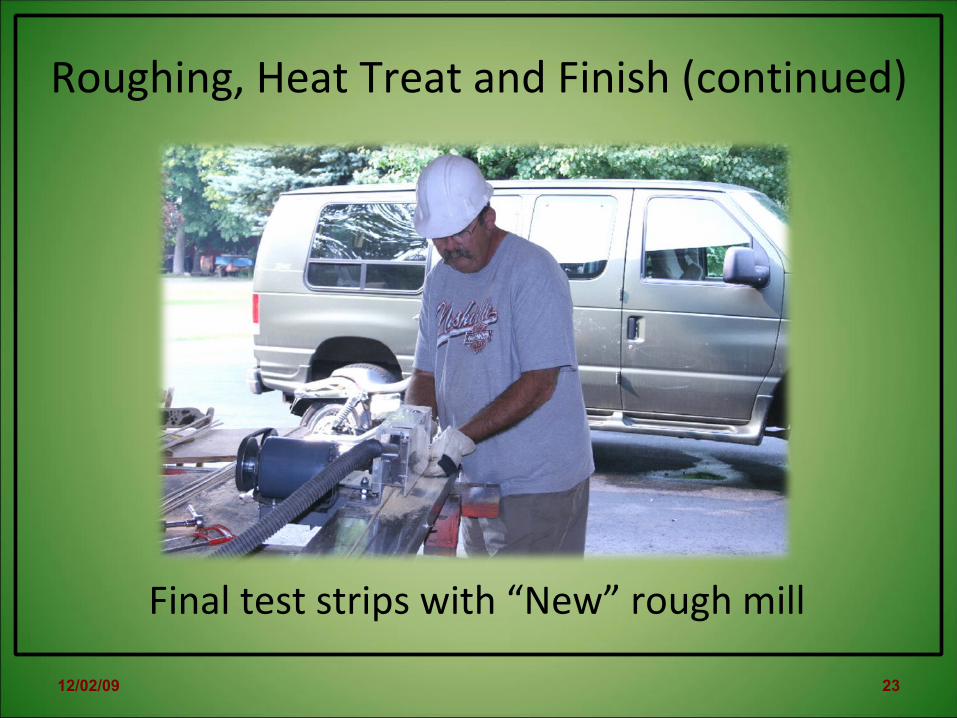
12/02/09 23
Final test strips with “New” rough mill
Roughing, Heat Treat and Finish (continued)

• After heat treat cycle, adjustable steel forms are set to required taper dimensions
• Finish plane and scraper used to cut strips to final size
• Block plane is used to remove material to within .020” of the form surface
• Scraper, set to remove .001” chip is used to finish strip flush with form surface
12/02/09 24
Roughing, Heat Treat and Finish (continued)
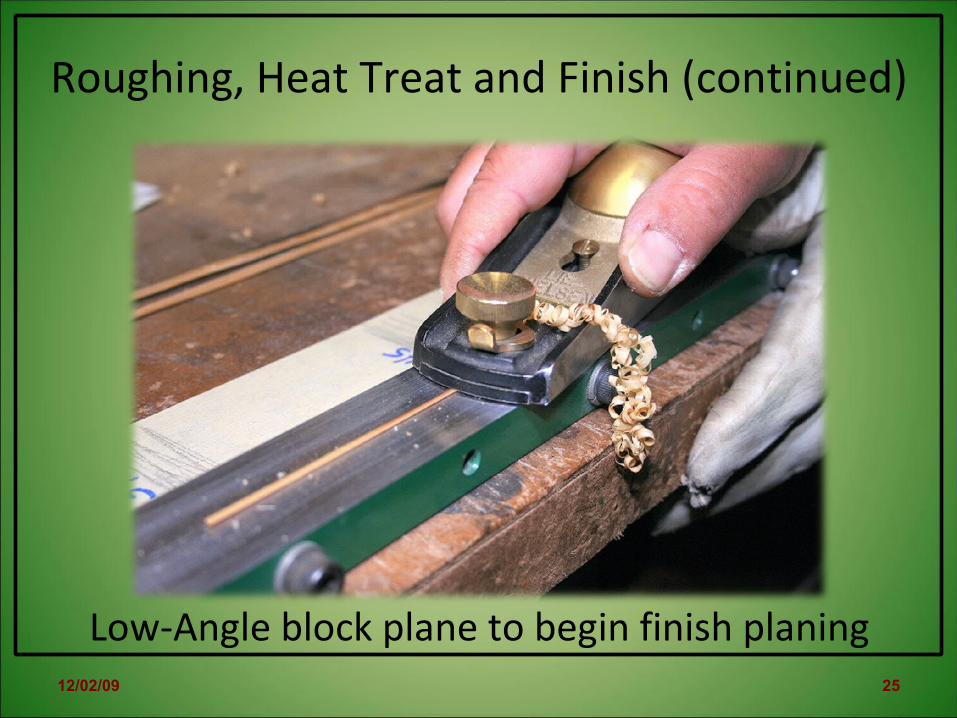
12/02/09 25
Low-Angle block plane to begin finish planing
Roughing, Heat Treat and Finish (continued)

12/02/09 26
Scraper to complete finish planing
Roughing, Heat Treat and Finish (continued)

12/02/09 27
• Block plane vs. Scraper shavings• Finished tip strip – typically .035” or thinner
than a slightly worn Roosevelt dime
Roughing, Heat Treat and Finish (continued)

The Glue Job
12/02/09 28
All 3 sections cleaned, taped and ready to glue

The Glue Job• After all strips are finished planed, they are
cleaned, arranged in the proper sequence and taped together before gluing
• Nyatex Epoxy is used – applied liberally (not by Hillary) worked into the bamboo surfaces
• Strips are bound again, straightened and allowed to cure for 24 hours
• Final heat treat sets epoxy permanently!
12/02/09 29

The Glue Job
12/02/09 30
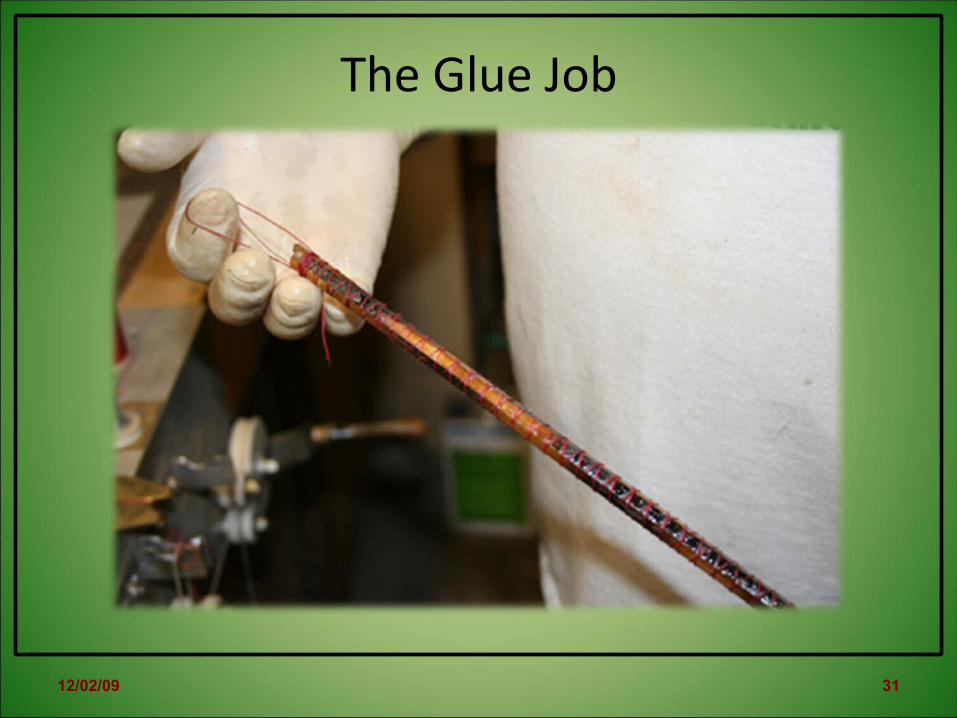
The Glue Job
12/02/09 31

Final Assembly & Hardware
12/02/09 32
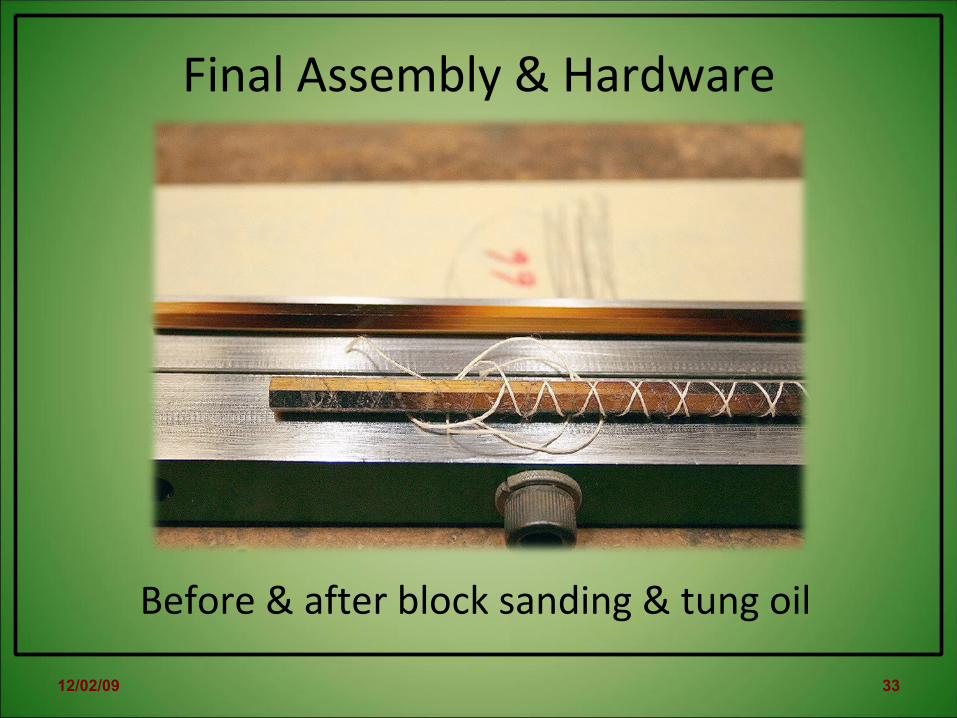
• Several steps now required to assemble rod hardware
• After the epoxy is heat cured, the binding thread is removed and the sections are block sanded to remove glue and enamel surface
• The ferrules are prepped and rod sections dressed to accept ferrules
• The reel seat and grip area is cleaned and prepped
Final Assembly & Hardware
12/02/09 33
Before & after block sanding & tung oil
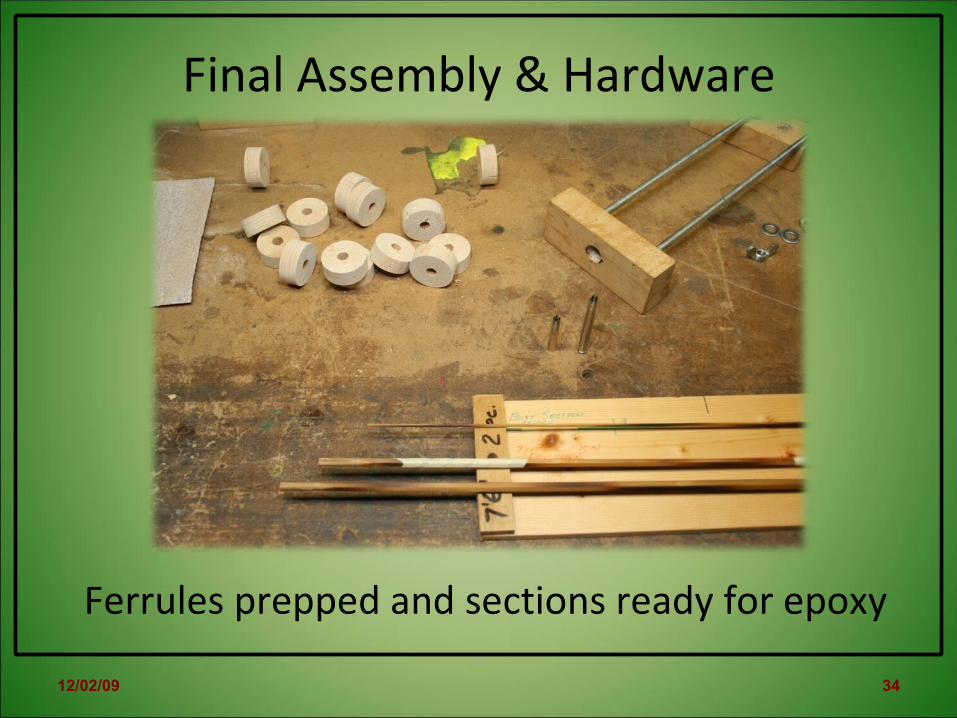
Final Assembly & Hardware
12/02/09 34
Ferrules prepped and sections ready for epoxy

Final Assembly & Hardware
12/02/09 35

Final Assembly & Hardware
12/02/09 36
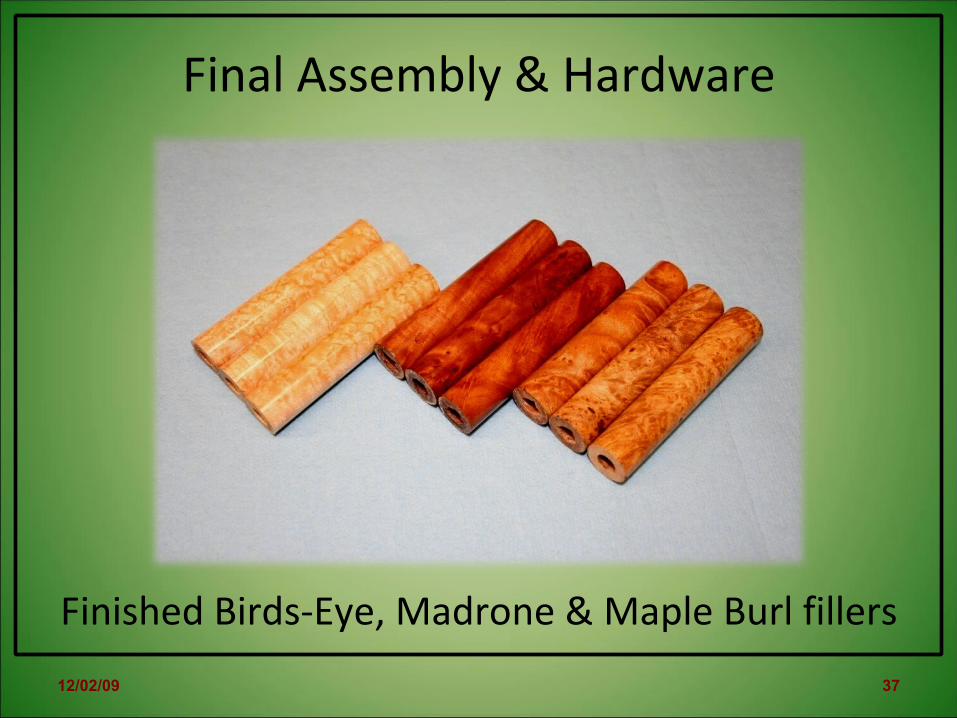
• Walnut Burl slab used for turning reel seat fillers.
Final Assembly & Hardware
12/02/09 37
Finished Birds-Eye, Madrone & Maple Burl fillers

Final Assembly & Hardware
12/02/09 38

Guides, Wrapping and Varnish
12/02/09 39
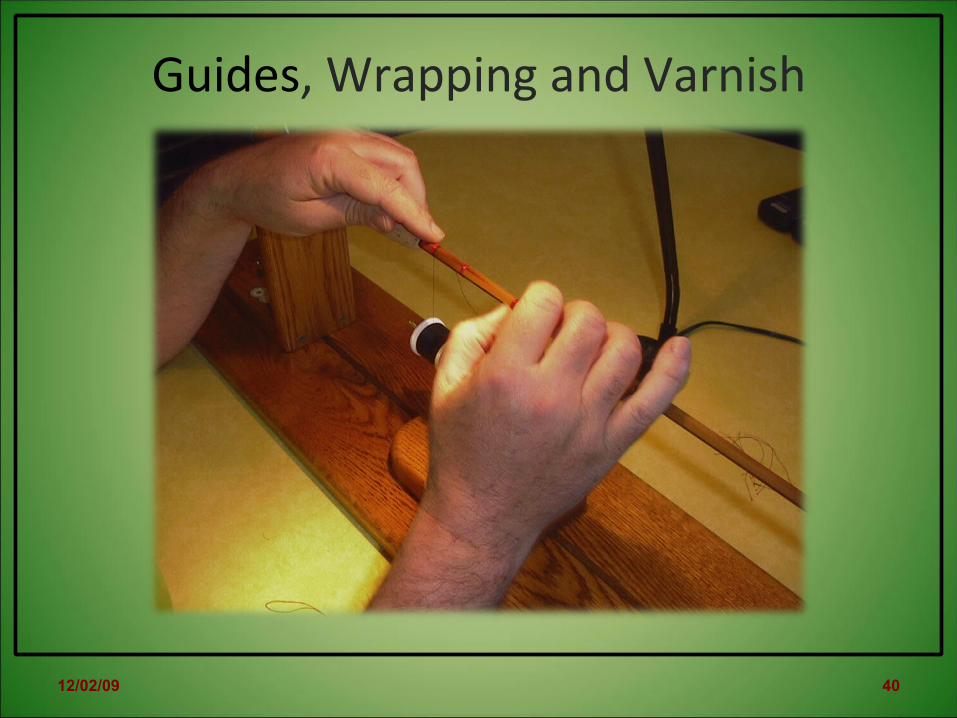
• Now very close to completing the rod, it’s time to wrap & finish guides and varnish the completed fly rod
• Silk thread used for a smooth, fine finish• Hard Chrome snake guides in Bright or Bronze• Mildrum Carballoy or Agate Strippers• Epifane spar varnish in a dip tube for final high
gloss finish
Guides, Wrapping and Varnish
12/02/09 40
Guides, Wrapping and Varnish
12/02/09 41
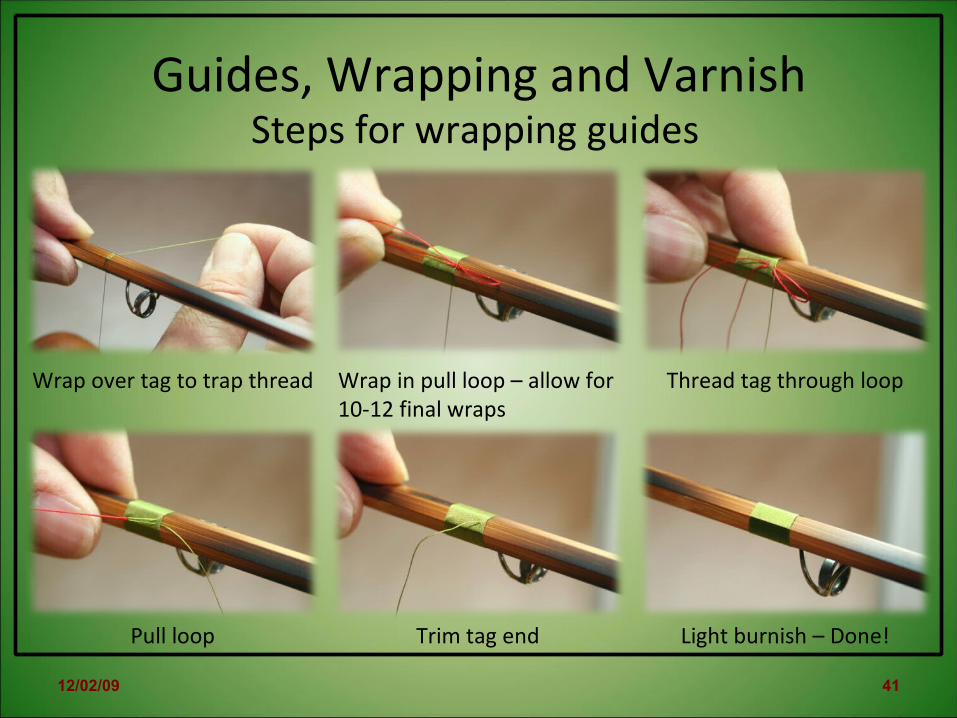
Steps for wrapping guides
Wrap over tag to trap thread Wrap in pull loop – allow for10-12 final wraps
Thread tag through loop
Pull loop Trim tag end Light burnish – Done!

Guides, Wrapping and Varnish
12/02/09 42
• Signature wrap is used to finish front of grip – open loops represent line weight
• Finish wrap to secure ferrule tabs

Guides, Wrapping and Varnish
12/02/09 43
Classic colors of Pearsall’s Gossamer Silk Thread

Guides, Wrapping and Varnish
12/02/09 44
Variety of Golden Witch Agate & Jasper Strippers
Guides, Wrapping and Varnish
12/02/09 45
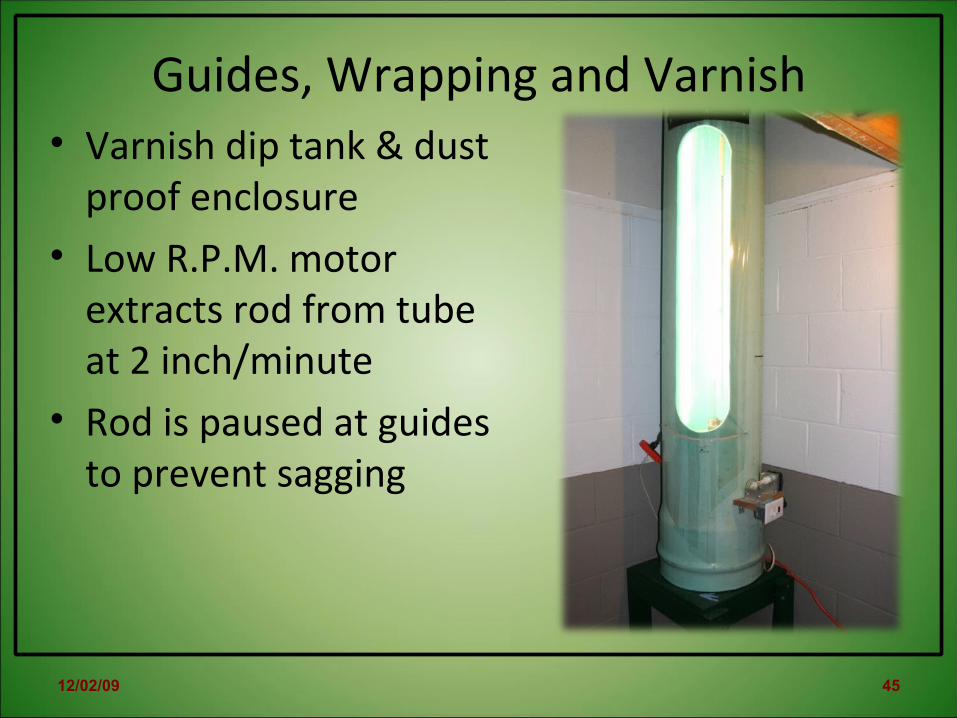
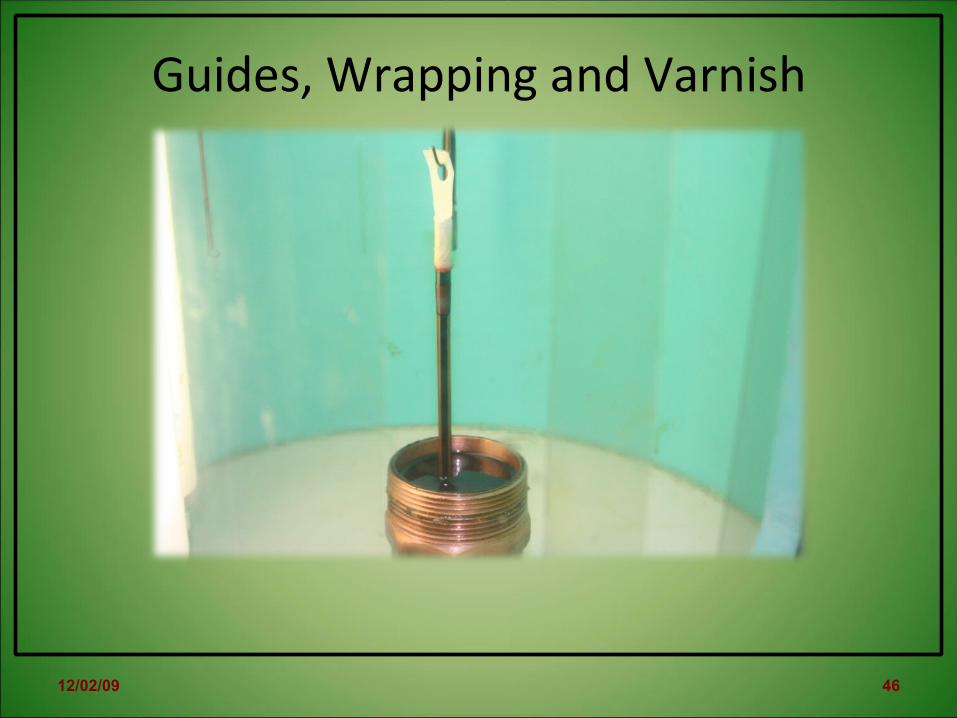
• Varnish dip tank & dust proof enclosure
• Low R.P.M. motor extracts rod from tube at 2 inch/minute
• Rod is paused at guides to prevent sagging
Guides, Wrapping and Varnish
12/02/09 46

Bags, Tubes and Final Items
12/02/09 47
Soft cotton rod bag hand sewn for each rod

Bags, Tubes and Final Items
12/02/09 48

Bags, Tubes and Final Items
12/02/09 49
Powder coated tube, vent seal cap & fleece sock

The End
12/02/09 50
If I used a Bamboo Rod, I’d be holding the big Rainbow !