Embed Size (px)
Citation preview

5/31/2011
Consuming Ordnance Survey Open Data with Open
Source Software
Matt Walker and Jo Cook

The Grand PlanTo go from this:

The Grand PlanAnd this:

To this:
The Grand Plan

The Grand Plan
In 2 Hours!

Running Order
1. Download Ordnance Survey Open Data and Mastermap Sample
2. Prepare it for use with open source tools and some clever python scripts
3. Check it all works4. Display on a pretty openlayers map
Simples!
Getting Started
Boot the liveDVD and login with the username user and the password user
Welcome to XUbuntu!
Click on the "Home" folder on your desktop to see where your files will be stored
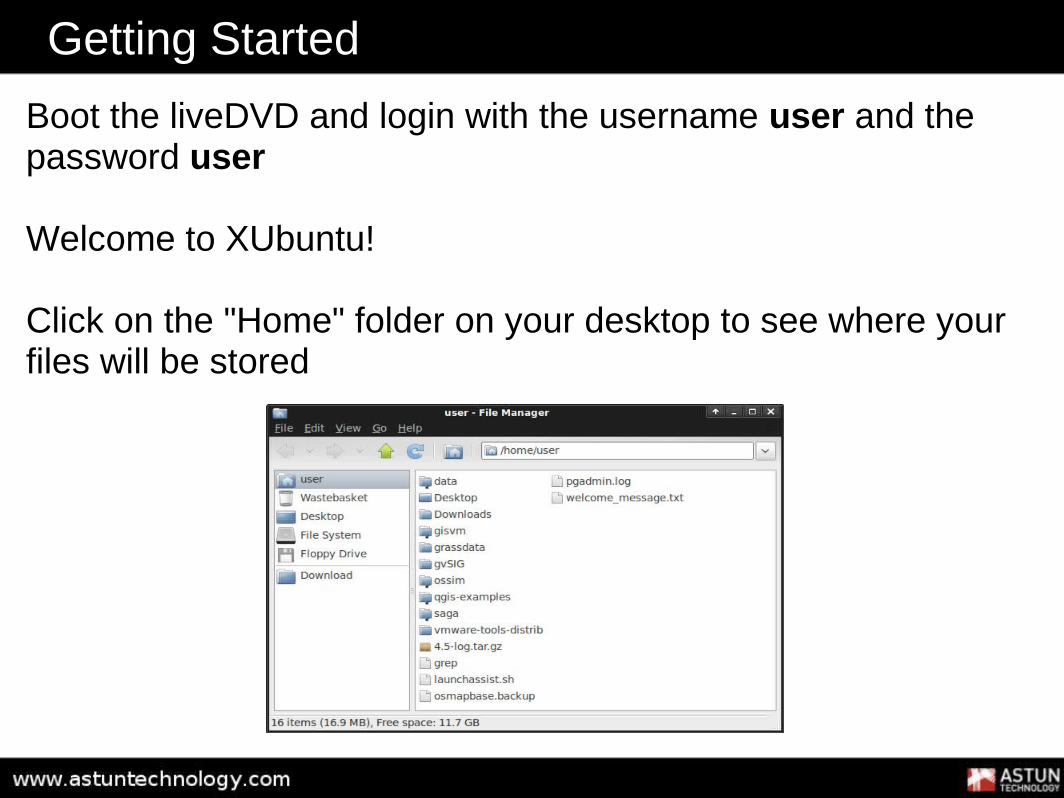
Getting Started
Change the keyboard settings from US to UK by right-clicking the US flag in the top-right corner of the screen and clicking the "Add" button next to "Keyboard Layouts". Expand "United Kingdom" and choose "Extended win-keys" and hit "OK".

Getting Started
We need to update one piece of software on the disk.
Open Applications (menu) -> System -> Synaptic Package Manager
Click the "reload" button to reload the list of available repositories.

Getting Started
In the "quick search" box, search for gdal-bin. We are looking for version 1.8.

Getting Started
Tick the box next to gdal-bin and choose "Mark for Upgrade". Click the "Apply" button and agree to the dialogue about installing additional packages.

Getting Started
First we need to get the data, and the scripts and tools that we'll use to work with it.
In firefox download into your "Downloads" folder:http://download.astuntechnology.com/public/Workshop2011.zip
Extract Workshop2011.zip by right-clicking it and choosing "open with archive manager", and save in the "Downloads" folder.

Getting Started
Then we need to download some sample mastermap data from the Ordnance Survey, as their license prevents us from distributing it.
In firefox, go to: http://www.ordnancesurvey.co.uk/oswebsite/products/try-now/sample-data.htmland download the OS MasterMap Topography Layer zip file
This will be saved in your "Downloads" folder. Right-click it and choose "Open with Archive Manager" and extract it to the folder:/home/user/Downloads/Workshop2011/Data/OS MasterMap

Getting Started
Check the permissions on both the Workshop2011 folder, the _mapserverconfig folder, and the .map files.
In File Manager, right-click the folder or file and choose "Properties". Choose the "Permissions" tab and ensure that it is set to read-only for the "Others" group.
If presented with a dialogue asking you to make these changes to sub-folders and files, agree to it.

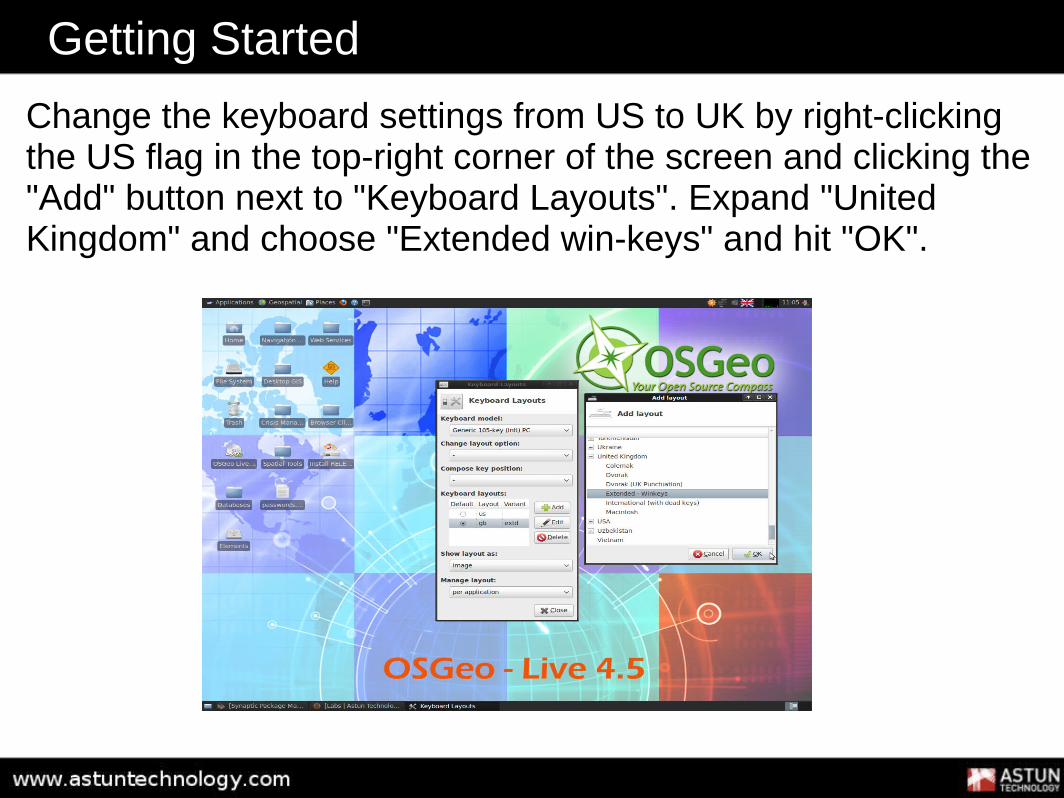
Creating the database
We are going to create a spatial database to hold the MasterMap and Vector-based Open Data.
Open pgadmin3 from Geospatial (menu) -> Databases -> PG Admin III and expand the "Servers" list in the left-hand window. Double-click on "localhost" as that represents the local computer.
Expand "localhost" and right-click on "Databases" to create a new database.
This should be called mapbaseThe owner should be userThe template should be template_postgis
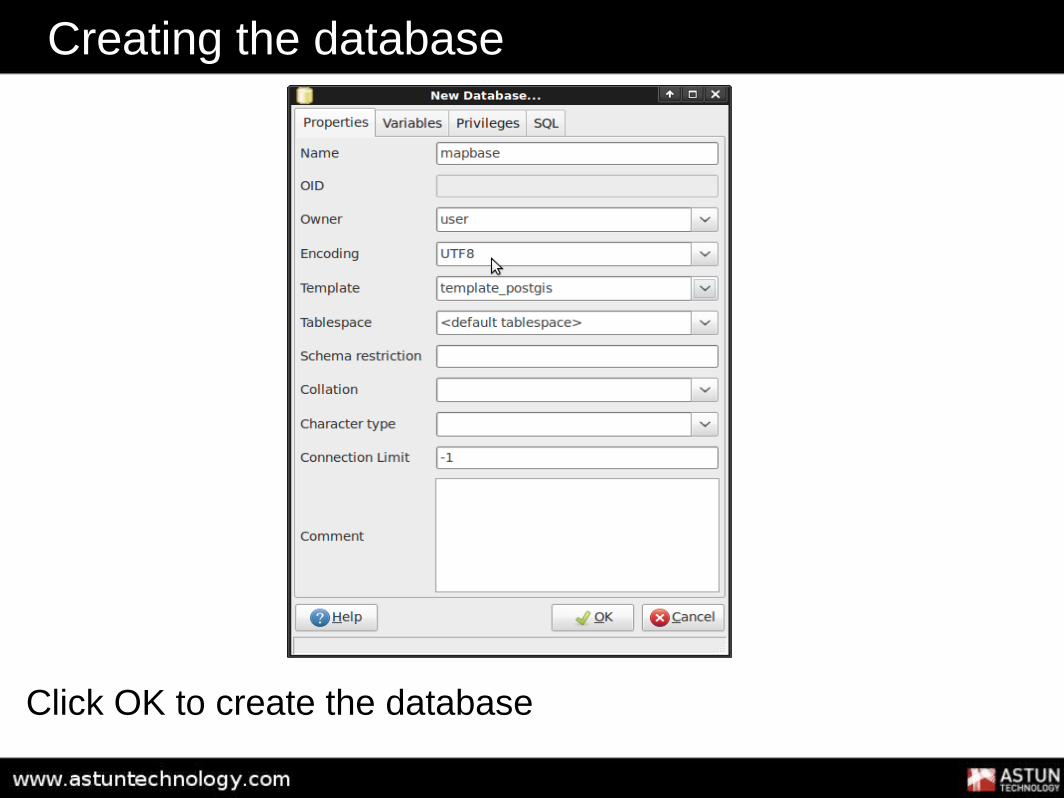
Creating the database
Click OK to create the database

Creating the database
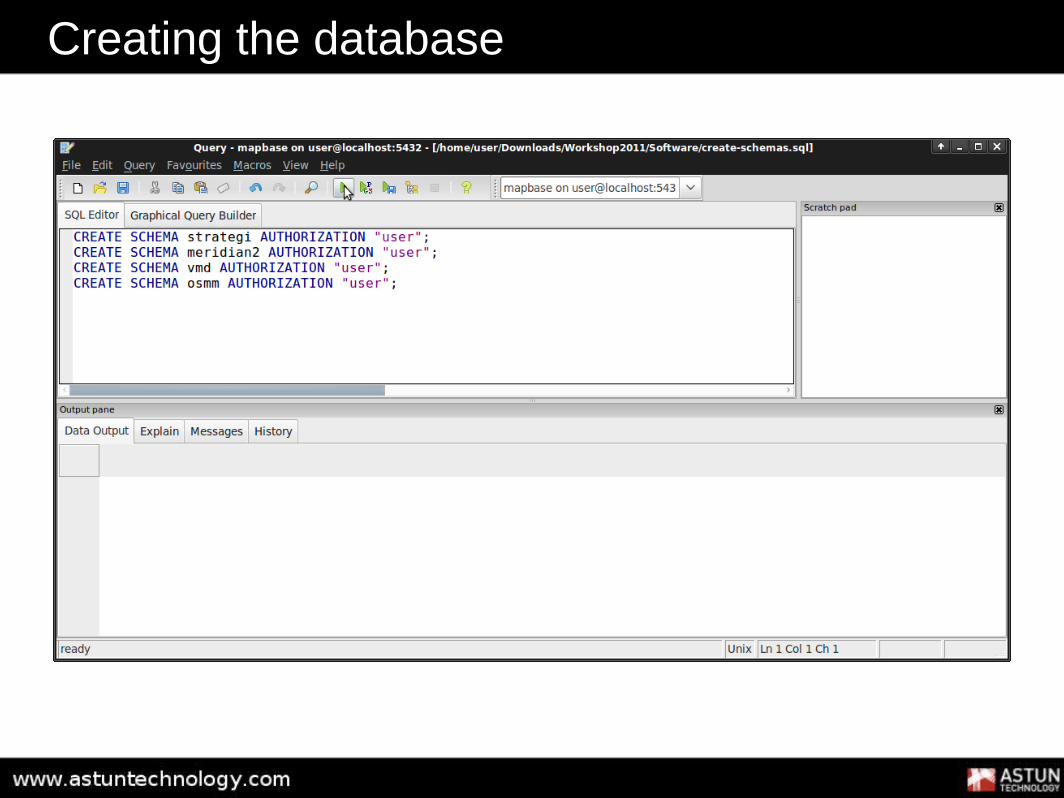
Next, we need to create some schemas in the database to hold the different types of data.
Select the SQL window, choose the "open file" dialog and then browse to the file:/home/user/Downloads/Workshop2011/Software/create-schemas.sql
Then click the "Execute Query" button to run the SQL
Creating the database

Loading the Ordnance Survey Open DataIn File Manager navigate to /home/user/Downloads/workshop2011/Software
Make the script load-os-opendata.sh executable by right clicking the file in File Manager and in the Permissions tab checking "Allow this file to run as a program" and click OK
Open a terminal window and type the following:
cd /home/user/Downloads/Workshop2011/Software ./load-os-opendata.sh
This might take a while... so we'll take a look at what data we've included:http://www.ordnancesurvey.co.uk/oswebsite/products/os-opendata.html

Loading the Ordnance Survey Open Data
Loading the Ordnance Survey Mastermap Data
This requires the same process as before, so navigate to /home/user/Downloads/workshop2011/Software
Make the script load-os-mastermap.sh executable by right clicking the file in File Manager and in the Permissions tab checking "Allow this file to run as a program" and click OK
Open a terminal window and type the following:
cd /home/user/Downloads/Workshop2011/Software ./load-os-mastermap.sh
This will also take a while... so we'll take a look at the tools we're using at http://www.gdal.org/

Raster Data Preparation
As downloaded from the Ordnance Survey, the raster data needs some preparation to make it useable in mapserver (or any gis).
Firstly, in File Manager, navigate to /home/user/Downloads/Workshop2011/Data and for each of the folders below, navigate into the named folder and move the georeferencing files, or .tfw files from ./data/georeferencing files/tfw to ./data, where the tifs are.
Do this for each of the following folders:• 1 250 000 Scale Colour Raster• MiniScale• OS Street View• OS VectorMap District (Raster)

Raster Data Preparation
To make the multi-tile raster datasets, such as OS VectorMap District (Raster) and OS Street View work more efficiently in mapserver, we need to create a tileindex for each dataset.
This is a shapefile of polygons representing the boundaries of each raster tile, with an attribute location recording the relative path to the tile.

Raster Data Preparation
In File Manager, navigate to /home/user/Downloads/Workshop2011, right-click data and choose "open terminal here".
Type:gdaltindex "OS VectorMap District (Raster)/data/osvectormapdistrict.shp" "OS VectorMap District (Raster)/data/"*.tif
Repeat for StreetView:gdaltindex "OS Street View/data/osstreetview.shp" "OS Street View/data/"*.tif
Top tip: use the tab key to autocomplete directory and file names at the command line
Testing your map fileYou can view your map file directly in a web browser using the following URL:
http://localhost/cgi-bin/mapserv?map=/home/user/Downloads/Workshop2011/_MapserverConfig/OSOpendata.map&mode=map&layers=[layername]
Substitute the name of a layer from your OSOpendata.map file (or the included map files)- remembering that it is case sensitive.
Recall that some layers have a minimum and maximum scale at which they display. You can comment out these in the map file for testing purposes, using the # symbol.
OH NO! It's all gone wrong!
Errors will be shown in the browser window or in the log files in /var/www/temp.

And finally...
Once the map file is working correctly, it's time to see the results of all your hard work in a shiny OpenLayers map. Open a command prompt and type the following: sudo cp /home/user/Downloads/Workshop2011/Software/OpenLayers/opendatamap.htm /var/www/opendatamap.htm Finally, view the map in the browser at http://localhost/opendatamap.htm
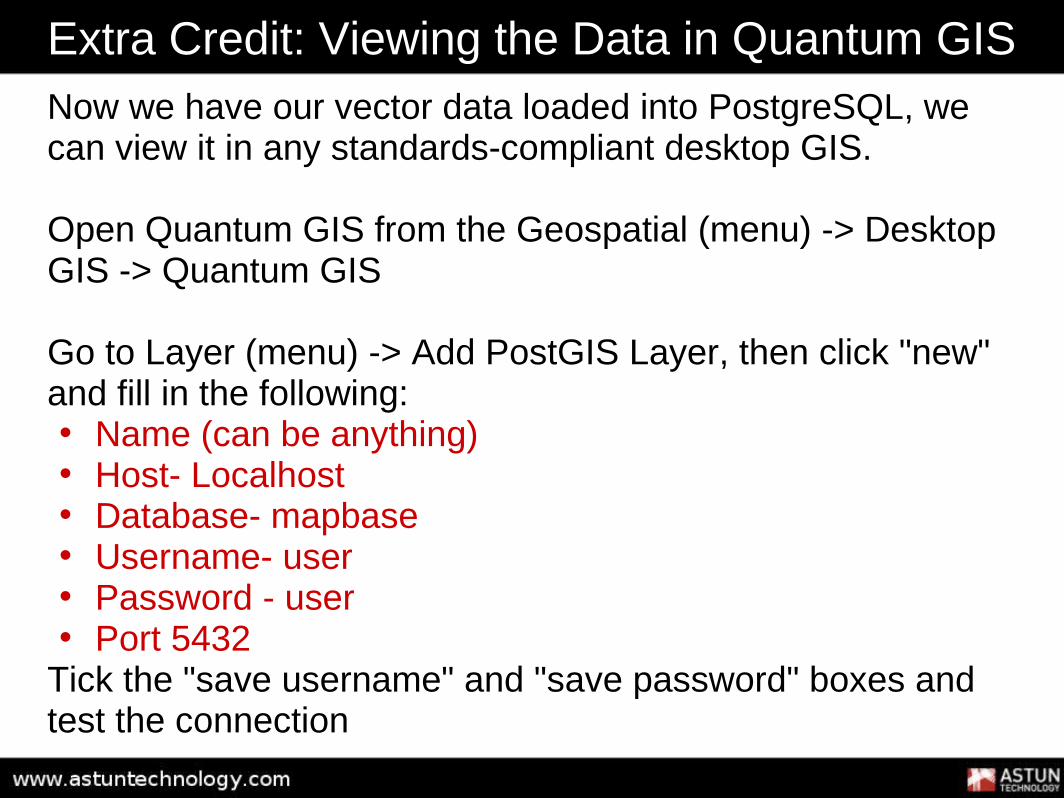
Extra Credit: Viewing the Data in Quantum GISNow we have our vector data loaded into PostgreSQL, we can view it in any standards-compliant desktop GIS.
Open Quantum GIS from the Geospatial (menu) -> Desktop GIS -> Quantum GIS
Go to Layer (menu) -> Add PostGIS Layer, then click "new" and fill in the following:• Name (can be anything)• Host- Localhost• Database- mapbase• Username- user• Password - user• Port 5432
Tick the "save username" and "save password" boxes and test the connection

Viewing the Vector Data in Quantum GIS
Viewing the Vector Data in Quantum GIS
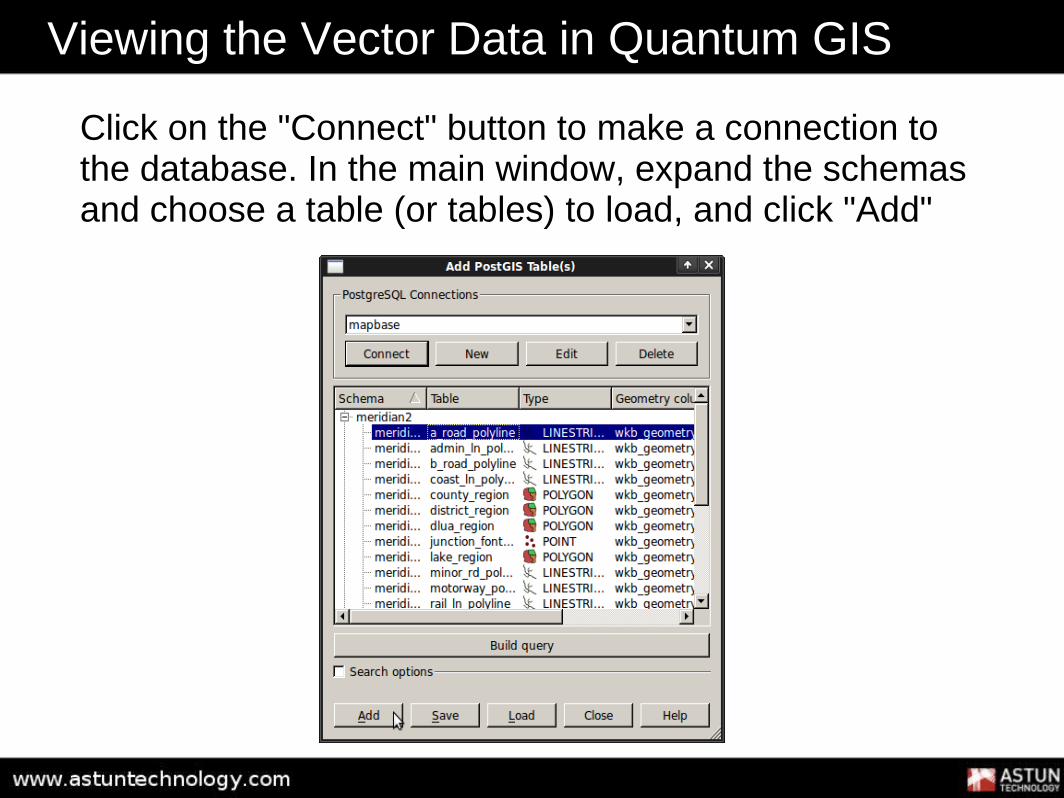
Click on the "Connect" button to make a connection to the database. In the main window, expand the schemas and choose a table (or tables) to load, and click "Add"

Viewing the WMS in Quantum GIS
We can view our styled data as image data (not clickable) in Quantum GIS.
Choose Layer (menu) -> Add WMS Layer. In the Layers tab, click "New" and give the server a name (like mapserver) and put in the following address as the URL:
http://localhost/cgi-bin/mapserv?map=/home/user/Downloads/Workshop2011/_MapserverConfig/OSOpendata.map
Leave the username and password blank, and click "OK".

Viewing the WMS in Quantum GIS

Viewing the WMS in Quantum GIS
Click "Connect" to see the available layer groups from your map file. Expand these to see the available layers, and choose "Add" to add these to your map.

We're Done!
Yay!

This would not have been possible without...
OpenLayers

5/31/2011
Thank You!
Matt Walker and Jo Cook