Embed Size (px)
Citation preview

2015.09.10 (Thu)
Ansible 入門 #01 (初心者向け)CyberZ 廣瀬 太郎
Ansible説明会1. Ansibleとは
2. Ansibleの特徴
3. Ansibleの用語解説
※この資料は以下のようなAnsible初心者を対象としています
✤ Ansibleを触ってみたい、導入したいと考えている方 ✤ サーバー構築とかやってる方 ✤ サーバーデプロイを効率化したい方 ✤ Chefは辛い方
✤ Ansibleって響きが気になる方

1. Ansibleとは
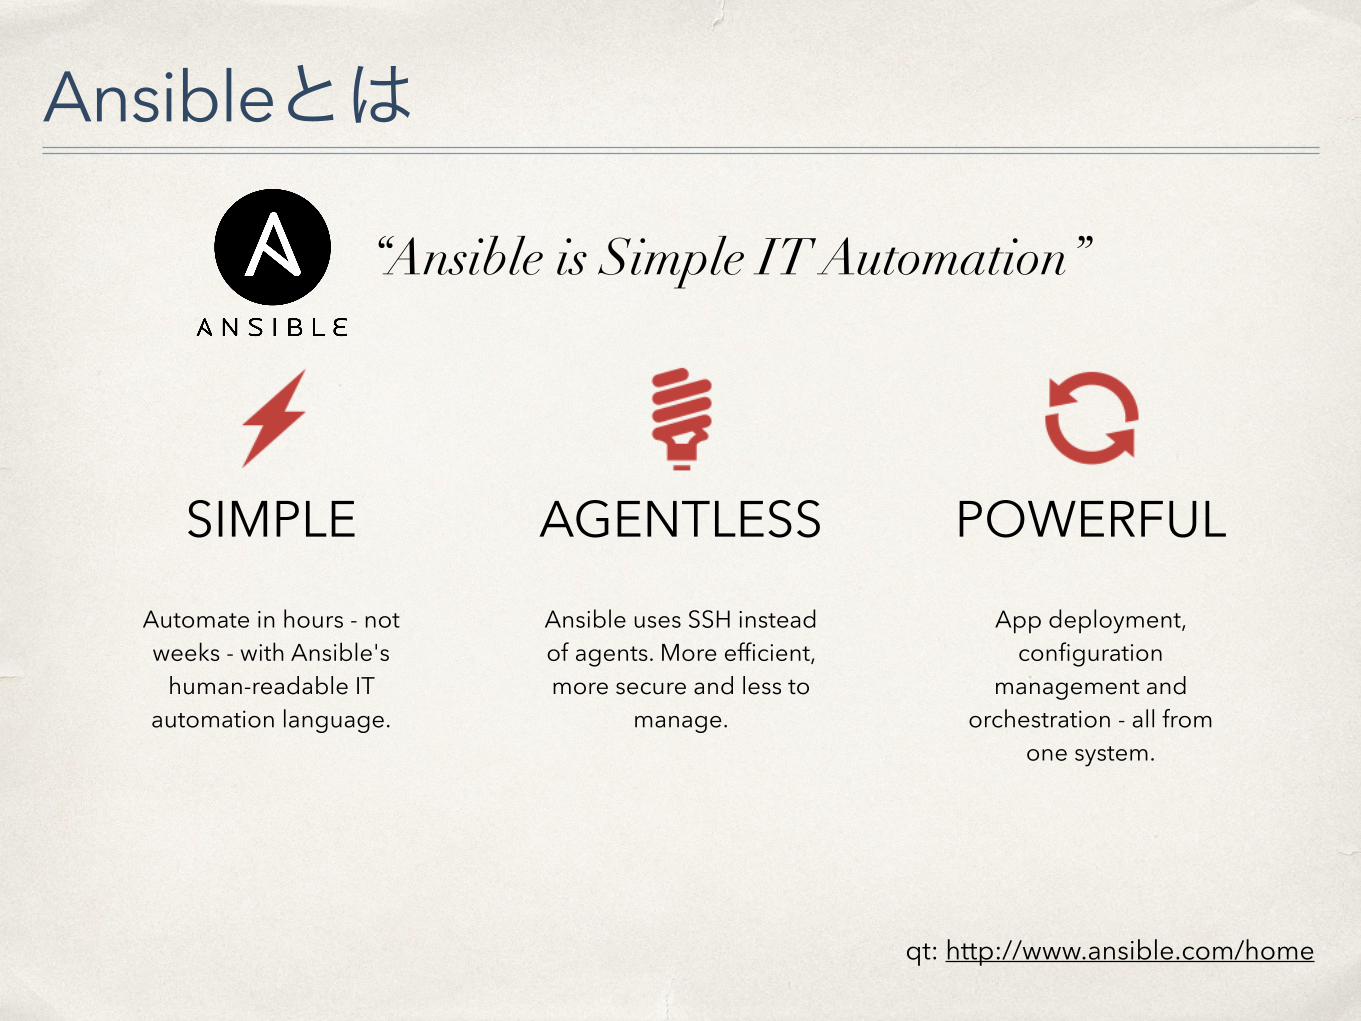
Ansibleとは
“Ansible is Simple IT Automation”
SIMPLE AGENTLESS POWERFUL
Automate in hours - not weeks - with Ansible's
human-readable IT automation language.
Ansible uses SSH instead of agents. More efficient, more secure and less to
manage.
App deployment, configuration
management and orchestration - all from
one system.
qt: http://www.ansible.com/home

なぜやるの? 1) 構成管理✤ ドキュメントが古い
✤ 更新も面倒
✤ Snapshot, AMIが秘伝のタレ化
✤ 何が動いているのか分からない
✤ まっさらなOSから環境構築できない
✤ このサーバは「どうあるべき」なのか

なぜやるの? 2) 自動化
✤ 加速するビジネス
✤ 初動はできるだけ早く
✤ 付加価値増に集中したい
✤ 定常業務は低コストで
✤ アプリケーションデプロイ
✤ 脆弱性対応

世にあるツール
Fabric
Configuration Orchestration

世にあるツール
Fabric
Configuration Orchestration

世にあるツール
Fabric
Configuration Orchestration

2. Ansibleの特徴
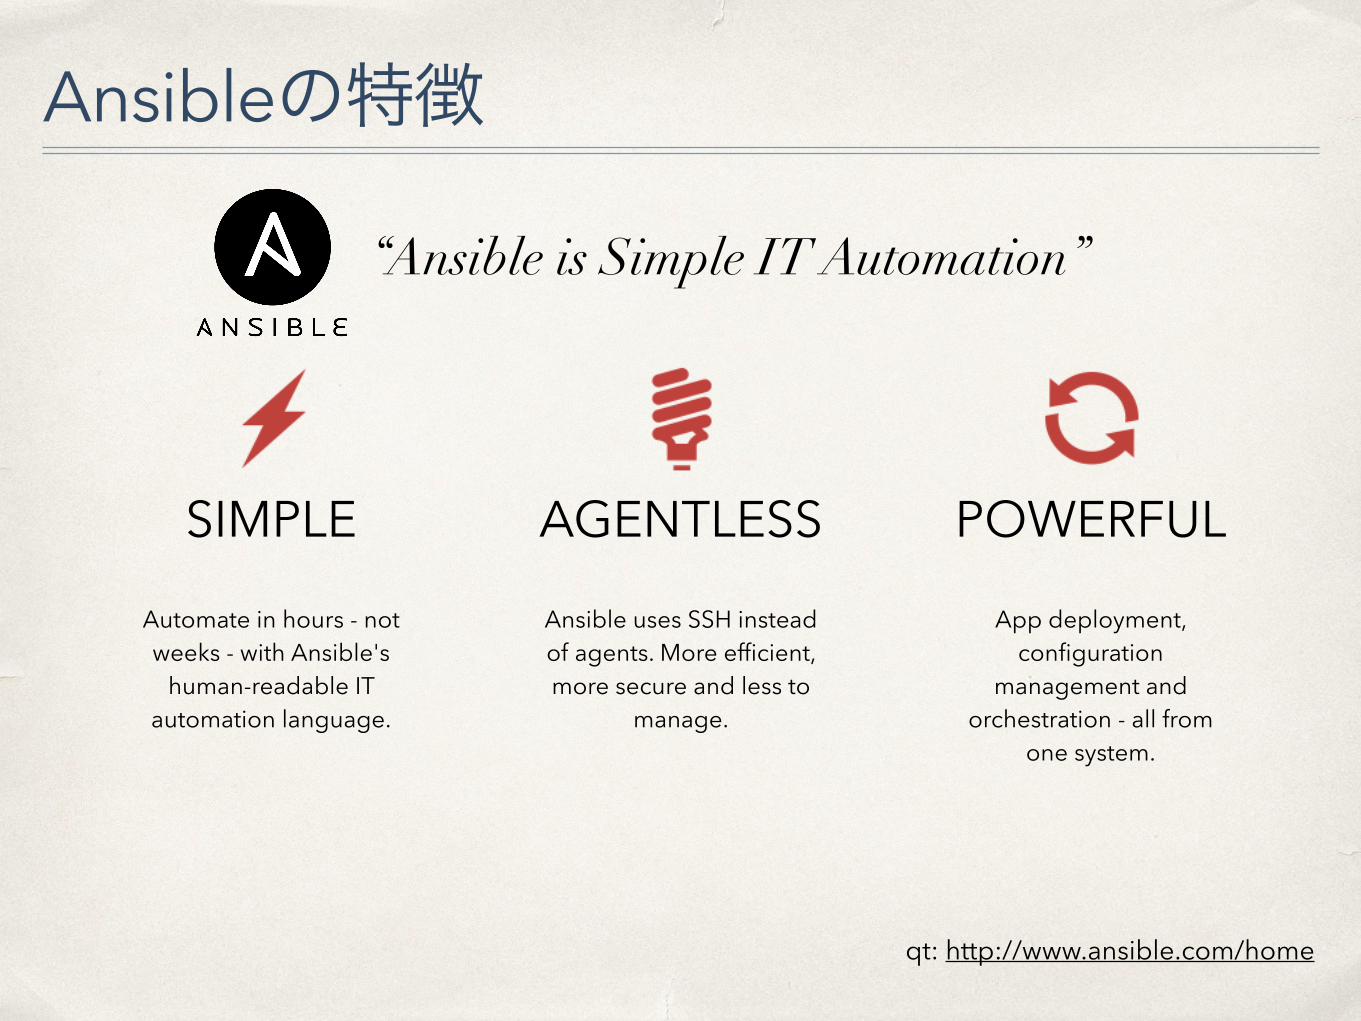
Ansibleの特徴
“Ansible is Simple IT Automation”
SIMPLE AGENTLESS POWERFUL
Automate in hours - not weeks - with Ansible's
human-readable IT automation language.
Ansible uses SSH instead of agents. More efficient, more secure and less to
manage.
App deployment, configuration
management and orchestration - all from
one system.
qt: http://www.ansible.com/home

Ansibleの特徴
“Ansible is Simple IT Automation”
✤ 定義はYAML(≒設定ファイル) ✤ プログラムですら無いため学習障壁が少ない
SIMPLE
Automate in hours - not weeks - with Ansible's
human-readable IT automation language.
--- - hosts: webservers tasks: - name: yum install nginx yum: pkg=nginx state=installed

Ansibleの特徴
“Ansible is Simple IT Automation”
✤ agentインストール不要 ✤ 運用管理サーバでansible*コマンドが使えればOK
✤ Pythonが入っていれば導入可能
✤ 専用のserverやagentの運用管理不要 ✤ 常駐するプロセスはなし
AGENTLESS
Ansible uses SSH instead of agents. More efficient, more secure and less to
manage.

Ansibleの特徴
“Ansible is Simple IT Automation”
✤ 構成管理だけでなくOrchestrationとしても使えるので、ちょっとした操作や調査の支援ツールにもなる
✤ 高機能だが、スモールスタートで始めることも可能
POWERFUL
App deployment, configuration
management and orchestration - all from
one system.
柔軟な実行方法✤ 指定したタイミングで実行 ✤ 複数並列実行 ✤ 必要な処理だけをone-linerでadhocに実行
✤ Push型だけでなくPull型もサポート (ansible-pull)

Ansibleの特徴
“Ansible is Simple IT Automation”
冪等性✤ 記載したDSLの定義の状態に収束してくれる ✤ ある操作を何回行っても結果は同じ ✤ 変更がなければ処理をスキップする
以下がインストールされていること ・nginx
・java
・zabbix_agentd サービスが起動していること ・nginx
・zabbix_agentd

3. Ansibleの用語解説

主なコマンド✤ ansible
✤ Adhocに実行する
✤ ansible-playbook ✤ 作成した定義 (playbook) を実行する
# コマンド実行例
$ ansible -m 'ping' webservers ansible-test02 | success >> { "changed": false, "ping": "pong" }
# dry-run $ ansible-playbook hands-on00.yml --check --diff … PLAY RECAP ******************************************************************** ansible-test02 : ok=2 changed=0 unreachable=0 failed=0
# execute $ ansible-playbook hands-on00.yml … PLAY RECAP ******************************************************************** ansible-test02 : ok=2 changed=0 unreachable=0 failed=0

Inventory HostAnsibleで管理するホストをini形式で記載する
✤ ホストのグルーピングが可能
# 例: example.com サイトをAnsibleで管理する
mail.example.com [webservers] foo.example.com bar.example.com
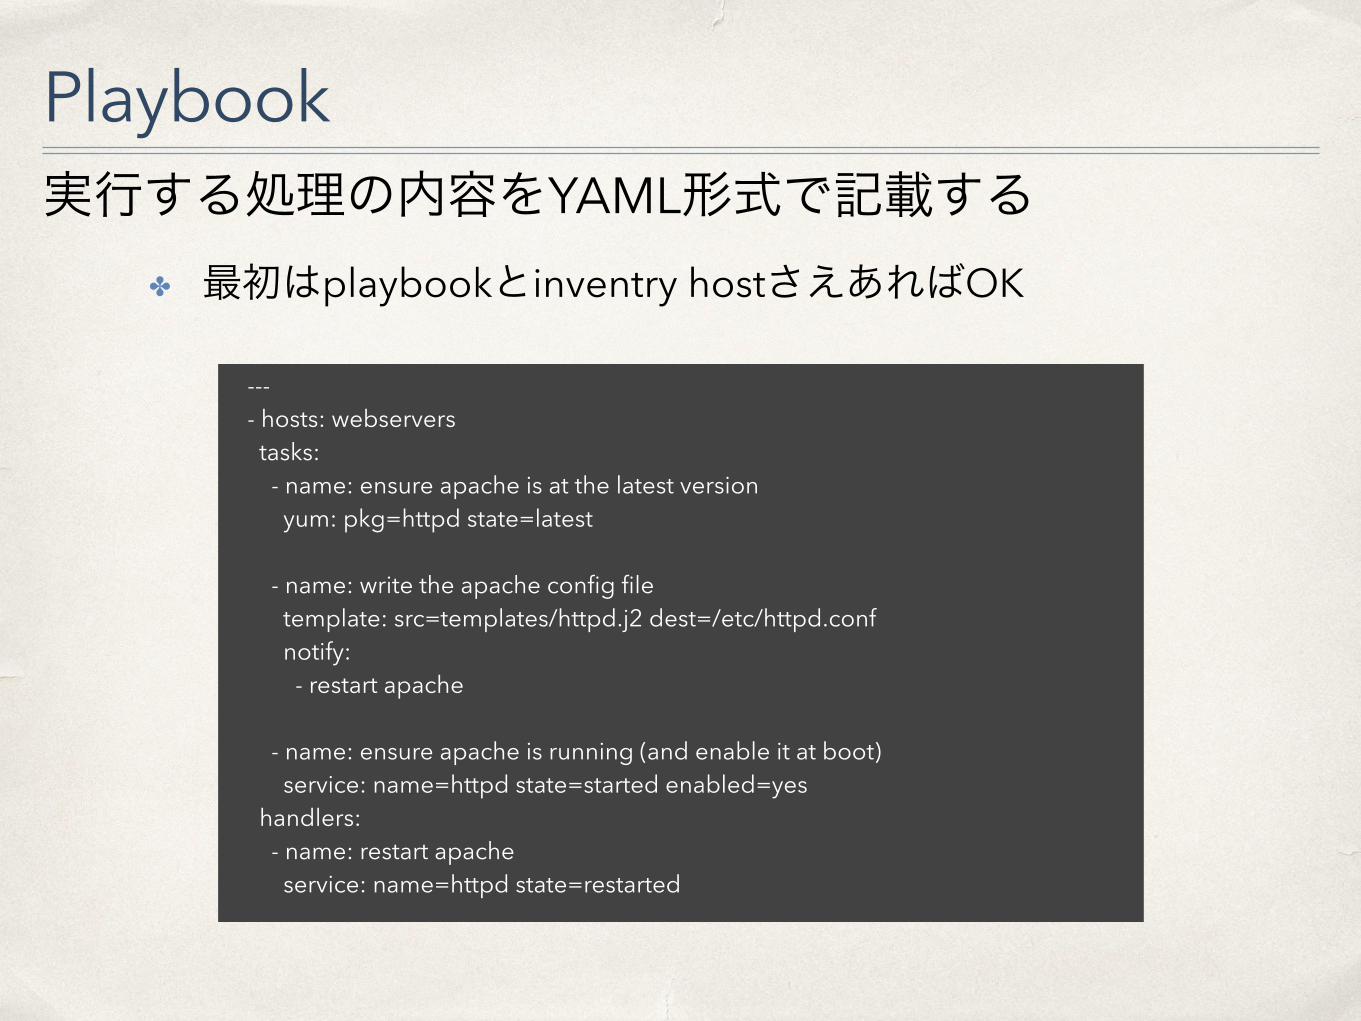
Playbook実行する処理の内容をYAML形式で記載する
✤ 最初はplaybookとinventry hostさえあればOK
--- - hosts: webservers tasks: - name: ensure apache is at the latest version yum: pkg=httpd state=latest
- name: write the apache config file template: src=templates/httpd.j2 dest=/etc/httpd.conf notify: - restart apache
- name: ensure apache is running (and enable it at boot) service: name=httpd state=started enabled=yes handlers: - name: restart apache service: name=httpd state=restarted

Task (Tasks lists)具体的な処理を、実行する順に配列で記載する
✤ 基本は name と module のセットを記載する
✤ 実行条件やトリガー (notify/handler) を加えることも可能 ✤ 実行条件: [when, changed_when, ignore_errors, always_runなど]
✤ トリガー: handlers で記載した処理の名前をnotifyで指定
--- - hosts: webservers tasks: - name: ensure apache is at the latest version yum: pkg=httpd state=latest
- name: write the apache config file template: src=templates/httpd.j2 dest=/etc/httpd.conf notify: - restart apache
- name: ensure apache is running (and enable it at boot) service: name=httpd state=started enabled=yes handlers: - name: restart apache service: name=httpd state=restarted

ModuleTasksで指定した処理を実行する汎用ライブラリ
✤ Modules are “idempotent” (冪等性)
✤ Core Modulesだけでも必要な作業は大体カバーできる--- - hosts: webservers tasks: - name: ensure apache is at the latest version yum: pkg=httpd state=latest
- name: write the apache config file template: src=templates/httpd.j2 dest=/etc/httpd.conf notify: - restart apache
- name: ensure apache is running (and enable it at boot) service: name=httpd state=started enabled=yes handlers: - name: restart apache service: name=httpd state=restarted

代表的なModule✤ yum / apt : パッケージ管理 (インストール, 削除など)
✤ service : サービス操作 (起動, 停止, 再起動など)
✤ file : ファイル操作 (作成, 削除, 属性変更など)
✤ copy : ファイルをコピー
✤ template : ファイルを雛形としてファイル生成 (後述)
✤ shell : 任意のshellコマンドを実行(※冪等性は自分で担保) ✤ 具体的な操作の他、“register” を併用して条件分岐に利用する等の使い方もある
公式ドキュメントにModuleの一覧と説明があるので、詳しくは以下を参照ください。
http://docs.ansible.com/ansible/modules_by_category.html

共通化 (Include / Role)✤ Include:
✤ tasksやhanderls等を別ファイルとして切り出し、一つのRoleとしてまとめておくことで再利用しやすくする
--- - hosts: webservers tasks: - include: apache.yml - include: deploy.yml site=service_A - include: deploy.yml site=service_B

共通化 (Include / Role)✤ Role:
✤ task, vars, files, templates, handlers一式を共通化
✤ playbookからは roles 一発で呼び出しできる ✤ 複数サーバに適用する、汎化させるなどの用途で活用
# playbook
--- - hosts: webservers roles: - common - webserver
# ディレクトリ構成
hosts webservers.yml roles/ common/ files/ templates/ tasks/ handlers/ vars/ defaults/ meta/ webservers/ …

共通化 (Template / Variable)✤ Template:
✤ 変数をbindして配布できる ✤ ホスト毎に異なるようなファイルを配布するときに活用 ✤ 書式は “Jinja2”
# files/etc/motd.j2
################################################## !!! Production server {{ ansible_hostname }} !!! ##################################################
__| __|_ ) _| ( / Amazon Linux AMI ___|\___|___|
https://aws.amazon.com/amazon-linux-ami/2015.03-release-notes/

共通化 (Template / Variable)✤ Variable:
✤ 条件分岐やTemplateで利用する変数を定義し呼出可能 ✤ 書式はYAML
✤ playbook, inventry host, varsなど様々な箇所で指定可能
✤ OS層の下回りの情報はansibleが自動で取得し呼出可能 (Facts) ✤ 利用可能な変数は `ansible hostname -m setup` で確認可能
✤ Chefで言う ohai# Variables
innodb_buffer_pool_size: 6144M innodb_log_file_size: 2048M max_connections: 1000 …
$ ansible ansible-test02 -m 'setup'
ansible-test02 | success >> { "ansible_facts": { "ansible_all_ipv4_addresses": [ "172.31.xx.xx" ], "ansible_all_ipv6_addresses": [], "ansible_architecture": "x86_64", "ansible_bios_date": "NA", "ansible_bios_version": "NA", "ansible_cmdline": { "KEYTABLE": "us", "LANG": "ja-JP.UTF-8",

Hands On!

Installation1. サーバログイン
1. サーバ (Ansible: 1, Target: 1) へのSSH接続 ✤ 接続情報は個別にお渡しします
2. Ansible実行用の鍵作成と配布 1. Ansibleサーバ上で`ssh-keygen` で作成 (パスフレーズなし)
2. ec2-user@target:/home/ec2-user/.ssh/authorized_keys に 公開鍵 (id_rsa.pub) をcopy
3. Ansibleサーバの /etc/hosts に Targetサーバを PrivateIP で記載 ( `sudo vim /etc/hosts` )
4. Ansible → Target へのssh接続確認
3. Ansibleインストール 1. `sudo pip install ansible` 2. `sudo mkdir /etc/ansible && sudo chown ec2-user:ec2-user /etc/ansible && cd /etc/
ansible` 3. `touch hosts` 4. `wget https://raw.githubusercontent.com/ansible/ansible/devel/examples/ansible.cfg `

Ansible手始め1. Inventory Hostを記載
2. Ansibleコマンドを試し打ち
✤ `ansible TARGET -m 'ping'` ✤ `ansible TARGET -m 'setup'`
# /etc/ansible/hosts
[webservers] ansible-target0x

4. ディレクトリ構成 (Best Practice)

BestPractice
Best Practices Directory Layout - Ansible Documentation
production # Inventory Hostはグループごとに作成 staging # 〃
group_vars/ # グループ用の変数の格納場所 group1 # group2 # host_vars/ # ホスト用の変数の格納場所 hostname1 # hostname2 #
library/ # 自作Moduleの格納場所 (optional) filter_plugins/ # 自作Filter Pluginの格納場所 (optional)
site.yml # master Playbook webservers.yml # Playbook dbservers.yml # Playbook
roles/ # ロール (Role) の格納場所 common/ # “common” ロール tasks/ # Taskの格納場所 main.yml # <-- Taskがもし多くなる場合は小さく分ける handlers/ # Handlerの格納場所 main.yml # <-- 〃 templates/ # Templateの格納場所 ntp.conf.j2 # <------- Templateファイル名は *.j2 files/ # Fileの格納場所 bar.txt # foo.sh # vars/ # Varsの格納場所 main.yml # defaults/ # main.yml # Varsのデフォ値 (group/host_varsで上書き可) meta/ # ロールの依存関係があれば定義

Hands On1(20min)
1. 運用ツールをインストール ✤ telnet, wget, rsync, tree, tcpdump,
sysstat, dstat, vim-enhanced, git, htop
2. バナーを配置 ✤ /etc/motd
3. Nginx install ✤ yum install ✤ 自動起動有効
4. Deploy ✤ page upload (適当なhtml)

Hands On2(10min)
OpenSSLの脆弱性が報告された!利用中の全サーバのOpenSSLのバージョンを確認しよう。
✤ ansibleコマンド一発で確認すること
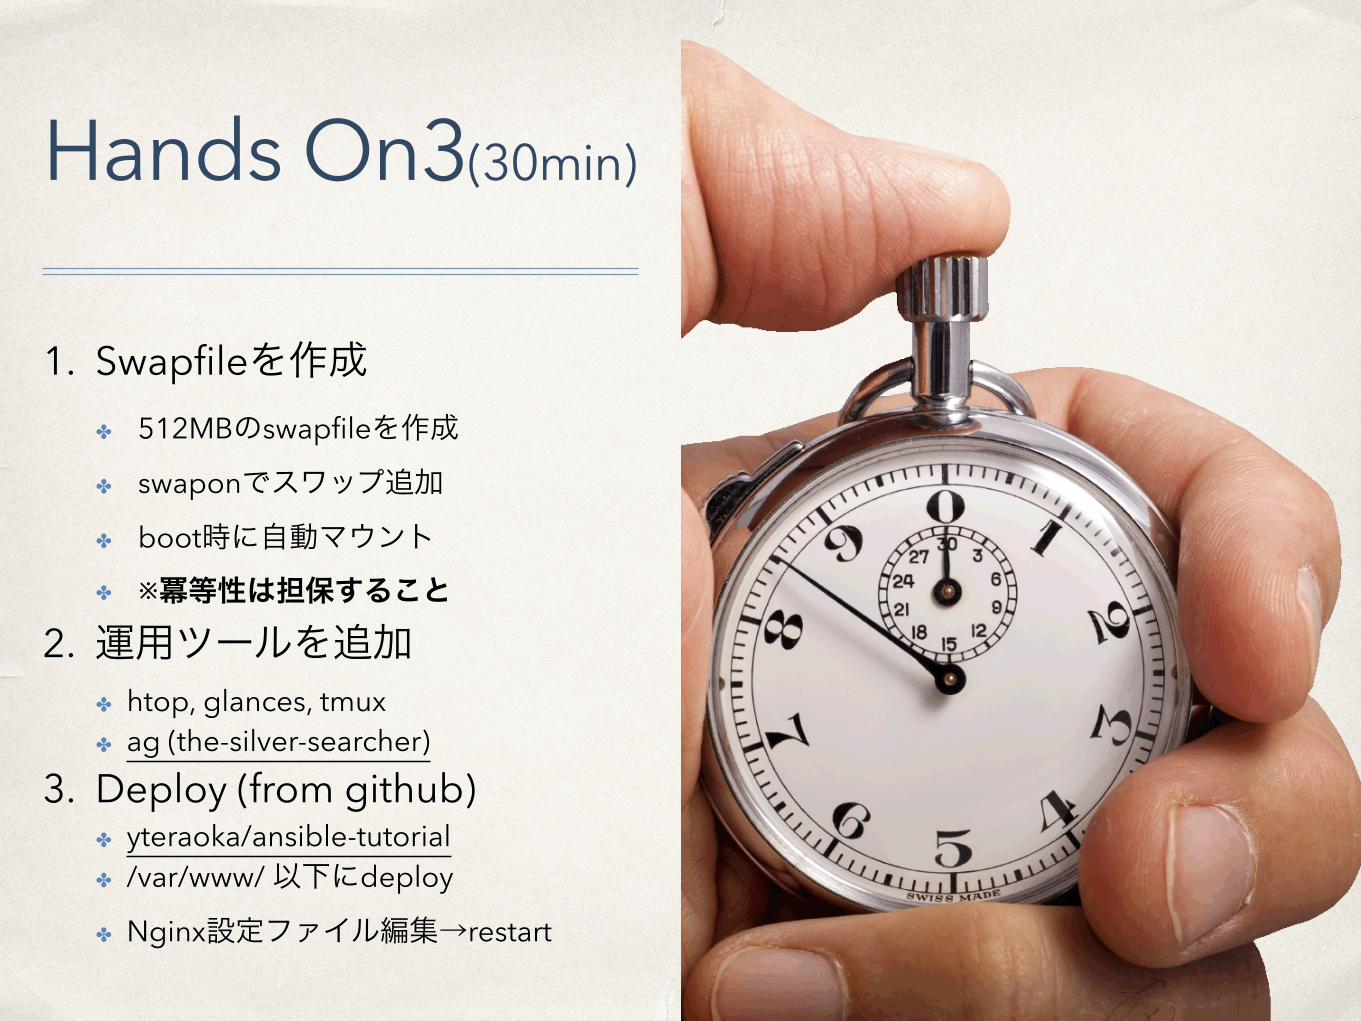
Hands On3(30min)
1. Swapfileを作成 ✤ 512MBのswapfileを作成
✤ swaponでスワップ追加
✤ boot時に自動マウント
✤ ※冪等性は担保すること
2. 運用ツールを追加 ✤ htop, glances, tmux ✤ ag (the-silver-searcher)
3. Deploy (from github) ✤ yteraoka/ansible-tutorial ✤ /var/www/ 以下にdeploy
✤ Nginx設定ファイル編集→restart


![Docker入門 - epaper.gotop.com.twepaper.gotop.com.tw/pdf/ACA020700.pdf · 48 Part I‧Docker 入門 ... ansible/centos7-ansible Ansible on Centos7 34 [OK] tutum/centos Centos image](https://img.dokumen.tips/doc/110x75/5af822427f8b9aac248cb64a/docker-part-idocker-ansiblecentos7-ansible-ansible-on-centos7.jpg)