Embed Size (px)
Citation preview

How To Make an Opt-in Form and Integrate to Wordpress

Do you want to collect emails of your prospects?

And turn them into your buying customers?

Then follow the step-by-step procedures in this tutorial.

Let’s start...

Open your browser...

Then type “www.getdrip.com” here...

Like this.

Then press the ENTER key.
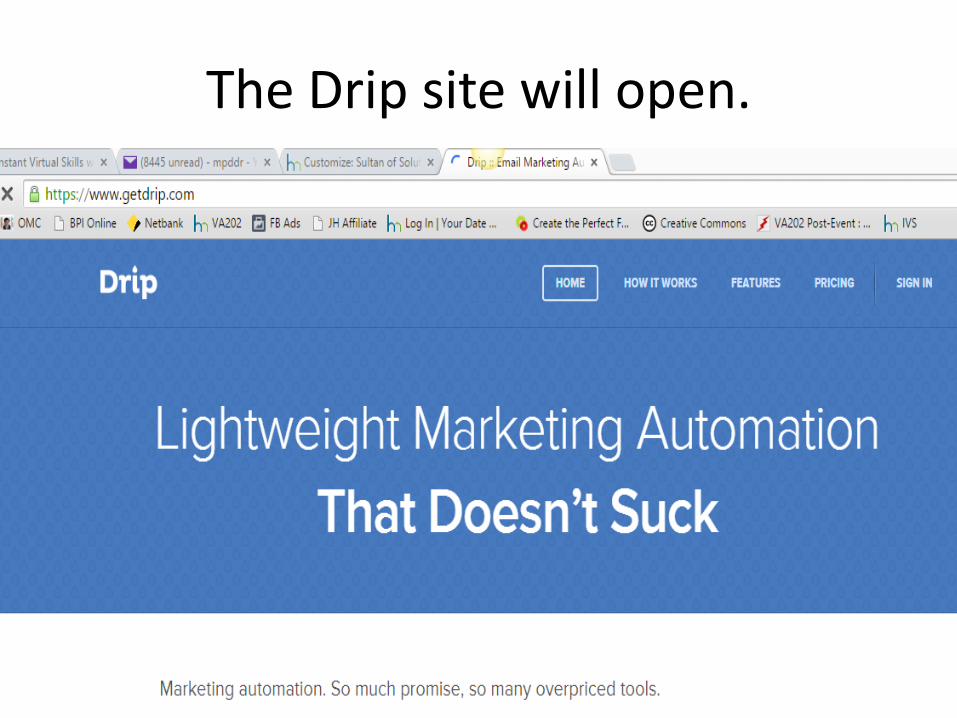
The Drip site will open.

Click “Sign In”...

Then this will pop up.

Enter your email address here...

Like this.

Then enter your password here...

Like this.

Click “Sign in to Drip” here...

Then your Drip Dashboard will open.

Click “Campaigns” here...

Then the Campaigns section will open.

Look further to the right...

Until you see this part.

Click “New Drip Campaign” here...

Then this will pop up.

Type the name of your campaign here...

Like this.

Click “Create Campaign” here...
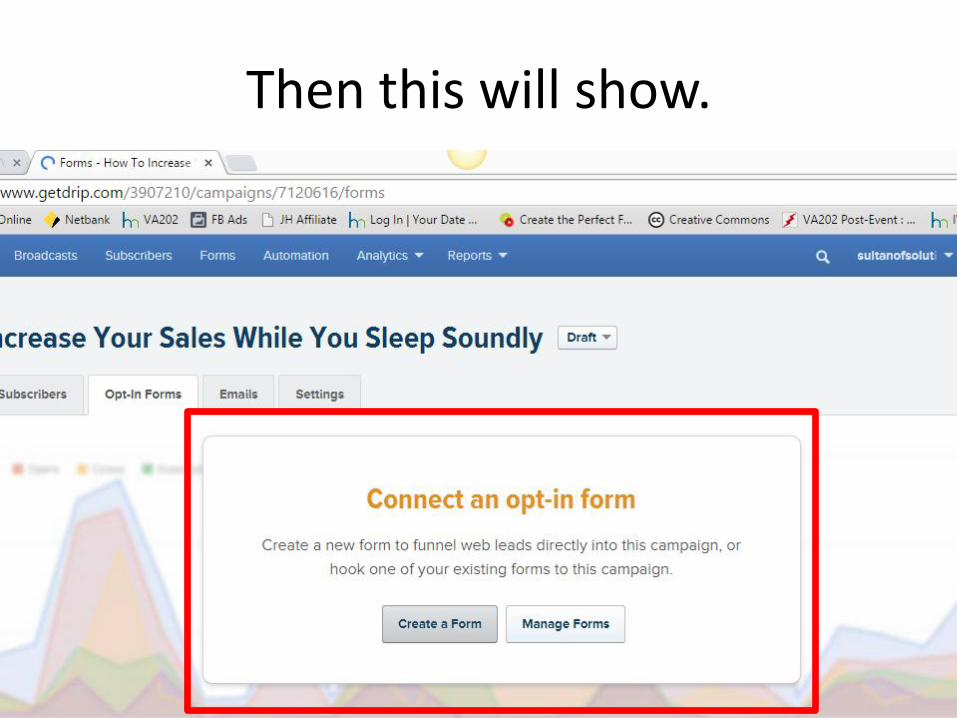
Then this will show.

Click “Create a Form” here...

Then this will appear.

Just leave this as is...

Then click “Create Form” here.

The Dashboard for your new campaign will open.

Look to your right then scroll down here...

Until you see the “Description” box here.

Type a short message for your prospects here...

Like this one.

Now, change the “Button Text” by clicking here...

Then type the new “Button Text” like this.

Change the “Button Text While Submitting” by clicking here...

Then type the new “Button Text While Submitting” like this.

Scroll down further here...

Until you see the “Orientation” section.

Choose “Lower Right Tab” by clicking here.

This time, scroll up here...

Until you see the “Activate Now” button.

Click the “Activate Now” button...

Then congratulate yourself as you are halfway through the process!

Opt-in Form is done and integration to Wordpress is next.

Now, open a New Tab by clicking here...

Then a New Tab or window will open.

Type in your Wordpress site with “/wp-login.php” here...

Like this.

Press the ENTER key...

Then your Wordpress site Log-in page will open.

Enter your Username here...

Like this.

Then key in your password here...

Like this.

Click “Log In” here...
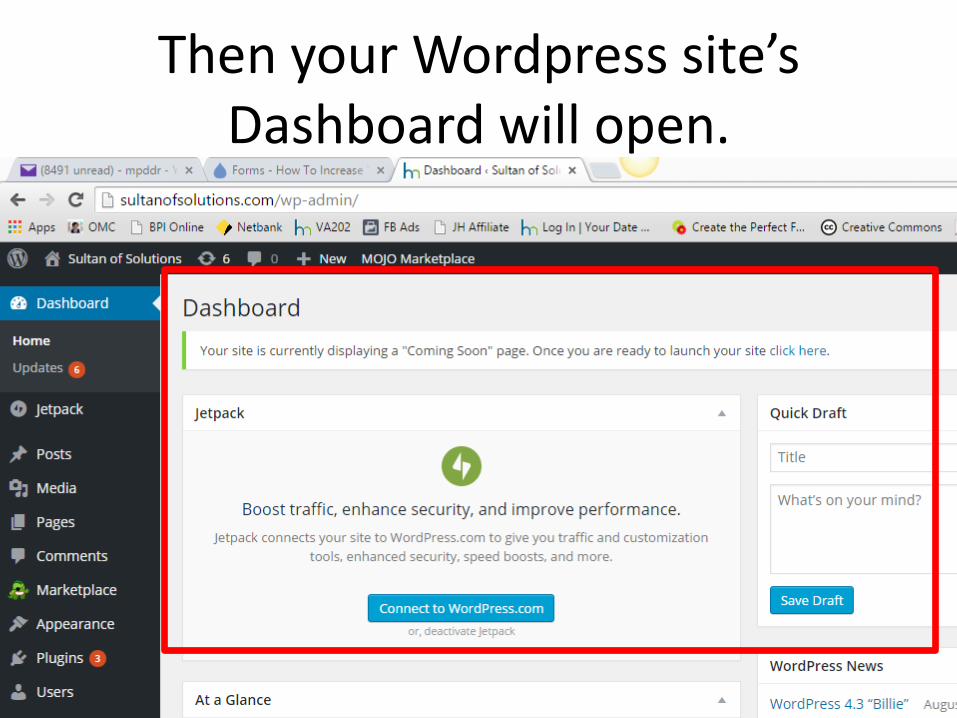
Then your Wordpress site’s Dashboard will open.

Click “Plugins” here...

Then “Plugins” section will open.

Click “Add New” here...

Then “Add Plugins” section will open.

Look to the right here...

Then you’ll find the “Search Plugins” box here.

Click the “Search Plugins” box...

Then type “drip”...

Like this.

Press the ENTER key...

Then several plugins related with Drip will show.

Choose “Email Marketing by Drip” shown here...

Then click “Install Now”.

Status for “Installing the Plugin” will show...

Then it should be “Successfully installed” like this.

Click “Activate Plugin” here...

Then “Drip Settings” will open.

Enter your Drip Account ID here.

But where do you get the Account ID?

Yes, you are right! From your Drip Account.

Since your Drip Account is still open...

Just click the Drip Tab here...

Then you are instantly back into your Drip Account.
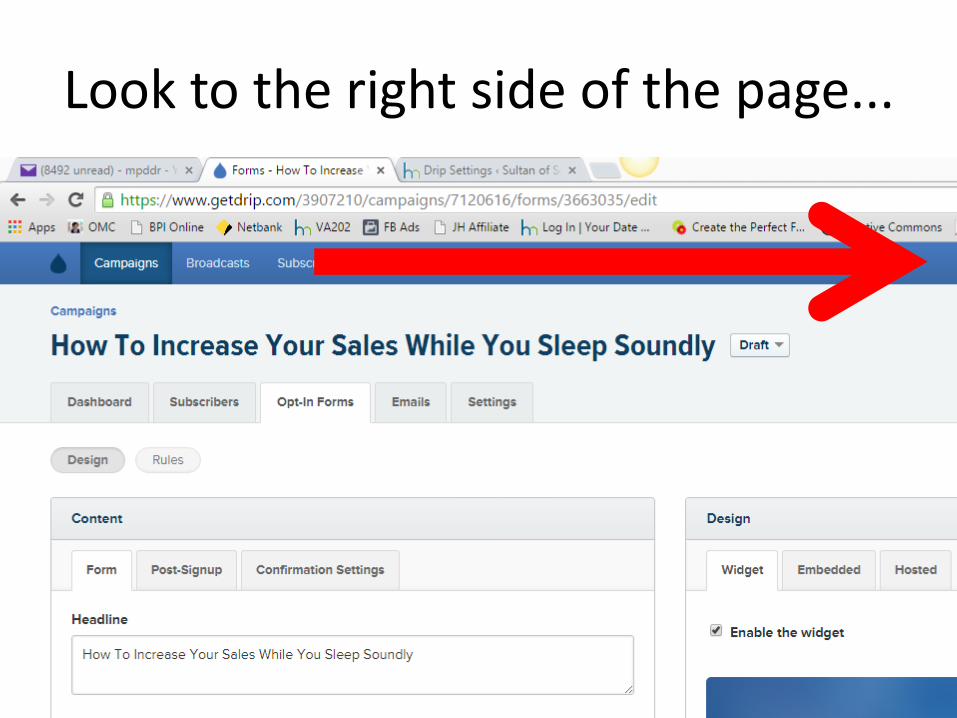
Look to the right side of the page...

Until you find “Settings” here.

Click “Settings”...

Then a drop down menu will show.

Click “Site Setup” here...

Then the “Site Setup” section will open.

Copy the Account ID here.

Now, highlight it first by clicking and dragging your mouse.

Press the right button of your mouse...

Then this menu will appear.

Click “Copy” here.

Go back to your Wordpress site account...

By clicking your Wordpress Site tab here.

Now you are back to your Drip Settings.
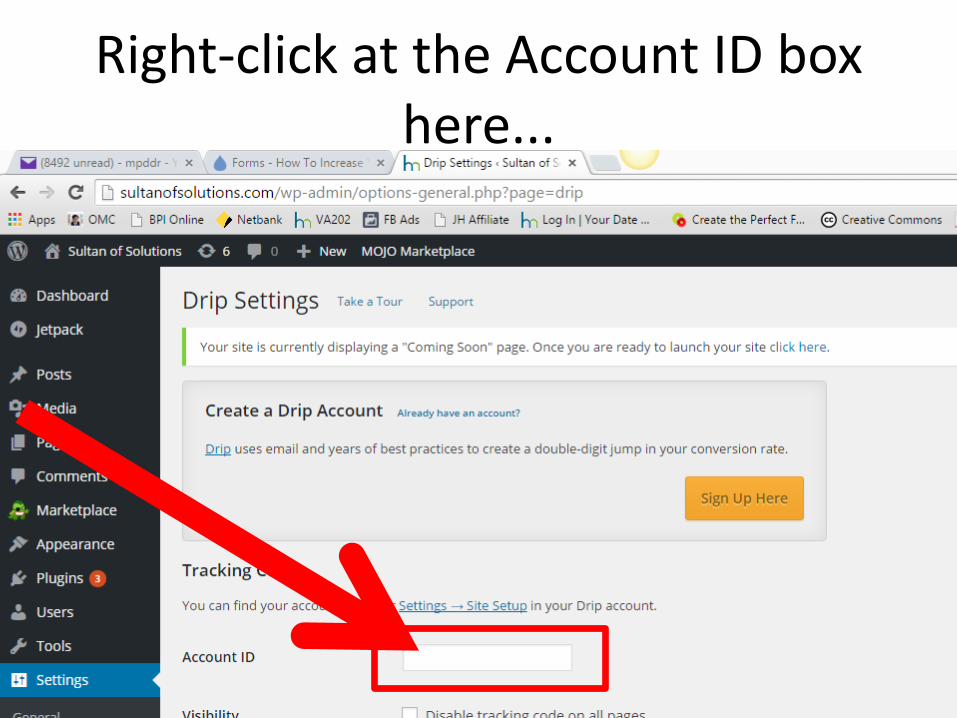
Right-click at the Account ID box here...

Then this menu will pop out.

Click “Paste” here...

Then your Drip Account ID is now copied in the box.

Look for the “Save Changes” button below...
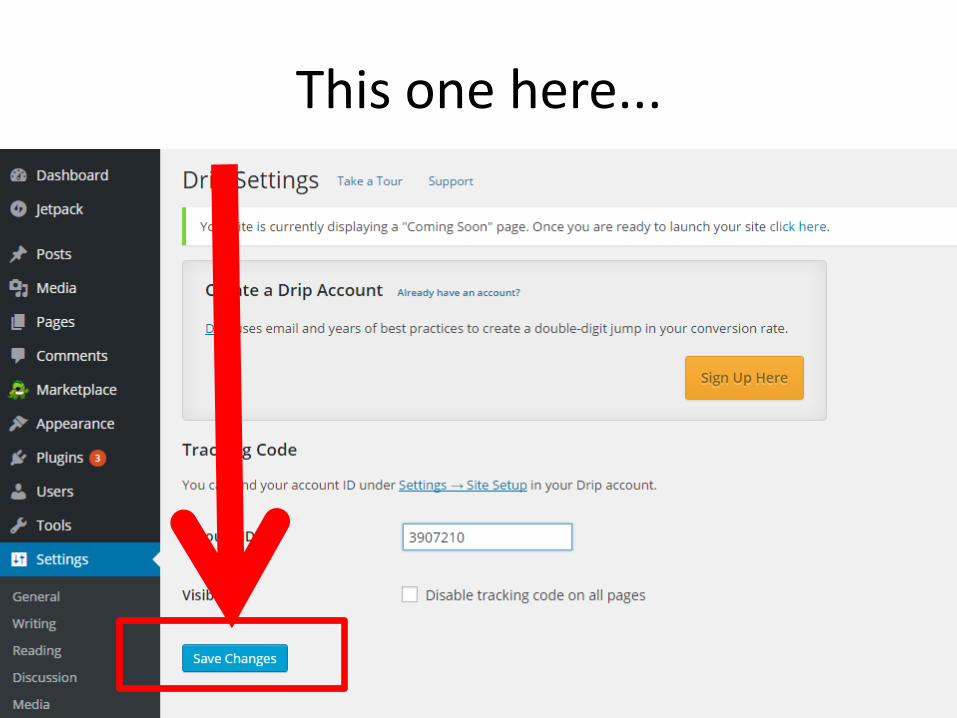
This one here...

Then click “Save Changes” button.

As the settings are now saved...

What Page of your site...

Do you want your Opt-in Form to pop-out?

So, click “Pages” here...

Then the “Pages” section will open.

Click “Add New” here...

Then the “Add New Page” section will open.

Type the title of your page here...

Like this.

Type the message for this page here...

Like this.

Find the “Publish” button to the right...

This one here...

Then click “Publish”.

Click “View Page” here...

Then the page you created will show.

Copy the page URL here.

Press the left button of your mouse then drag.

Now, press the right button of your mouse...

Then this menu will appear.

Click “Copy” here...
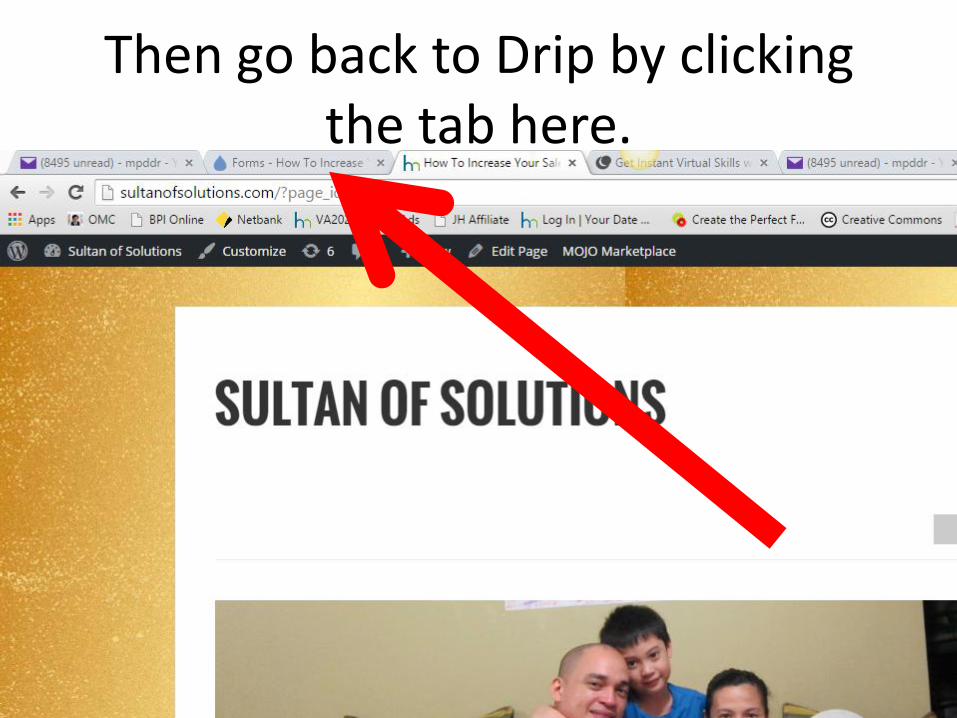
Then go back to Drip by clicking the tab here.

You are now back to your Drip account.

Scroll down here...

Until your reach the “Orientation” section here.

Click “Visibility”...

Then “Visibility” section will show.

Click “Only show on specific pages” here...

Then paste the page’s URL here.

Press the right button of your mouse...

Then this menu will appear.

Click “Paste”...

Then the URL will be copied here.

Look for “Save Settings” below...

This one here...

Then click the “Save Settings” button.

Now, check the Opt-in form you created...

By going back to the page that you created.

So, look for the Wordpress tab above...

This one here.

Click your Wordpress site tab here...

Then your Wordpress site will show.

Wait for a few seconds...

Then your Opt-in Form will pop-up!

End of tutorial.

Photo Credits