PiCloud
Building ownCloud on a
Raspberry PI
PiCloud - Building ownCloud on a Raspberry PI by Sebastian Büttrich is licensed under a Creative Commons Attribution-NonCommercial-ShareAlike 4.0 International [email protected]
201509

What's the idea?
● Have our own cloud instead of somebody else's.
● Have fun with the Raspberry Pi.
● Have fun with Linux.

What's the idea?

What's the idea?

What's the idea?
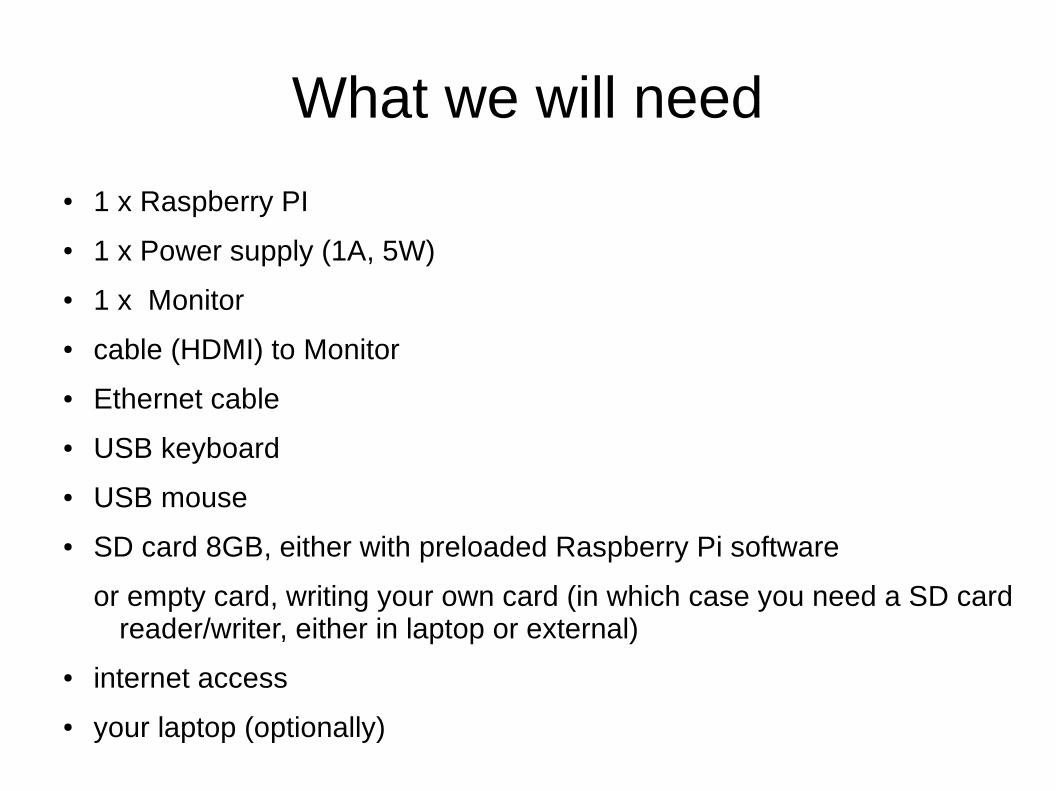
What we will need
● 1 x Raspberry PI
● 1 x Power supply (1A, 5W)
● 1 x Monitor
● cable (HDMI) to Monitor
● Ethernet cable
● USB keyboard
● USB mouse
● SD card 8GB, either with preloaded Raspberry Pi software
or empty card, writing your own card (in which case you need a SD card reader/writer, either in laptop or external)
● internet access
● your laptop (optionally)
About this guide
This side describes what we do. This side lists GNU/Linux things
that we
meet & explore
along the way.

Preparation – SD card
We can either buy an SD card,
ready to use, with the Pi software on it
(that s what we have here today)
or we can burn our own:
Download and install NOOBS / Raspbian
Go to http://www.raspberrypi.org/downloads/
and download NOOBS (current version, May 2014, 1.4.1)
Unzip and write to SD card, following the instructions, contained in the file
INSTRUCTIONS-README.txt
The exact steps are depending on your operating system.
(We will format the SD card to FAT16, with a maximum size of 4 GB).

Preparation - Hardware
Unpack PI,
put SD card in slot on backside,
Connect keyboard, mouse & screen
And power up,
Via power supply with USB micro connector.

Preparation - Hardware
Installation & Configuration
We already have Raspbian on our SD cards.
However, if starting with NOOBS(a start platform that offers different OSs):
Choose which OS to install:
Raspbian is recommended.
Writing the OS will take 10-20 minutes, so be patient and prepare next steps.
When the installation of the OS is complete, confirm by clicking “OK”. This will restart the Pi.
Raspbian is a free operating system based on Debian GNU/Linux and optimised for the Raspberry Pi

Installation & Configuration
Starting with Raspbian:
On first startup,
Raspbian will come up with the Software Configuration Tool.
Click through all settings and check.
You should definitely
2. change the default user's password.
You might like to
3. Enable boot to desktop
if you prefer having a graphical desktop (though you will not necessarily need it! We will use it for some things, but once we are done, it is better to run without it).
When done, reboot.
Note: We can run Raspbian
(like most other Linux distros)
in
GUI/Desktop mode
(X server)
or as pure
command line.

First steps on the command line: users
Log on
User: pi
Default password: raspberry
Let us get familiar with a few first things:
Users
Change your own password!
Change the root password!
Then become root.
Then exit and be user pi again.
$sudo
Lets you perform actions with root rights
$su <username>
Changes to a user
$su
Changes to root user
The prompt sign then is a
#
Instead of a
$
$passwd <user>
Changes a user's password.
$exit
Ends a users session.
ps -ef

Root and sudo
When configuring a system or a service, many commands have to be run as root.
For a command to be executed by a normal user, we write
$<command>
When root is definitely needed, we write
#<command>
It is safer to execute commands that require root rights as
$sudo <command>
because it forces you to say “i really want to do this as root” for each and every command. It is easier to make fatal mistakes when you are root.
When you try a command as normal user, and you get a “permission denied”, then consider whether you might need root rights for this.
$sudo
Lets you perform actions with root rights
$su <username>
Changes to a user
#su
Changes to root user
The prompt then is a
#
#passwd <user>
Changes a user's password.
#exit
Ends a users session.
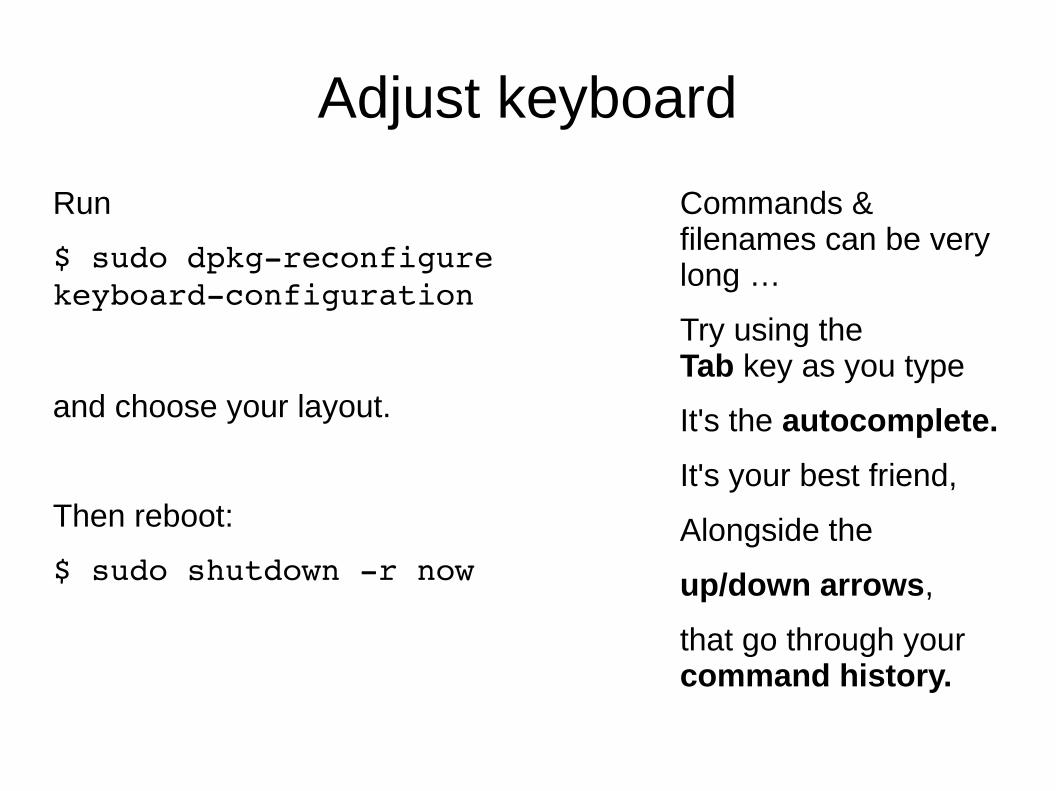
Adjust keyboard
Run
$ sudo dpkgreconfigure keyboardconfiguration
and choose your layout.
Then reboot:
$ sudo shutdown r now
Commands & filenames can be very long …
Try using the Tab key as you type
It's the autocomplete.
It's your best friend,
Alongside the
up/down arrows,
that go through your command history.

Directories & files
Check what directory (dir) you are in,
And what's in it.
Then change to the filesystem's
uppermost directory, the fs root:
/
Check what's in there.
Then look at
/etc where all the setting and config live
/home where all user files are
/var where e.g. the logs are
$pwd
Print working directory, shows you where you are
$ls
Lists dir contents
$cd
Changes directories
Two crucial in order to learn about commands:
$man <command>
Gives you the manual page.
$<command> help
Shows you quick help.
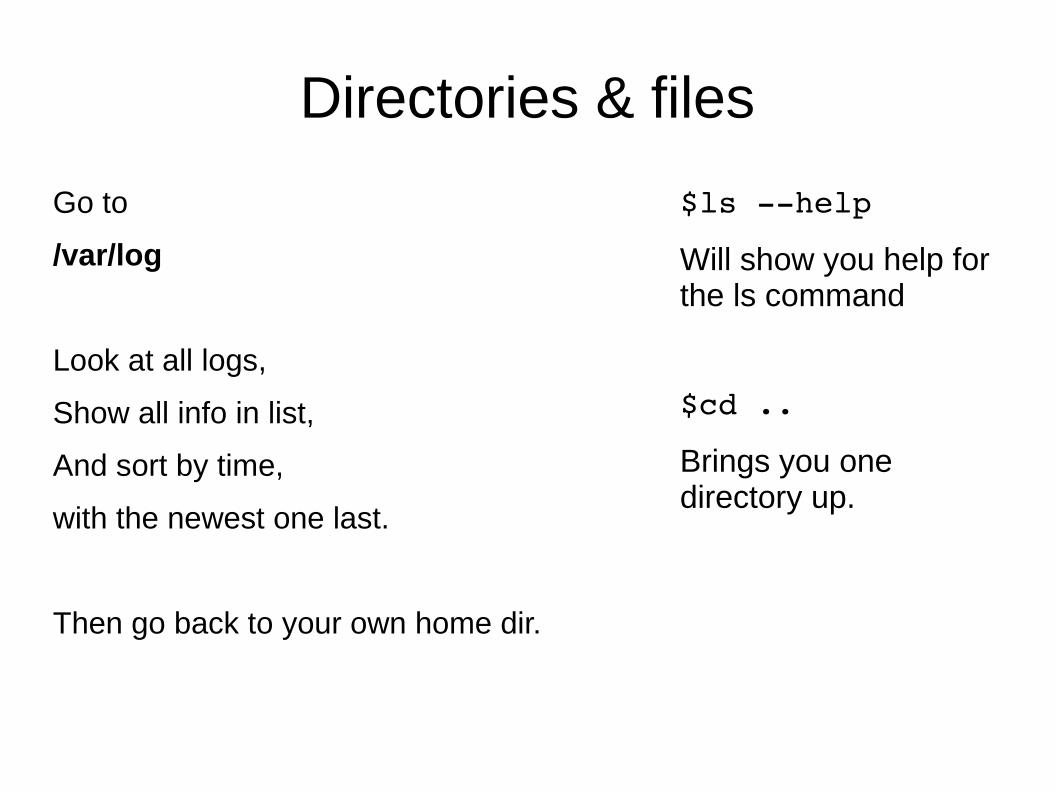
Directories & files
Go to
/var/log
Look at all logs,
Show all info in list,
And sort by time,
with the newest one last.
Then go back to your own home dir.
$ls help
Will show you help for the ls command
$cd ..
Brings you one directory up.

Text commands
Look at what's inside the file
.bashrc
In your home dir.
Then write a little test file.
Call it test.txt
The vi text editor takes some getting used to, but once you got it, it rocks.
Open your browser (if you have a GUI) and find a vi cheat sheet.
$cat
Outputs a text file
$less
is nicer – you can scroll down, one screen at a time.
$grep
finds text in files, e.g.
$grep error /var/log/*
$vi
Opens the vi text editor.
$nano
is another text editor. Meh.
.

vi in 60 seconds
In vi:
Letters bring you into edit mode,ESC brings you back.
i = insert
o = new line
x = delete characters
dd = delete line
shift-zz saves
q:! exits without saving
And so forth
$vi <filename>
Opens a text file
If the file doesn't exist,
it creates the file.

vi in 60 seconds

... back to work – package management
Debian type Linux uses
Advanced Packaging Tool,
apt,
To maintain software packages.
Use apt-get to update and then
upgrade your system.
It will take a moment.
While we wait, we have time for Q&A.
Also, install a package named aptitude.
It s a nice-to-have extension of apt-get.
#aptget update
gets an update about whats new in the repository.*
#aptget upgrade
Upgrades, based on what the update found.
#aptget install <package>
Installs a package.
* go to /etc/apt and find what sources (repositories) we are getting our files from.

Installing owncloud packages
Use apt-get again, to install the following:
mysql-server owncloud
mysql will have a few questions when it installs,
such as a password for the mysql root user.
Remember your answers!
It might also be nice to have
phpmyadmin
for database administration via browser.
gparted
for partitioning.
apt-get finds out about dependencies on its own, and installs these too.
#aptget install <a long list of things>
Installs a lot of things.

Installing the newest owncloud We have just installed owncloud from the distribution's standard repository.
However, if you would like to have the latest release, follow the guide on
https://software.opensuse.org/download/package?project=isv:ownCloud:community&package=owncloud
Add the repository key to apt. Keep in mind that the owner of the key may distribute updates, packages and repositories that your system will trust (more information).
To add the key, run:
wget http://download.opensuse.org/repositories/isv:ownCloud:community/Debian_7.0/Release.key
aptkey add < Release.key
Then add the repo to your list of sources
echo 'deb http://download.opensuse.org/repositories/isv:/ownCloud:/community/Debian_7.0/ /' >> /etc/apt/sources.list.d/owncloud.list
and do
aptget update
aptget install owncloud
#aptkey add
adds a trusted repository's key to your package manager

Find and mount the USB drive
Plug in a USB stick and see what device name it shows up as.
typically it is
/dev/sda1
in what follows, we assume it is.
Make a directory
/media/usbstick
and mount it:
#mount -t vfat -o rw /dev/sda1 /media/usbstick/
If this worked, your USB stick is recognized.
$watch ls /dev/sd*
“watches” the result of $ls /dev/sd*
(every 2 seconds)
$mkdir
Make a directory
#mount
Mount a device to a mountpoint (a directory)

Format USB drive
We will prefer a better filesystem for our datastore, and we need to make the mount permanent, so that we dont have to remount each time we start our PI.
Use GUI tool gparted to format your USB stick to type ext4.
You can also use command line tools.
#gparted
GUI format tool
#fdisk
#mkfs.ext4
Command line tools for formatting and fs creation

Make mount permanent
Find your USB stick's UUID viablkid.
Then edit your /etc/fstab, add a line:
UUID=<yourUUID> /media/usbstick ext4 rw,defaults 0 0
e.gUUID=86d9ad0d59114a749ea0ff380e3a9221 /media/usbstick ext4 rw,defaults 0 0
Test by rebooting – is the USB stick there?
/etc/fstab
File that keeps mount information
$blkid
utility to locate/print block device attributes
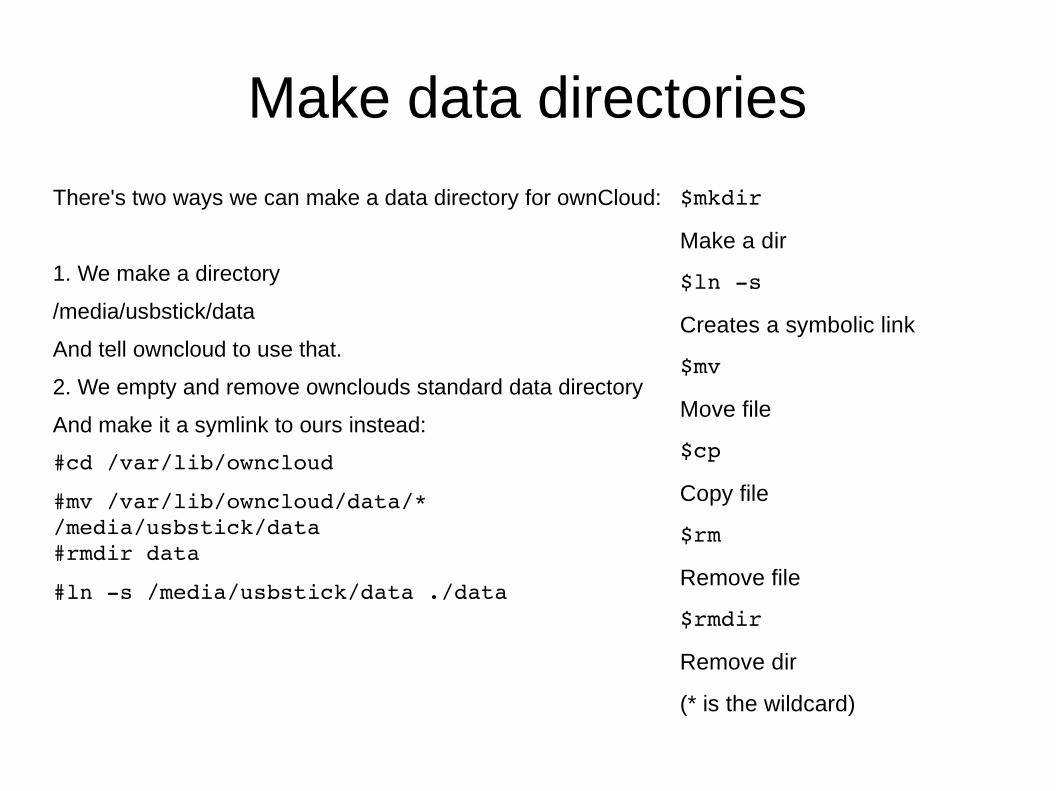
Make data directories
There's two ways we can make a data directory for ownCloud:
1. We make a directory
/media/usbstick/data
And tell owncloud to use that.
2. We empty and remove ownclouds standard data directory
And make it a symlink to ours instead:
#cd /var/lib/owncloud
#mv /var/lib/owncloud/data/* /media/usbstick/data#rmdir data
#ln s /media/usbstick/data ./data
$mkdir
Make a dir
$ln s
Creates a symbolic link
$mv
Move file
$cp
Copy file
$rm
Remove file
$rmdir
Remove dir
(* is the wildcard)

Configure owncloud
Now we will use a browser,
locally on the PI
or from another computer.
We d need to know the PI's IP number in that case.
Point your browser at
http://localhost/owncloud
Or the IP you found.
$ifconfig
Lists interface configurations
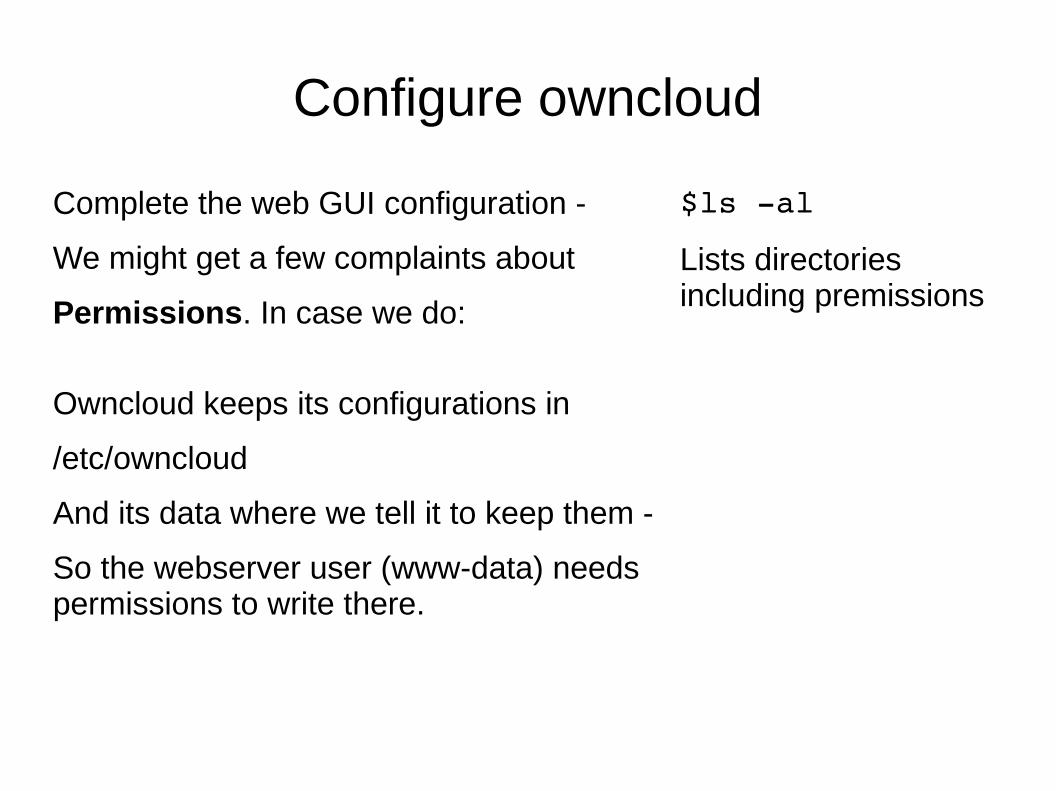
Configure owncloud
Complete the web GUI configuration -
We might get a few complaints about
Permissions. In case we do:
Owncloud keeps its configurations in
/etc/owncloud
And its data where we tell it to keep them -
So the webserver user (www-data) needs permissions to write there.
$ls al
Lists directories including premissions

Linux permissions
Each file or directory has an owner
and permissions like this:
This means,
Read, write and execute,
For
Owner, group and world.
$ls al
Lists directories including permissions

Linux permissions, numeric
The easiest (!) is to express these as numbers
Each rwx becomes a
22 21 20 = 4 2 1
So
rwx --- --- = 700
rwx r-x r-x = 755
rw- r-- r-- = 644
#chown
Sets an owner
#chmod
Sets permissions

Setting permissions for our data directory
We want our data directory to be
Owned by user www-data
With all rights to that user,
And no rights to anybody else!
This means ...<quiztime>
#chown
Sets an owner
#chmod
Sets permissions
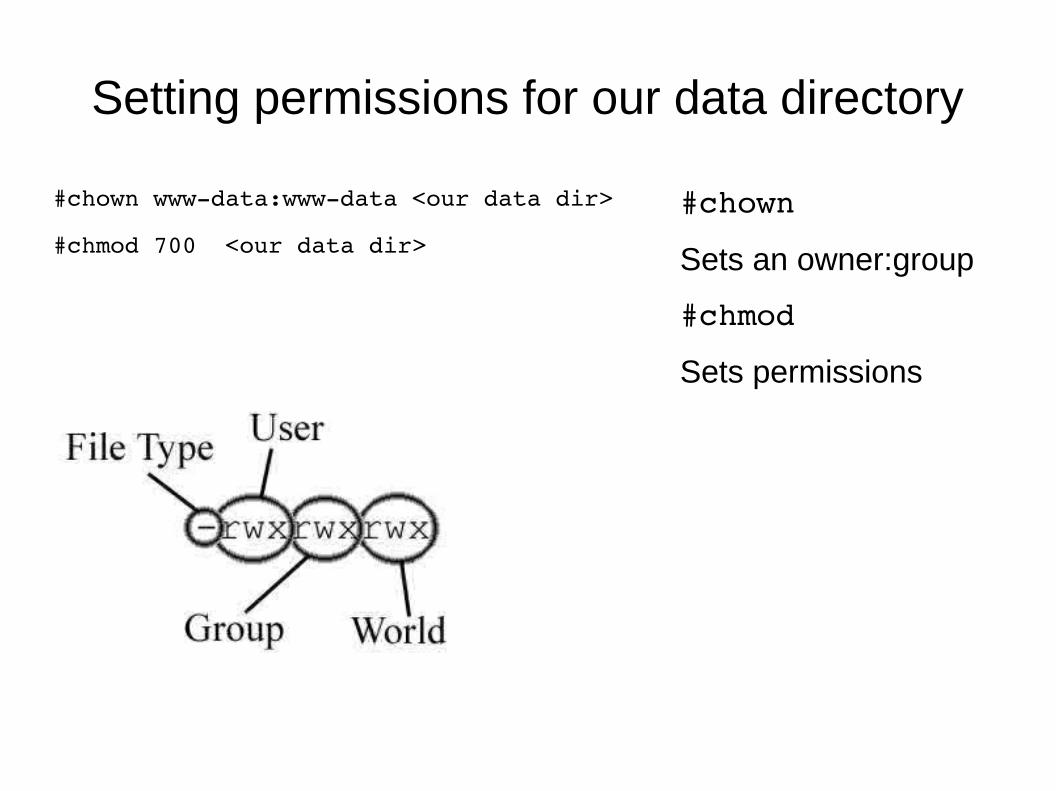
Setting permissions for our data directory
#chown wwwdata:wwwdata <our data dir>
#chmod 700 <our data dir>
#chown
Sets an owner:group
#chmod
Sets permissions

Test it!
In your browser,
Go to
http://<ip>/owncloud
And take a look around!

What's left to do? A lot!
There is a number of important things that are out of the scope of this workshop – however they are very important,
And we will give a few hints in the Appendix:
1. Put the PI in a network place
where we can reach it, via public IP.
For example,
On the DMZ of your home router.
2. You can't do that without looking at
Security.1. & 2. ==> Workshop part 2.
3. Download owncloud clients to all our devices.
4. Share with friends, neighbours, family, ...
/etc/network/interfaces
contains network interface configurations.
Example:auto eth0
iface eth0 inet static
address 130.226.142.200
network 130.226.142.192
netmask 255.255.255.224
broadcast 130.226.142.223
gateway 130.226.142.193
iface eth0 inet6 auto
Space for everything we have forgotten to talk about
…................................................... #
Thanks!
Appendix: Minimal Security
Running a cloud file server requires strict security.Here's a few absolutely essential, minimal things you need to do:
1. ownCloud uses a webserver for all communications. If you run normal http, all your usernames, passwords and communications are sent in the open.Therefore, run your webserver (apache) on SSL only:
https://httpd.apache.org/docs/current/ssl/ssl_howto.html
2. Make sure your logon via ssh is secured – learn how to configure sshd_config.It is a good idea to only allow logon from trusted networks, and only via ss key – not by username and password.
3. No telnet, no ftp allowed!
4. Consider using denyhosts and fail2ban
5. Keep server updated and users managed.
/etc/apache2
contains web server configurations.
/etc/ssh
contains ssh configurations.

Appendix: Router DMZ
Most routers for home use allow for the exposure of a certain IP in the so called DMZ – this means, they will be visible from the outside world, or defined networks.This screenshot shows a Cisco example:
Recommended