Building a clock
PART 1:The Body

Gathering materials
The wood that you will be using is called Maple. You can identify it by knowing that it is: Heavy Very hard Cream coloured

Need to know info
The final size of the clock body is:
20” X 7 ½” X ¾”
The clock body is made of 2 pieces glued together. Why?
What is the rough size?

Step 1: Mark the rough length
Make 2 pieces 20 1/2” long per person
Use chalk and a square
Check the board for cracks and staples
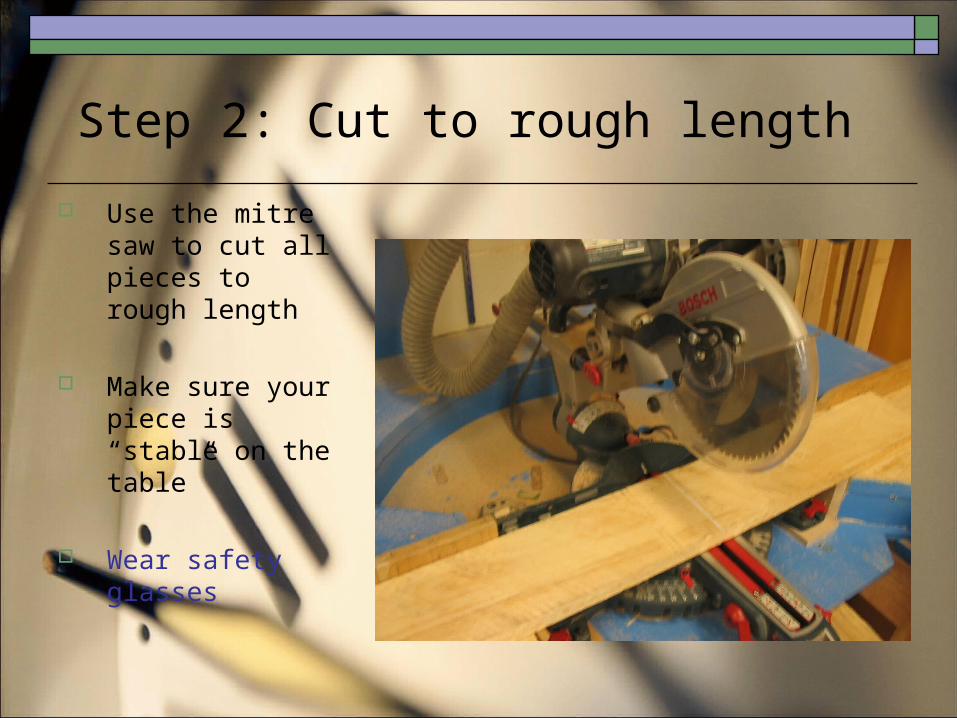
Step 2: Cut to rough length
Use the mitre saw to cut all pieces to rough length
Make sure your piece is “stable on the table”
Wear safety glasses
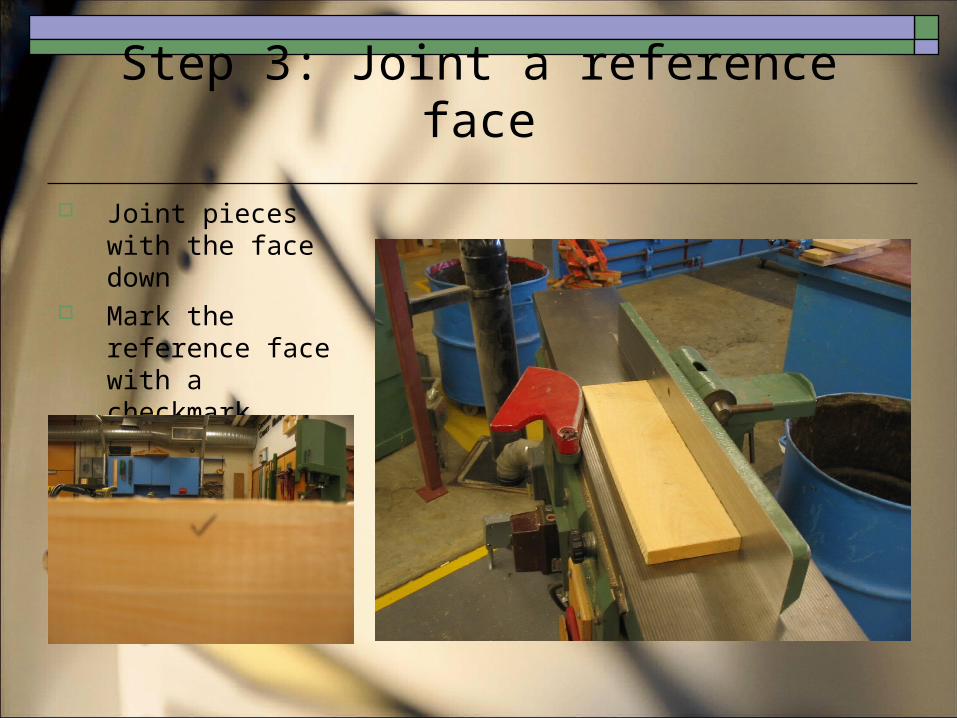
Step 3: Joint a reference face
Joint pieces with the face down
Mark the reference face with a checkmark
Use a pushstick

Step 5: Plane until smooth
Plane each piece with the reference face down (your check mark goes down)
Take off as little as possible!

Step 4: Joint a reference edge
Joint 1 edge on each piece
Make sure the reference face goes against the jointer fence

Step 6: Rip to width
Use the table saw to rip each piece to 4” wide
Your check mark goes down and against the fence
Each student will need 2 of these pieces to make the clock body

Step 7 : Make a panel
Put the pieces together so that they look good
Try to arrange them so that anything that looks bad is on the back

Making a panel continued…
Look at the ends of the pieces
THE GROWTH RINGS MUST ALTERNATE!

Making a panel continued…
Once you have everything figured out draw a triangle so that you don’t forget where they go!

Step 8: Joint the edges to be glued
Joint the edges so that the glue joint is nice and tight
Check that the fence is square
Use a pushstick!
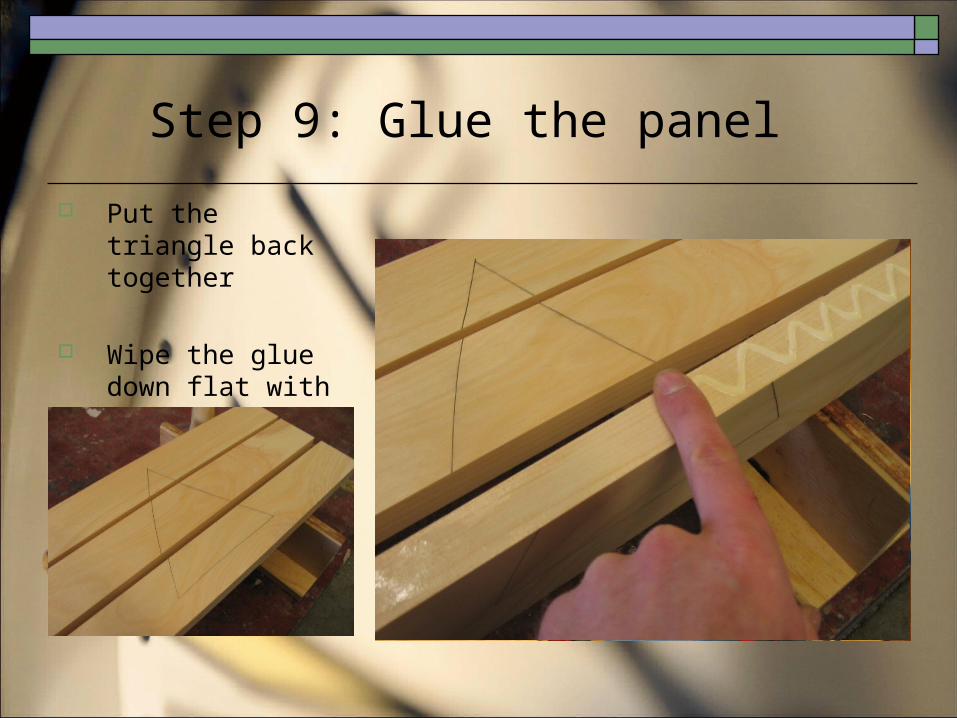
Step 9: Glue the panel
Put the triangle back together
Wipe the glue down flat with your finger

Gluing the panel continued…
Use 3 bar clamps to clamp the panel together
Make sure that all pieces are flush

Step 10: Scrape off all the dried glue
Use a glue scraper to get the excess dried glue off
Any leftover glue can damage the thickness planer

Step 11: Plane to finished thickness
Once all the glue is off you can thickness plane the whole panel
Plane both faces to make sure both are flat
The panel must be ¾” thick

Step 12: Joint a reference edge
The edges will be dented from the clamps
Make one edge flat by using the jointer

Step 13: Rip to finished width
The jointed edge goes against the fence
The finished width is 7 ½”

Step 14: Trace the clock body template
The edges should line up, only the curves get traced
Use a sharp pencil
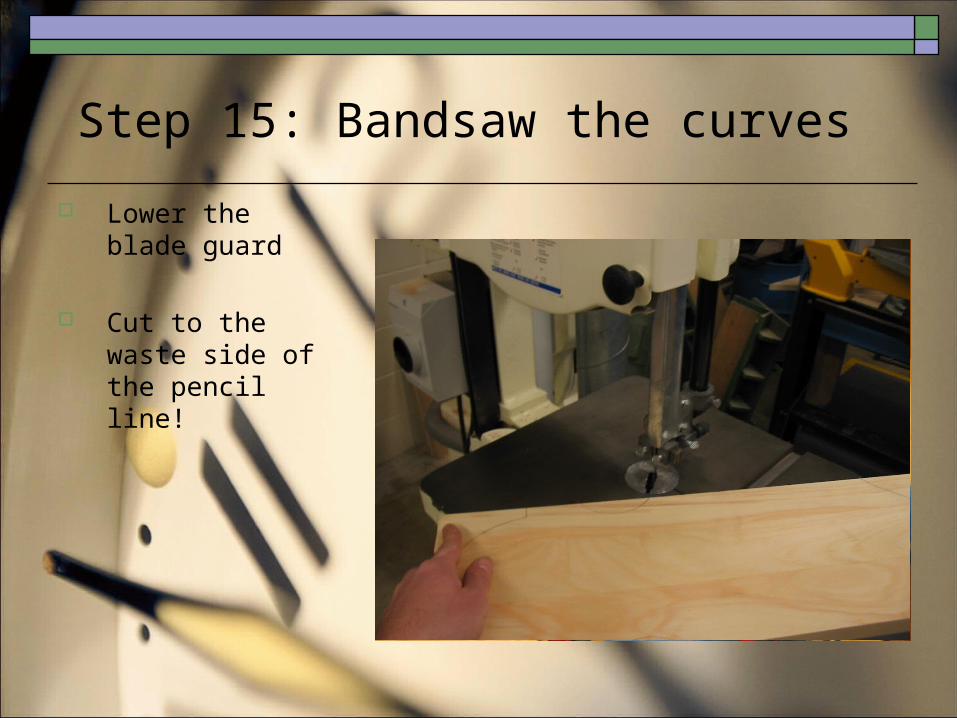
Step 15: Bandsaw the curves
Lower the blade guard
Cut to the waste side of the pencil line!

Step 16: Sand the curves
Use the spindle sander to get into the curves
Sand carefully to the line

The End?
That’s enough information for now… We will next learn how to make the clock face using some of the same techniques
Remember that you must get full marks on your safety test for each machine before using them
You must also demonstrate to Mr. Huber that you can use each machine safely the first time you use them
Good luck on your project!
Recommended