Embed Size (px)
Citation preview

Windows Movie Maker for Your Classroom
Kathryn Staton, Education Specialist, WVPT
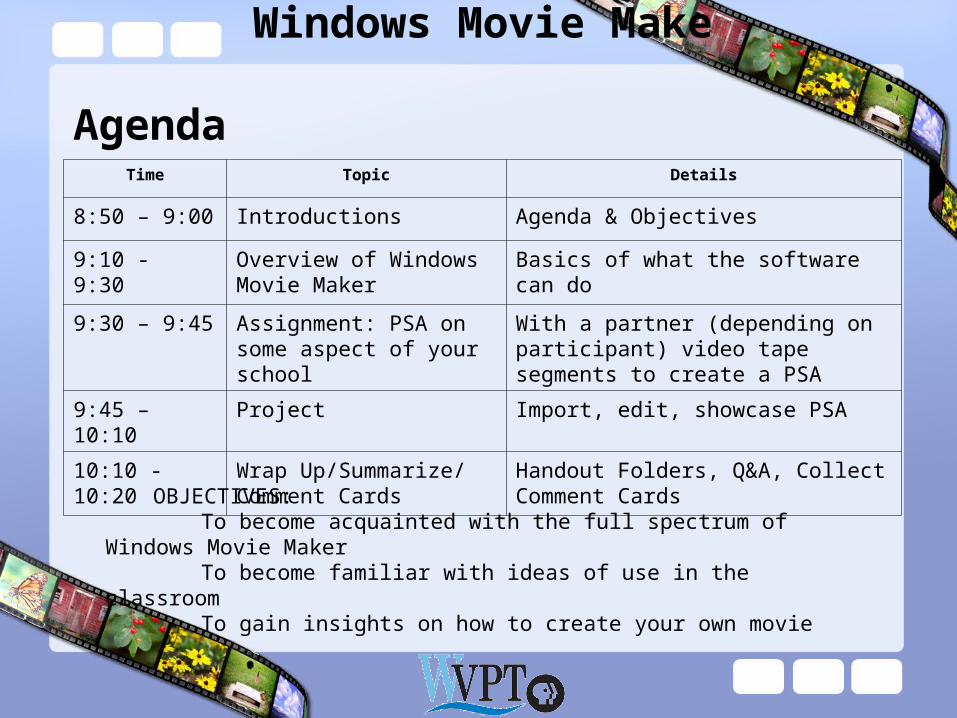
Windows Movie Make Agenda
Time Topic Details
8:50 – 9:00 Introductions Agenda & Objectives
9:10 - 9:30 Overview of Windows Movie Maker
Basics of what the software can do
9:30 – 9:45 Assignment: PSA on some aspect of your school
With a partner (depending on participant) video tape segments to create a PSA
9:45 – 10:10 Project Import, edit, showcase PSA
10:10 -10:20 Wrap Up/Summarize/Comment Cards
Handout Folders, Q&A, Collect Comment Cards
OBJECTIVES:To become acquainted with the full spectrum of Windows Movie MakerTo become familiar with ideas of use in the classroomTo gain insights on how to create your own movie
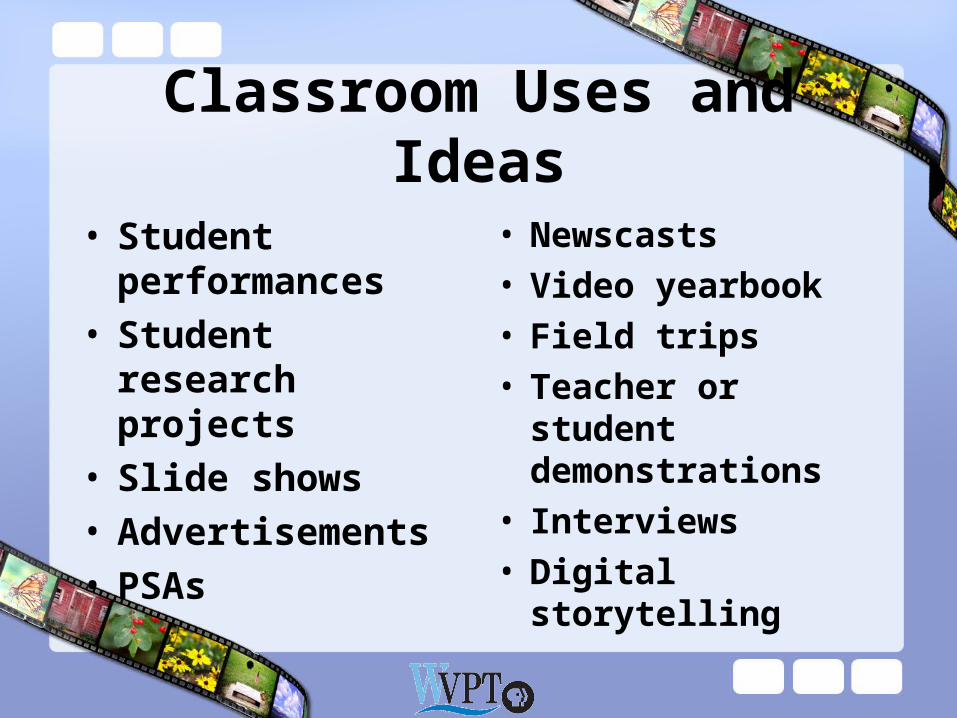
Classroom Uses and Ideas
• Student performances
• Student research projects
• Slide shows• Advertisements• PSAs
• Newscasts• Video yearbook• Field trips• Teacher or student
demonstrations• Interviews• Digital storytelling

Storyboard
• Organize ahead of time!
• Think about story and video
• Starts basic
• Plan shots
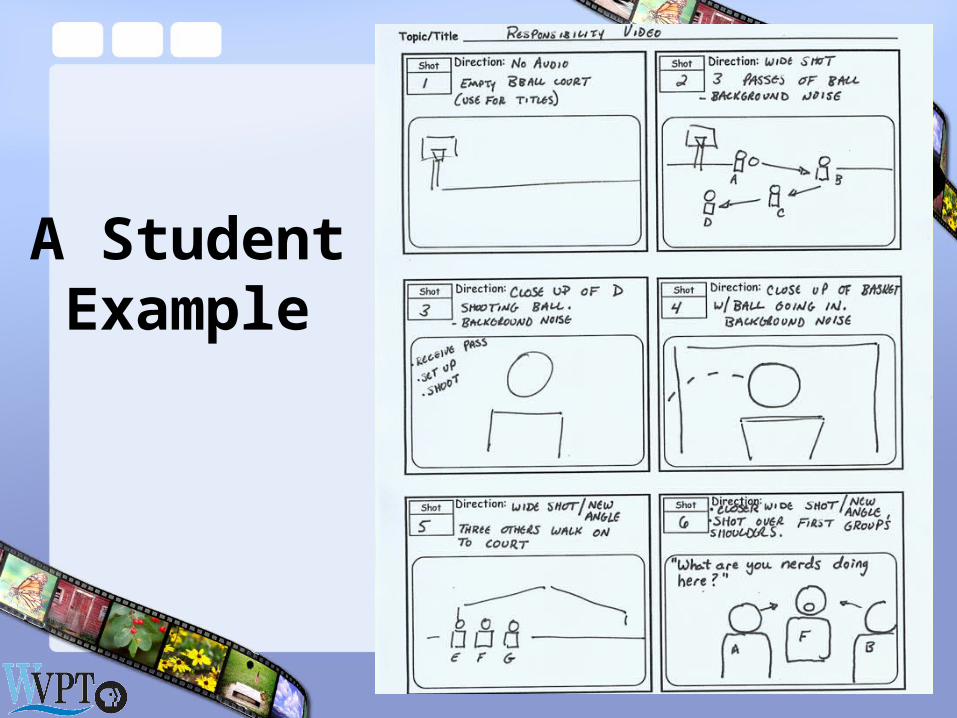
A Student Example
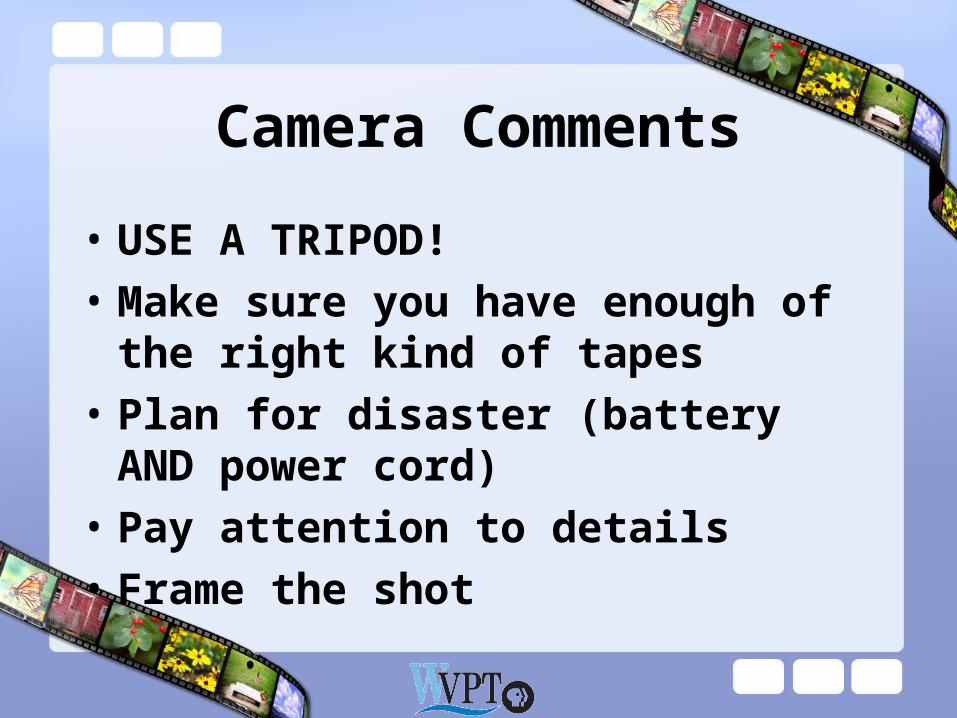
Camera Comments
• USE A TRIPOD!
• Make sure you have enough of the right kind of tapes
• Plan for disaster (battery AND power cord)
• Pay attention to details
• Frame the shot
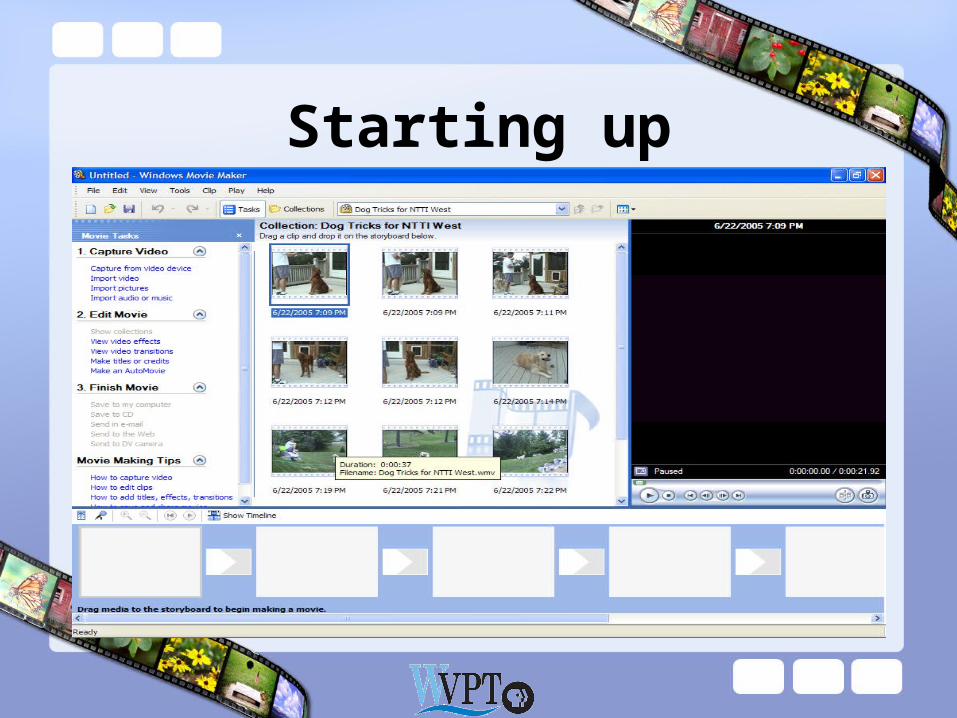
Starting up

Left sideTasks or Collections
• Movie tasks- Provides quick shortcuts to common tasks
• Collections- Lets you see the different collections of movies and music you have
• I prefer using the Movie Tasks option because it walks you through what to do.
Middle: Contents pane
• Shows clips within a collection
• Gives more detail on the different task options
• May also show photos and music to drag to storyboard or timeline
Right: Preview Window
• Previews movie
• Includes still frame and split image
• Works like a CD player
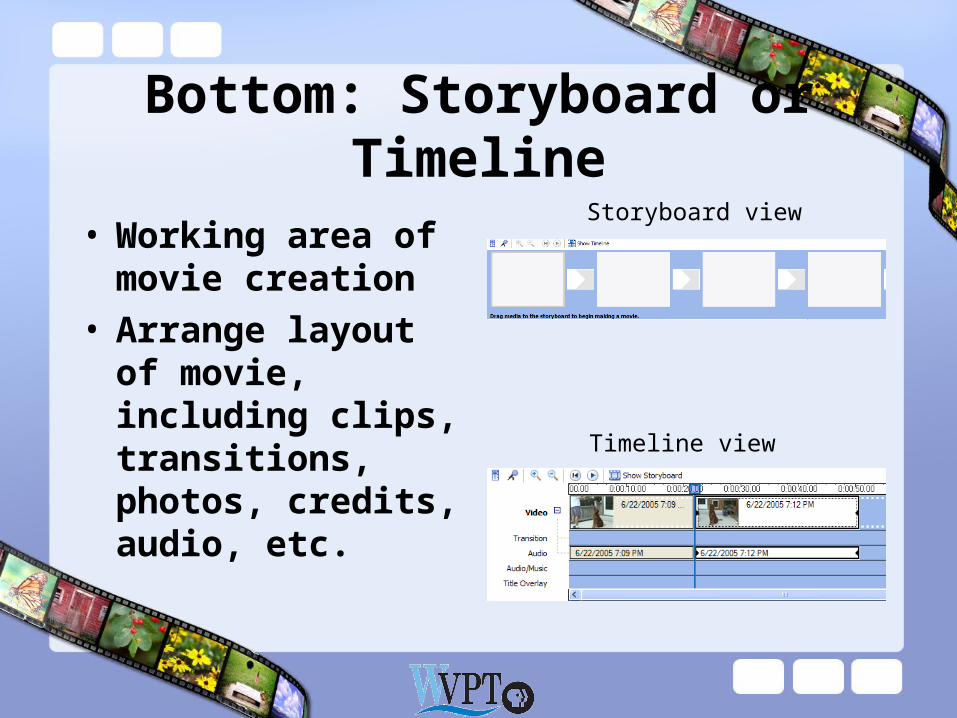
Bottom: Storyboard or Timeline
• Working area of movie creation
• Arrange layout of movie, including clips, transitions, photos, credits, audio, etc.
Storyboard view
Timeline view
You’ve taken the videoNow what?
Connect camera to computer
• Turn camera to VCR or VTR mode
• Open Windows Movie Maker
• Click “Capture from device”
• Video Capture Wizard pops up
• Select the DV camera
Or…..
• Connect your Flip Camera to computer
• Transfer video from camera to computer Remember, do not move your video until your project is finished
and a movie is rendered!!
• In WMM choose import video
• Locate video and click import

Images and Music
• In the Movie Tasks area
• Select “Import pictures” or “Import Audio or Music”
• Find pictures or music you want
• NOTE: Do NOT move movie, picture or audio files when working on the movie!

Next steps
• Preview and rename all of your clips
• Decide what you want to use and the order it will go in
• Move clips, images to storyboard
• Under tasks, choose “Make Title or Credit”
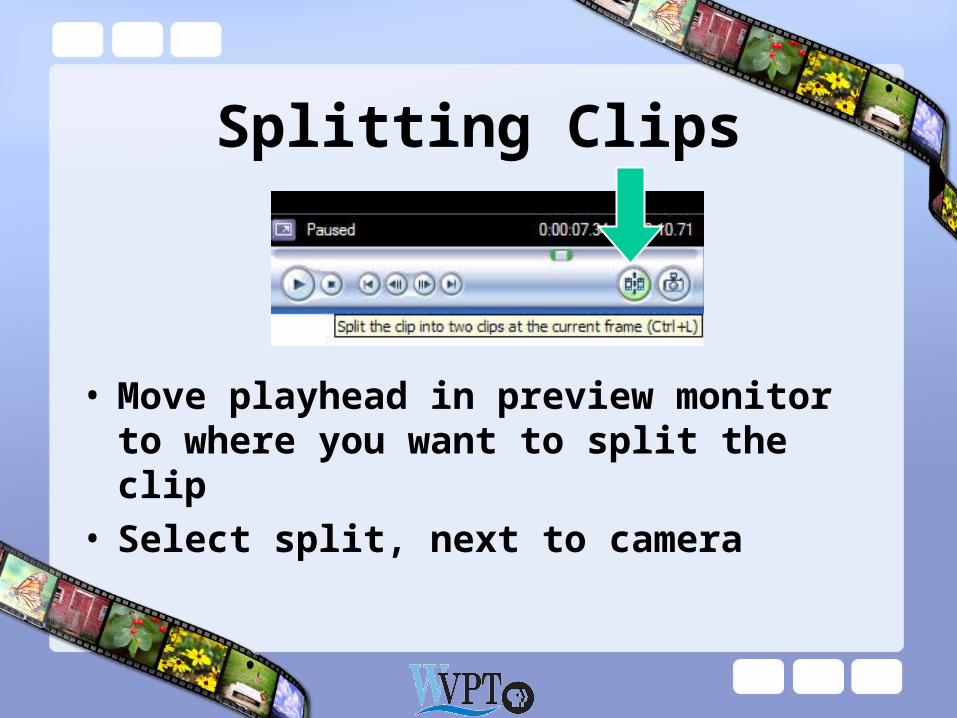
Splitting Clips
• Move playhead in preview monitor to where you want to split the clip
• Select split, next to camera

Adding Titles
• Decide where you want to add the title
• Top area is for main title
• Bottom area is for subtitles, author, etc.
• Preview in the preview area
• Automatically adds title to movie

Transitions
• Select “View Video Transitions” from task bar
• Choose one and preview
• Drag to small spot between clips

AutoMovie
• In Tasks, under Edit Movie, select “Make an AutoMovie”
• Choose style
• Enter a title
• Select music/background
• Great for quickies, slide shows, etc.

Editing clips in Timeline
• Timeline gives much more detailed information so is easier to edit
• Trim clips by clicking beginning/end and moving it to where you want to start/stop

Video Effects
• Under Tasks, Edit Movie, select “View video effects”
• View effects
• Select effect, click and hold while dragging it to the clip on the timeline or storyboard
• Apply up to 6 effect on one clip

Music Copyright Issues
• What can you use in the classroom?
• For student use: www.freeplaymusic.com allows students to use music in their presentations (NO teacher use for free)

I’m DONE! Exporting the video
• Under Tasks, Finish Movie, choose how you want the movie saved
• 3 best options: Save to my computer, Save to CD, and Save to DV Camera
• Give name and choose location• Choose setting, look at file size!• Will take a LONG TIME depending on the length!!!

Now It’s Your Turn• Choose a Partner (I brought 6 cameras)• Brain storm a quick PSA • Go record your scene• Return to our class and repeat steps
given earlier in PowerPoint• Create your PSA• Be sure to include: a title page, some
video and one transition

Remember, parents appreciate your efforts!

Resources and References
• Adobe Digital Kids Club lesson plans www.adobe.com/education/digkids/lessons/main.html
• WMM2 for beginners http://www.microsoft.com/windowsxp/using/moviemaker/getstarted/default.mspx
• Atomic Learning FREE tutorials www.atomiclearning.com/moviemaker2
• For Storyboard templates, you can try a Google search• For the Wiki www.wvpt4learning.org click on 4teachers. Scroll to
bottom, click on Teachers Wikis, click on Windows Movie Maker.