Embed Size (px)
DESCRIPTION
A guide to create a simple website in weebly
Citation preview

WEBSITEDEVELOPMENTA GUIDE TO CREATE A SIMPLE WEBSITE IN WEEBLY

TABLE OF CONTENTSI. HOW TO CREATE A WEBSITE IN WEEBLY
i. PROCESS
ii. BUILDING YOUR WEBSITE
iii. INSERTING YOUR META TAGS
iv. SITEMAPS
v. FOOTER AND BREADCRUMBS NAVIGATION
vi. HEADER TAGS
vii. IMAGES
viii. GOOGLE ANALYTICS
ix. WEBMASTER TOOLS

CREATE AWEBSITEWITH WEEBLY
CHAPTER ONE

CREATING A WEBSITE WITH WEEBLY3
CREATING A WEBSITE WITH WEEBLYAs we enter the digital age, the ability to create a website is an extremely valuable skill. It will be good to have prior experience, but none is required. The tool we recommend for beginners to create a website is Weebly.com. Weebly provides you a free and easy way to create a practical, functional, and appealing website in a short time frame. Weebly provides you an easy drag-n-drop editor that makes editing your website extremely simple and requires no coding experience.
This guide and its contents will guide you through the process of creating a weebly site.
Now with an easy editor comes limitations and there are plenty when it comes to using weebly. However, for those that have very little knowledge on how to create and take a website live, Weebly can help you accomplish this task very quickly.

CREATE A WEBSITE WITH WEEBLY:
PROCESS
CHAPTER TWO

CREATING A WEBSITE WITH WEEBLY: PROCESS5
PROCESS1. Visit http://www.Weebly.com and sign up
2. Choose a title for you website
Use keywords or key phrases that are SEO friendly if possible

CREATING A WEBSITE WITH WEEBLY: PROCESS6
CREATING A WEBSITE WITH WEEBLY3. Register your domain name (Very important: but you can also do this at a later time once your site is built if you prefer) a. Choose Option C “I already Own a Domain” i. Input a domain name you have already purchased
b. Select and copy the A Record Weebly provides you ie. 199.34.228.100

CREATING A WEBSITE WITH WEEBLY: PROCESS8
NAMECHEAP3. Find your domain name that you registered earlier and click on it.
4. Click on “All Host Records” on the left navigation bar under the “Host Management” section.

CREATING A WEBSITE WITH WEEBLY: PROCESS7
CREATING A WEBSITE WITH WEEBLYc. Visit the domain registration site that you purchased the domain name from. We recommend you visit a 3rd party site because if you buy it directly from Weebly prices are greatly inflated.
Example domain registration sites include, GoDaddy.Com, BlueHost.Com, and the example I am going to walk you through http://www.NameCheap.com
NAMECHEAP1. Log into your Name Cheap account
2. Find where it says “Number of domains in your account” and click “View”

CREATING A WEBSITE WITH WEEBLY: PROCESS9
NAMECHEAP4. Under “Record Type” select “A (Address)” for both options.
5. In the space to the left under “IP Address/URL” please paste the IP Address that you copied from your weebly account.
6. Scroll to the bottom and click “Save Changes”. You are now all done withregistering your domain name.

CREATE A WEBSITE WITH WEEBLY:
BUILDINGYOUR WEBSITE
CHAPTER THREE

CREATING A WEBSITE WITH WEEBLY: BUILDING YOUR WEBSITE11
After you have completed this selection you can select a different design template, it is not permanent
BUILDING YOUR WEBSITENow that you have registered you Domain Name it is time to start building your website.
1) Choose a design a. Select the design designated in the image to begin
2) Create Pages a. Click on the pages tab on the top part of the editor

CREATING A WEBSITE WITH WEEBLY: BUILDING YOUR WEBSITE12
BUILDING YOUR WEBSITEb, Click on “New Page” to add a new page. c. Name each page that you would like on your site.d. If you would like to add a blog, now click on “New Blog” and create a blog.
3) Start Building a. Dive in and start building beautiful web pages. b. Be sure to design the site with Conversion in mind. Some example Conversion goals might be to drive donations, receive volunteer applications, receive a contact submission, or simply watch a specific video. Be sure to design your web site with your specific conversion goal in mind. c. Be sure to watch the short http://www.Weebly.com video on the home page.

CREATE A WEBSITE WITH WEEBLY:
INSERTINGYOUR META TAGS
CHAPTER FOUR
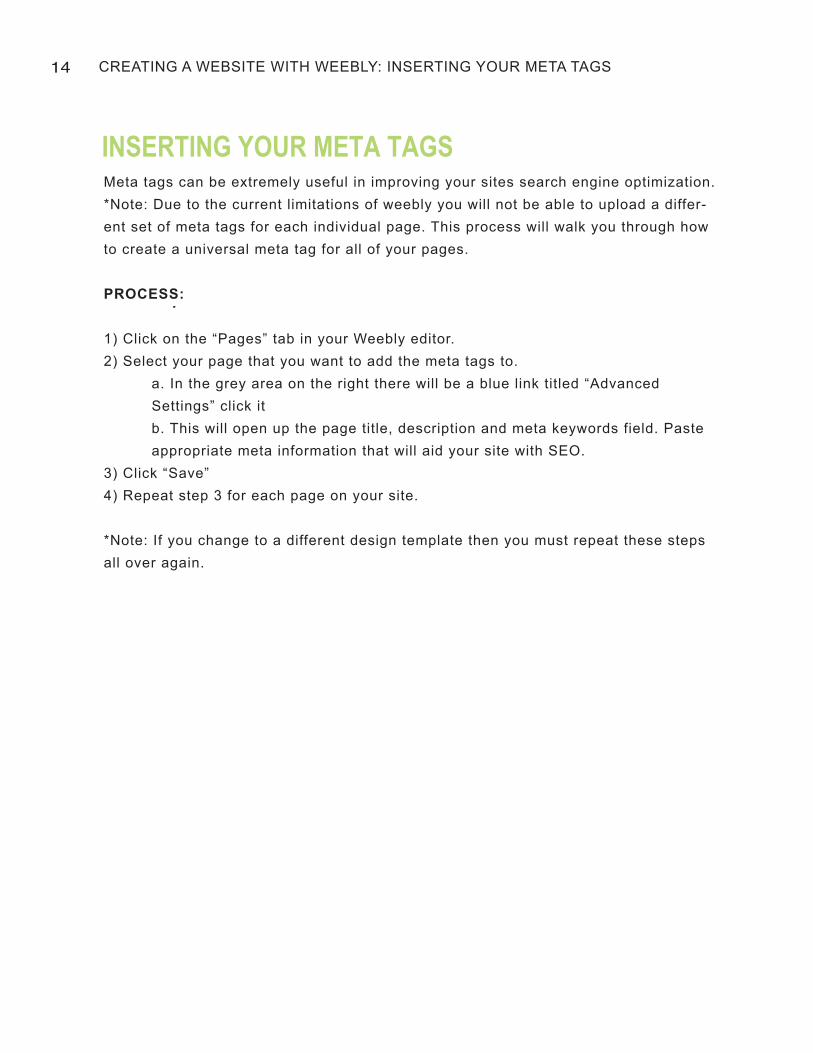
CREATING A WEBSITE WITH WEEBLY: INSERTING YOUR META TAGS14
INSERTING YOUR META TAGSMeta tags can be extremely useful in improving your sites search engine optimization. *Note: Due to the current limitations of weebly you will not be able to upload a differ-ent set of meta tags for each individual page. This process will walk you through how to create a universal meta tag for all of your pages.
PROCESS:
1) Click on the “Pages” tab in your Weebly editor.2) Select your page that you want to add the meta tags to. a. In the grey area on the right there will be a blue link titled “Advanced Settings” click it b. This will open up the page title, description and meta keywords field. Paste appropriate meta information that will aid your site with SEO.3) Click “Save”4) Repeat step 3 for each page on your site.
*Note: If you change to a different design template then you must repeat these steps all over again.

CREATE A WEBSITE WITH WEEBLY:
SITEMAPS
CHAPTER FIVE

CREATING A WEBSITE WITH WEEBLY: SITEMAPS16
SITEMAPSWeebly is a great tool to use because it automatically creates your XML Sitemap and updates for you. However, you will still need to create a text link sitemap. This will be intended to be a link in your footer navigation. Having this will make your site look more professional.
PROCESS:
1) Visit http://www.MYSITE.com/sitemap.xml and verify that it exists and that is up to date with all of your pages.2) Create a new page and title it “sitemap” leave out the .html because weebly will add it later. a. Make sure to select ‘No’ in the “Show in Navigation?” option b. Click on the “Edit This Page” button3) Now select the “Paragraph with Title” element and drop it onto the page4) Name the title “Sitemap”5) In the paragraph option create a new line for each page you have and link the title of each page to its respectable page.

CREATE A WEBSITE WITH WEEBLY:
FOOTER &BREADCRUMBSNAVIGATION
CHAPTER SIX

CREATING A WEBSITE WITH WEEBLY: FOOTER AND BREADCRUMBS NAVIGATION18
FOOTER & BREADCRUMBS NAVIGATIONIt is very important to have HTML navigation on your site and to interlink all of your pages. With that said you will need to create a footer and breadcrumbs navigation. It is very simple and just requires some copying and pasting.
*Note: You must have your Sitemaps created before doing this.
PROCESS FOR FOOTER NAVIGATION:
1) Open your weebly editor and be on the home page.2) Click on the “Paragraph” element and drag it to the very bottom of the page.

CREATING A WEBSITE WITH WEEBLY: FOOTER AND BREADCRUMBS NAVIGATION19
it should look like this: Page 1 | Page 2 | Page 3
FOOTER AND BREADCRUMBS NAVIGATION
5) Once you have finished linking the pages center the text a. *Optional – Divide each link with a divider “|”.
b. To create the divider hold down the CTRL button and hit the forward slash “\” button above ENTER.
3) Double click on it to edit the text and type in the title for all of your pages.4) Now link the text to their respectable pages. Use the text editor at the top to link them. a. To link just highlight the title of the page in the text and click on the link button at the top in the editor. Then select the page from “Your Pages”

CREATING A WEBSITE WITH WEEBLY: FOOTER AND BREADCRUMBS NAVIGATION20
7) Once it is on every page you can go ahead and delete the paragraph box you created on your homepage.
FOOTER AND BREADCRUMBS NAVIGATION6) Now to get this footer on every page do the following: a. Publish your site and visit your homepage with the footer you just created. b. Now right click anywhere on the page and select “View Source Code” and then scroll down to where your content ends and find the code for your entire footer. It should look like this:
</div><!-- /box -->
</div>
<div class="paragraph" style=" text-align: center; "><a href="/index.html">San Diego Photographer</a> | <a href="/san-diego-headshots.html">San Diego Headshots</a> | <a href="/acting-head-shots.html">Acting Head Shots</a> | <a href="/san-diego-event-photographer.html">San Diego Event Photographer</a> <br />| <a href="/professional-model-photography.html">Professional Model Photography</a> | <a href="/sorority-event-photographer.html">Sorority Event Photography</a> | <a href="/contact.html">Contact Us Now</a> | <a href="/sitemap.html">Sitemap</a> | <a href="/links.html">Links</a> | <a href="/privacy-policy.html">Privacy Policy</a> |<br />
c. Now select that code and copy it.d. Open up your Weebly editor and select the “Design” tab and select “Edit HTML/CSS”e. Make sure you are under the HTML tabf Locate this snippet of code:
g. Enter a space after the code and paste the code you copied from your source code.h. Hit the “Preview” tab to make sure it looks right.
</div><!-- end id:content -->

CREATING A WEBSITE WITH WEEBLY: FOOTER AND BREADCRUMBS NAVIGATION21
FOOTER AND BREADCRUMBS NAVIGATIONPROCESS FOR BREADCRUMBS NAVIGATION *Optional*:
1) Open your weebly editor and be on the home page.2) Click on the “Paragraph” element and drag it to the very top left of the page.3) Double click on it to edit the text and type in the title of your pages 4) Now link the text to their respectable pages. Use the text editor at the top to link them. a. To link just highlight the title of the page in the text and click on the link button at the top in the editor. Then select the page from “Your Pages”5) Divide each link with a divider
It should look like this: Page 1 -> Page 2 -> Current Page

CREATE A WEBSITE WITH WEEBLY:
HEADERTAGS
CHAPTER SEVEN

CREATING A WEBSITE WITH WEEBLY: HEADER TAGS23
HEADER TAGSWeebly allows you to create titles for pages, but they are not H1 titles. Therefore, it is very important that you create your own. By adding in H1 Titles instead of Weebly Titles, your site will be much more SEO friendly and more people will find your website organically. PROCESS:
1) Open your home page on the weebly editor2) Select the “Custom HTML” element and drag-n-drop to the very top of your page.3) Click on “Edit HTML”4) Now insert the following h1 tags a. <h1>Your Title of the Page</h1>5) Now you most likely see a giant unneeded space appear after making this change. Do not worry about this it only shows in the editor. If you publish and view your site it comes out fine.6) Repeat this process on every page.

CREATE A WEBSITE WITH WEEBLY:
IMAGES
CHAPTER EIGHT

CREATING A WEBSITE WITH WEEBLY: IMAGES25
IMAGESMake sure to add your pages keywords to the alt text of every image on your site. Only the search engines can view alt text so you don’t need to worry if the images match the alt text.
PROCESS:
1) Open your page of choice in the weebly editor2) Select the image element and drag into your place of choice. Upload your image.3) Once your image is uploaded click on the “Advanced” tab on the image editor tool bar (its on the left)
4) In the box where it says “Alt Text:” enter your keywords (2 max)5) Repeat these steps for every image on every page. Mix up the keywords and spread them out evenly.

CREATE A WEBSITE WITH WEEBLY:
GOOGLEANALYTICS
CHAPTER NINE

CREATING A WEBSITE WITH WEEBLY: GOOGLE ANALYTICS27
GOOGLE ANALYTICSIn order for you to track your web site’s performance you will need to track your ana-lytics. Analytics help you optimize conversion and better understand how your audi-ence uses your website.
PROCESS:
1) Visit http://www.google.com/analytics login and/or sign up2) On the far right open up the drop down menu and select “Create New Account”
3) Click on “Sign Up” and input all of the appropriate information and follow the steps as instructed. 4) Once you are given a string of code copy the code and go to your weebly editor.5) In weebly editor click on the “Settings” tab and then select “(SEO) Search Engine Optimization”
6) In the “Footer Code:” box paste your code that you received from Google then click save.

CREATE A WEBSITE WITH WEEBLY:
WEBMASTERTOOLS
CHAPTER TEN
CREATING A WEBSITE WITH WEEBLY: WEBMASTER TOOLS29
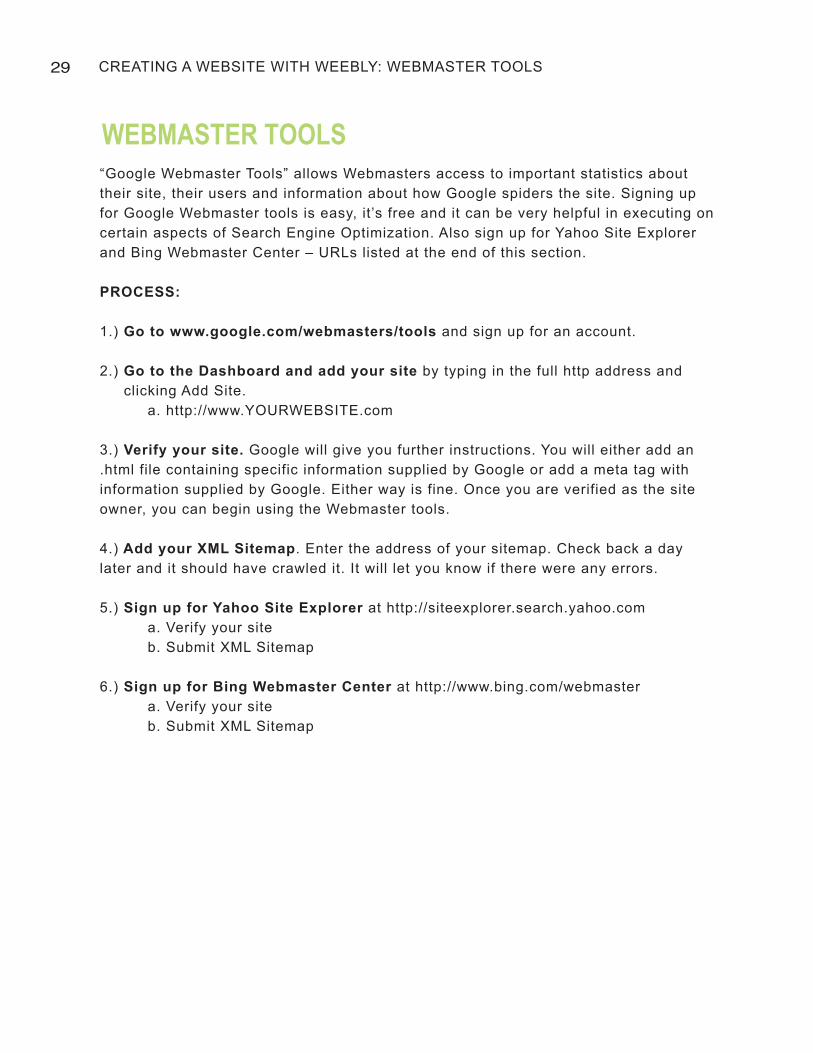
WEBMASTER TOOLS“Google Webmaster Tools” allows Webmasters access to important statistics about their site, their users and information about how Google spiders the site. Signing up for Google Webmaster tools is easy, it’s free and it can be very helpful in executing on certain aspects of Search Engine Optimization. Also sign up for Yahoo Site Explorer and Bing Webmaster Center – URLs listed at the end of this section.
PROCESS:
1.) Go to www.google.com/webmasters/tools and sign up for an account.
2.) Go to the Dashboard and add your site by typing in the full http address and clicking Add Site. a. http://www.YOURWEBSITE.com
3.) Verify your site. Google will give you further instructions. You will either add an .html file containing specific information supplied by Google or add a meta tag with information supplied by Google. Either way is fine. Once you are verified as the site owner, you can begin using the Webmaster tools.
4.) Add your XML Sitemap. Enter the address of your sitemap. Check back a day later and it should have crawled it. It will let you know if there were any errors.
5.) Sign up for Yahoo Site Explorer at http://siteexplorer.search.yahoo.com a. Verify your site b. Submit XML Sitemap
6.) Sign up for Bing Webmaster Center at http://www.bing.com/webmaster a. Verify your site b. Submit XML Sitemap