Embed Size (px)
Citation preview

Using Eclipse

What is Eclipse? • The Eclipse Platform is an open source IDE
(Integrated Development Environment), created by IBM for developing Java programs.
• Eclipse is now maintained by the Eclipse Foundation, not IBM.
• A free copy can be downloaded at: – http://www.eclipse.org/
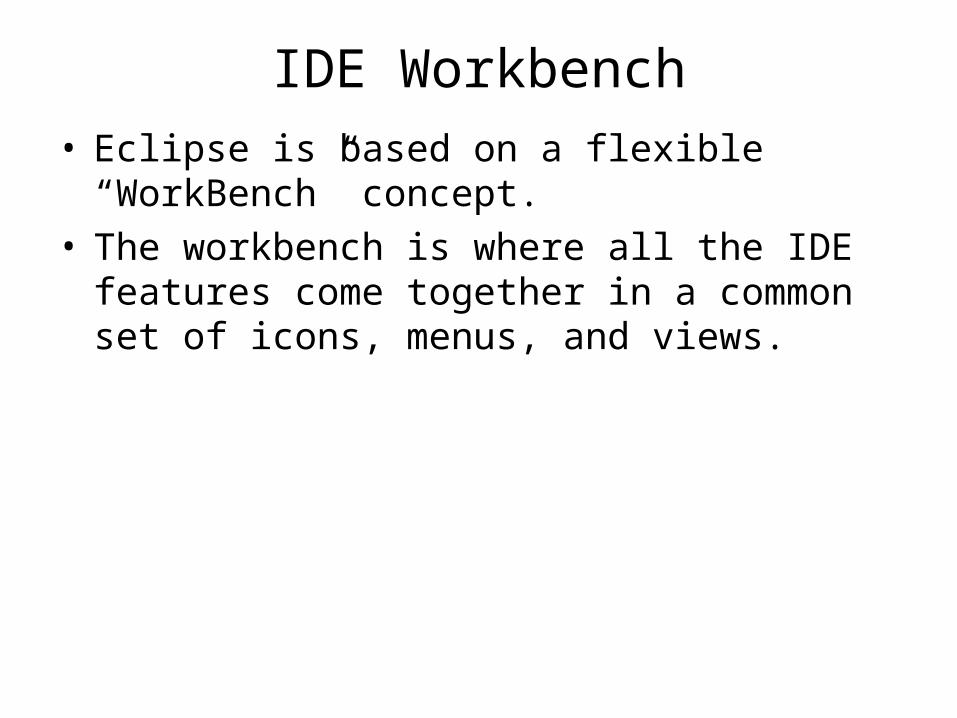
IDE Workbench• Eclipse is based on a flexible “WorkBench” concept. • The workbench is where all the IDE features come
together in a common set of icons, menus, and views.

Console – where your program output is displayed and inputs are acceptedConsole – where your program output is displayed and inputs are accepted
Package Explorer – where your Project, Packages and Classes are created
Package Explorer – where your Project, Packages and Classes are created
Source Code Editor – where you enter the Java code for your program
Source Code Editor – where you enter the Java code for your program
Eclipse Workbench

Projects• A Project enables you to operate in the Eclipse
WorkBench • Before you can create any Java programs, you must
first create a Project

Creating Your Project• First - Select: File>New>Java Project– (Or Click the Java Project Icon)

Creating Your Project (cont’d)• Next: Enter PACE as the Project Name• Select “Use default JRE …”• Select “Use project folder as root …”• Click Finish

Packages
• Packages help you organize your Java source code• Packages are like folders for your Java code• Before we can enter our Java code, we have to
create a package to hold our code

Create Your Package• Option 1:
– File > New > Package
• Option 2:– Right Click on the PACE
Project Name – Select: New > Package
• Option 3:– Click the Package ICON in the
toolbar just below the menubar

Create Your Package (cont’d)• Enter a package name that represents your program– Start with a lowercase– No spaces or special symbols– If you use multiple words, capitalize
each additional word– Put Pkg at the end of your
package name
Example: helloWorldPkg
• Click Finish when done

Classes• Classes are where the work of your program is done• Typically, you’ll have a separate class for each logical
component of your program
Example: a Climate Control system might have classes for:– Thermometer– Thermostat– Cooling system– Heating system
• For most of our early programs we will only create one class for the main program
• For our final Spring project, we will create a program with multiple classes

Creating a Class• Option 1:
– Click on your package name
– Select: File>New> Class
• Option 2:– Right Click on your package
name – Select: New > Class
• Option 3:– Click the “New Class”
ICON in the toolbar just below the menubar

Creating a Class• Enter a Class Name that represents your program
– Start with an uppercase– No spaces or special symbols– If you use multiple words,
capitalize each additional word
Example: HelloWorld
• Select the checkbox next to “public static void main”
• Click Finish when done

Saving your code• Notice the top of your editor tab where your class name is
shown. The “*”indicates it has not been saved.
• Press CTRL-S to save your file. CTRL-S saves your file and compiles it in one step.
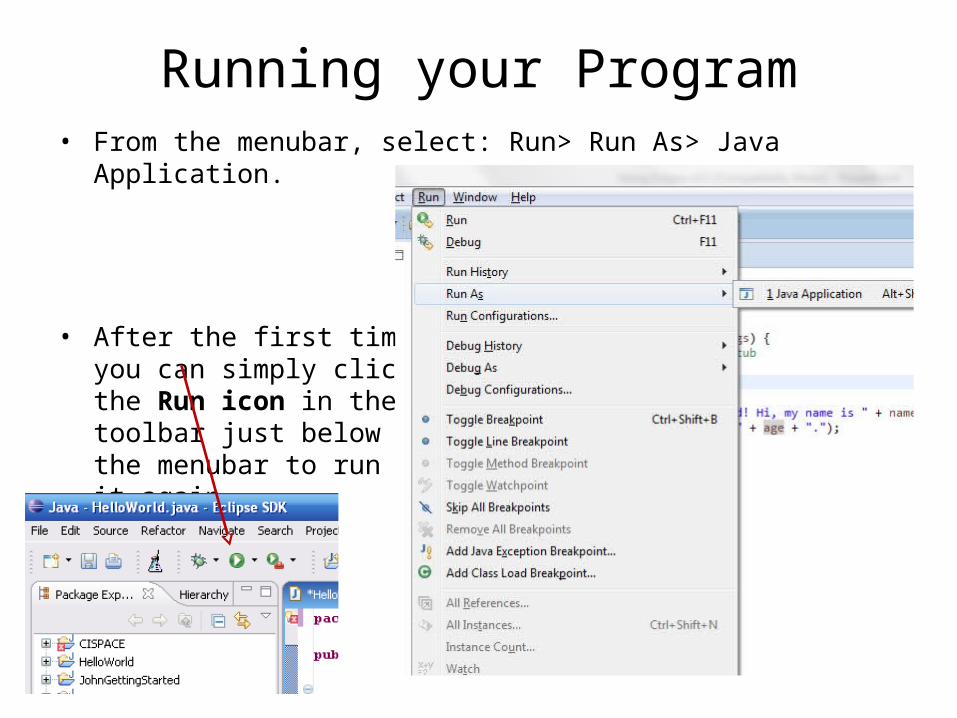
Running your Program• From the menubar, select: Run> Run As> Java Application.
• After the first time, you can simply click the Run icon in the toolbar just below the menubar to run it again

Check your Output in the Console
Console – where your program output is displayed and inputs are acceptedConsole – where your program output is displayed and inputs are accepted

Exporting your Java Code• Export enables you to save your Java code to a file in
the filesystem• In industry, typically you would export your code to a
JAVA Archive (JAR) file• This enables you to then distribute your code, along
with all resources and images, to other users
• In our class, we will use a standard archive (ZIP) file

Exporting your Java Code• Option 1:– Click on your package
name– Select: File > Export …
• Option 2:– Right Click on your package
name – Select: Export …
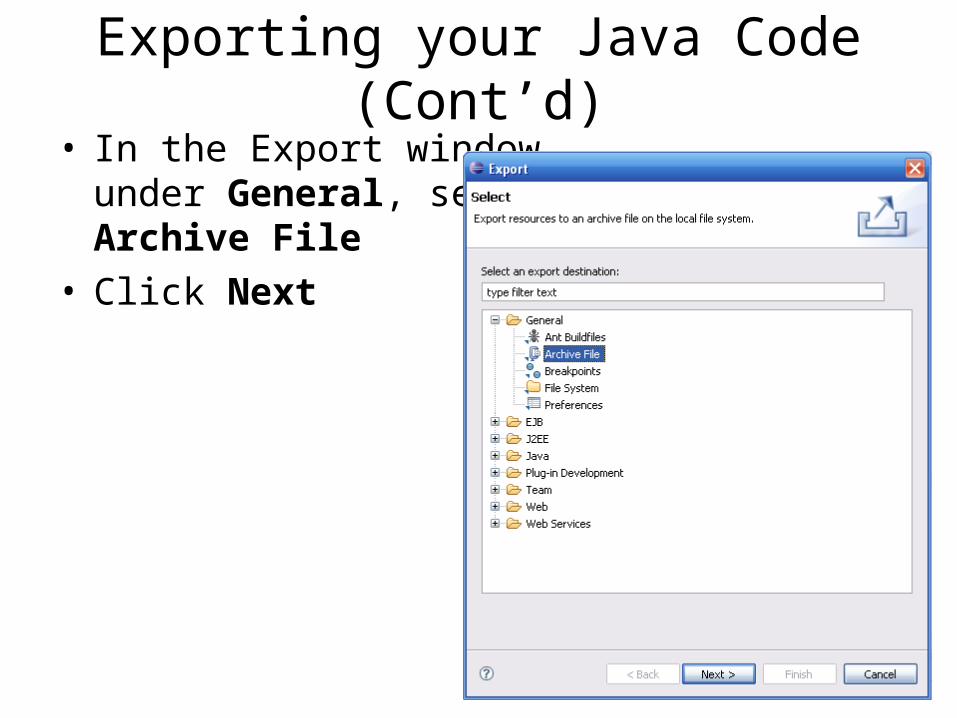
Exporting your Java Code (Cont’d)• In the Export window,
under General, selectArchive File
• Click Next

Exporting your Java Code (Cont’d)• Be sure the checkboxes for your class files are selected as well as the
checkbox for your package
• Click Browse and locate the entry for yourthumbdrive in theresulting window, then open the thumbdrive andenter a filename. When you click Open, the driveand filename will appearin this window
• Click Finish when done

Exporting your Java Code (Cont’d)• When you clicked Browse in the prior window, the window below
appears and will enable you to locate your Removable thumbdrive.
• Double-click thethumbdrive icon,then enter aFile name in which to export your class
• Click Open whendone
• You will return tothe prior window

Importing your Java Code• Import enables you to retrieve your prior work from
your thumbdrive and load it into Eclipse
• First, create a PACE Project using the procedures previously reviewed

Importing your Java Code (Cont’d)• Option 1:– Click on the PACE
Project name– Select: File > Import …
• Option 2:– Right Click on the PACE
Project name – Select: Import …

Importing your Java Code (Cont’d)• Next, under the General
category, click Archive File
• Click Next

Importing your Java Code (Cont’d)• Click Browse to locate the file you previously exported to
yourThumbdrive
• Make sure yourcode will be imported into thePACE project folder
• Click Finish when done

Importing your Java Code (cont’d)• After importing your package, you will typically see a red X in the left
margin indicating a problem with the package definition
• Click the red X
• In the resulting window thatappears, choosethe 1st option - Move <classname>.javato <packageName>