Embed Size (px)
Citation preview

Unit 4 Lesson 3 HTML Power Techniques
Textbook Authors:
Knowlton, Barksdale, Turner, & Collings
PowerPoint Lecture
by Mr. Clausen

Mr. Dave Clausen 2
The Exciting Web• The Web is full of pictures, sounds, and movies
that add interest to Web pages.• There are two main types of pictures, graphics, or
images on the Internet.– .jpg (.jpeg) or Joint Photographic Expert Group– .gif or Graphics Interchange Format
• Fonts can be changed by using the <FONT> tag and attributes and values.
• Tables allow a web page to be divided up into parts, creating special spaces for each new element or piece of information.
• Tables, fonts, and pictures add power to web pages.

Mr. Dave Clausen 3
Tags to Emphasize Text• Here are a few more tags that can enclose words or
phrases to help them stand out:• <b>Bold Text</b>• <strong>Strong Text</strong>• <em>Emphasized Text</em>• <i>Italics</i>• <strong> vs. <b> Part 1• <strong> vs. <b> Part 2
Page_429_Net_Tip.html

Mr. Dave Clausen 4
Using the <font> Tag• The <font> tag allows you to specify the color, the
size, and the font to be used for text on a Web page.• The syntax for the <font> tag is:
<font size=“size” color=“color” face=“face”> your text here </font>
– The size attribute allows you to specify the font size of the text
– The color attribute allows you to change the color of individual characters or words
– The face attribute specifies a particular font for a section of text

Mr. Dave Clausen 5
Font Attributes and Values
• It is possible to change the size, color, or style of the font for a word, sentence, paragraph, or even the entire page.
• The <FONT> tag’s attributes control size, style and color:
• Size: <FONT SIZE=#>Text Here</FONT>• Style: <FONT FACE=#> Text Here</FONT>• Color: <FONT COLOR=#> Text Here</FONT>
Fourteen.html

Mr. Dave Clausen 6
Figure 3-2

Mr. Dave Clausen 7
Net Fun
• To open a link in a new window use the target attribute with “_blank” as the value:
<a href=“http://www.google.com” target=“_blank”>Google</a>
• Using _blank for a target will open the content in a new window every time.
• Email links launch your default email program, and include a specified address
• Email link syntax:<a href=“mailto:[email protected]”>Send Email</a>

Mr. Dave Clausen 8
Graphics• Pictures can be added to your web page.• Pictures can be acquired from clip art, scanned
images, or from digital cameras.• Two common formats for pictures are .gif and .jpg• The Graphics Interchange Format is abbreviated as
GIF.• GIF files incorporate a compression scheme to keep
file sizes low, but they are limited to 8-bit (256 or fewer colors – do not use for photographs).
• “GIFs” can include animated pictures or pictures with a transparent background.

Mr. Dave Clausen 9
Graphics 2• .jpg or .jpeg is short for Joint Photographic Expert
Group.• This format includes compression that allow file
sizes to be smaller and load faster on a web page.• Unlike GIF graphics, JPEG images are full-color
images (24 bit, or "true color"). • Once an image is compressed using JPEG
compression, data is lost and you cannot recover it from that image file.
• Therefore, it is recommended that you save an uncompressed original file of your graphics or photographs as backup.

Mr. Dave Clausen 10
Graphics Formats
Which is the best graphics format to use?

Mr. Dave Clausen 11
The Image Tag• HTML images are defined with the <img> tag.• To display an image on a page, you need to use the src
(source) attribute.• The value of the src attribute is the URL of the image
you want to display on your page.• IMG SRC is short for IMaGe SouRCe.<img src="url"><img src=“images/mypicture.jpg”><img src=“levy.gif"><img src = “http://www.domain.com/folder/picture.jpg>

Mr. Dave Clausen 12
The Image Tag Alt Attribute • The alt attribute is used to define an "alternate text" for an
image. • The value of the alt attribute is defined by the web page creator. <img src=“MyPicture.jpg" alt=“Short Description of my Picture">• The "alt" attribute tells the viewer what is missing from the web
page if the browser can't load the picture. • The browser will then display the alternate text instead of the
image, for example: <img src=“FenderStrat.jpg" alt=“Fender Stratocaster Guitar"><img src=“images/mypicture.jpg” height=“100” width=“200”
alt=“My Picture”>• It is considered a good practice to include an "alt" attribute for
each image on your web page. Fifteen.html Fifteen-2.html

Mr. Dave Clausen 13
Pictures of All Sizes• Pictures can be aligned in the center, left or right
side of a web page.• By using the HEIGHT and WIDTH attributes you
can change the size of the picture.• Controlling the exact size of a picture can be very
helpful in making a page look the way that you want it to look.
• To make a picture become the background of your web page, use the background attribute of the BODY tag.
• For example: <BODY background = “levy.gif”>Sixteen.html

Mr. Dave Clausen 14
Image Tag Attributes
• Using the align attribute, we can align the image to the right, center, left, top, or middle.
• The width tag will tell the browser how wide to display the image in pixels or percentages.
• This is useful to set a placeholder for the image as it loads.
• The height tag tells the browser how tall to display the image in pixels.
• Try experimenting with W3Schools TryIt Editor:
Align Width and Height

Mr. Dave Clausen 15
Image Tag Attributes 2
• Here is a summary of image tag attributes:

Mr. Dave Clausen 16
Image Hyperlinks
• Your pictures can also be used as hyperlinks.• If you wish, you can add a border around the
picture to make it obvious that it is a link.• <img border="2" src=“YourPic.jpg“>• To make the image a link, precede your
picture with an anchor tag, for example:• <a href=“YourPage.htm">• <img border="2" src=" YourPic.jpg "
Try it out at W3Schools

Mr. Dave Clausen 17
Tables• Tables create little boxes in which you can place
things to keep them organized. • To create a table use the <TABLE> tag• Cells can have a border by adding a BORDER
attribute and a number value• You can make cells appear larger around pictures
and text with the CELLPADDING attribute.• You can align pictures and text to the center, left, or
right in a table’s cell.Basic Table Tag Attributes

Mr. Dave Clausen 18
Using Table Tags
• Tables are enclosed within the two-sided <table> </table> tags that identify the start and ending of the table.
• Each row of the table is created using a two-sided <tr> </tr> tag(for table row).
• Within each table row, a two-sided <td> </td> (for table data) tag creates individual table cells.

Mr. Dave Clausen 19
Table Syntax• The general syntax of a graphical table is:
<table> <tr>
<td> First Cell </td><td> Second Cell </td>
</tr> <tr>
<td> Third Cell </td><td> Fourth Cell </td>
</tr></table>– This creates a table with two rows and two columns.

Mr. Dave Clausen 20
Basic table structure
<table border=“1”> <tr> <td>Row 1, Column 1</td> <td>Row 1, Column 2</td> </tr> <tr> <td>Row 2, Column 1</td> <td>Row 2, Column 2</td> </tr></table>

Mr. Dave Clausen 21
HTML Structure of a Tablebeginning of the table structure
first row of six in the table
end of the table structure
table cells
You do not need to indent the <td> tags or place them on separate lines, but you may find it easier to interpret your code if you do so.
After the table structure is in place, you’re ready to add the text for each cell.

Mr. Dave Clausen 22
Table Headings
• HTML provides a <th> </th> tag for table headings.
• Text using the <th> </th> tag is centered in the cell and displayed in bold.
• The <th> </th> tag is used for column headings, but you can use it for any cell that you want to contain centered boldfaced text.

Mr. Dave Clausen 23
Table Caption
• HTML allows you to specify a caption for a table.• The syntax for creating the caption is:
<caption align=“alignment”>caption text</caption>• This tag immediately follows the <table> tag.
– alignment indicates the caption placement• a value of “bottom” centers the caption below the table
• a value of “top” or “center” centers the caption above the table
• a value of “left” or “right” place the caption above the table to the left or right

Mr. Dave Clausen 24
Table Attributes• By default, browsers display tables without
table borders.• <table border=“value”>• The cell spacing attribute controls the amount of
space inserted between table cells.• <table cellspacing=“value”>• Cell padding refers to the space within the cells.• <table cellpadding=“value”>• All of the above values are measured in pixels.
CellPaddingTryIt CellSpacingTryIt

Mr. Dave Clausen 25
Table & Cell Sizes
• The way to specify a table size is: <table width=“size” height=“size”>– Size refers to the width and height of the
table as measured in pixels or as a percentage of the display area.
• To set the width of an individual cell, add the width attribute to either the <td> or <th> tags.
• The syntax is: width=“value”– value can be expressed either in pixels or as a
percentage of the table width.

Mr. Dave Clausen 26
Aligning the Contents of a Table
• By default, cell text is placed in the middle of the cell, aligned with the cell’s left edge.
• By using the align and valign attributes, you can specify the text’s horizontal and vertical position.
• To align the text for a single column, you must apply the align attribute to every cell in that column.

Mr. Dave Clausen 27
Text Alignment Example

Mr. Dave Clausen 28
Table Backgrounds• Table elements support the bgcolor attribute. • To specify a background color for all of the cells in a
table, all of the cells in a row, or for individual cells, by adding the bgcolor attribute to either the <table>, <tr>, <td>, or <th> tags as follows:<table bgcolor=“color”><tr bgcolor=“color”><td bgcolor=“color”><th bgcolor=“color”>
• You can replace the color in each of the above with a graphic, for example:
<table background=“YourPicture.jpg”>

Mr. Dave Clausen 29
Figure 3-10
Seventeen.html

Mr. Dave Clausen 30
Extraordinary Extras
• There are data input, or <FORM> tag, options added to HTML.
• These options give various ways to ask questions to visitors of the web page.
• These tags not only give extra functionality to your web page, they also make your page more exciting and extraordinary.
• Four basic input tags are: Text boxes, Drop down lists, Radio buttons, and Check boxes.

Mr. Dave Clausen 31
Creating Forms• Forms are created using the form element,
structured as follows:
<form attributes>elements
</form>
– Attributes control how the form is processed.– Elements are placed within the form.

Mr. Dave Clausen 32
Form Attributes
• Form attributes tell the browser the location of the server-based program to be applied to the form’s data.
• Two attributes are available to identify the form: id and name.
<form name=“name” id=“id”>… </form>

Mr. Dave Clausen 33
Input Boxes• The general syntax of an input element is as follows:
<input type=“type” name=“name” id=“id” />• Input types:
type=“button”• This displays a button that can be clicked to perform an
action from a script.type=“checkbox”
• This displays a check box.type=“radio”
• This displays a radio button.type=“text”
• This displays an input box for text entered by the user.

Mr. Dave Clausen 34
Selection List & Check Boxes
• A selection list is a drop down box where a user selects a particular value. – A selection list is useful when there is a predetermined
set of choices.
• To create a selection list, use the <select> tag.• List each selection using the <option> tag.• To create a check box, use:
<input type=“checkbox” name=“name” id=“id” value=“value”/>
Eighteen.html

Mr. Dave Clausen 35
Forms And HTML
• While HTML supports the creation of forms, it does not include tools to process the information.
• The information can be processed through a program running on a Web server.

Mr. Dave Clausen 36
Programs To Process Data in Forms
• Server-based programs are written in many languages.
• The earliest and most commonly used are Common Gateway Interface (CGI) scripts that are written in perl.
• Some popular languages include:– AppleScript - PHP– ASP - Perl– C/C++/C# - Visual Basic
Mr. Dave Clausen 37
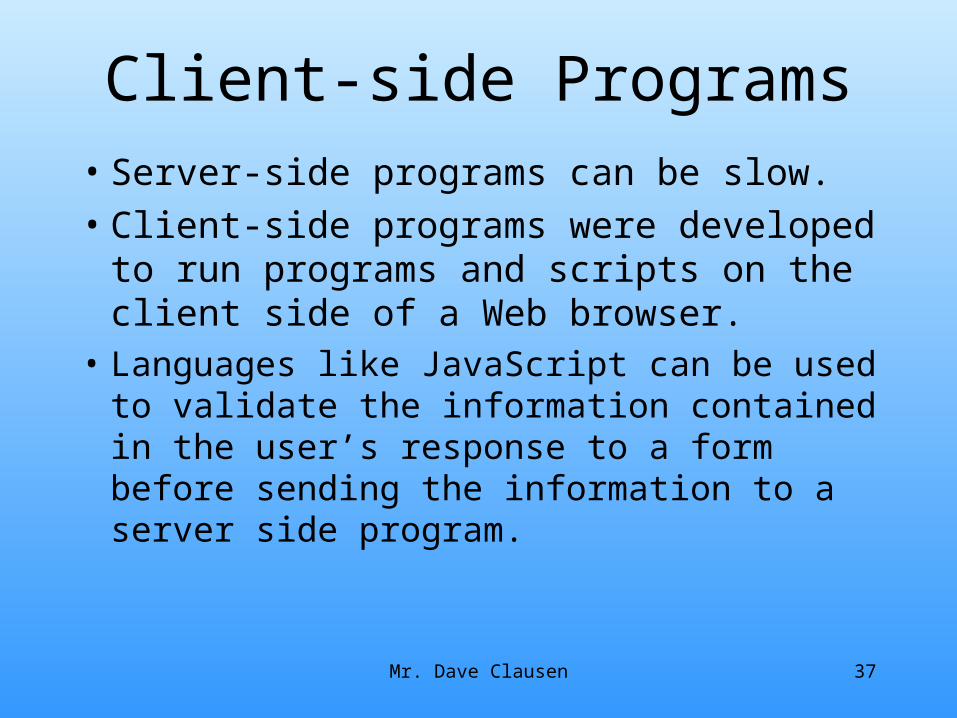
Client-side Programs
• Server-side programs can be slow.
• Client-side programs were developed to run programs and scripts on the client side of a Web browser.
• Languages like JavaScript can be used to validate the information contained in the user’s response to a form before sending the information to a server side program.