Embed Size (px)
Citation preview

GYNECOLOGIC ANATOMY WORKSHOPFOR STUDENT AND RESIDENT LEARNERS
FACILITATOR GUIDE
AUTHORS Sumana Koduri MD
Raj Narayan MD
1
Table of Contents
Overview of Workshop……………………………………………………………..3Learner Audience…………………………………………………………………...3Workshop Objectives……………………………………………………………….3Why Use This Workshop…………………………………………………………...4Detailed Workshop Plan…………………………………………………………… 4Lessons Learned…………………………………………………………………….4Session Evaluation………………………………………………………………….5Required Resources………………………………………………………………... 6Workbook………………………………………………………………………….. 7Answer Key For Workbook………………………………………………………...15Pictures From Our Workshops……………………………………………………...
17
2
OVERVIEW
This resource involves an interactive instructional method to improve 3D pelvic anatomy knowledge of medical students and residents, through the use of modeling. A team of 2-3 learners work together to build the pelvis using household craft materials.
The workshop uses a tray that shows an abdominal view of the pelvis, and focuses on the vasculature of the pelvis, and the ureter in relation to the vessels. An 8.5” X 11” plastic tray is used for the abdominal cavity. Felt and yarn are used to create the abdominal aorta and its branches. The ureter is placed by the learner in proper anatomic position. Small felt models of the uterus, bladder and terminal rectum are placed into the pelvis to understand their relationship to the vasculature. Clear plastic wrap (Clingwrap®), felt and vinyl are placed over the tray to mimic the layers of the abdominal wall. Once the abdominal wall is complete, various incisions can be made into the abdominal wall. Incisions can be simulated and closures actually performed with suture. The anatomy and clinical correlates are then reviewed by the preceptor.
A work book with step-by-step instructions and questions to answer on building the model and making incisions is provided. The learners evaluate the utility and atmosphere of the workshop at the end.
This model reinforces the basics of pelvic anatomy required by early gynecology learners. Performing various incisions and closures also provides some surgical simulation experience. This workshop correlates the anatomy to laparoscopic and abdominal surgery
LEARNER AUDIENCE
This workshop can be used for learners at the medical school level as well as the early resident level. In our institution, we run the workshop at the beginning of each third-year obstetrics/gynecology clerkship. We also have the first year residents do the workshop during their orientation month, as they are starting their residency.
WORKSHOP OBJECTIVES
1. To describe the major vasculature in the pelvis starting from the abdominal aorta.
2. To describe the vascular input to the various organs in the pelvis.
3. To understand the course of the ureter from the kidney to the bladder and its relation to
various organs and vascular structures.
4. To describe the configuration of the abdominal wall.
5. To list various abdominal incisions.
6. To simulate various abdominal incisions and their closure
3
WHY USE THIS WORKSHOP
This workshop is a fun way to learn in a team based setting. It takes 2 hours. Learners use household craft materials that are relatively cheap. This workshop illustrates relevant anatomy with good clinical correlation and orients the learner to the abdominal pelvis. Simulation exercises also provide hands-on experience in suturing and knot-tying.
DETAILED WORKSHOP PLAN
1. The tables are set up for 2-3 learners at each table. The materials are put together by the administrative support personnel ahead of time (see REQUIRED RESOURCES below).
2. The facilitator (faculty) orients the learners to the abdominal wall model as well as the materials being used.
3. The students follow step-by-step instructions provided in the workbook (see REQUIRED RESOURCES – Workbook)
4. At the end of each section in the workbook, the learners are asked to stop so the facilitator can review the relevant anatomy that was built so far. Each section takes ~ 20-30 minutes.
5. The facilitator reviews the anatomy with the learners, providing relevant clinical points, such as the relationship between the ureter and uterine artery, the blood supply to ovaries being separate from the uterus allowing ovarian preservation with hysterectomy, etc.
6. For the last section, the learners are each given an incision to perform on their model and are provided the tools to do so. They follow the gynecology textbook provided to learn about these incisions. They also have an opportunity to close these incisions with suture and needle holders. Typical incisions used are 1. Midline incision, 2. Pfannensteil incision, 3. Maylard incision, and 4. Cherney incision. We typically discuss with them afterward reasons for various incisions, why peritoneum may or may not be closed during the closure, and other clinically relevant points.
7. The faculty member/members circulate among the group helping the learners with these various tasks through the course of the workshop
8. Learners are asked to fill out the evaluation forms prior to leaving.
LESSONS LEARNED
This has been an easy workshop to implement. A 2 hour block of time in a classroom that can accommodate all learners working in groups of 2-3. Initially we had 2-3 faculty members circulate among the students to review the anatomy with the individual groups at various times during the workshop. We have found however that one faculty member is enough to run the workshop. This has helped considerably in scheduling. That faculty member reviews the anatomy with diagrams/surgical pictures projected on a screen at various times during the workshop. This was found to be just as effective and did not affect the evaluations.
4
SESSION EVALUATION
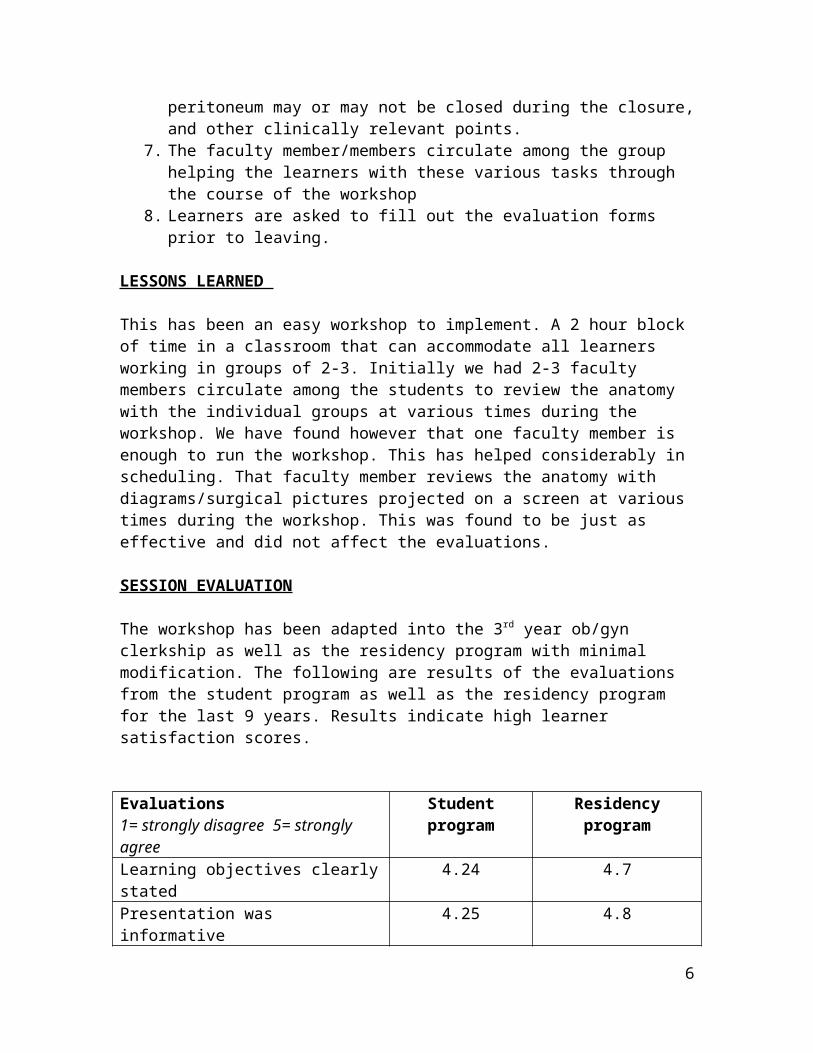
The workshop has been adapted into the 3rd year ob/gyn clerkship as well as the residency program with minimal modification. The following are results of the evaluations from the student program as well as the residency program for the last 9 years. Results indicate high learner satisfaction scores.
Evaluations1= strongly disagree 5= strongly agree
Student program Residency program
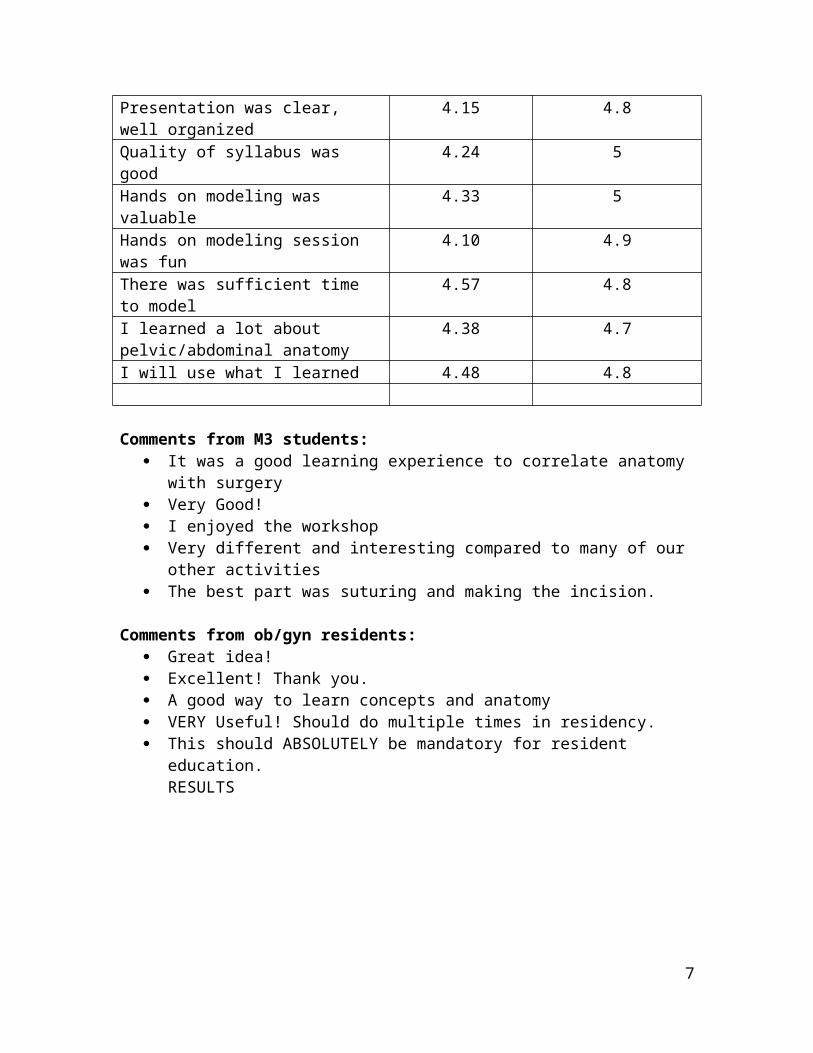
Learning objectives clearly stated 4.24 4.7Presentation was informative 4.25 4.8Presentation was clear, well organized 4.15 4.8Quality of syllabus was good 4.24 5Hands on modeling was valuable 4.33 5Hands on modeling session was fun 4.10 4.9There was sufficient time to model 4.57 4.8I learned a lot about pelvic/abdominal anatomy
4.38 4.7
I will use what I learned 4.48 4.8
Comments from M3 students: It was a good learning experience to correlate anatomy with surgery Very Good! I enjoyed the workshop Very different and interesting compared to many of our other activities The best part was suturing and making the incision.
Comments from ob/gyn residents: Great idea! Excellent! Thank you. A good way to learn concepts and anatomy VERY Useful! Should do multiple times in residency. This should ABSOLUTELY be mandatory for resident education.
RESULTS
5
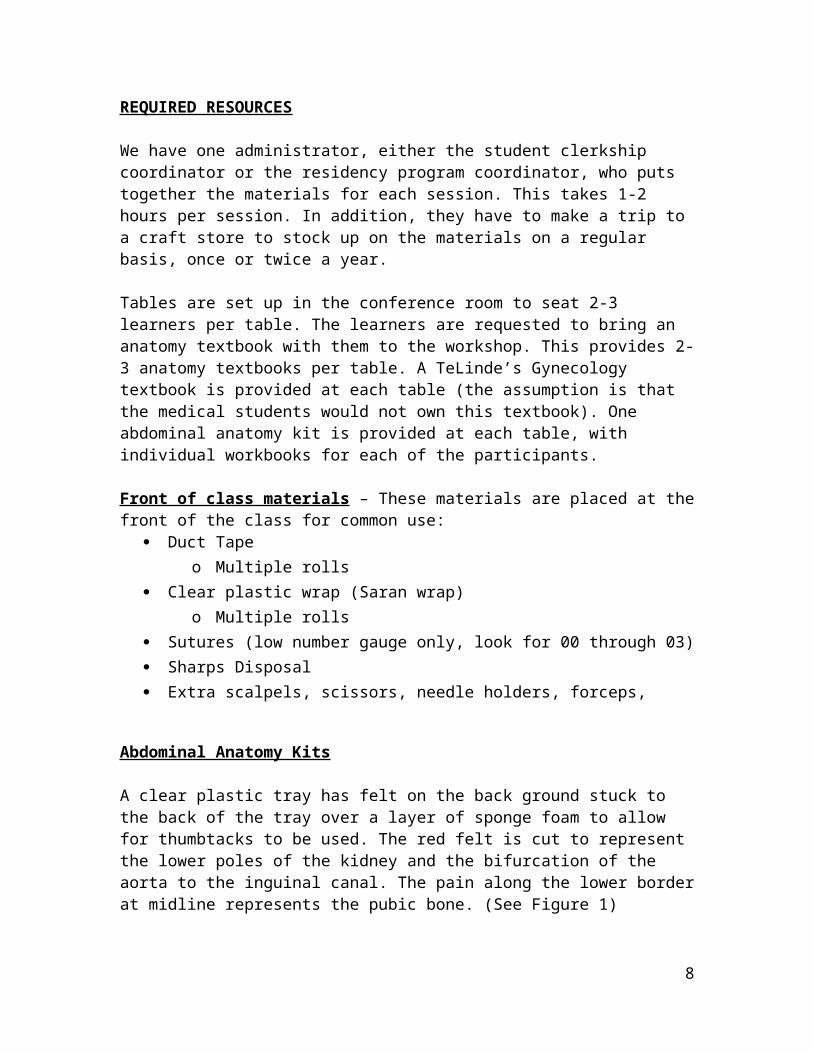
REQUIRED RESOURCES
We have one administrator, either the student clerkship coordinator or the residency program coordinator, who puts together the materials for each session. This takes 1-2 hours per session. In addition, they have to make a trip to a craft store to stock up on the materials on a regular basis, once or twice a year.
Tables are set up in the conference room to seat 2-3 learners per table. The learners are requested to bring an anatomy textbook with them to the workshop. This provides 2-3 anatomy textbooks per table. A TeLinde’s Gynecology textbook is provided at each table (the assumption is that the medical students would not own this textbook). One abdominal anatomy kit is provided at each table, with individual workbooks for each of the participants.
Front of class materials – These materials are placed at the front of the class for common use:
Duct Tape o Multiple rolls
Clear plastic wrap (Saran wrap)o Multiple rolls
Sutures (low number gauge only, look for 00 through 03) Sharps Disposal Extra scalpels, scissors, needle holders, forceps,
Abdominal Anatomy Kits
A clear plastic tray has felt on the back ground stuck to the back of the tray over a layer of sponge foam to allow for thumbtacks to be used. The red felt is cut to represent the lower poles of the kidney and the bifurcation of the aorta to the inguinal canal. The pain along the lower border at midline represents the pubic bone. (See Figure 1)
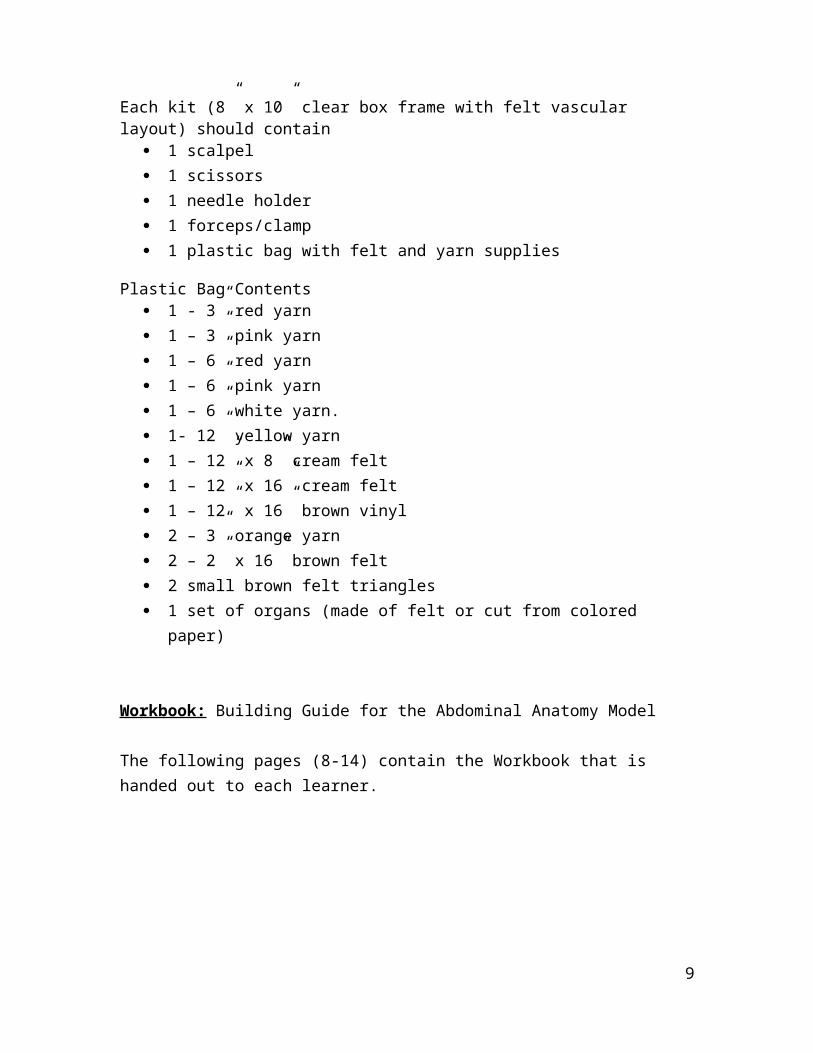
Each kit (8” x 10” clear box frame with felt vascular layout) should contain 1 scalpel 1 scissors 1 needle holder 1 forceps/clamp 1 plastic bag with felt and yarn supplies
Plastic Bag Contents 1 - 3” red yarn 1 – 3” pink yarn 1 – 6” red yarn 1 – 6” pink yarn
6
1 – 6” white yarn. 1- 12” yellow yarn 1 – 12” x 8” cream felt 1 – 12” x 16” cream felt 1 – 12” x 16” brown vinyl 2 – 3” orange yarn 2 – 2” x 16” brown felt 2 small brown felt triangles 1 set of organs (made of felt or cut from colored paper)
Workbook: Building Guide for the Abdominal Anatomy Model
The following pages (8-14) contain the Workbook that is handed out to each learner.
7
BUILDING GUIDE FOR THE ABDOMINAL ANATOMY MODEL
Dept of Ob/Gyn
Medical College of Wisconsin
“BE CURIOUS ALWAYS.
FOR KNOWLEDGE WILL NOT ACQUIRE YOU: YOU MUST ACQUIRE IT”- Sudie Back
8
Objectives
7. To describe the major vasculature in the pelvis starting from the abdominal aorta.
8. To understand the vascular input to the various organs in the pelvis.
9. To follow the course of the ureter from the kidney to the bladder and its relation to various
organs and vascular structures.
10. To understand the configuration of the abdominal wall.
11. To describe various abdominal incisions.
12. Be able to simulate various abdominal incisions and their closure.
9

BUILDING THE ABDOMINAL CAVITY
I. ORIENTATION TO THE MODEL
A. The abdominal aorta with its bifurcation has been provided at the superior one-third
of the tray.
B. The inferior portion of the renal pelvises are present at the top of the tray.
C. The pubic symphysis is depicted by white paint on the trays.
D. Identify the bladder, uterus, and rectum. Place the organs at the inferior portion of the
tray.
E. Please use the provided pins to attach the various structures.
F. Pick one side to work on.
You may now proceed. Have fun!
II. MAJOR VASCULATURE
A. At what vertebral level is the bifurcation of the abdominal aorta?
__________________________________________
B. Attach a 6” red yarn to either left or right common iliac artery to represent the
internal iliac artery (hypogastric artery). This will also become the anterior division.
C. Attach a 3” red yarn to the internal iliac artery to represent the posterior division.
D. Attach the two arteries that come from the external iliac artery (one 6” and one 3”
pink yarn). Let the 6” yarn hang over the side of the tray.
1. What are these two arteries?
____________________________________
____________________________________
2. What does the external iliac artery become after the above two arteries branch
off?
____________________________________
E. Attach two 3” pieces of orange yarn to the posterior division of the internal iliac a.
F. 1. What are these two arteries?
____________________________________
____________________________________
10
2. What does the posterior division of the hypogastric artery become after these
two arteries branch off?
_____________________________________
G. Attach the uterine artery from the anterior division of the hypogastric artery to the
uterus (use white yarn)
H. List the remaining branches of the anterior division of the hypogastric artery
______________________________ ________________________________
______________________________ ________________________________
______________________________ ________________________________
______________________________ ________________________________
______________________________ ________________________________
I. Place a ureter with yellow yarn from the kidneys following proper anatomical
course. (Remember – Water under the Bridge!). Attach it to the bladder.
J. Place the ovarian artery from the aorta to the (imaginary) ovary (use white yarn)
1. Where do the ovarian arteries and veins originate and drain into?
_________________________________________________________________
_________________________________________________________________
-------------------STOP!!! The preceptor will review with you before proceeding ---------------
11
III. ABDOMINAL WALL
A. Using a strip of Clingwrap® as the visceral peritoneum, cover the rectum, uterus and
bladder (including its folds). Discuss the following with your partner. You do not
have to demonstrate them.
1. Where is the Pouch of Douglas?
2. Where is the broad ligament?
3. Where are the uterosacral ligaments? Where do they attach?
4. Where are the cardinal ligaments? Where do they attach?
B. Cover the whole abdominal wall with the parietal peritoneum. (Press n Seal® wrap
– Place and seal over the whole tray).
C. The pink yarn hanging over the tray pierces through the parietal peritoneum and
runs upward along the midportion of each side. Model it now.
What artery is this?
_______________________________________
D. Cover the upper half of the tray with crème felt. Tape tightly at the sides. This is the
posterior sheath. What level is its most inferior point?
_______________________________________
_______________________________________
E. Next lay two long strips of brown felt longitudinally across the tray. This will
represent the rectus abdominis. Note there is a slight separation at the midline.
1. What are the superior and inferior attachments of the rectus abdominis?
_______________________________________
_______________________________________
2. What is the vessel that runs below the rectus abdominis (Hint: Same vessel as in
C above)?
_______________________________________
F. Place two small triangles of brown felt with the base attached to the pubic bone.
This represents the pyramidalis muscle.
1. What are the superior and inferior attachments of the pyramidalis muscle?
_______________________________________
_______________________________________
G. Attach a layer of crème felt to cover the whole abdomen. Pin the two layers of crème
felt together at the midline between the two strips of rectus abdominis muscle.
12
1. What does the crème felt represent and what are its components?
________________________________________________________________
________________________________________________________________
________________________________________________________________
________________________________________________________________
2. Where is the linea alba?
---------------STOP! The preceptor will review the anatomy before proceeding.-------------------
H. Place the skin over the whole tray and tape down the whole tray to the table with duct
tape.
IV. The preceptor will now choose an incision for you to perform. One of you may
perform the incision and closure and one of you may assist. Remember, proper
handling of instruments and proper knot tying methods.
A. List the steps of the incision layer by layer (cut or separate, transversely or
longitudinally)
____________________________________________________
____________________________________________________
____________________________________________________
____________________________________________________
____________________________________________________
B. List the steps of the closure:
____________________________________________________
____________________________________________________
____________________________________________________
____________________________________________________
____________________________________________________
--------CONGRATULATIONS!!! YOU HAVE COMPLETED THE WORKSHOP!!!---------
13
Evaluation: Building the abdominal cavity
Date:
Please evaluate: 1=strongly disagree 5=strongly agree
Learning objectives clearly stated 1 2 3 4 5
Presentation was informative 1 2 3 4 5
Presentation was clear, well-organized 1 2 3 4 5
Quality of syllabus was good 1 2 3 4 5
Hands on abdominal modeling was valuable 1 2 3 4 5
Hands on modeling session was fun 1 2 3 4 5
There was sufficient time to model 1 2 3 4 5
I learned a lot about pelvic/abdominal anatomy 1 2 3 4 5
I will use what I learned 1 2 3 4 5
This should be mandatory forresident education 1 2 3 4 5
Other comments:
Thank you. Please return .
14

ANSWER KEY FOR WORKBOOK:
II A. approximately L4
II D 1. Inferior epigastric artery Deep circumflex artery
II D 2. Femoral artery
II F 1. Iliolumbar arteryLateral sacral artery
II F 2. Superior gluteal artery
II H. Umbilical arteryObturator arteryInferior gluteal arteryMiddle rectal (hemorrhoidal) arteryInternal pudendal artery + branch is Inferior rectal (hemorrhoidal) arteryUterine artery + branch is Vaginal arterySuperior vesical arteryInferior vesical artery
II J 1. The ovarian arteries originate on the aortaThe left ovarian vein drains into the left renal veinThe right ovarian vein drains into the right renal vein
III C. Inferior epigastric artery
III D. This is the arcuate line. It is approximately 1/3rd of the way down between the umbilicus and the pubis.
III E 1. Superior attachments: Ribs 4-7 and xiphoid processInferior attachment: Pubic bone
III E 2. Inferior epigastric artery
III F 1. Superior attachment: Linea albaInferior attachment: Pubic bone
III G 1. The two layers of crème felt represent the anterior and posterior sheaths of the rectus fascia. The posterior sheath (only seen above the arcuate line) is made up of the aponeuroses of the transversus abdominis muscle and the posterior half of the internal oblique muscle. The anterior sheath is made up of the aponeuroses of the anterior half of the internal oblique muscle and the external oblique muscle. As we move inferiorly from the
15

superior portion of the posterior sheath, the fibers of the posterior sheath transition to the anterior side to fuse with the anterior sheath. This transition is complete at the arcuate line, where there is no posterior sheath anymore.
III G 2. The fusion of the rectus muscles at the midline.
IV. The steps in this section are incision dependent and should be discussed with the groups individually.
16

PICTURES FROM OUR WORKSHOPS:
Figure 1: Clear plastic tray that is first given to each table.
Figure 2: Workshop at end of section II
17
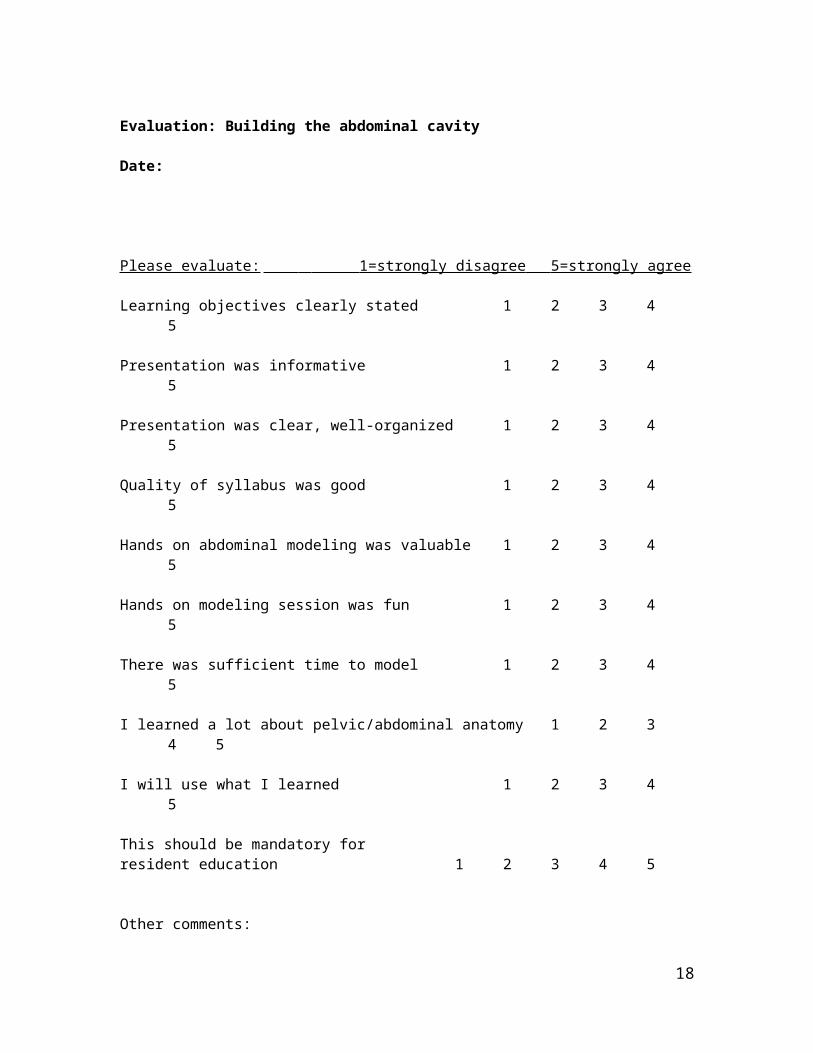
Figure 3: Workshop during section III
Figure 4: Workshop in progress with materials in view
18

Figure 5: Making a midline incision on the pelvic anatomy model
Figure 6: Incision in view
19
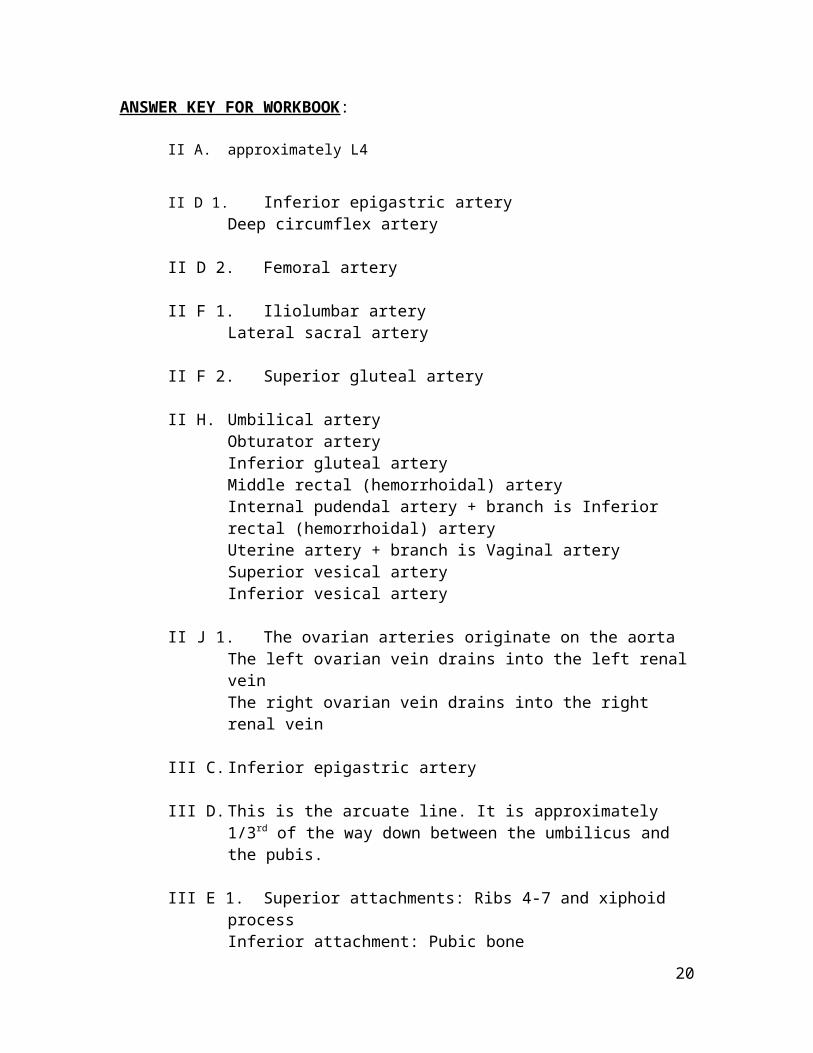
Figure 7: Closure of incision
***************** Thank you for your interest in this workshop ****************
20