Embed Size (px)
Citation preview

Using The Elf on the Shelf® to count down (Math).
CC standard: Relate counting to addition and subtraction
Materials:• The Elf on the Shelf® Advent template (one per student) (page 2)• Pocket paper template (copies on red paper) (page 3)• The Elf on the Shelf® stick topper template (one per student) (page 4)• Toothpick (one per student)
Lesson: Tell the students that they are going to be able to tell you how many days are le� until Christmas, because they are going to make The Elf on the Shelf® countdown calendar (If your school does not allow you to celebrate Christmas you can count down the days until school gets out for winter break. If you choose to count down to Christmas, students can take their Advent calendars home with them to continue counting down). Explain that each day you are going to take away or subtract one day, so together you can count down until Christmas.
Begin by writing the numbers 0-20 on the board. As you write, say the number aloud and ask the students to repeat a�er you. Now, repeat the exercise moving backwards from 20-0. Each time you move down, remind the students that you are taking away one.
Then, pass out the The Elf on the Shelf® Advent template and the pocket paper template. Students should cut out the numbered pockets using the dotted lines. Once they are cut, the numbers will most likely be out of order. So, a�er everyone is finished cutting their paper pockets, you should point to each number on the board again. Say the number. Students should count along with you and put their numbered strips of paper back in numerical order from 0-20.
Once their pockets have been placed in numerical order, the students should begin to glue them onto their advent template. Explain to the children that since they are counting down the days until Christmas (or winter break), they must start with the highest number at the top of the page. For ease, you can instruct students to begin gluing in the bottom right hand corner of the paper with “0.” Explain that zero is Christmas Day, so there is no more counting to do.
Set the pockets aside and allow them to dry. Then allow students to color and then cut out The Elf on the Shelf® stick topper. Be sure the suit is red like the one on your scout elf. Then tape the tiny topper to the top of one of the toothpicks.Once the Advent calendar pockets are dry, your students can each begin their countdown by placing the toothpick with the topper in the corresponding days le� until Christmas. You can use string to hang these in the classroom.
Activity/Follow up: As a class, each day you can impress the scout elf with your ability to tell him/her how many days you have le�. Count with the students and subtract a day. Allow them to move their stick toppers to the corresponding pocket. When your students leave on break, they can take the countdown calendar with them to continue the countdown.
1
• Scissors• Glue • Tape
The Elf on the Shelf®
First Grade
The Elf on the Shelf® Teacher Resource Center | ® and © 2014 CCA and B, LLC. All Rights Reserved.

2
The Elf on the Shelf® Advent
20 19 18 17 16 15 14
13 12 11 10 9 8 7
6 5 4 3 2 1 0
The Elf on the Shelf® Teacher Resource Center | ® and © 2014 CCA and B, LLC. All Rights Reserved.

3
20
20
19 18 17 16 15 14
13 12 11 10 9 8 7
6 5 4 3 2 1 0
Pocket Paper TemplateCut out the numbers along the dotted line. Then, glue the le�, right, and bottom sides taking care to NOT get glue on the center of the paper. Place each pocket on top of its corresponding number on The Elf on the Shelf® Advent on page 2. Continue until all numbers have been placed. Be sure students DO NOT get glue on the top. Glue along le�, bottom,
and right sides.
The Elf on the Shelf® Teacher Resource Center | ® and © 2014 CCA and B, LLC. All Rights Reserved.
4
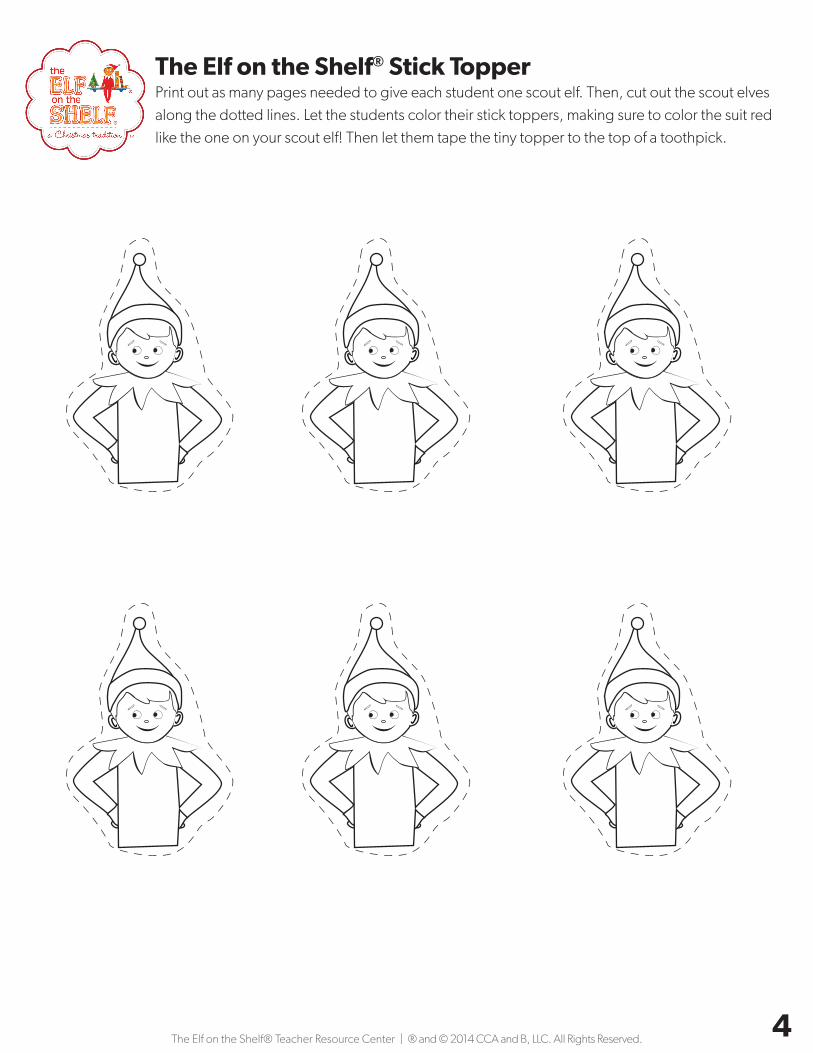
The Elf on the Shelf® Stick TopperPrint out as many pages needed to give each student one scout elf. Then, cut out the scout elves along the dotted lines. Let the students color their stick toppers, making sure to color the suit red like the one on your scout elf! Then let them tape the tiny topper to the top of a toothpick.
The Elf on the Shelf® Teacher Resource Center | ® and © 2014 CCA and B, LLC. All Rights Reserved.