Embed Size (px)
Citation preview

1Test-Driving the Doodlz App
from Android Studio
O b j e c t i v e sIn this online supplement, you’ll:
■ Import an Android app’s Eclipse project into Android Studio.
■ Launch an AVD from Android studio.
■ Run the Doodlz drawing app on an AVD from Android Studio.
© Copyright 1992-2015 by Pearson Education, Inc. All Rights Reserved.
Produced by Paul Deitel for the books Android for Programmers, 2/e and Android How to Program, 2/e

2 Chapter 1 Test-Driving the Doodlz App from Android Studio
1.1 Test-Driving the Doodlz Drawing App in an Android Virtual Device (AVD)In this section, you’ll run and interact with your first Android app. The Doodlz app, whichyou’ll build in Chapter 7, allows you to drag your fingers on the screen to “paint.” Youcan control the brush sizes and colors using options provided in the app’s options menu.
The following steps show how to import the app’s project into Android Studio andhow to test-drive the app in the Nexus 4 Android Virtual Device (AVD) that you set upin the Before You Begin section. The Eclipse version of this test-drive is located in theprint book. Later in this section, we’ll also discuss how to run the app in a tablet AVD andon an Android device. When the app is running in an AVD, you can create a new paintingby “dragging your finger” anywhere on the canvas—you “touch” the screen by using themouse.
1.1.1 Running the Doodlz App on the Nexus 4 AVDTo test-drive the Doodlz app, perform the following steps:
1. Checking your setup. If you have not done so already, perform the steps specifiedin the Before You Begin section located after the Preface.
2. Opening Android Studio. Use the Android Studio shortcut ( ) on your oper-ating system to launch the IDE. On Windows, the shortcut will be in your Startmenu or Start screen. On OS X, it will be in your Applications folder. OnLinux, the shortcut location will depend on your Linux version. The Welcome toAndroid Studio window appears (Fig. 1.1).
Fig. 1.1 | Welcome to Android Studio window.
© Copyright 1992-2015 by Pearson Education, Inc. All Rights Reserved.
Produced by Paul Deitel for the books Android for Programmers, 2/e and Android How to Program, 2/e

1.1 Test-Driving the Doodlz Drawing App in an Android Virtual Device (AVD) 3
3. Importing the Doodlz app’s project. If a project was developed in Android Studio,you can use the Open Project option to navigate to the project’s location and openit. Most Android apps developed in an IDE to this point were developed inEclipse. For this reason, this step shows you how to import the Eclipse version ofthe Doodlz project into Android Studio. In the Welcome to Android Studio win-dow, click Import Project to open the Select File or Directory to Import dialog(Fig. 1.2). Navigate to the book’s examples folder, select the Doodlz folder andclick OK to display the Import Project dialog (Fig. 1.3). Ensure that Create projectfrom existing sources is selected, then click Next. The dialog walks you throughseveral steps showing what will be imported into the new project. Click Next foreach step until the Finish button appears, then click Finish. The project now ap-pears in the Project window (Fig. 1.4) at the left side of Android Studio. If theProject window is not visible, you can view it by selecting View > Tool Windows >Project.
Fig. 1.2 | Select File or Directory to Import dialog.
© Copyright 1992-2015 by Pearson Education, Inc. All Rights Reserved.
Produced by Paul Deitel for the books Android for Programmers, 2/e and Android How to Program, 2/e

4 Chapter 1 Test-Driving the Doodlz App from Android Studio
Fig. 1.3 | Import Project dialog.
Fig. 1.4 | Project window.
© Copyright 1992-2015 by Pearson Education, Inc. All Rights Reserved.
Produced by Paul Deitel for the books Android for Programmers, 2/e and Android How to Program, 2/e

1.1 Test-Driving the Doodlz Drawing App in an Android Virtual Device (AVD) 5
4. Launching the Nexus 4 AVD. For this test-drive, we’ll use the Nexus 4 smart-phone AVD that you configured in the Before You Begin section. To launch theNexus 4 AVD, select Tools > Android > AVD Manager to display the Android VirtualDevice Manager dialog (Fig. 1.5). Select the Nexus 4 AVD and click the Start…button, then click the Launch button in the Launch Options dialog that appears.An AVD can take several minutes to load—you should not attempt to executethe app until the AVD finishes loading. When it’s done loading, the AVD willappear as shown in Fig. 1.6.
Fig. 1.5 | Android Virtual Device Manager dialog.
Fig. 1.6 | Nexus 4 AVD home screen when the AVD finishes loading.
Swipe the mouse from the lock icon to the edge of the screen to unlock the AVD
© Copyright 1992-2015 by Pearson Education, Inc. All Rights Reserved.
Produced by Paul Deitel for the books Android for Programmers, 2/e and Android How to Program, 2/e

6 Chapter 1 Test-Driving the Doodlz App from Android Studio
5. Launching the Doodlz app. In Android Studio, select Run > Run 'Doodlz'. Thiswill execute Doodlz in the AVD that you launched in Step 4 (Fig. 1.7).
Both Android Studio and the Android SDK/ADT Bundle use the same Android emu-lator. Once the app is running in the AVD, you can continue with Step 7 in Section 1.9.1of the book.
1.1.2 Running the Doodlz App on a Tablet AVDTo test the app on a tablet AVD, first launch the AVD by performing Step 4 in the pre-ceding section, but select the Nexus 7 AVD, rather than the Nexus 4 AVD. Next, selectRun > Run 'Doodlz' in Android Studio. If multiple AVDs are running when you launch anapp, the Choose Device dialog (Fig. 1.8) appears so that you can choose the AVD onwhich to install and execute the app. In this case, both the Nexus 4 and Nexus 7 AVDswere running on our system, so there were two Android virtual devices on which we couldpossibly run the app. Select the Nexus 7 AVD and click OK. Figure 1.9 shows the app run-ning in landscape orientation in the Nexus 7 AVD. You can change the AVD’s orientationby typing Ctrl + F12. On some keyboards the Ctrl key is labeled Control. On Mac OS X,use fn + control + F12.
Fig. 1.7 | Doodlz app running in the Android Virtual Device (AVD).
Recent apps button
Home button
Back button
App bar
© Copyright 1992-2015 by Pearson Education, Inc. All Rights Reserved.
Produced by Paul Deitel for the books Android for Programmers, 2/e and Android How to Program, 2/e

1.1 Test-Driving the Doodlz Drawing App in an Android Virtual Device (AVD) 7
1.1.3 Running the Doodlz App on an Android DeviceIf you have an Android device, follow Steps 1–3 in Section 1.9.3 to configure the devicefor testing purposes. Then perform the following steps:
Fig. 1.8 | Choose Device dialog.
Fig. 1.9 | Drawing in the Nexus 7 AVD.
© Copyright 1992-2015 by Pearson Education, Inc. All Rights Reserved.
Produced by Paul Deitel for the books Android for Programmers, 2/e and Android How to Program, 2/e
8 Chapter 1 Test-Driving the Doodlz App from Android Studio
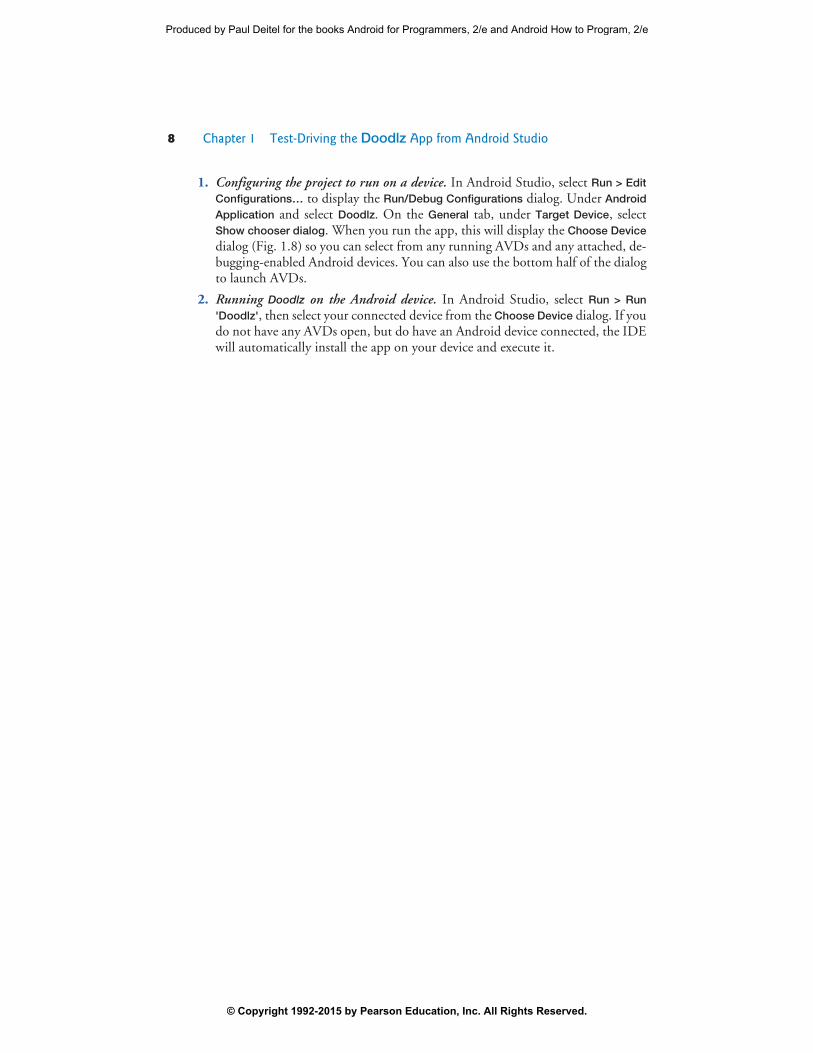
1. Configuring the project to run on a device. In Android Studio, select Run > EditConfigurations… to display the Run/Debug Configurations dialog. Under AndroidApplication and select Doodlz. On the General tab, under Target Device, selectShow chooser dialog. When you run the app, this will display the Choose Devicedialog (Fig. 1.8) so you can select from any running AVDs and any attached, de-bugging-enabled Android devices. You can also use the bottom half of the dialogto launch AVDs.
2. Running Doodlz on the Android device. In Android Studio, select Run > Run'Doodlz', then select your connected device from the Choose Device dialog. If youdo not have any AVDs open, but do have an Android device connected, the IDEwill automatically install the app on your device and execute it.
© Copyright 1992-2015 by Pearson Education, Inc. All Rights Reserved.
Produced by Paul Deitel for the books Android for Programmers, 2/e and Android How to Program, 2/e