Embed Size (px)
Citation preview
8/9/2019 SurfDecSample.pdf
http://slidepdf.com/reader/full/surfdecsamplepdf 1/15
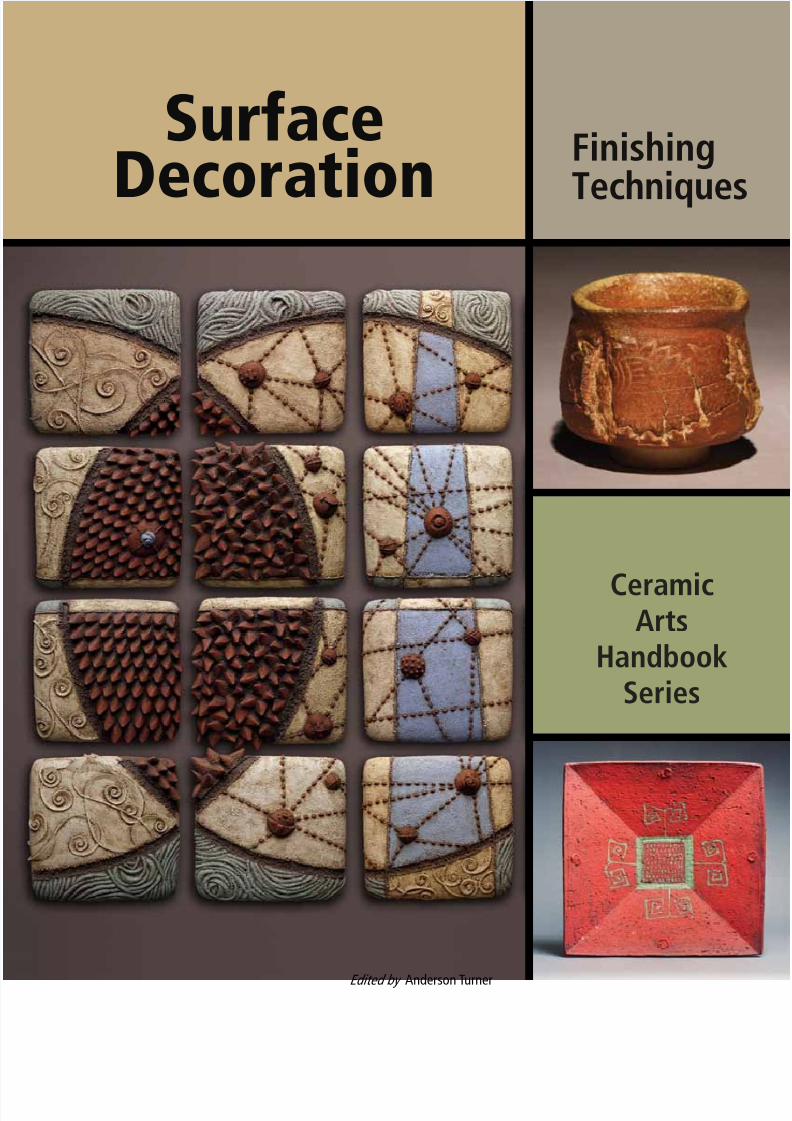
Finishing
Techniques
CeramicArts
HandbookSeries
Surface
Decoration
Edited by Anderson Turner

8/9/2019 SurfDecSample.pdf
http://slidepdf.com/reader/full/surfdecsamplepdf 2/15
8/9/2019 SurfDecSample.pdf
http://slidepdf.com/reader/full/surfdecsamplepdf 3/15
8/9/2019 SurfDecSample.pdf
http://slidepdf.com/reader/full/surfdecsamplepdf 4/15
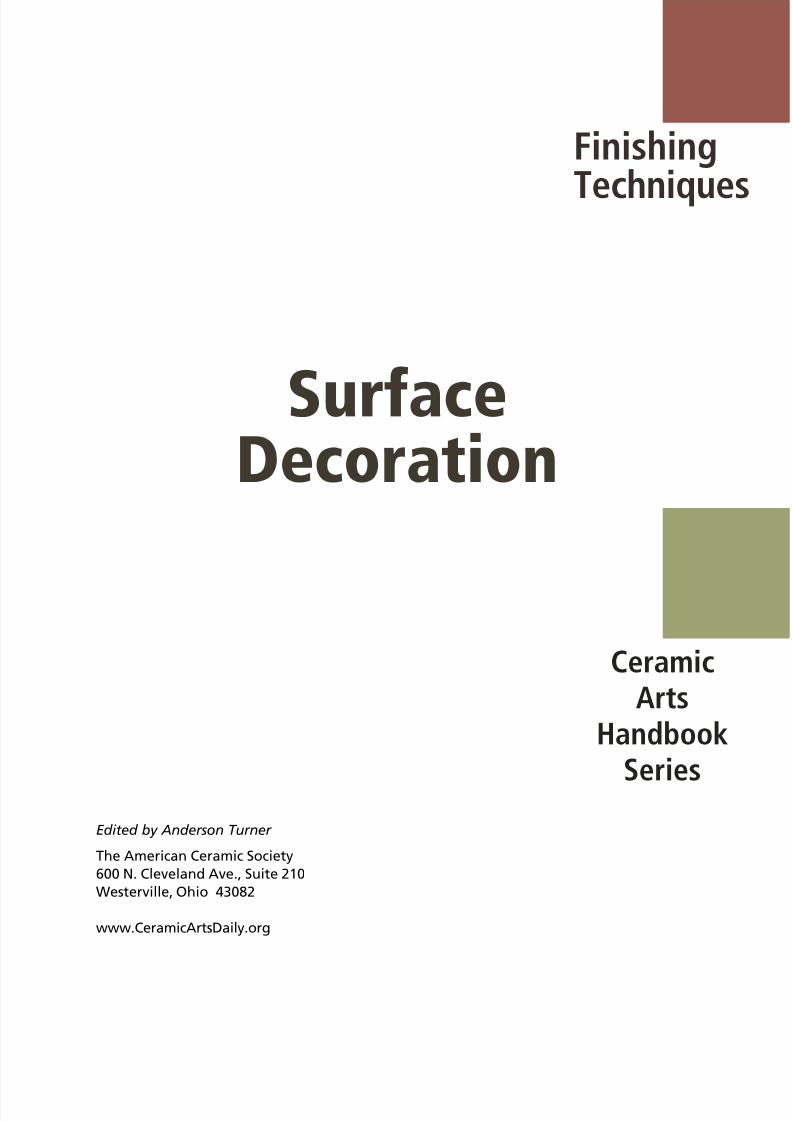
Edited by Anderson Turner
The American Ceramic Society
600 N. Cleveland Ave., Suite 210
Westerville, Ohio 43082
www.CeramicArtsDaily.org
SurfaceDecoration
CeramicArts
Handbook
Series
Finishing
Techniques
8/9/2019 SurfDecSample.pdf
http://slidepdf.com/reader/full/surfdecsamplepdf 5/15iv
Ceramic Arts Handbook
The American Ceramic Society
600 N. Cleveland Ave., Suite 210
Westerville, Ohio 43082
© 2008, 2011 by The American Ceramic Society, All rights reserved.
ISBN: 978-1-57498-290-9 (Paperback)
ISBN: 978-1-57498-525-2 (PDF)
No part of this book may be reproduced, stored in a retrieval system or transmitted
in any form or by any means, electronic, mechanical, photocopying, microlming,
recording or otherwise, without written permission from the publisher, except by a
reviewer, who may quote brief passages in review.
Authorization to photocopy for internal or personal use beyond the limits of Sections
107 and 108 of the U.S. Copyright Law is granted by The American Ceramic Society,
provided that the appropriate fee is paid directly to the Copyright Clearance Center,Inc., 222 Rosewood Drive, Danvers, MA 01923 U.S.A., www.copyright.com. Prior
to photocopying items for educational classroom use, please contact Copyright
Clearance Center, Inc. This consent does not extend to copyright items for general
distribution or for advertising or promotional purposes or to republishing items
in whole or in part in any work in any format. Requests for special photocopying
permission and reprint requests should be directed to Director, Publications, The
American Ceramic Society, 600 N. Cleveland Ave., Suite 210, Westerville, Ohio
43082 USA.
Every effort has been made to ensure that all the information in this book is accurate.
Due to differing conditions, equipment, tools, and individual skills, the publisher
cannot be responsible for any injuries, losses, and other damages that may result
from the use of the information in this book. Final determination of the suitability of
any information, procedure or product for use contemplated by any user, and the
manner of that use, is the sole responsibility of the user. This book is intended for
informational purposes only.
The views, opinions and ndings contained in this book are those of the author. The
publishers, editors, reviewers and author assume no responsibility or liability for
errors or any consequences arising from the use of the information contained herein.
Registered names and trademarks, etc., used in this publication, even without specic
indication thereof, are not to be considered unprotected by the law. Mention of trade
names of commercial products does not constitute endorsement or recommendation
for use by the publishers, editors or authors.
Publisher: Charles Spahr, President, Ceramic Publications Company, a wholly owned
subsidiary of The American Ceramic Society
Art Book Program Manager: Bill Jones
Series Editor: Anderson Turner
Ebook Manager: Steve Hecker
Graphic Design and Production: Melissa Bury, Bury Design, Westerville, Ohio
Cover Images: Detail of “Mandorla,” by Chris Gryder; (top right) Teabowl by Eric
Serritella; (bottom right) Square box by Anne Fløche
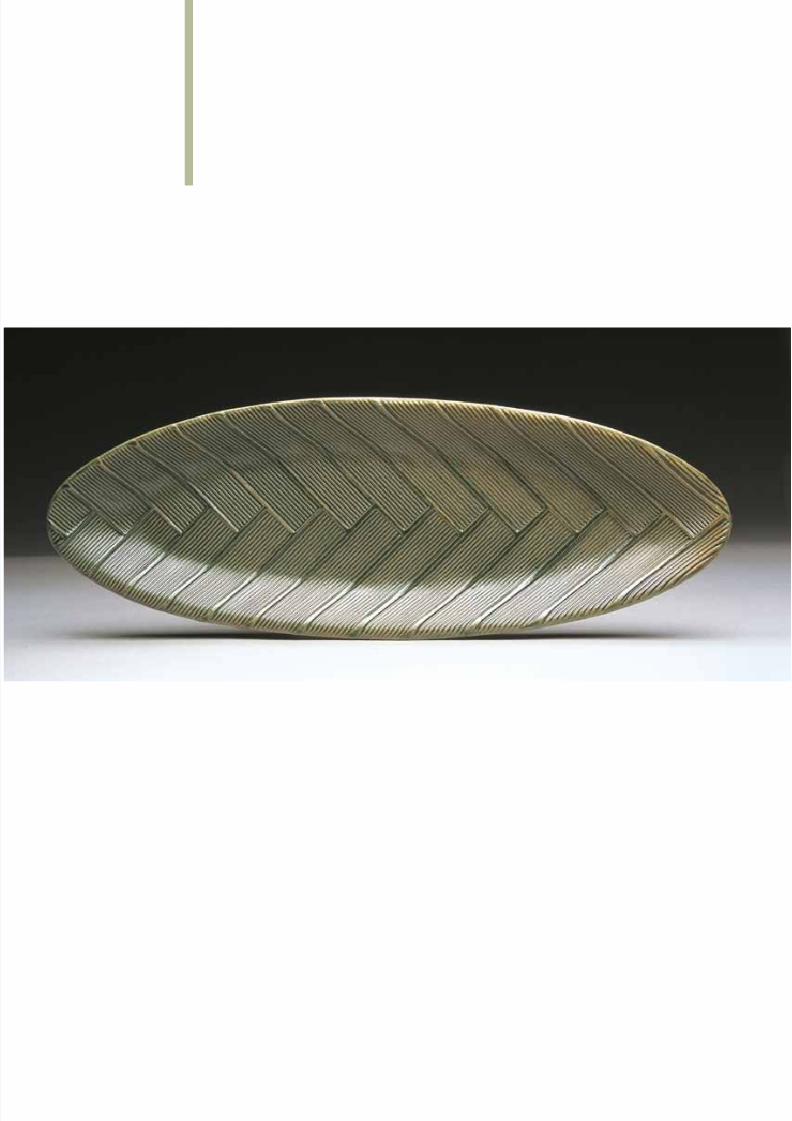
Frontispiece: Fish platter by Ellen Currans

8/9/2019 SurfDecSample.pdf
http://slidepdf.com/reader/full/surfdecsamplepdf 6/15
Contents
Unearthing Beauty: Pushing the Limits of Surface 1 Eric Serritella
Color and Texture: Creative Bits and Pieces 7 Hanna Lore Hombordy
Ellen Currans: Textured Slabs 11 Ginger Steele
David Gamble: Texture from Sewer Covers 15
Paul Andrew WandlessRolling Stamps 19
William Shinn
Sprigs from Nature 23 Judi Munn
Anne Fløche: Inspired by Terra Sigillata 27 Lise Lotte Nielsen
Scratching the Surface: A Guide to Sgraffito 31 Wayne Bates
Surface Etching: Wax and Water 37 Ryan McKerley
Surface Etching: Resist and Mist 39 Roger Graham
Pièce de Résistance 42 Russel Fouts
Creating a Weathered Patina 48 Dennis Maust
Chris Gryder: Surfaces from Silt 51 Dori DeCamillis
Marcy Neiditz: Transformation and Mutation 57 Amy Norgaard
Creating Faux Surfaces 61 Billie Mitchell
Building Complex Surfaces with Multiple Firings 64 Nicole Copel
8/9/2019 SurfDecSample.pdf
http://slidepdf.com/reader/full/surfdecsamplepdf 7/15
Danville Chadbourne: Indoor/Outdoor Color 67 Jim LaVilla Havelin
Dust and Wax 71 Philippe Faraut
Choi Sung-Jae: Expressive Slip Drawings 73 Phil Rogers
Mitch Lyons: A Marriage of Ceramics and Printmaking 77 Lisa McVey
Printing and Embossing with Linocuts 81
Paul Andrew Wandless
Using Stencils for Multi-Color Decoration 86 Paul Andrew Wandless
Relief Printing with Photosensitive Polymer Plates 90 Paul Andrew Wandless
Majolica Madness 97 David Gamble
Bridget Cherie Harper: Visual Diaries 101 Paul Lewing
Black on White: Modernizing Mimbres Decoration 105 Tracy P. Gamble
No-Fire Decals 108 Brendan Tang
Darren Emenau: Lichen Surfaces 112 Mandy Ginson
Lee Akins: Intricate Surfaces 115 Rafael Molina-Rodriguez
Tea and Friskets 118 Frank James Fisher
Carol Gouthro: Mastering the Surface 125 Judy Wagonfeld
Mary Barringer: Conversing with the Surface 129 Leigh Taylor Mickelson
Fusing Clay and Dichroic Glass 134 Alfred Spivack
8/9/2019 SurfDecSample.pdf
http://slidepdf.com/reader/full/surfdecsamplepdf 8/15

8/9/2019 SurfDecSample.pdf
http://slidepdf.com/reader/full/surfdecsamplepdf 9/15
8/9/2019 SurfDecSample.pdf
http://slidepdf.com/reader/full/surfdecsamplepdf 10/151
Surface
Decoration
by Eric Serritella
Unearthing BeautyPushing the Limits of Surface
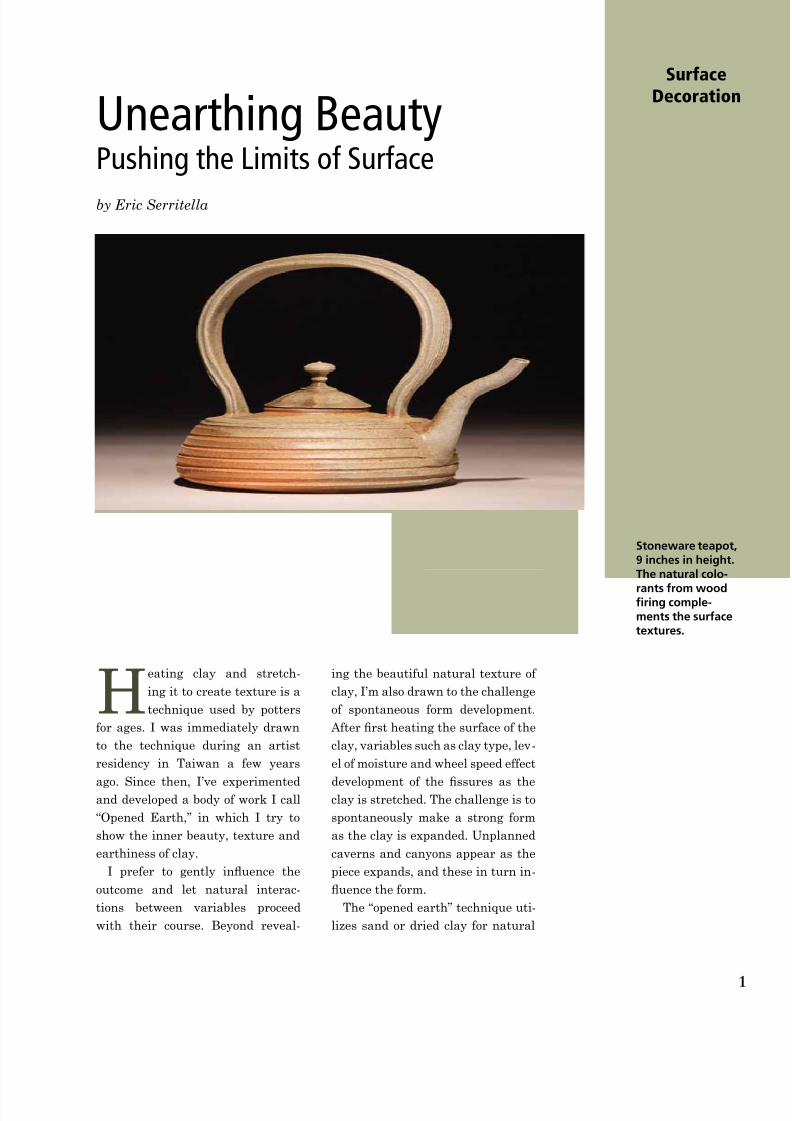
Heating clay and stretch-
ing it to create texture is a
technique used by potters
for ages. I was immediately drawn
to the technique during an artist
residency in Taiwan a few years
ago. Since then, I’ve experimentedand developed a body of work I call
“Opened Earth,” in which I try to
show the inner beauty, texture and
earthiness of clay.
I prefer to gently inuence the
outcome and let natural interac-
tions between variables proceed
with their course. Beyond reveal-
ing the beautiful natural texture of
clay, I’m also drawn to the challenge
of spontaneous form development.
After rst heating the surface of the
clay, variables such as clay type, lev-
el of moisture and wheel speed effect
development of the ssures as theclay is stretched. The challenge is to
spontaneously make a strong form
as the clay is expanded. Unplanned
caverns and canyons appear as the
piece expands, and these in turn in-
uence the form.
The “opened earth” technique uti-
lizes sand or dried clay for natural
Stoneware teapot,9 inches in height.The natural colo-
rants from woodfiring comple-ments the surfacetextures.
8/9/2019 SurfDecSample.pdf
http://slidepdf.com/reader/full/surfdecsamplepdf 11/152
Ceramic Arts Handbook
ssures and tools from around the
studio for creating patterns. I work
with slabs and on the wheel, adding
color with glazes, slips and oxides,
and using heat on the surface. With
many variables involved, this is not
an exacting process, but serves as a
starting point.
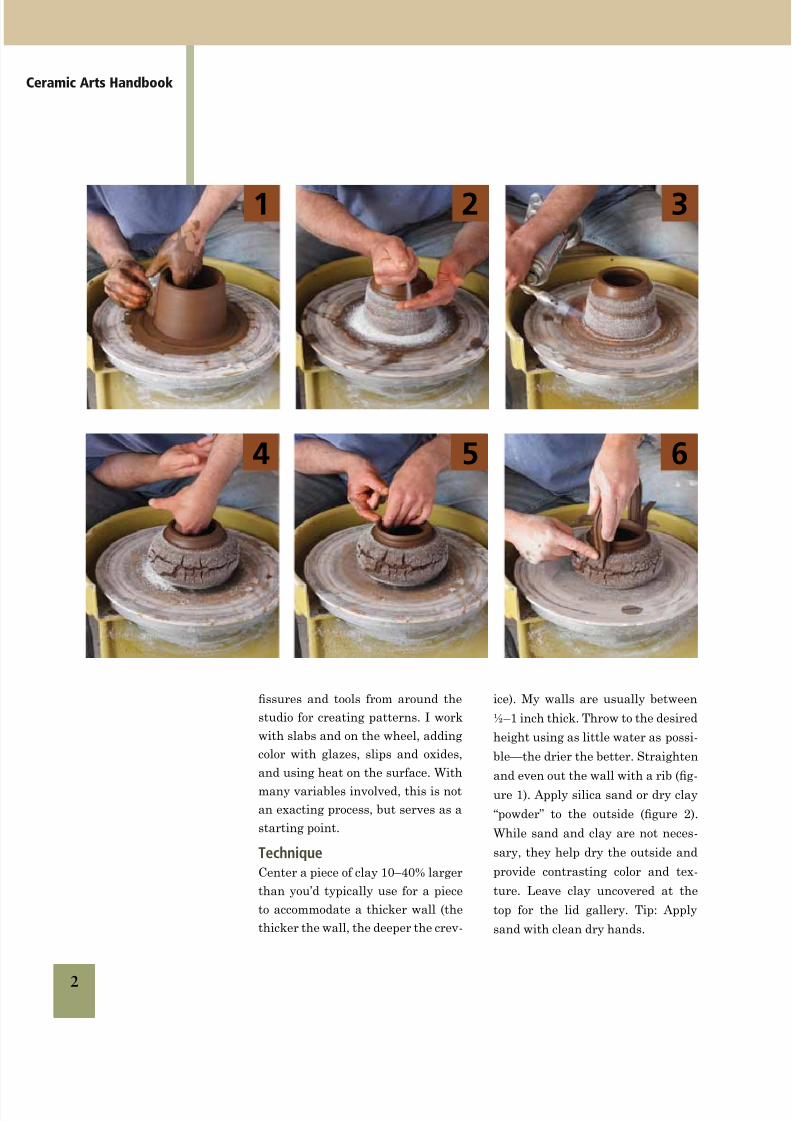
TechniqueCenter a piece of clay 10–40% larger
than you’d typically use for a piece
to accommodate a thicker wall (the
thicker the wall, the deeper the crev-
ice). My walls are usually between
½–1 inch thick. Throw to the desired
height using as little water as possi-
ble—the drier the better. Straighten
and even out the wall with a rib (g-
ure 1). Apply silica sand or dry clay
“powder” to the outside (gure 2).
While sand and clay are not neces-
sary, they help dry the outside and
provide contrasting color and tex-
ture. Leave clay uncovered at the
top for the lid gallery. Tip: Apply
sand with clean dry hands.
1 2 3
4 5 6
8/9/2019 SurfDecSample.pdf
http://slidepdf.com/reader/full/surfdecsamplepdf 12/153
Surface
Decoration
With the wheel turning very
slowly, apply heat to dry the outside
(gure 3). I use a hand-held butane
torch, although a heat gun or hair
dryer works if you have patience.
Be sure to dry the surface evenly
from top to bottom. The drying time
depends on the output of the heat
source, size of the piece, moisture
level of the clay, wall thickness,
distance of the heat to the clay and
wheel speed. It’s very difcult toquantify the level of dryness needed
to get a certain type of ssure with
so many variables involved. If the
surface is not dry enough, then the
clay won’t create ssures when ex-
panded. If it’s too dry, then the wall
will crack all the way through. Once
the outside surface starts to become
matt and is no longer tacky to the
touch, it’s time to start expanding
the form. Some steam will usuallyrelease from the inside of the pot.
Begin to push out the wall and
shape the pot (gure 4). This is one
of the fun challenges, as it’s neces-
sary to create the form one-handed.
Touching the outside wall ruins the
texture. If you nd that the crev-
ices are not starting to open as you
expand the form, apply additional
heat. It’s much easier to further dry
a pot than to take make a dry potevenly moist again.
Finish the top rim with both
hands (gure 5) and add a gallery
for the lid.
Once the pot is leather hard, trim
the bottom, if desired, and add a
spout and handle (gure 6). Dry
the pot slowly to avoid unwanted
cracking of the attachments due
to the uneven wall thickness and
clay moisture levels. If you’re r-
ing pieces with sand on them along
with other pots in your kiln, be sure
the pieces with sand are on the bot-
tom. Sand pops off during ring andcan stick to glazed pieces below or
beside them. Vacuum out the kiln
after each ring. Sand the red
piece with 200-grit silicon carbide
sandpaper. This removes any sur-
face sand that’s soft and unstable,
and removes that tacky feel of the
unglazed clay.
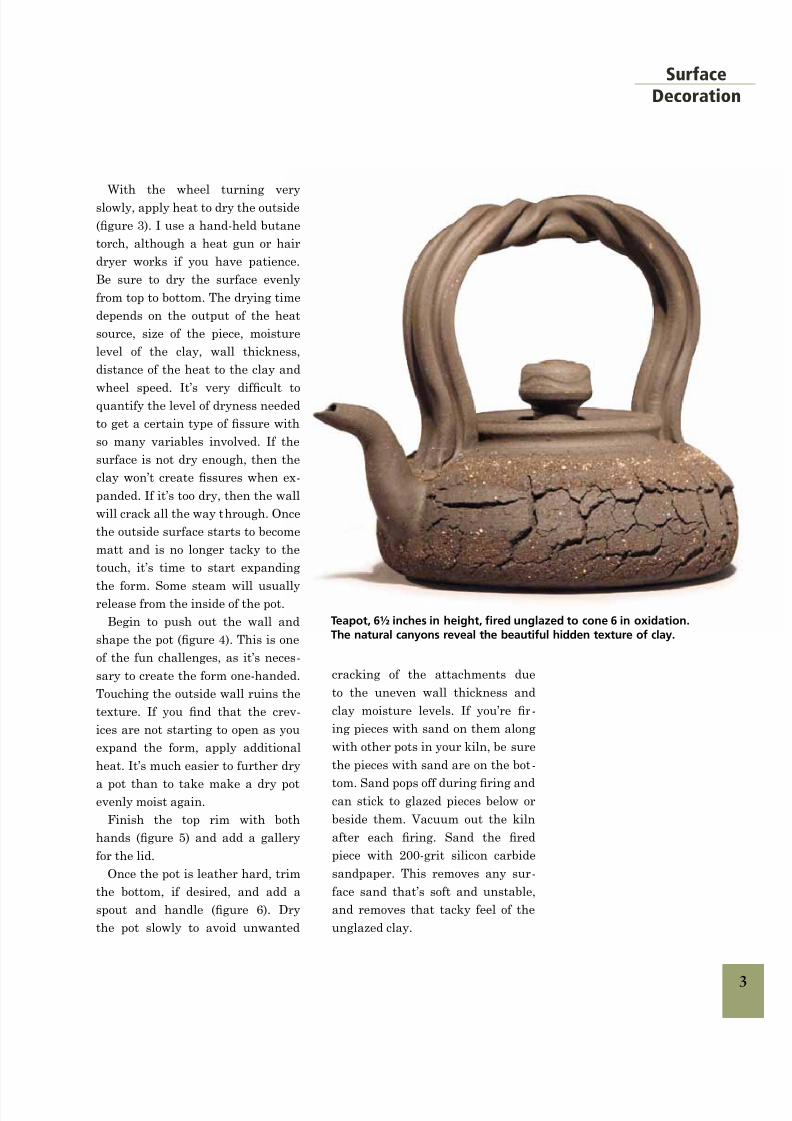
Teapot, 6½ inches in height, fired unglazed to cone 6 in oxidation.The natural canyons reveal the beautiful hidden texture of clay.
8/9/2019 SurfDecSample.pdf
http://slidepdf.com/reader/full/surfdecsamplepdf 13/154
Ceramic Arts Handbook
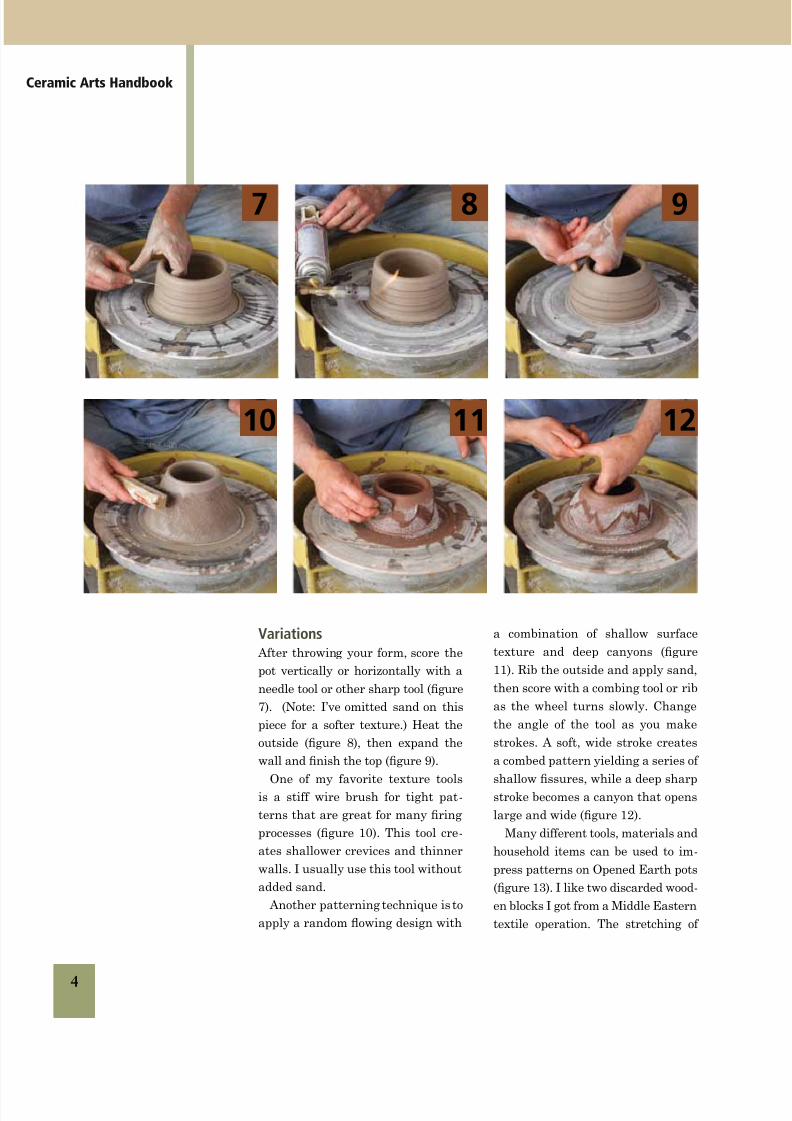
Variations After throwing your form, score the
pot vertically or horizontally with a
needle tool or other sharp tool (gure
7). (Note: I’ve omitted sand on this
piece for a softer texture.) Heat the
outside (gure 8), then expand the
wall and nish the top (gure 9).
One of my favorite texture tools
is a stiff wire brush for tight pat-
terns that are great for many ring
processes (gure 10). This tool cre-
ates shallower crevices and thinner
walls. I usually use this tool without
added sand.
Another patterning technique is to
apply a random owing design with
10 11 12
a combination of shallow surface
texture and deep canyons (gure
11). Rib the outside and apply sand,
then score with a combing tool or rib
as the wheel turns slowly. Change
the angle of the tool as you make
strokes. A soft, wide stroke creates
a combed pattern yielding a series of
shallow ssures, while a deep sharp
stroke becomes a canyon that opens
large and wide (gure 12).
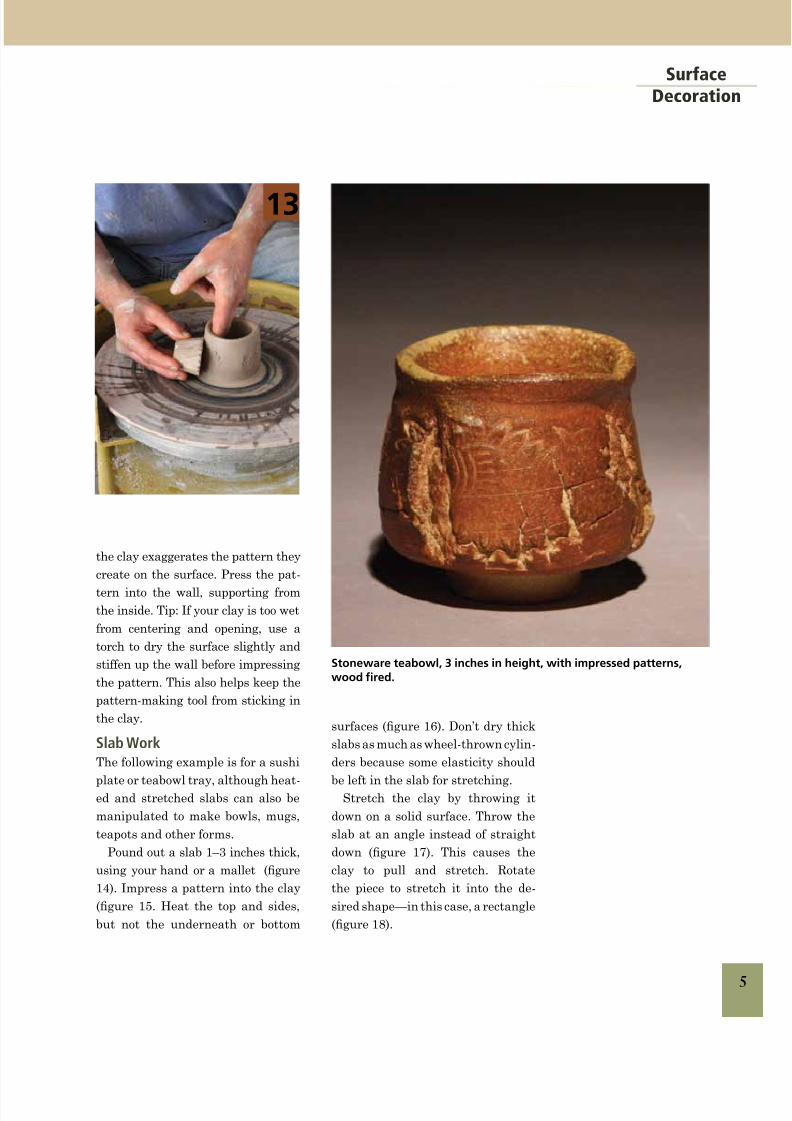
Many different tools, materials and
household items can be used to im-
press patterns on Opened Earth pots
(gure 13). I like two discarded wood-
en blocks I got from a Middle Eastern
textile operation. The stretching of
7 8 9
8/9/2019 SurfDecSample.pdf
http://slidepdf.com/reader/full/surfdecsamplepdf 14/155
Surface
Decoration
Stoneware teabowl, 3 inches in height, with impressed patterns,wood fired.
the clay exaggerates the pattern they
create on the surface. Press the pat-
tern into the wall, supporting from
the inside. Tip: If your clay is too wet
from centering and opening, use a
torch to dry the surface slightly and
stiffen up the wall before impressing
the pattern. This also helps keep the
pattern-making tool from sticking in
the clay.
Slab WorkThe following example is for a sushi
plate or teabowl tray, although heat-
ed and stretched slabs can also be
manipulated to make bowls, mugs,
teapots and other forms.
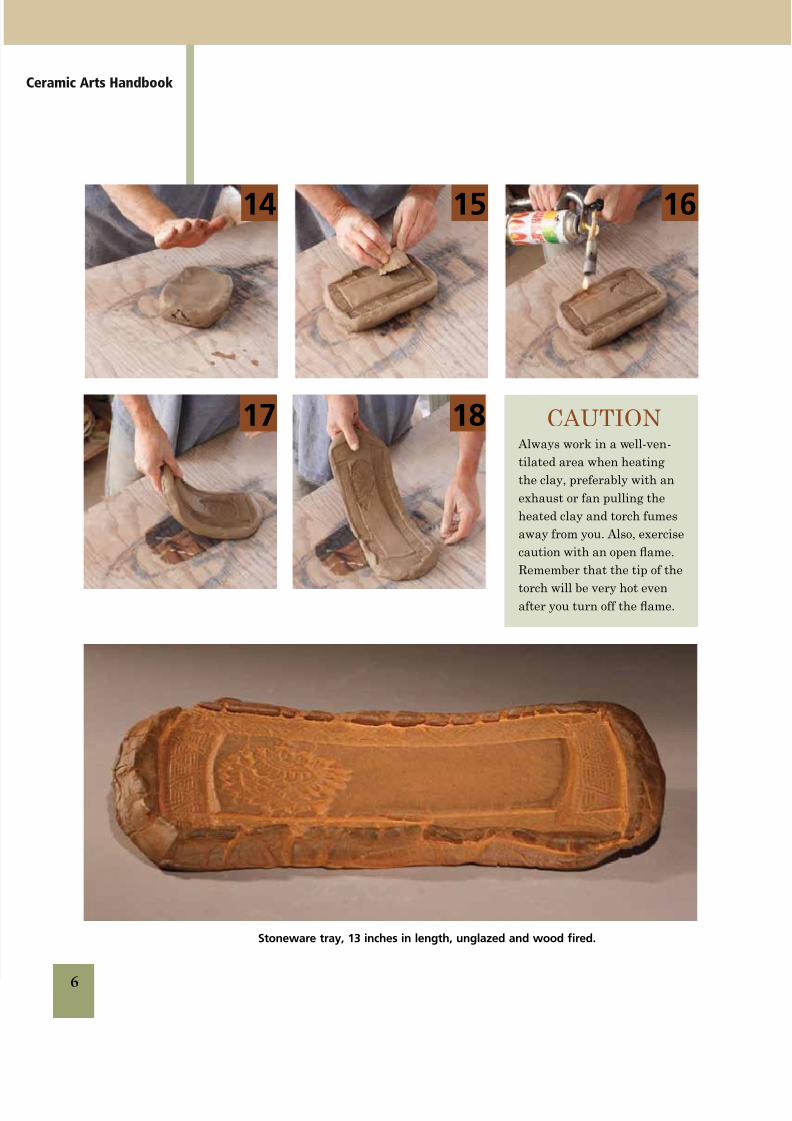
Pound out a slab 1–3 inches thick,
using your hand or a mallet (gure
14). Impress a pattern into the clay
(gure 15. Heat the top and sides,
but not the underneath or bottom
surfaces (gure 16). Don’t dry thick
slabs as much as wheel-thrown cylin-
ders because some elasticity should
be left in the slab for stretching.Stretch the clay by throwing it
down on a solid surface. Throw the
slab at an angle instead of straight
down (gure 17). This causes the
clay to pull and stretch. Rotate
the piece to stretch it into the de-
sired shape—in this case, a rectangle
(gure 18).
13
8/9/2019 SurfDecSample.pdf
http://slidepdf.com/reader/full/surfdecsamplepdf 15/15
Ceramic Arts Handbook
Stoneware tray, 13 inches in length, unglazed and wood fired.
14 15 16
17 18 CAUTION Always work in a well-ven-
tilated area when heating
the clay, preferably with an
exhaust or fan pulling the
heated clay and torch fumes
away from you. Also, exercise
caution with an open ame.
Remember that the tip of the
torch will be very hot evenafter you turn off the ame.


