Embed Size (px)
Citation preview
Stupid GIMP tricks
(and smart ones, too)Akkana Peck
shallowsky.com gimpbook.com@akkakk
for SCALE 14x, January 2016Next: gimp

GNU Image Manipulation Program
for editing raster images
... like my bad photos!
Next: brightness-contrast

Easiest way to adjustbrightness:
Colors→ Brightness-Contrast
But that's not enough for compleximages.
Next: layer-masks-better
A better way: layer masksMake your new layer: Duplicate Layer then Brightness/Contrast
Right-click in Layers dialog→ Add Layer Mask
Paint on the mask
Next: layer-mask-paint

Painting on Layer MasksPaint WHITE to show the toplayer.
Paint BLACK to show layersbelow.
Try using a big fuzzy brushNext: selecting-skies

Selecting SkiesTry Select by Color
Do this with the
mask still active
to illustrate how easy
that is to do.
Next: mask-selected

Oops! the mask isactive.
You can tell whether thelayer or mask is active:the one that's active hasa thick white border.
Next: selecting-skies2

Selecting SkiesTry Select by Color (again)
Drag up+left to select less,down+right to select more
... with Select by: Value
... but still not good enough!
Next: decompose
Colors → Components →Decompose
Gives a new image with layersfor Red, Green, Blueor Hue, Saturation, Value(or other color models)
Next: HSV

Decompose to HSV
Hue: the color, e.g. more reddish,
more blueish Saturation: color
intensity Value: brightness (likeconverting to black & white.)
Next: levels

Levels ToolUse Input levelsto adjustbrightness.
Next: paste-into-mask

Pasting into Layer Masks
Click the Anchor button
after pasting into a mask.
Next: activeborder
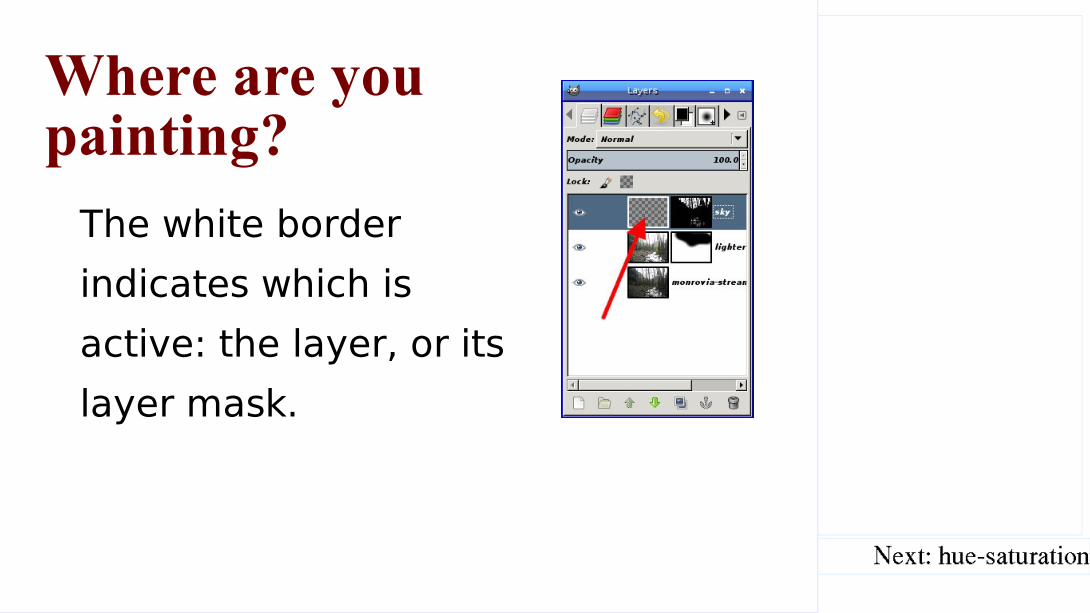
Where are youpainting?
The white borderindicates which isactive: the layer, or itslayer mask.
Next: hue-saturation

Hue-SaturationFiddle with Hue (green? purple?), Lightness (how pale it is) or Saturation (how colorful).
Fun for skies.
Next: pasting
Pasting from oneimage to another

Selecting an object to copyInitial selection with Lasso or Color
Tune with the QuickMask
...but
Next: paste-ragged

A Quicker WayMake a quick, ragged selection;then erase the edges later.
(Make the initial selectiona little too large.)
Next: scale-tool

Scale toolUse Keep aspect option tomaintain the same width/height.
Change Number of lines to Noguides to get rid of visual clutter.
Next: anti-erase
Anti-eraseYou can often (not always) fixerasing mistakes with anti-erase inthe eraser tool's options.
(Quickie alternative to a layermask. The mask is more flexible.)
Next: perspective-
shadow

Perspective shadowPerspective shadowis way toocomplicated! (andhas issues)
Use Drop Shadow+ Perspective toolinstead. Next: perspective-
opacity

Transform tool opacitiesTwo opacities:
1. In the Layersdialog, for the layer
2. In the Tool Options,for the preview
Next: save-export

Save vs. ExportSave to XCF (or .xcf.gz):
Files with GIMP-specific changes:layers, text, etc.
Export:
Any other format (JPG for web,PNG for archived photos, GIF etc.)
Not going to talk much
about formats -- more
fun to show demos of
neat GIMP tricks. But
glad to answer
questions.
I've seen 1700
messages so far on
the save-export split.
Next: saver
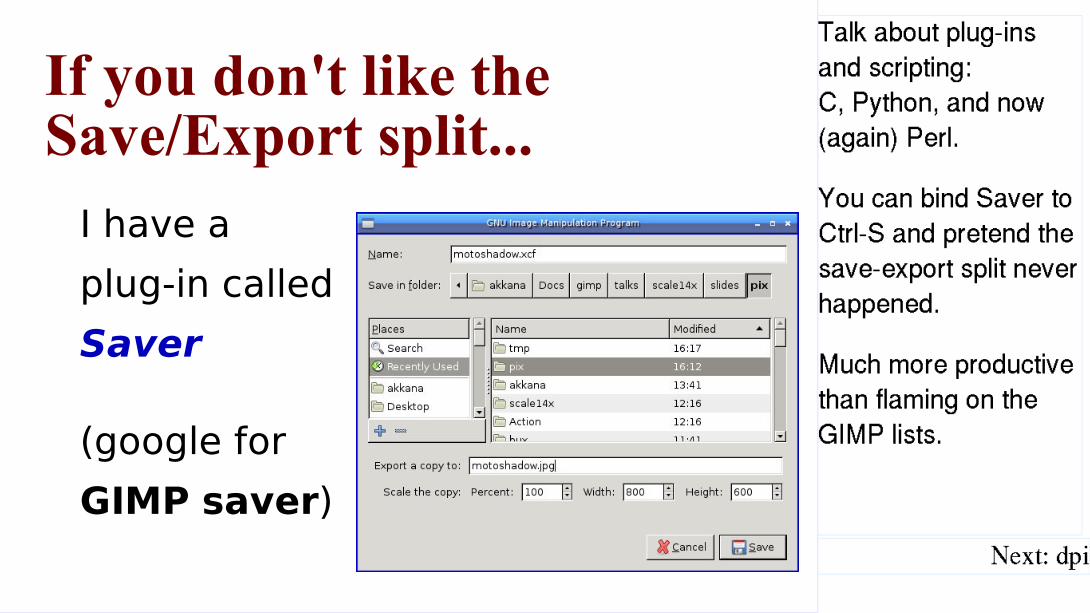
If you don't like theSave/Export split...
I have aplug-in calledSaver
(google forGIMP saver)
Talk about plug-ins
and scripting:
C, Python, and now
(again) Perl.
You can bind Saver to
Ctrl-S and pretend the
save-export split never
happened.
Much more productive
than flaming on the
GIMP lists.
Next: dpi

Image size and DPIGIMP edits images made of pixels("raster").
"8 inches" doesn't mean anything."2400 pixels" does.
Too few pixels + too big = blurry or pixellated. Next: dpi2
How many pixels do youneed?
DPI = "Dots (pixels) Per Inch".
Common guideline is 300 dpi for printing ...
but it depends on your taste!150 may be fine. Next: vector

Vector formats → !GIMPGIMP can import vector formats(e.g. PDF, SVG).
If you export them from GIMP,they turn into raster images.
Very inefficient, and you loseinformation.
Inkscape is a good
option if you need to
edit vectors.
Good time to compare
to Adobe, and tell the
story about a speaker
not being able to give
his talk because
Adobe Creative Suite
wouldn't let him work
without a license
check.
Free software isNext: removing
Removing things from imagesLots of ways! Two easy ones:
Clone tool
Select, move selection, copy,paste, move back
Next: cool-2.8-features

Cool GIMP 2.8 Features
(that you might not have seen yet)
Next: swm
Next: layer-groups

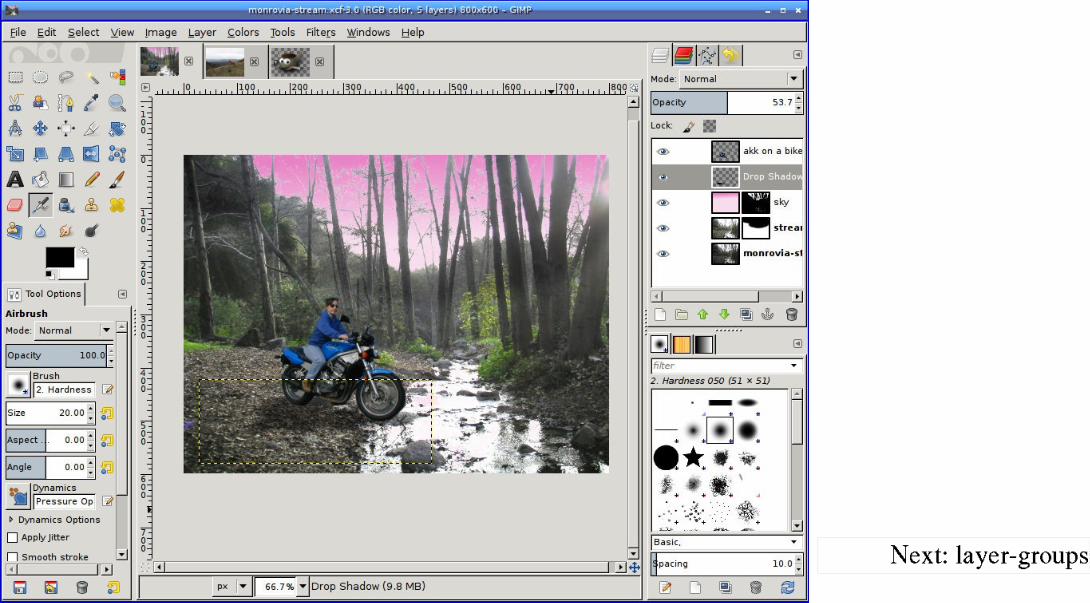
Cool 2.8 Features:Layer Groups
Group layers that belongtogether.
Show / hide them as agroup, use transformtools, or copy them all atonce to paste into another image.
Without hassling with
turning eyeballs on
and off all the time.
Next: moving-layer-
groups

Moving Layer Groups
Move a layer group usingthe Move tool with Move theactive layer option.
Next: math-in-entries
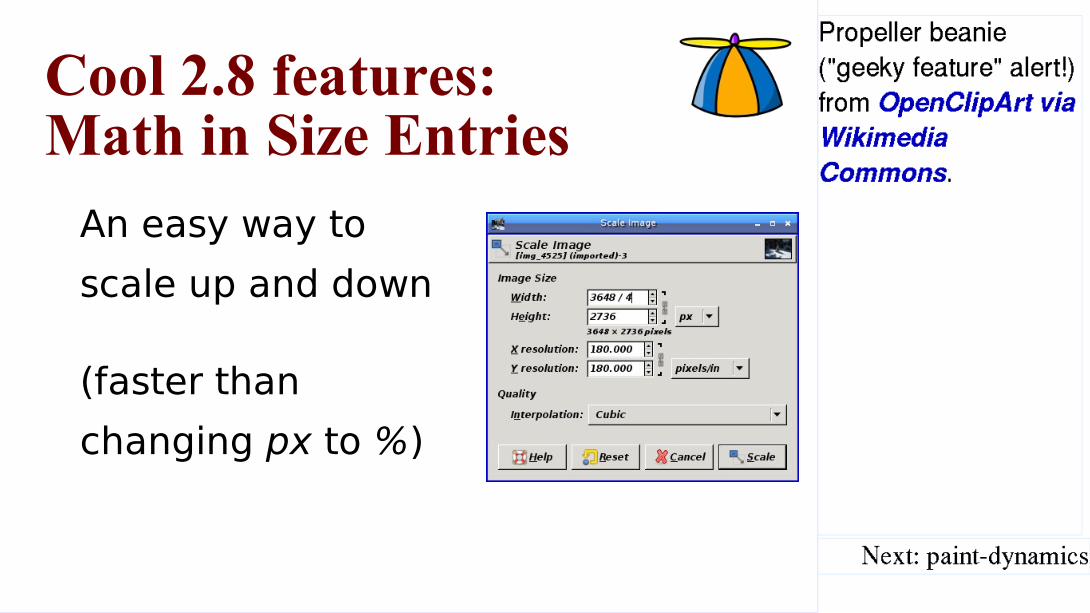
Cool 2.8 features:Math in Size Entries
An easy way toscale up and down
(faster thanchanging px to %)
Propeller beanie
("geeky feature" alert!)
from OpenClipArt via
Wikimedia
Commons.
Next: paint-dynamics
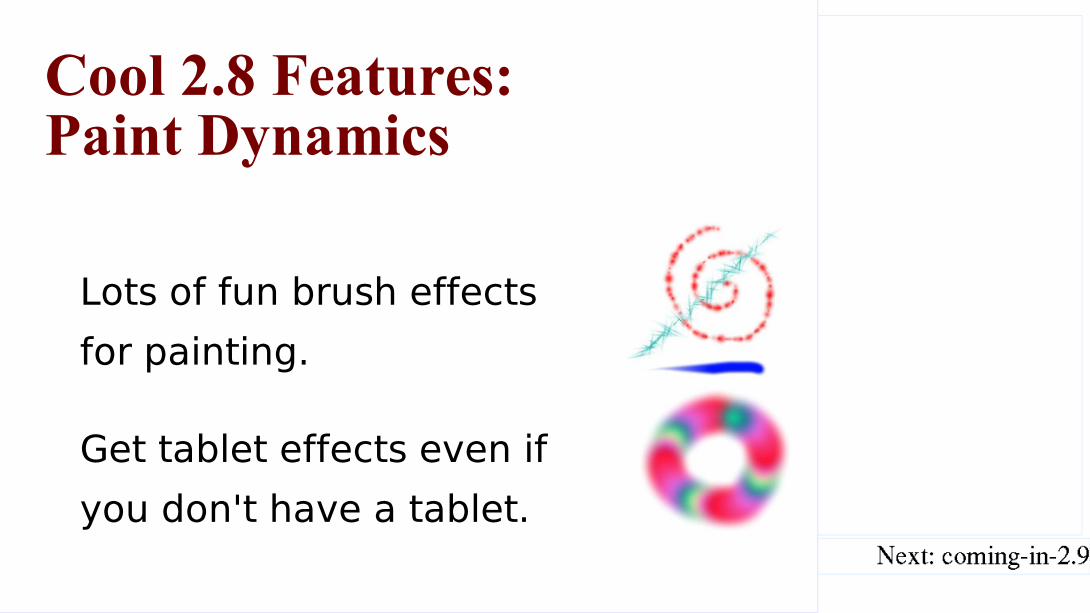
Cool 2.8 Features:Paint Dynamics
Lots of fun brush effects for painting.
Get tablet effects even ifyou don't have a tablet.
Next: coming-in-2.9
GIMP 2.9 Features
Image: Mjw064 at
en.wikipedia [CC0],
via Wikimedia
Commons
Next: gegl

Coming in 2.9: GEGLGEneric Graphics Library: a newbackend for GIMP.
But it really stands for "Genetically Engineered Goat,Large".
Next: colorspaces

ColorspacesGEGL storesimages asfloating point.
GIMP 2.9 now supports high-colorimages!
Guide to high bit depth editingon pixls.us
Next: warp-tool

Coming in 2.9: Warp Tool
Finally -- a tool versionof iWarp!
With a full-sizedpreview, on canvas!
Trump image (before
iWarping) by Boss
Tweed [CC BY 2.0
(http://creativecommons.org/licenses/by/2.0)],
via Wikimedia
Commons
Next: unified-transform

In 2.9: Unified transform toolHover themouse over ahandle to seewhat it does.
Rotate handlesare outside the image.
Next: text-search
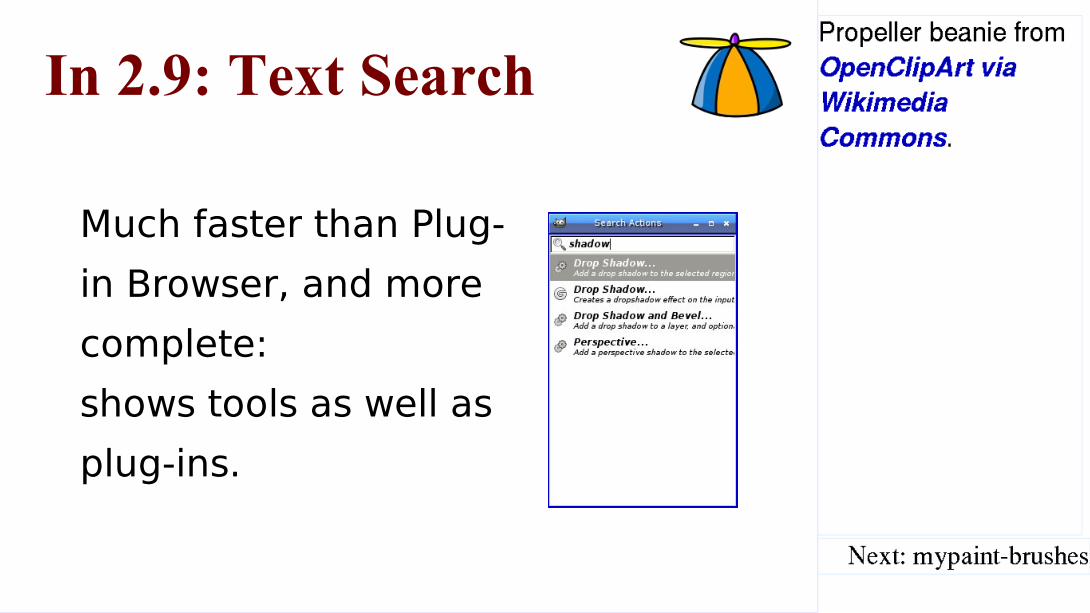
In 2.9: Text Search
Much faster than Plug-in Browser, and morecomplete: shows tools as well asplug-ins.
Propeller beanie from
OpenClipArt via
Wikimedia
Commons.
Next: mypaint-brushes

In 2.9: MyPaint BrushesUse fancy brushesdesigned for theMyPaint program.
Adds a new drawingtool in theToolbox.
This unfortunately
makes GIMP more
difficult to build.
See the GIMP Wiki
build page for
instructions. You'll
need to pull libmypaint
from git and use scons
to build it.
Next: gimp-perl

Coming in 2.9: GIMP-Perl
GIMP-Perl is back:
now you can write scripts in Perlas well as C, Python and Script-Fu.
Next: moretools
More tools coming!N-Point Deformation
Cage Transform
Handle transform
... etc
But they're slow and
crashy at this point.
Next: conclusion

Thank you! Questions?
Slides for this talk:gimpbook.com/talks/scale14x
...Akkana Peck shallowsky.comgimpbook.comTwitter: @akkakk
If there's extra time,
some things to show:
Use dodge modeto eliminate whitebg
colorize car withlayer modes
leopard sqrl
transformGIMP.xcf layers alltogether
lighting effects tobuild gimp.xcf
The end