Embed Size (px)
Citation preview

Shop Safety
• Locate first aid kit and eye wash station

To report a campus emergency
Tell the attending instructor
If not available or practical call 4440 and explain the situation to campus security

To report a medical emergency or fire
Tell the attending instructor
If very serious do not hesitate to call 9911
9- 911and stay on the line
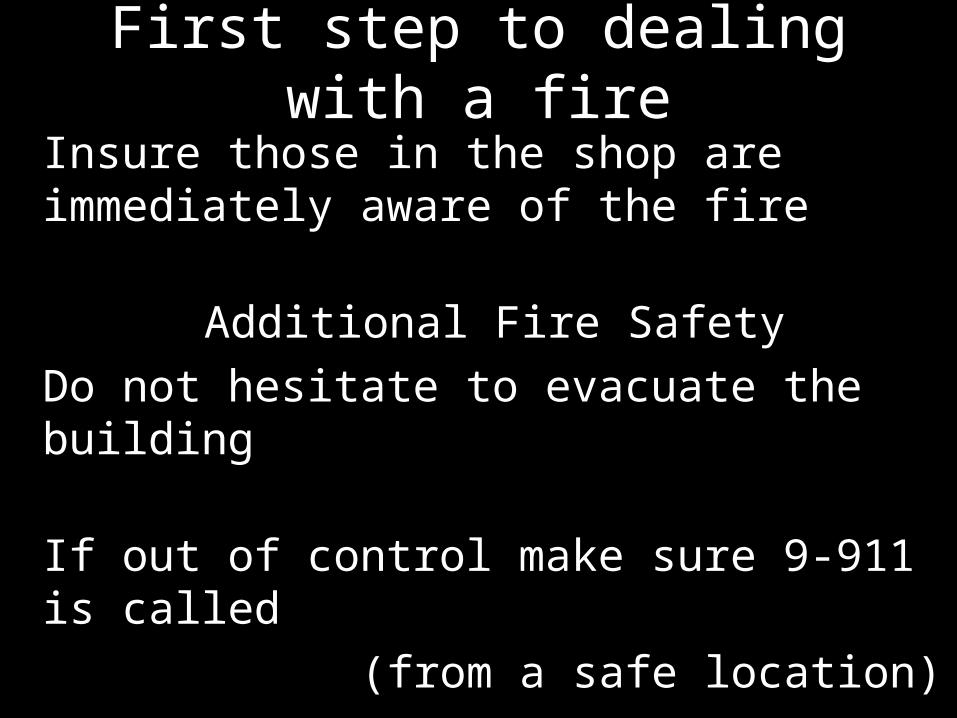
First step to dealing with a fire
Insure those in the shop are immediately aware of the fire
Additional Fire Safety
Do not hesitate to evacuate the building
If out of control make sure 9-911 is called
(from a safe location)

Before using any new tool or piece of equipment
Read the instructions and service procedures
Ask questions
DO NOT use any piece of equipment at Linn-Benton Community College until you have been checked out by an instructor

Before testing or diagnosing any unfamiliar machine or system
Locate and read manufacturer procedures
Pay special attention to any precautions
Ask Questions before proceeding

first aid kit location
Find this and tell me where for Lab #1

First aid for liquid in the eyes
Flush with lots of clean water while holding eye open
Do not rub eye
Get medical attention after flushing for ten minutes
Have A Partner Drive
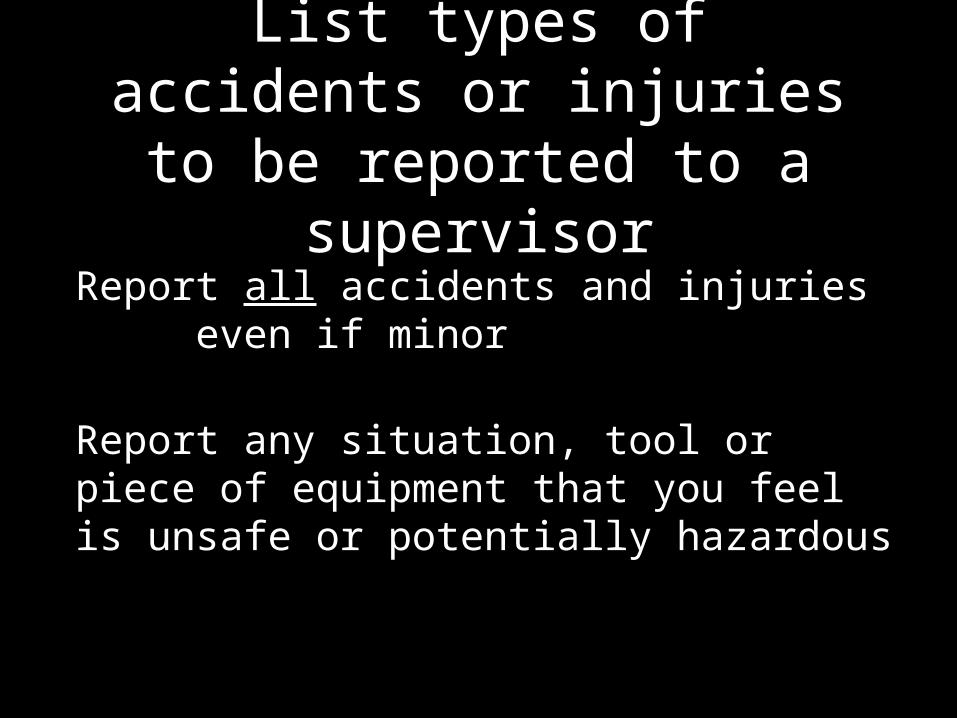
List types of accidents or injuries to be reported to a supervisor
Report all accidents and injuries even if minor
Report any situation, tool or piece of equipment that you feel is unsafe or potentially hazardous

fire extinguisher location
Find them and tell me where for Lab #1

Medications
Medications that reduce alertness are a hazard
Read the label
Report to instructor

How can you tell if a substance is hazardous to your health
Read labels
Ask for MSDS documents
Read textbooks
Ask questions

Basic Electrical Theory

Resistance Resistance is affected by:
1) atomic structure of the material
2) length of the conductor
3) cross sectional area (size) of the conductor
4) temperature of the conductor
5) condition of the conductor

Atomic Structure
All materials have resistance to electron flow
Materials with just a few electrons in their outer most orbit (valence ring) have low resistance

Materials with Low Resistance
Copper, aluminum, lead, gold, silver, and many other metals make good electrical conductors.
These materials have just one or two electrons in the valence orbit of the atom
It is easy to make these “free” electrons travel between atoms
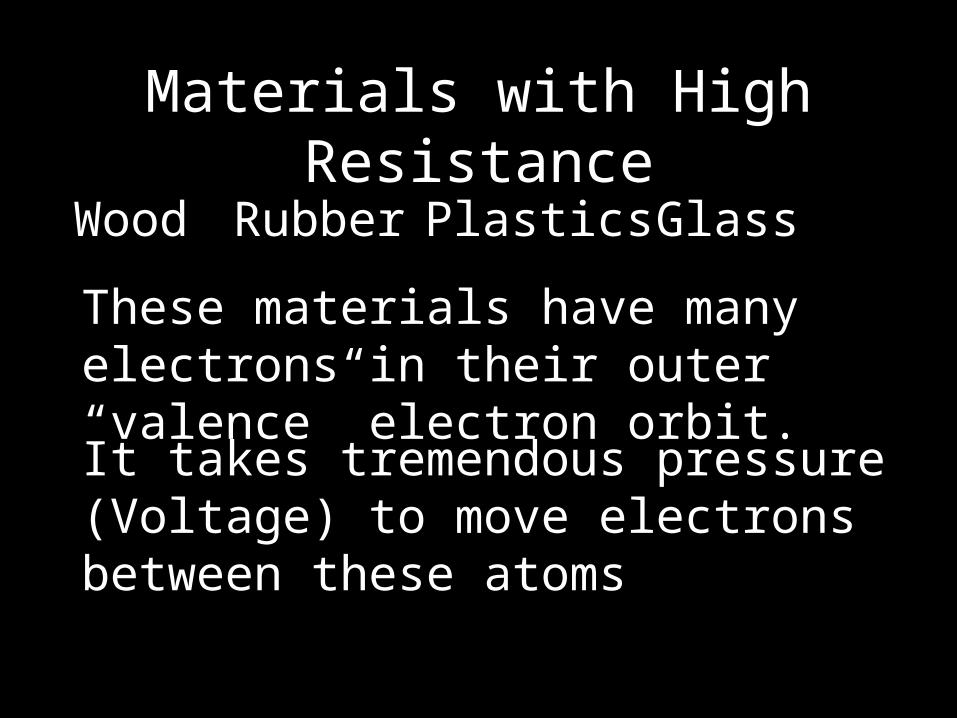
Materials with High Resistance
Wood Rubber Plastics Glass
These materials have many electrons in their outer “valence” electron orbit.
It takes tremendous pressure (Voltage) to move electrons between these atoms


Resistance in a conductor
The longer the wire…..
….. the more resistance it will have
The skinnier the wire…..
….. the more resistance it will have

Resistance in a conductor
The hotter the wire (or connection)…..
….. the more resistance it will have
The more corroded the wire (or connector)…..
….. the more resistance it will have

For Electricity to Work:
There must be a difference in electrical potential or pressure called...VOLTAGE
A conductor for the amps to move through
and Resistance to control the flow of electrons
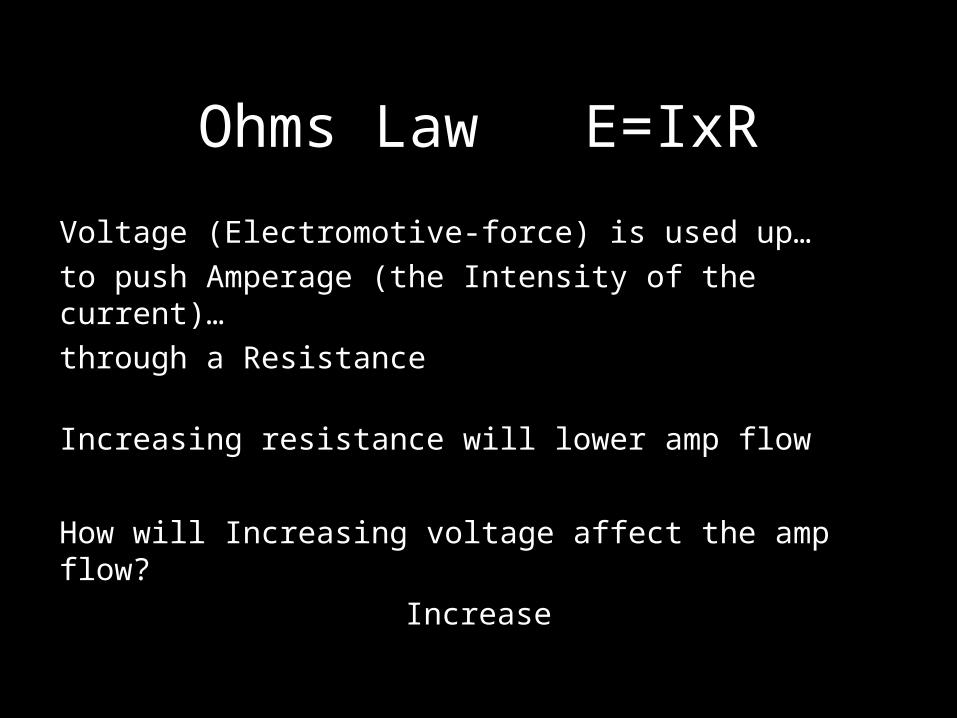
Ohms Law E=IxR
Voltage (Electromotive-force) is used up…
to push Amperage (the Intensity of the current)…
through a Resistance
Increasing resistance will lower amp flow
How will Increasing voltage affect the amp flow?
Increase

Ohms Law E=IxR
1 volt can push 1 amp through 1 of resistance
12 volts can push 12 amps through 1 of resistance
12 volts can push 1 amp through 12 of resistance

E = I x R
Define Resistance
Resistance is the opposition to amp flow
may be caused by heat, excessive amp flow, corrosion or any insulated material
Resistance is required to perform “work”

Voltmeter Testing
Available Voltage
Voltage Drop
checks for resistance
must be performed on an operating circuit

Component Does Not Work Verify the problem
Look for the obvious
Check for available voltage
Check for quality ground


12.6 V

12.6 V

12.6 V

12.6 V

12.6 V

12.6 V

12.6 V


12.6 V

12.6 V

0.0 V

0.0 V

0.0 V

0.0 V

12.6 V

Diagnosis
Understand the system
Use a Wiring Diagrams


0.0 V

0.0 V

12.6 V

12.6 V

0.0 V

Intermittent or Unsatisfactory Circuit Operation
Verify the problem
Look for the obvious
Check for voltage drop across the load
Check for voltage drop across the insulated or positive feed circuit
Check for voltage drop across the ground


12.6 V

9.3 V

12.6 V

3.3 V

0.1 V