Embed Size (px)
Citation preview

A step-by-step guide for writing online APAR by the officer reported upon [An in-house manual prepared by CGST Guwahati Commissionerate]
Those officers whose PAR has been generated may please follow the steps below for completion of self-appraisal in Section II in all respect and forward it to the Reporting Officer after e-signing by the 30th June 2019.
We have to connect to e-SPARROW portal though VPN server. Please enter the URL https://edgevpn.rcil.gov.in in the address bar. The following page will open:
The username is your GOV email ID, eg., [email protected] and the default password is cbicvpn@123. If the system asks you to change password, please change it and after login, the screen will look like this:

Please click on the Sparrow Application tab. The login page of SPARROW will open which look like this:
The username is your GOV email ID before @, eg. my username is surjitsc.g199501 and the password is the GOV email ID password. Please enter the Captcha in the box and click the Login button. The SPARROW dashboard will open. This page will have some tabs in the left side depending upon the role assigned to the officer. On logging in, different window will open up depending upon the role assigned to that user ID. The following is the dashboard of the Custodian:
The dashboard of Group B (Non-Gazetted) officer will look like this:
In the Inbox tab, on clicking the My Par, all the PARs generated by the Custodian shall be listed with their corresponding APAR-IDs (shown in blue colour). The no. of PARs will depend upon the no. of workflows created. Some officers will have one PAR only (as shown in the above screenshot), some may have two or three (the following screenshot show two PARs).
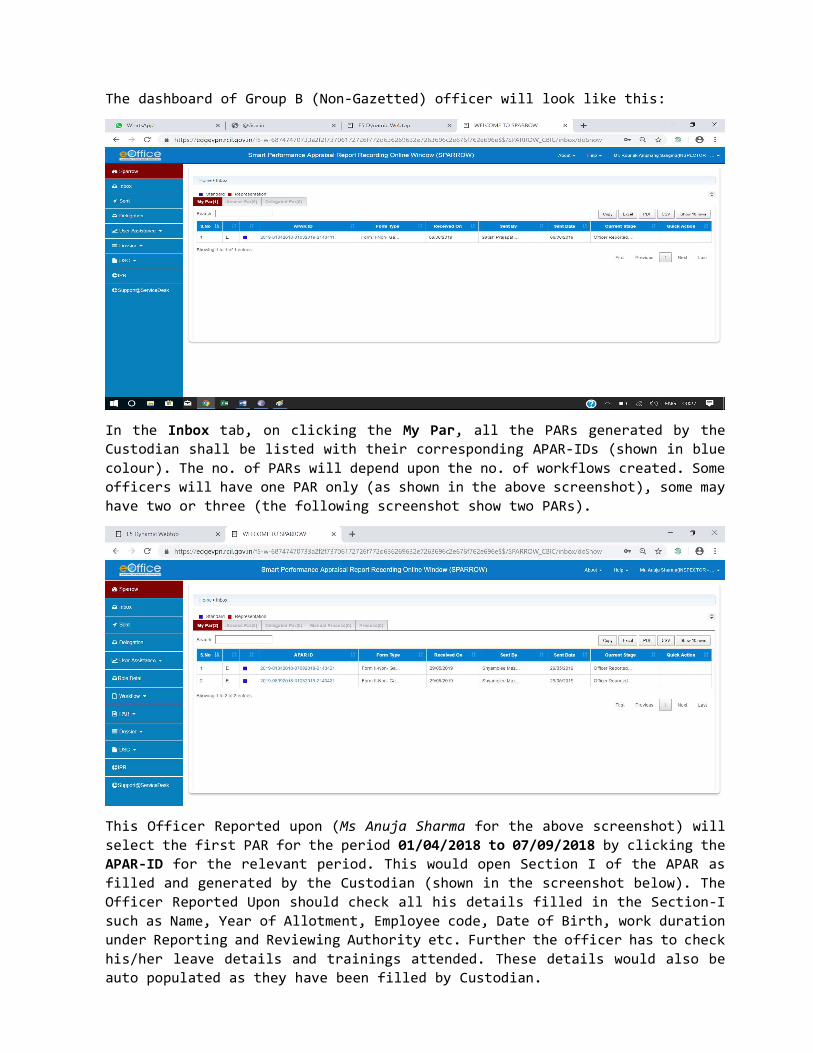
This Officer Reported upon (Ms Anuja Sharma for the above screenshot) will select the first PAR for the period 01/04/2018 to 07/09/2018 by clicking the APAR-ID for the relevant period. This would open Section I of the APAR as filled and generated by the Custodian (shown in the screenshot below). The Officer Reported Upon should check all his details filled in the Section-I such as Name, Year of Allotment, Employee code, Date of Birth, work duration under Reporting and Reviewing Authority etc. Further the officer has to check his/her leave details and trainings attended. These details would also be auto populated as they have been filled by Custodian.

Since the Custodians had to work under tremendous stress, inadvertent errors might have occurred in some cases. If such error(s) is noticed in Section I, then please send it back to the Custodian by clicking on Submit Data Error Report tab as highlighted below. After correction, it will be sent again to you.
If you click Submit Data Error Report, following screen will open up which will have a text box. The officer can give the nature of errors/details which are to be corrected in the text box and click Submit Data Error Report button. This will send Section-I of the PAR to Custodian and thus allow Custodian to make requisite corrections to Section-I of the APAR.

After clicking Submit Data Error Report, a message would appear with text “Data Error Message is Reported Successfully” which means that the report has been sent to Custodian to make relevant changes.
After sending the error report or in case all the information filled in is correct, the officer can start writing his resume by clicking on the Self Appraisal tab beside the Basic Information tab and fill Section II of APAR highlighted in 100 words as shown below:

After filling all the details in Section–II, the officer can also upload any supporting documents in pdf format up to 3 MB by clicking Browse button.
The officer has an option to save the document and come back later to change/amend the same by clicking Draft tab.
Alternatively, the officer may send the PAR to Reporting officer after completing Section II of APAR for which the officer should click on Send to Reporting Authority. On clicking it, a window asking you to e-sign will appear. OTP will appear in which you have to fill the OTP which will be received in your mobile linked with Aadhaar card. After clicking this button a confirmation screen for submitting the Section II of APAR will appear with warning- “Once the form is submitted, data will not be changed. Are you sure you want to submit?”
After pressing the OK button, a message will pop up saying that the APAR has been sent to the Reporting Authority. An email and SMS will also be sent to the Reporting Officer to this effect. The following screenshots show the above steps.

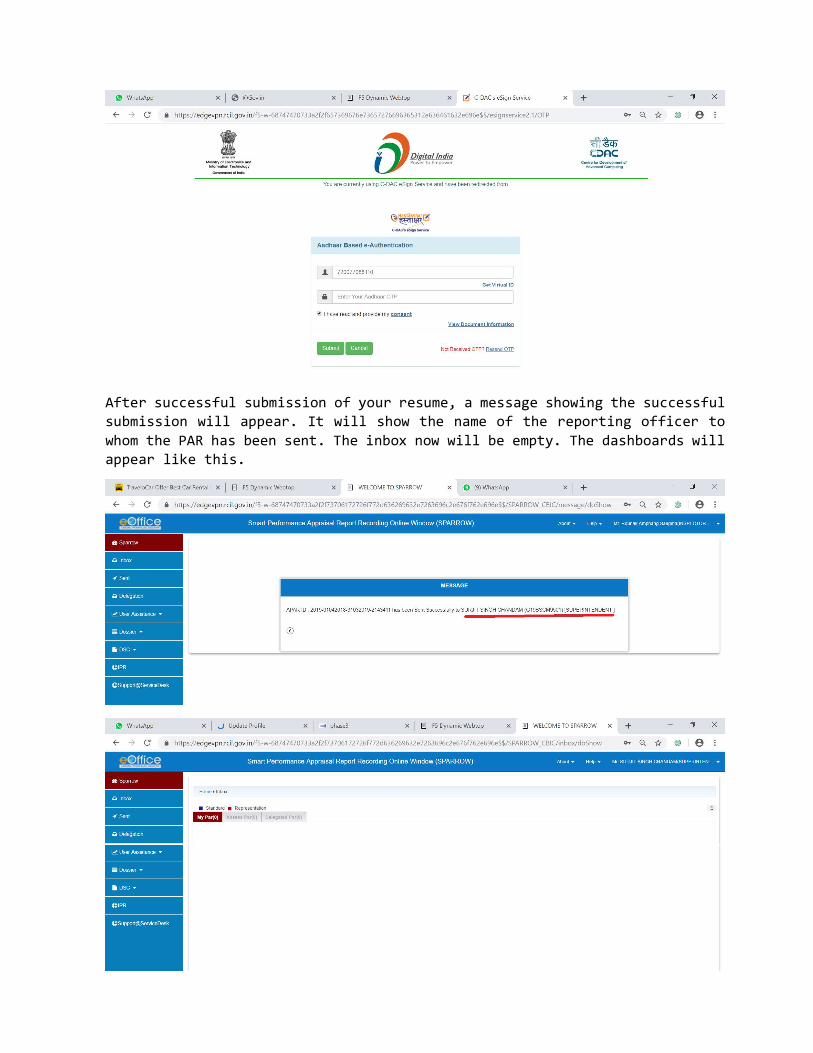
After successful submission of your resume, a message showing the successful submission will appear. It will show the name of the reporting officer to whom the PAR has been sent. The inbox now will be empty. The dashboards will appear like this.

You can see the status of your PAR by clicking on the Sent button available on the left panel. The name of the Reporting Officer will be visible and the date of submission of your PAR.
If you click on the File icon on the right right under Quick Action, you can see the PAR which you have submitted and also download your PAR by clicking on the Download icon.

Once the PAR is successfully submitted by the Officer Reported Upon, it will be reflected in the dashboard of the Reporting Officer under Assess PAR tab as shown in the following screenshot.
This completes the process.
*Manual for Reporting Officer will be shared next.