Embed Size (px)
Citation preview
P O S T E R
digital-forensics.sans.org$25.00 Poster_FOR610_v1.3_12-18Poster Created by Lenny Zeltser and Rob Lee with support of the SANS DFIR Faculty ©2018 Lenny Zeltser and Rob Lee. All Rights Reserved.
SIFT WorkstationAn international team of forensics experts created the SIFT Workstation™ for incident response and digital forensics-use and made it available to the community as a public service. The free SIFT toolkit can match any modern incident response and forensic tool suite. It demonstrates that advanced incident response capabilities and deep-dive digital forensic techniques can be accomplished using cutting-edge open-source tools that are freely available and frequently updated.
REMnuxREMnux® is a free Linux toolkit for assisting malware analysts with reverse-engineering malicious software. It strives to make it easier for forensic investigators and incident responders to start using the variety of freely-available tools that can examine malware, yet might be difficult to locate or set up.
The heart of the project is the REMnux Linux distribution based on Ubuntu. This lightweight distro incorporates many tools for analyzing Windows and Linux malware, examining browser-based threats such as obfuscated JavaScript, exploring suspicious document files and taking apart other malicious artifacts. Investigators can also use the distro to intercept suspicious network traffic in an isolated lab when performing behavioral malware analysis.
The REMnux project also provides Docker images of popular malware analysis tools, so that investigators can run these apps as containers even without installing the REMnux distro.
How to Install REMnux
The easiest way to get REMnux is to download its virtual appliance from https://remnux.org. After importing it into your virtualization software, boot up the REMnux virtual machine and, if you are connected to the Internet, run the “update-remnux full” command. Alternatively, you can add REMnux software to an existing SIFT Workstation system. To do that, run the following command on SIFT:
wget --quiet -O - https://remnux.org/get-remnux.sh | sudo bash
The REMnux website explains other ways to install the distro, which include adding it to a compatible Ubuntu system or spinning it up in a public cloud environment.
Many of the tools and associated malware analysis techniques are taught in the following SANS course:
FOR610: Reverse-Engineering Malware: Malware Analysis Tools and Techniques
The SIFT workstation contains hundreds of free and open-source tools that can be used for digital forensics and incident response. Many of the tools and associated analysis techniques are taught in the following courses at SANS:
FOR508: Advanced Digital Forensics, Incident Response, and Threat Hunting
FOR526: Advanced Memory Forensics & Threat DetectionFOR572: Advanced Network Forensics: Threat Hunting,
Analysis, and Incident ResponseFOR578: Cyber Threat Intelligence
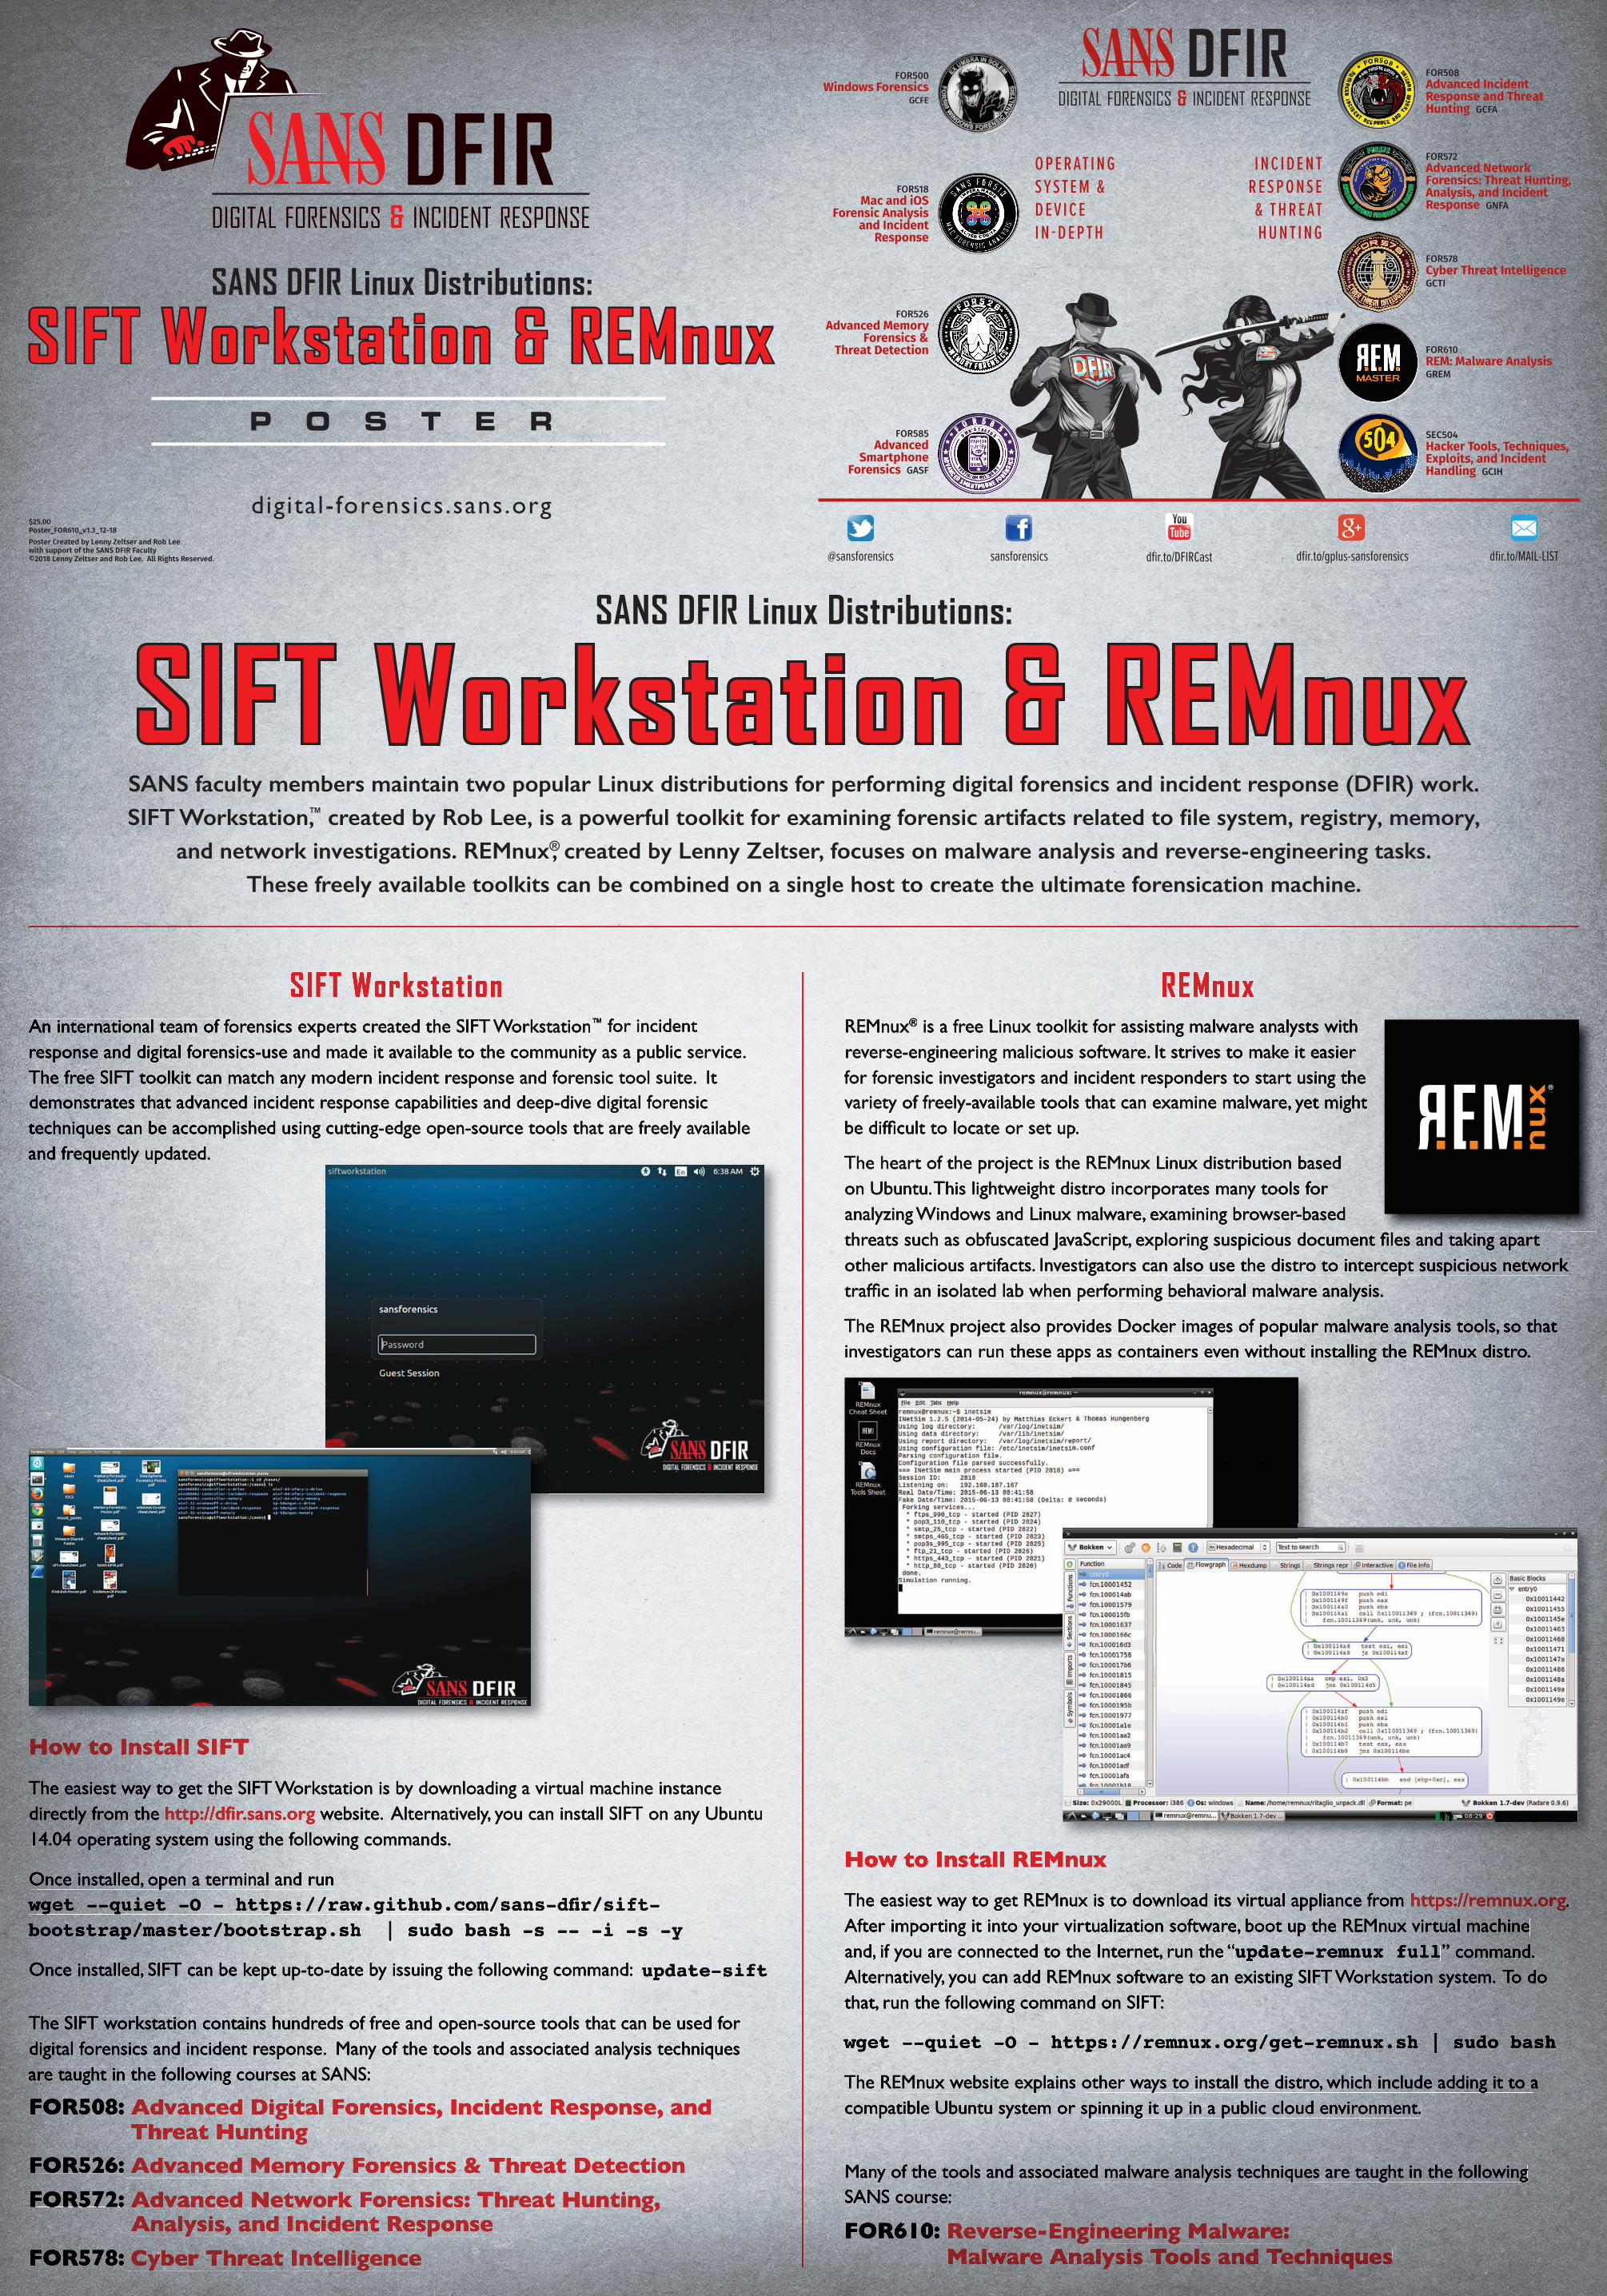
SANS DFIR Linux Distributions:
SANS DFIR Linux Distributions:
SANS faculty members maintain two popular Linux distributions for performing digital forensics and incident response (DFIR) work. SIFT Workstation,™ created by Rob Lee, is a powerful toolkit for examining forensic artifacts related to file system, registry, memory,
and network investigations. REMnux®, created by Lenny Zeltser, focuses on malware analysis and reverse-engineering tasks. These freely available toolkits can be combined on a single host to create the ultimate forensication machine.
How to Install SIFT
The easiest way to get the SIFT Workstation is by downloading a virtual machine instance directly from the http://dfir.sans.org website. Alternatively, you can install SIFT on any Ubuntu 14.04 operating system using the following commands.
Once installed, open a terminal and run wget --quiet -O - https://raw.github.com/sans-dfir/sift-bootstrap/master/bootstrap.sh | sudo bash -s -- -i -s -y
Once installed, SIFT can be kept up-to-date by issuing the following command: update-sift
@sansforensics sansforensics dfir.to/gplus-sansforensics dfir.to/MAIL-LISTdfir.to/DFIRCast
O P E R AT I N G S Y S T E M & D E V I C E I N - D E P T H
I N C I D E N T R E S P O N S E & T H R E AT H U N T I N G
FOR500 Windows Forensics
GCFE
FOR518 Mac and iOS
Forensic Analysis and Incident
Response
FOR526 Advanced Memory
Forensics & Threat Detection
FOR585 Advanced
Smartphone Forensics GASF
FOR508 Advanced Incident Response and Threat Hunting GCFA
FOR572Advanced Network Forensics: Threat Hunting, Analysis, and Incident Response GNFA
FOR578 Cyber Threat Intelligence GCTI
FOR610 REM: Malware Analysis GREM
SEC504 Hacker Tools, Techniques, Exploits, and Incident Handling GCIH
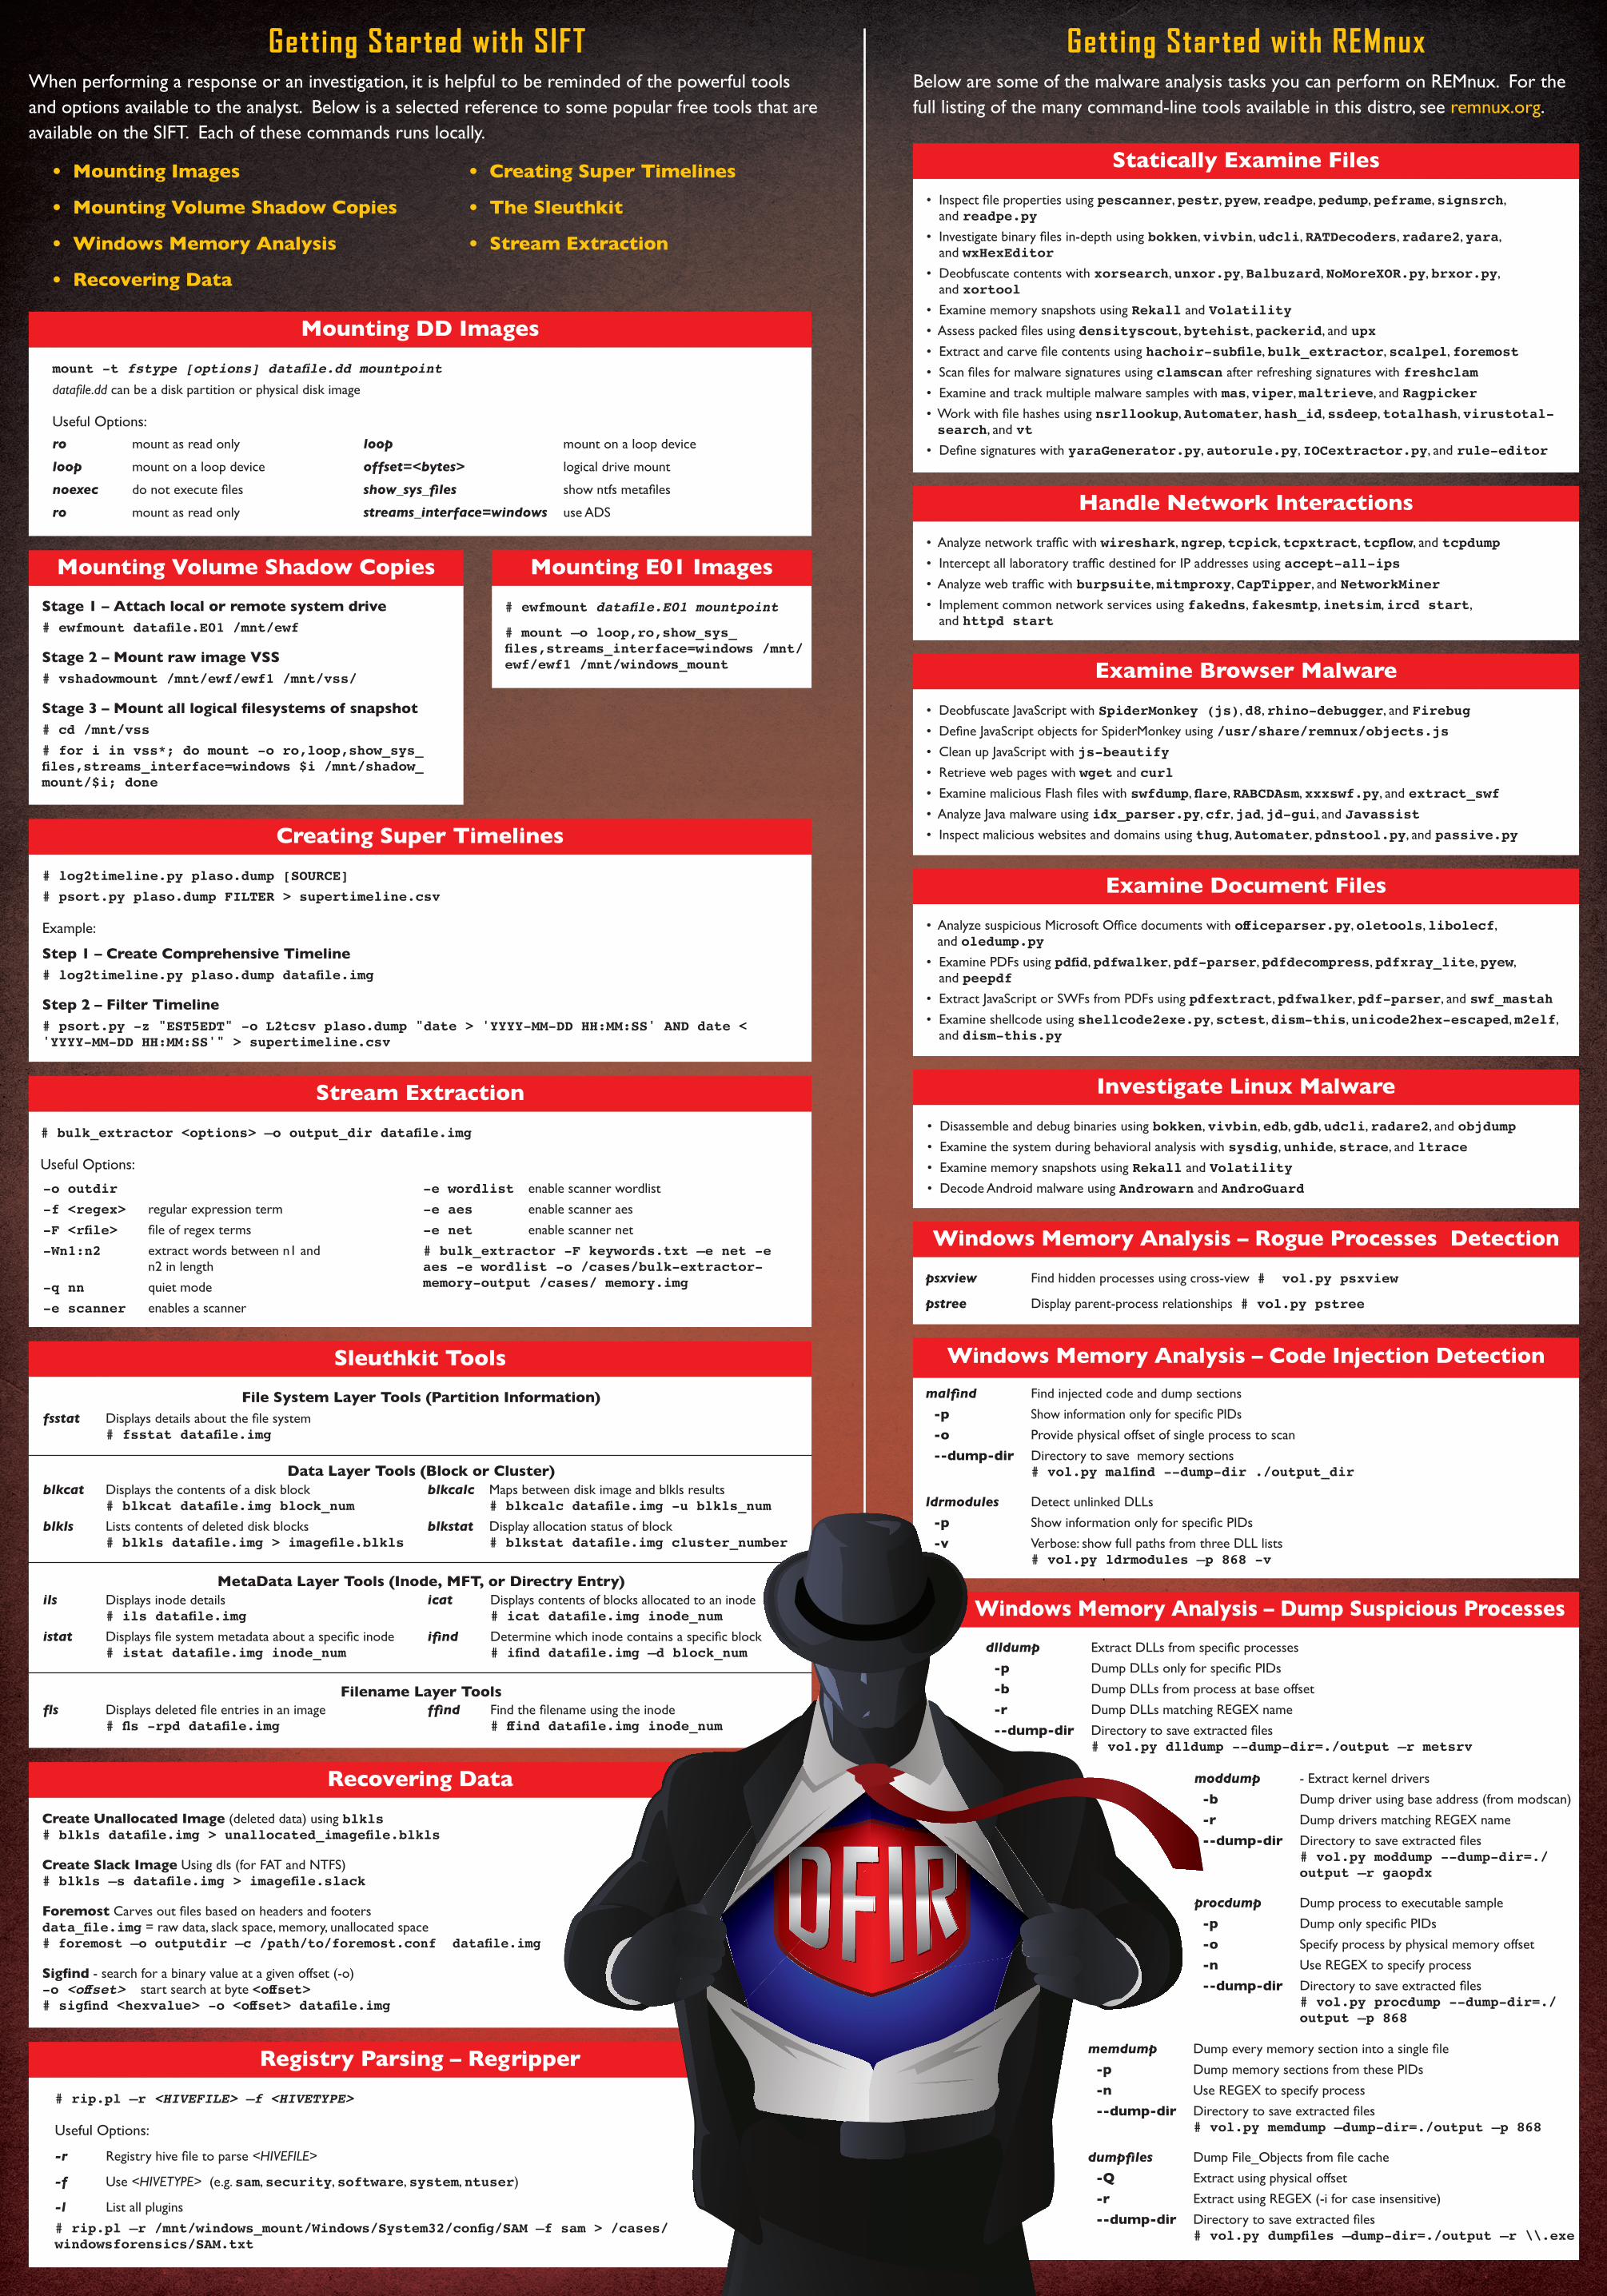
Getting Started with SIFTWhen performing a response or an investigation, it is helpful to be reminded of the powerful tools and options available to the analyst. Below is a selected reference to some popular free tools that are available on the SIFT. Each of these commands runs locally.
• Mounting Images
• Mounting Volume Shadow Copies
• Windows Memory Analysis
• Recovering Data
• Creating Super Timelines
• The Sleuthkit
• Stream Extraction
Creating Super Timelines# log2timeline.py plaso.dump [SOURCE]
# psort.py plaso.dump FILTER > supertimeline.csv
Example:
Step 1 – Create Comprehensive Timeline# log2timeline.py plaso.dump datafile.img
Step 2 – Filter Timeline # psort.py -z "EST5EDT" -o L2tcsv plaso.dump "date > 'YYYY-MM-DD HH:MM:SS' AND date < 'YYYY-MM-DD HH:MM:SS'" > supertimeline.csv
Mounting E01 Images# ewfmount datafile.E01 mountpoint
# mount –o loop,ro,show_sys_files,streams_interface=windows /mnt/ewf/ewf1 /mnt/windows_mount
Mounting Volume Shadow CopiesStage 1 – Attach local or remote system drive# ewfmount datafile.E01 /mnt/ewf
Stage 2 – Mount raw image VSS# vshadowmount /mnt/ewf/ewf1 /mnt/vss/
Stage 3 – Mount all logical filesystems of snapshot# cd /mnt/vss
# for i in vss*; do mount -o ro,loop,show_sys_files,streams_interface=windows $i /mnt/shadow_mount/$i; done
Mounting DD Imagesmount -t fstype [options] datafile.dd mountpoint
datafile.dd can be a disk partition or physical disk image
Useful Options:
ro mount as read only
loop mount on a loop device
noexec donotexecutefiles
ro mount as read only
loop mount on a loop device
offset=<bytes> logical drive mount
show_sys_files showntfsmetafiles
streams_interface=windows use ADS
Statically Examine Files•Inspectfilepropertiesusingpescanner, pestr, pyew, readpe, pedump, peframe, signsrch,
and readpe.py
•Investigatebinaryfilesin-depthusingbokken, vivbin, udcli, RATDecoders, radare2, yara, and wxHexEditor
• Deobfuscate contents with xorsearch, unxor.py, Balbuzard, NoMoreXOR.py, brxor.py, and xortool
• Examine memory snapshots using Rekall and Volatility
•Assesspackedfilesusingdensityscout, bytehist, packerid, and upx
•Extractandcarvefilecontentsusinghachoir-subfile, bulk_extractor, scalpel, foremost
•Scanfilesformalwaresignaturesusingclamscan after refreshing signatures with freshclam
• Examine and track multiple malware samples with mas, viper, maltrieve, and Ragpicker
•Workwithfilehashesusingnsrllookup, Automater, hash_id, ssdeep, totalhash, virustotal-search, and vt
•DefinesignatureswithyaraGenerator.py, autorule.py, IOCextractor.py, and rule-editor
Handle Network Interactions•Analyzenetworktrafficwithwireshark, ngrep, tcpick, tcpxtract, tcpflow, and tcpdump
•InterceptalllaboratorytrafficdestinedforIPaddressesusingaccept-all-ips
•Analyzewebtrafficwithburpsuite, mitmproxy, CapTipper, and NetworkMiner
• Implement common network services using fakedns, fakesmtp, inetsim, ircd start, and httpd start
Examine Browser Malware• Deobfuscate JavaScript with SpiderMonkey (js), d8, rhino-debugger, and Firebug
•DefineJavaScriptobjectsforSpiderMonkeyusing/usr/share/remnux/objects.js
• Clean up JavaScript with js-beautify
• Retrieve web pages with wget and curl
•ExaminemaliciousFlashfileswithswfdump, flare, RABCDAsm, xxxswf.py, and extract_swf
• Analyze Java malware using idx_parser.py, cfr, jad, jd-gui, and Javassist
• Inspect malicious websites and domains using thug, Automater, pdnstool.py, and passive.py
Examine Document Files•AnalyzesuspiciousMicrosoftOfficedocumentswithofficeparser.py, oletools, libolecf,
and oledump.py
•ExaminePDFsusingpdfid, pdfwalker, pdf-parser, pdfdecompress, pdfxray_lite, pyew, and peepdf
•ExtractJavaScriptorSWFsfromPDFsusingpdfextract, pdfwalker, pdf-parser, and swf_mastah
• Examine shellcode using shellcode2exe.py, sctest, dism-this, unicode2hex-escaped, m2elf, and dism-this.py
Investigate Linux Malware• Disassemble and debug binaries using bokken, vivbin, edb, gdb, udcli, radare2, and objdump
• Examine the system during behavioral analysis with sysdig, unhide, strace, and ltrace
• Examine memory snapshots using Rekall and Volatility
• Decode Android malware using Androwarn and AndroGuard
Windows Memory Analysis – Rogue Processes Detectionpsxview Find hidden processes using cross-view # vol.py psxview
pstree Display parent-process relationships # vol.py pstree
Windows Memory Analysis – Code Injection Detectionmalfind Findinjectedcodeanddumpsections
-p ShowinformationonlyforspecificPIDs
-o Providephysicaloffsetofsingleprocesstoscan
--dump-dir Directory to save memory sections # vol.py malfind --dump-dir ./output_dir
ldrmodules Detect unlinked DLLs
-p ShowinformationonlyforspecificPIDs
-v Verbose: show full paths from three DLL lists # vol.py ldrmodules –p 868 -v
Stream Extraction# bulk_extractor <options> –o output_dir datafile.img
Useful Options:
-o outdir
-f <regex> regular expression term
-F <rfile> fileofregexterms
-Wn1:n2 extract words between n1 and n2 in length
-q nn quiet mode
-e scanner enables a scanner
-e wordlist enable scanner wordlist
-e aes enable scanner aes
-e net enable scanner net
# bulk_extractor -F keywords.txt –e net -e aes -e wordlist -o /cases/bulk-extractor-memory-output /cases/ memory.img
Sleuthkit ToolsFile System Layer Tools (Partition Information)
fsstat Displaysdetailsaboutthefilesystem # fsstat datafile.img
Data Layer Tools (Block or Cluster)
MetaData Layer Tools (Inode, MFT, or Directry Entry)
Filename Layer Tools
blkcat Displays the contents of a disk block # blkcat datafile.img block_num
blkls Lists contents of deleted disk blocks # blkls datafile.img > imagefile.blkls
blkcalc Mapsbetweendiskimageandblklsresults # blkcalc datafile.img -u blkls_num
blkstat Display allocation status of block # blkstat datafile.img cluster_number
ils Displays inode details # ils datafile.img
istat Displaysfilesystemmetadataaboutaspecificinode # istat datafile.img inode_num
icat Displays contents of blocks allocated to an inode # icat datafile.img inode_num
ifind Determinewhichinodecontainsaspecificblock # ifind datafile.img –d block_num
fls Displaysdeletedfileentriesinanimage # fls -rpd datafile.img
ffind Findthefilenameusingtheinode # ffind datafile.img inode_num
Registry Parsing – Regripper# rip.pl –r <HIVEFILE> –f <HIVETYPE>
Useful Options:
-r Registryhivefiletoparse<HIVEFILE>
-f Use <HIVETYPE> (e.g. sam, security, software, system, ntuser)
-l List all plugins
# rip.pl –r /mnt/windows_mount/Windows/System32/config/SAM –f sam > /cases/windowsforensics/SAM.txt
Recovering DataCreate Unallocated Image (deleted data) using blkls # blkls datafile.img > unallocated_imagefile.blkls
Create Slack Image Using dls (for FAT and NTFS) # blkls –s datafile.img > imagefile.slack
ForemostCarvesoutfilesbasedonheadersandfooters data_file.img = raw data, slack space, memory, unallocated space # foremost –o outputdir –c /path/to/foremost.conf datafile.img
Sigfind - search for a binary value at a given offset (-o) -o <offset> start search at byte <offset> # sigfind <hexvalue> -o <offset> datafile.img
Getting Started with REMnuxBelowaresomeofthemalwareanalysistasksyoucanperformonREMnux.Forthefull listing of the many command-line tools available in this distro, see remnux.org.
Windows Memory Analysis – Dump Suspicious Processesdlldump ExtractDLLsfromspecificprocesses
-p DumpDLLsonlyforspecificPIDs
-b Dump DLLs from process at base offset
-r Dump DLLs matching REGEX name
--dump-dir Directorytosaveextractedfiles # vol.py dlldump --dump-dir=./output –r metsrv
moddump - Extract kernel drivers
-b Dump driver using base address (from modscan)
-r Dump drivers matching REGEX name
--dump-dir Directorytosaveextractedfiles # vol.py moddump --dump-dir=./output –r gaopdx
procdump Dump process to executable sample
-p DumponlyspecificPIDs
-o Specify process by physical memory offset
-n Use REGEX to specify process
--dump-dir Directorytosaveextractedfiles # vol.py procdump --dump-dir=./output –p 868
memdump Dumpeverymemorysectionintoasinglefile
-p DumpmemorysectionsfromthesePIDs
-n Use REGEX to specify process
--dump-dir Directorytosaveextractedfiles # vol.py memdump –dump-dir=./output –p 868
dumpfiles DumpFile_Objectsfromfilecache
-Q Extract using physical offset
-r Extract using REGEX (-i for case insensitive)
--dump-dir Directorytosaveextractedfiles # vol.py dumpfiles –dump-dir=./output –r \\.exe