Embed Size (px)
Citation preview

Ramsoc:Grade 1 TheoryAim: To build confidence in the areas
of basic navigation and group management.

Introduction• Grade 1 is the first session in the
Ramsoc training programme• This is an optional preparation for Grade
2 (leadership training)• You won’t necessarily have to lead walks
afterwards!• We hope to build your confidence and
inspire you to go on further in the training program
Introduction• Grade 1 is the first session in the
Ramsoc training programme• This is an optional preparation for Grade
2 (leadership training)• You won’t necessarily have to lead walks
afterwards!• We hope to build your confidence and
inspire you to go on further in the training program

What is Grade 1Grade 1- Low level walks- Mainly in the White Peak- Some easier Dark Peak and Weekend Walks- Only basic Navigation is necessary- Walks will normally not exceed 400m above sea level
Grade 2- Medium level walks- Rising between 366m and 671m above sea level- Often leading walks in the Dark Peak and medium level walks on weekends
Grade 3-High level walks in mountainous areas- Also includes moorland and regions were it would take more than an hour to reach habitation- Walks include those in Snowdonia, Lake District and The Yorkshire Dales

Introduction• Today's Training Team :
– Tom Blann ~ Mountain Leader Trained, Club President
– Graham Parkes ~ ML Trained, Past Ramblesec
– Dave Roberts ~ ML Trained, Past Ramblesec
– Mike Slevin ~ ML Trained, Safety Officer

Introduction• Today's training will be split into two
sections:– Session 1: Basic Navigation– Session 2: Group Management
• With session 1 lasting 70 minutes• Then there will be a 5 minute interval• Concluding with session 2 lasting 50
minutes • Q and A Sessions at the end of both
sections

Session 1: Basic NavigationLearning Objectives for part 1:By the end of the session participants will be able to:• Understand the Grid System in the UK• Be able to give an accurate 6 figure grid reference• Accurately interpret common map symbols• Understand the nature of the map as a two dimensional plan.• Relate a map to the land and vice versa• Orientate a map• Know the relevant parts of a magnetic compass and be able to
take a bearing • Understand and interpret contour lines and landforms• Understand how rights of way are shown on the map.• Be confident in using a map and compass to safely navigate in
lowland areas such as the Peak District

Session 1: Basic Navigation
Understanding the UK grid system
• A distinctive feature of British maps is the grid structure of blue lines superimposed over the whole country
• Grid lines form the basis of a numerical reference system
Understanding the UK grid system
• A distinctive feature of British maps is the grid structure of blue lines superimposed over the whole country
• Grid lines form the basis of a numerical reference system
• This allows any point to be pinpointed and communicated
Session 1: Basic Navigation
Understanding the UK grid system
• A distinctive feature of British maps is the grid structure of blue lines superimposed over the whole country
• Grid lines form the basis of a numerical reference system

Session 1: Basic Navigation
Understanding the UK grid system
• Initially the UK is split into squares measuring 500km2 and denoted by letters
Understanding the UK grid system
• Initially the UK is split into squares measuring 500km2 and denoted by letters
Session 1: Basic Navigation
Understanding the UK grid system
• Initially the UK is split into squares measuring 500km2 and denoted by letters


Session 1: Basic Navigation
Understanding the UK grid system
• Initially the UK is split into squares measuring 500km2 and denoted by letters
• These Squares are then systematically broken down into progressively smaller squares
• Each area is then subdivided into squares with sides of 1km that form the overlay on a standard OS 1:25000 map
Session 1: Basic Navigation
Understanding the UK grid system

Session 1: Basic Navigation
Understanding the UK grid system
Session 1: Basic Navigation
Understanding the UK grid system
13
14

Session 1: Basic Navigation
Understanding the UK grid system
• Initially the UK is split into squares measuring 500km2 and denoted by letters
• These Squares are then systematically broken down into progressively smaller squares
• Each area is then subdivided into squares with sides of 1km that form the overlay on a standard OS 1:25000 map
• Each of these grid squares is assigned a specific four-figure reference
• There is however a margin for error with this system, and confusion does at times occur

Session 1: Basic Navigation
• The main reason for printing a grid system on maps is to create a numerical system for defining a specific location
• To ensure accuracy a 6 figure grid reference is used
• These can be estimated by eye or measured using a ruler, or with a Romer (often found on the base plate of a compass)
• It is important to understand how to give an accurate 6 figure grid reference
Session 1: Basic NavigationSession 1: Basic Navigation
6 Figure Grid References

• How to take a 6 figure grid reference1. Identify the 1km square where the object you are
trying to identify can be found in.
Session 1: Basic Navigation
6 Figure Grid ReferencesSession 1: Basic Navigation
6 Figure Grid ReferencesSession 1: Basic Navigation
6 Figure Grid ReferencesSession 1: Basic Navigation
6 Figure Grid References

• How to take a 6 figure grid reference1. Identify the 1km square where the object you are
trying to identify can be found in.
Session 1: Basic Navigation
6 Figure Grid References
13
14
Session 1: Basic Navigation
6 Figure Grid References• How to take a 6 figure grid reference
1. Identify the 1km square where the object you are trying to identify can be found in.
Session 1: Basic Navigation
6 Figure Grid References• How to take a 6 figure grid reference
1. Identify the 1km square where the object you are trying to identify can be found in.
Session 1: Basic Navigation
6 Figure Grid References• How to take a 6 figure grid reference
1. Identify the 1km square where the object you are trying to identify can be found in.
Session 1: Basic Navigation
6 Figure Grid References

• How to take a 6 figure grid reference1. Identify the 1km square where the object you are trying to
identify can be found in.
2. Establish the Easting’s (those lines running from West to East) and the Northing’s (those lines running from South to North) remembering that when you read a grid reference you go horizontally first then vertically (along the corridor then up the stairs)
Session 1: Basic Navigation
6 Figure Grid References

Session 1: Basic Navigation
6 Figure Grid References
13
14Grid Ref: 2613
6 Figure Grid References
13
14

Session 1: Basic Navigation
• How to take a 6 figure grid reference1. Identify the 1km square where the object you are trying to
identify can be found in.
2. Establish the Easting’s (those lines running from West to East) and the Northing’s (those lines running from South to North) remembering that when you read a grid reference you go horizontally first then vertically (along the corridor then up the stairs)
3. Imagine the 1km square to be split into 10 increments
6 Figure Grid ReferencesSession 1: Basic Navigation
6 Figure Grid References

13
14
Session 1: Basic Navigation
6 Figure Grid References
0 1 2 3 4 5 6 7 8 9 10
109876543210
13
14 109876543210
13
14 109876543210
13
14 109876543210
13
14 109876543210
13
14 109876543210
13
14
13
14
0 1 2 3 4 5 6 7 8 9 10
109876543210
13
14 109876543210
13
14 109876543210
13
14 109876543210
13
14 109876543210
13
14 109876543210
13
14

Session 1: Basic Navigation
• How to take a 6 figure grid reference1. Identify the 1km square where the object you are trying to
identify can be found in.
2. Establish the Easting’s (those lines running from West to East) and the Northing’s (those lines running from South to North) remembering that when you read a grid reference you go horizontally first then vertically (along the corridor then up the stairs)
3. Imagine the 1km square to be split into 10 increments
4. Locate the smaller square closest to the object your are identifying
6 Figure Grid ReferencesSession 1: Basic Navigation
6 Figure Grid ReferencesSession 1: Basic Navigation
6 Figure Grid ReferencesSession 1: Basic Navigation
6 Figure Grid References

13
14
0 1 2 3 4 5 6 7 8 9 10
109876543210
13
14 109876543210
13
14 109876543210
13
14 109876543210
13
14 109876543210
13
14 109876543210
13
14
Session 1: Basic Navigation
6 Figure Grid References

• How to take a 6 figure grid reference1. Identify the 1km square where the object you are trying to
identify can be found in.
2. Establish the Easting’s (those lines running from West to East) and the Northing’s (those lines running from South to North) remembering that when you read a grid reference you go horizontally first then vertically (along the corridor then up the stairs)
3. Imagine the 1km square to be split into 10 increments
4. Locate the smaller square closest to the object your are identifying
5. Read the grid reference as the intersect in the bottom left hand corner of that square
6. The grid reference for the red square is therefore:
263136
Session 1: Basic Navigation
6 Figure Grid ReferencesSession 1: Basic Navigation
6 Figure Grid References

6 Figure Grid ReferencesSession 1: Basic Navigation
-
Activity
In pairs or small groups try taking an accurate 6 figure grid reference
You will all be given a map and asked to give a grid reference for three different locations or objects, see if you can accurately identify them

Session 1: Basic Navigation
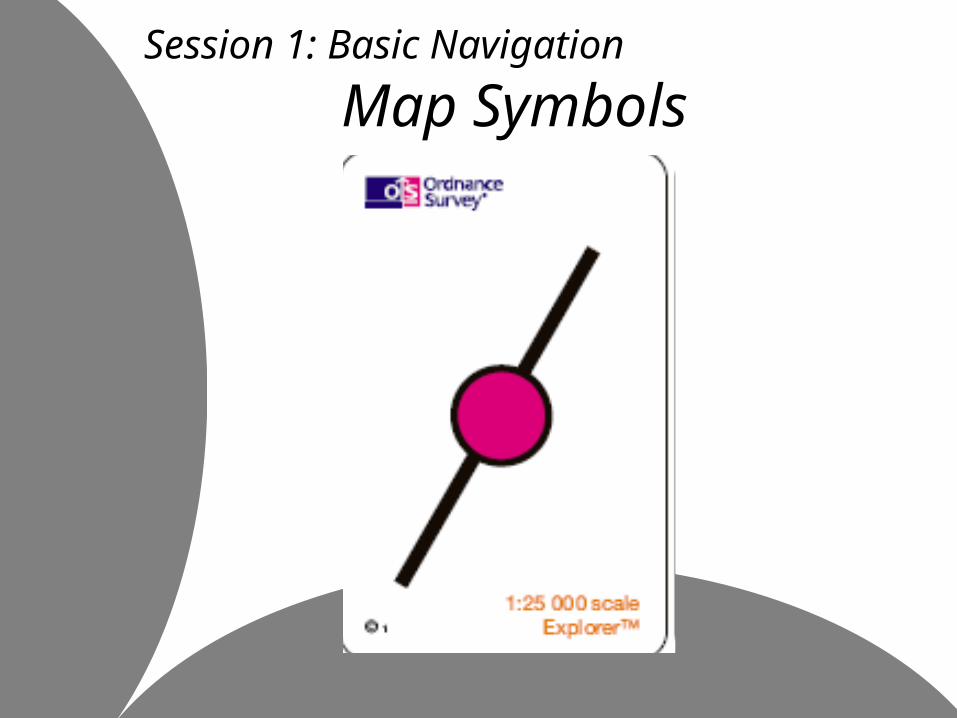
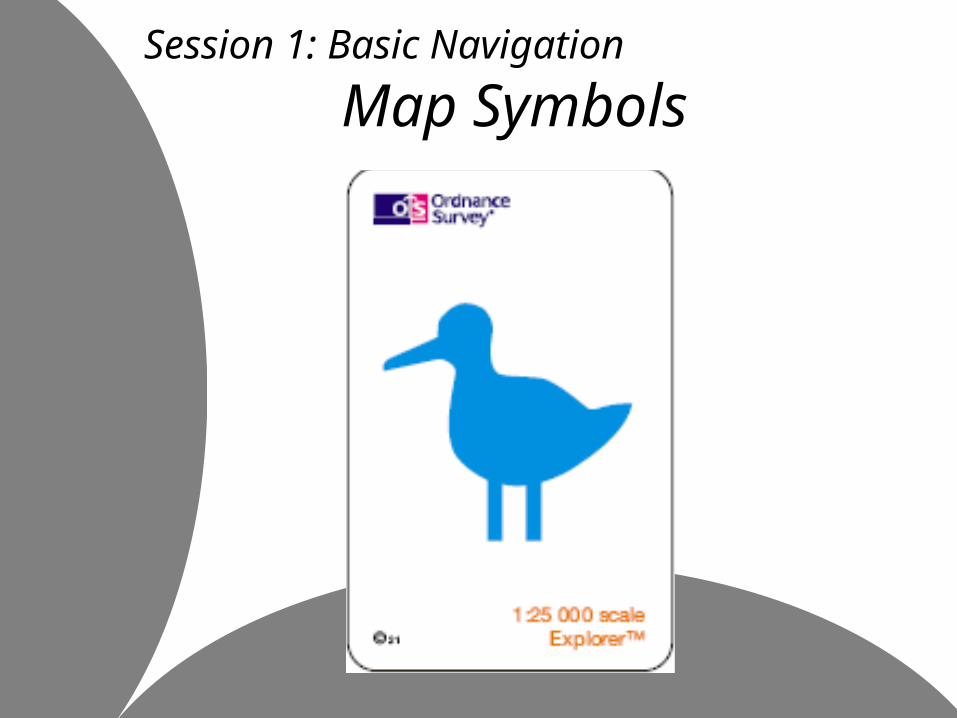
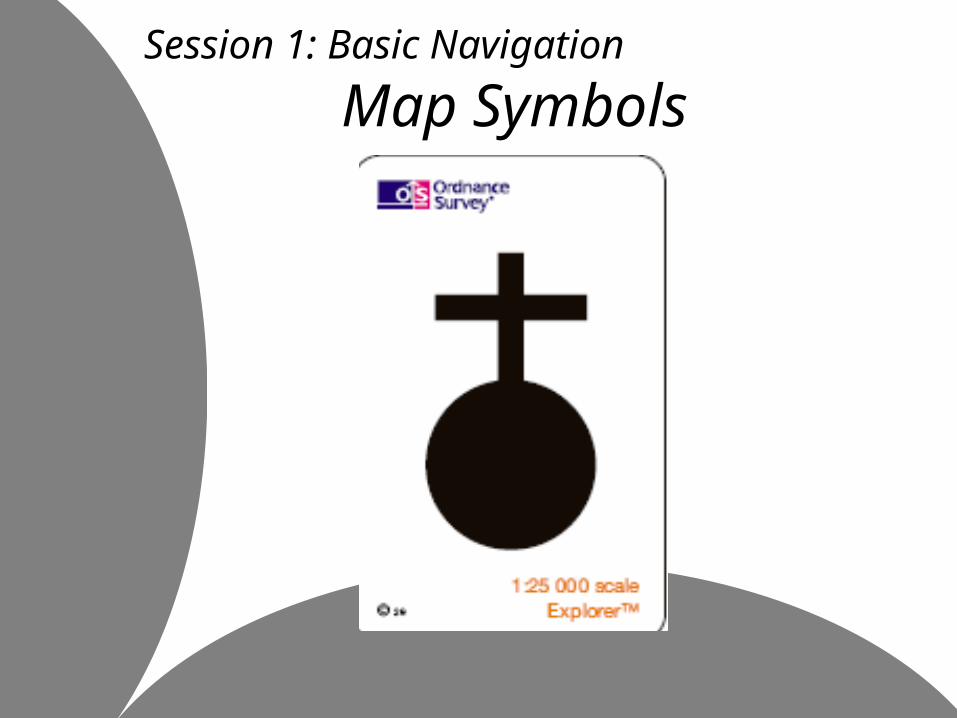
Map Symbols– It is important to be able to identify
commonly used map symbols (especially this one, PH)
– Being able to correctly identify map symbols will not only help you to navigate but may be useful to determine suitability of terrain, allow for a more precise description of your location or to avoid potential dangers
– A definitive list of symbols can be found on the key of any OS map
Session 1: Basic Navigation
Map Symbols

Activity
A quick quiz to see how many regularly used OS Map symbols and denotations you already know!
Session 1: Basic Navigation
Map SymbolsSession 1: Basic Navigation
Map Symbols

Session 1: Basic Navigation
Map Symbols
Fingers on Buzzers Or
Hands in the air when you think you know the answer
Session 1: Basic Navigation
Map Symbols
Session 1: Basic Navigation
Map Symbols

Session 1: Basic Navigation
Map Symbols
Railway Station

Session 1: Basic Navigation
Map Symbols

Session 1: Basic Navigation
Map Symbols
Footpath

Session 1: Basic Navigation
Map Symbols

Session 1: Basic Navigation
Map Symbols
National Trail
Session 1: Basic Navigation
Map Symbols

Session 1: Basic Navigation
Map Symbols
Main / Trunk Road

Session 1: Basic Navigation
Map Symbols

Session 1: Basic Navigation
Map Symbols
Camping / Caravanning site

Session 1: Basic Navigation
Map Symbols

Session 1: Basic Navigation
Map Symbols
View Point

Session 1: Basic Navigation
Map Symbols

Session 1: Basic Navigation
Map Symbols
Access land Boundary

Session 1: Basic Navigation
Map Symbols

Session 1: Basic Navigation
Map Symbols
Public Telephone

Session 1: Basic Navigation
Map Symbols

Session 1: Basic Navigation
Map Symbols
Parking
Session 1: Basic Navigation
Map Symbols

Session 1: Basic Navigation
Map Symbols
Nature Reserve
Session 1: Basic Navigation
Map Symbols

Session 1: Basic Navigation
Map Symbols
Place of worship with a spire

Session 1: Basic Navigation
Map Symbols

Session 1: Basic Navigation
Map Symbols
Place of worship with a tower

Session 1: Basic Navigation
Map Symbols

Session 1: Basic Navigation
Map Symbols
Youth Hostel
Session 1: Basic Navigation
Map Symbols

Session 1: Basic Navigation
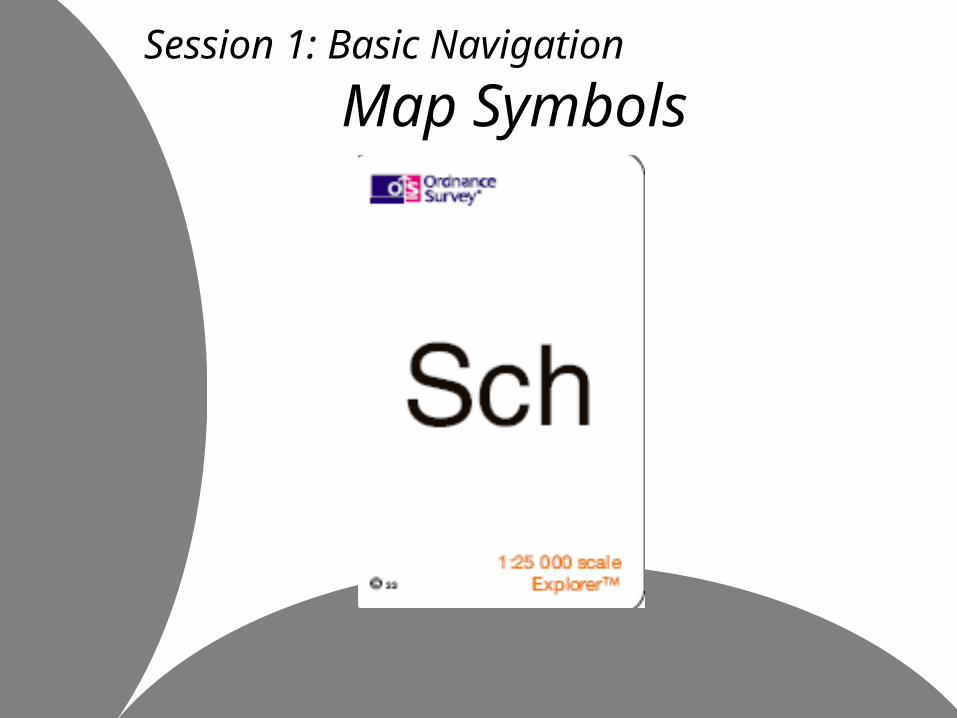
Map Symbols
School

Session 1: Basic Navigation
Map Symbols

Session 1: Basic Navigation
Map Symbols
Public Convenience

Session 1: Basic Navigation
Map Symbols

Session 1: Basic Navigation
Map Symbols
Electricity Transmission Line

Session 1: Basic Navigation
Map Symbols

Session 1: Basic Navigation
Map Symbols
Quarry
Session 1: Basic Navigation
Map Symbols

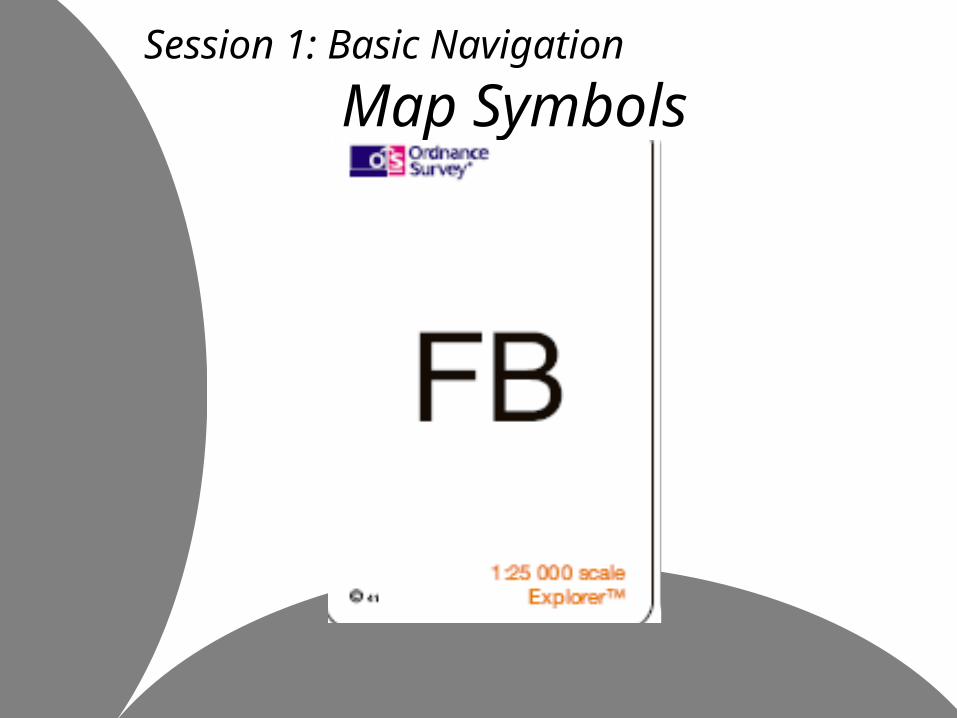
Session 1: Basic Navigation
Map Symbols
Footbridge

Session 1: Basic Navigation
Map Symbols
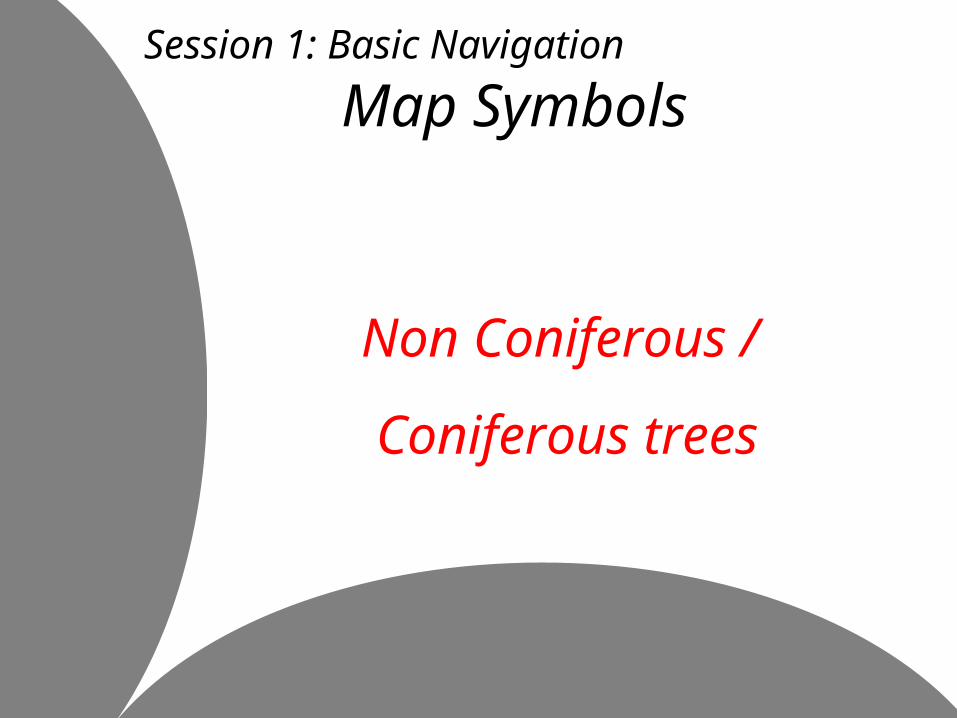
Session 1: Basic Navigation
Map Symbols
Non Coniferous /
Coniferous trees

Session 1: Basic Navigation
Map Symbols

Session 1: Basic Navigation
Map Symbols
Well
Spring

Session 1: Basic Navigation
Map Symbols

Session 1: Basic Navigation
Map Symbols
Marsh / Reeds

Session 1: Basic Navigation
Relating the map to the ground– Interpreting a map correctly is the most
basic and useful navigational skill– Maps are simply an accurate picture of
the ground as seen from above, scaled down from life size and with symbols to show particular features and landmarks
– An OS map is a 2D representation of a 3D landscape

Session 1: Basic Navigation
Relating the map to the ground– It shows all of the necessary detail to
represent a 3D landscape using a variety of different techniques
– These Include:• Contour lines• Rivers and streams• Areas of Trees• Roads and Paths• Different types of terrain• Walls• Buildings

Session 1: Basic Navigation
Relating the map to the ground– The most important and reliable
information found on a map are provided by contours
– These allow the map reader to build a mental picture of the three dimensional shape of the land
– Other features can then be superimposed over the top of this land form e.g. Buildings, Streams, Walls etc.
Session 1: Basic Navigation
Relating the map to the ground– It should be remembered that these
features might change over time, paths or even streams reroute themselves and walls become removed or fall down
– Although Maps are very accurate, occasionally minor errors occur.
– Also the man made landscape can change quickly drastically altering what can be seen on the land

Session 1: Basic Navigation
Orientating the Map
– Why is Orientating a map important?
– To aid the process of relating the map to the ground
– How do we orientate the map?

Session 1: Basic Navigation
Orientating the Map
– By eye: Rotate the map so landmarks you can see such as lakes, roads, FP’s and buildings align with map
– If you hold the map up you should be able to directly align it to the landscape using these features

Session 1: Basic Navigation
Orientating the Map
– Using a Compass: • Set the dial to 0o • Line up the edge of the compass with a
vertical grid line (Northing)• Leaving the orientation arrow on the
baseplate pointing upwards• Rotate both the map and compass together
until the Red needle is lined up with the orientation arrow

Session 1: Basic Navigation
Orientating the Map
– We will go into more detail on this at the practical session on Sunday

Session 1: Basic Navigation
Contours and Features
– Contour Lines:• Join points of equal height above sea level• Are shown on the map as Brown / Orange
lines• Usually at 10m Intervals but check on the
map• Every 5th line is an index contour and will be
slightly bolder• Show inclination of the land as well as slope
and aspect

Session 1: Basic Navigation
Contours and Features
– Contour Lines:• The closer the contour lines are together the steeper
the slope• Contours will be marked with their relative heights at
different intervals• It is important to identify when a contour is showing
an incline or decline• For ridges the point of the V points towards lower
ground• For valleys the point of the V points towards higher
land• Note: usually a stream can be found in a valley

Session 1: Basic Navigation
Contours and Features
– Contour Features• Often you find typical features formed by
contours such as: Ridges, Saddles, Valleys and Knoll’s
• These will be covered in more detailed in Grade 2
• Here is an example of contour lines using the software Memory Map

Session 1: Basic Navigation
The Compass
– How many parts of a compass can you identify?

Session 1: Basic Navigation
The Compass

Session 1: Basic Navigation
Bearings– What is a bearing?– A bearing is the angle of direction of one
object or destination from another– Why might it be necessary to use a bearing
as a method of navigation– Poor visibility– Lack of other navigational features i.e. On
top of Kinder– For reassurance

Session 1: Basic Navigation
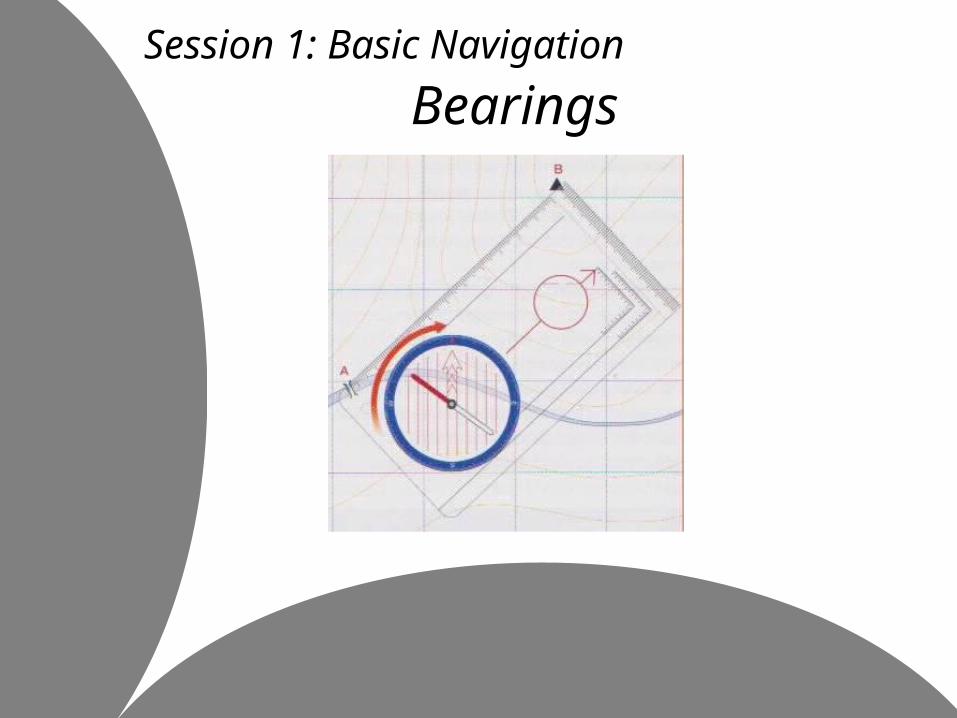
Bearings
– How to take a bearing1. Find the two points on the map that you want
to travel from and to. Line up your compass edge between the two points, so that your direction of travel arrow is pointing to your destination.

Session 1: Basic Navigation
Bearings

Session 1: Basic Navigation
Bearings
– How to take a bearing1. Find the two points on the map that you want to travel from and
to. Line up your compass edge between the two points, so that your direction of travel arrow is pointing to your destination.
2. Rotate the compass housing to align the orienting lines with the north-south grid lines on the map
Session 1: Basic Navigation
Bearings

Session 1: Basic Navigation
Bearings– How to take a bearing1. Find the two points on the map that you want to travel from and
to. Line up your compass edge between the two points, so that your direction of travel arrow is pointing to your destination.
2. Rotate the compass housing to align the orienting lines with the north-south lines on the map
3. Rotate the compass housing to compensate for magnetic variation

Session 1: Basic Navigation
Bearings

Session 1: Basic Navigation
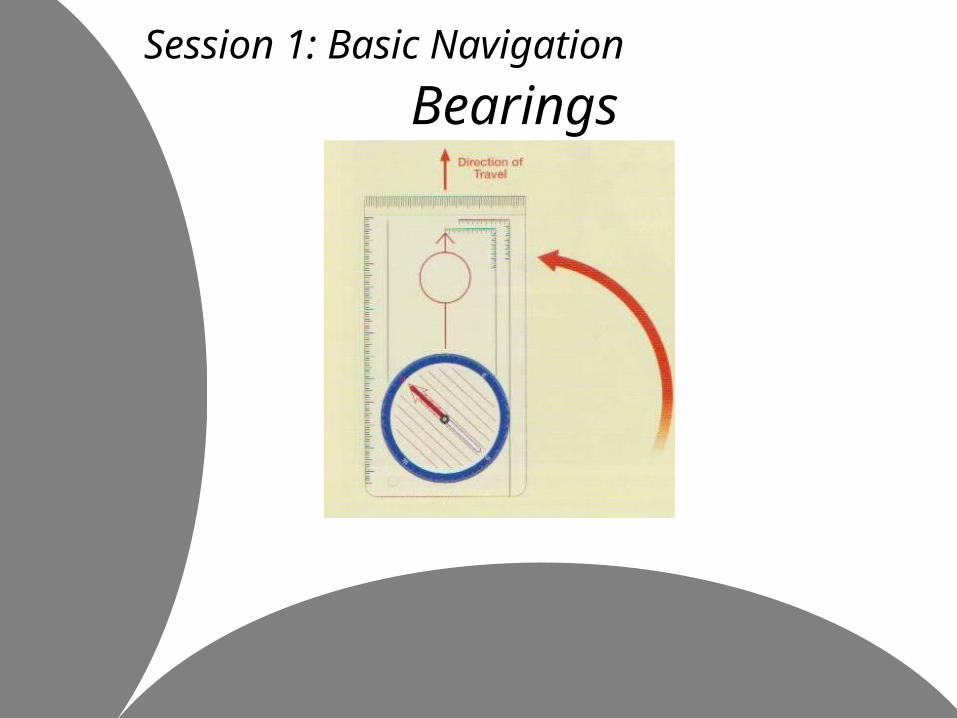
Bearings– How to take a bearing1. Find the two points on the map that you want to travel from and
to. Line up your compass edge between the two points, so that your direction of travel arrow is pointing to your destination.
2. Rotate the compass housing to align the orienting lines with the north-south lines on the map
3. Rotate the compass housing to compensate for magnetic variation
4. Remove the compass from the map, rotate the compass so that the north end of the needle and the orienting arrow are aligned and then proceed following the direction of travel arrow
Session 1: Basic Navigation
Bearings

Session 1: Basic Navigation
Bearings
– Get into pairs and spend a few minutes practicing how to take a bearing
– We will practice this technique a lot more in detail on Sundays practical session

Session 1: Basic Navigation
Any Questions?

5 Minute Break

4 Minutes Left

3 Minutes Left

2 Minutes Left

1 Minute Left

Session 2: Group Management
The group should be
“helped to lead itself as far as it is judged capable of safely doing so.”
Eric Langmuir

Session 2: Group Management
Learning Objectives for part 2:By the end of the session participants will be able to:• Answer the Question, Why be a leader?• Understand the role and responsibilities of a Ramsoc Leader• Understand different leadership techniques• Appropriately use tools for conflict management • Use both their own and other leader’s strengths for the benefit
of their group• Cope with emergency situations likely to occur on the hill• Identify and manage problems that might occur on the hill,
including environmental and human hazards• Feel confident in their ability to lead and manage a group on a
G1 walk

Session 2: Group Management
Why be a leader?– Put your suggestions on the board– Think - What motivates people to lead?
Session 2: Group Management
Why be a leader?
1. Rewarding – application of personal skills to benefit others
2. Give something back to the club
3. Further develop your personal skills i.e. leadership, navigation
4. Meet people and get more out of the club because of increased involvement
5. Get to choose lunch breaks!
Session 2: Group Management
Roles and Responsibilities
1. In pairs or small groups identify what you believe to be the Role of a Ramsoc leader
2. In pairs or small groups identify what you believe to be the Responsibilities of a Ramsoc leader

Session 2: Group Management
Roles and Responsibilities– The Role of a walk leader will vary depending on
the situation they’re in– Typically roles will include
• Information or Opinion giver• Motivator• Co-ordinator• Communication helper• Listener• Standard setter• Decision maker• Navigator

Session 2: Group Management
Roles and Responsibilities– The Responsibilities of a walk leader should
always be present– Your responsibilities as a Ramsoc walk leader will
include:• Setting Standards
• Ensuring the safety and well being of the group
• Route planning
• Encourage group cohesion
• Teach skills
• Get your group from A to B
• Adapt to different situations
• Maximising your groups enjoyment

Session 2: Group Management
Roles and Responsibilities
– As a walk leader you also have a responsibility to different groups of people• To Ramsoc• To the Group• To Individual group members• To Yourself• To the Public (Other walkers, Farmers
etc.)• To the Land

Session 2: Group Management
Leadership Styles / Techniques
– Leadership Styles • Three main types of leadership:• Autocratic• Democratic• Subconscious control
– All three may be useful, but will probably be needed at different times
– As well as the two main types of Leadership there are many different leadership characteristics

Session 2: Group Management
Leadership Styles / Techniques
– Leadership Characteristics
What Leadership Characteristics can you come up with?

Session 2: Group Management
Leadership Styles / Techniques
– Leadership Characteristics• Consensus / Delegative• Authoritative• Stoic• Motivational• Inspirational• Performance driven• Task Orientated• Confident• Compassionate• A listener• Supportive• Behaviour orientated• And many more
Typically some of these are more
likely to be gender specific although this is not always
the case

Session 2: Group Management
Leadership Styles / Techniques
– Leadership Techniques
– Authoritative– Consensus – Vote

Session 2: Group Management
Leadership Styles / Techniques
– Leadership Techniques Communication:
• Effective communication is very important as a leader
• It is important to be clear and concise when talking to the whole group
• Equally a good leader should feel at home talking to individuals as they do talking to a group
• Different tones of voice can be a useful tool in different situations, e.g. happy, serious, motivational, persuasive

Session 2: Group Management
Leadership Styles / Techniques
– Leadership Techniques Body language:• As important as verbal communication is body
language• Body language can be very expressive• Body language is often subconscious• People will more often than not pick up and believe
your body language more than they will your voice• It is important to remember this especially in
instances were you are unsure or uncomfortable with a situation
• It is also a useful tool to be able to read others body language

Session 2: Group Management
Leadership Styles / Techniques
We will now give you a variety of different scenarios
1. What leadership technique or style would be best to use in each scenario
2. As a leader how would you communicate with your group / individual
3. Can you identify where any problems might arise as a leader

Session 2: Group Management
Conflict Management
- What is Conflict Management?
• Conflict Management is the way in which a leader deals with problems that arise either between another leader and themselves or within individual members of the group.
- How do conflicts arise?• People are more likely to experience conflict when
they are; tired, experiencing extremes in temperature or are hungry
• Conflicts may arise if there is a disagreement over the choice of route
• If two or more people have a clash in personality
• And ultimately conflict can occur from out of nowhere and over some of the most trivial things

Session 2: Group Management
Conflict Management
- What techniques can be used to manage it?
• Communication
• Vote
• Taking time out
• Removing someone form the group temporarily
• Tackling the route cause of the conflict
• Identifying different solutions
• Being diplomatic
• Explore different avenues and different possibilities
- Ultimately prevention is better than cure!

Session 2: Group Management
Strengths and Weaknesses as Leaders
1. What strengths would you expect to find in a good leader?
2. What weaknesses may a leader have?
3. Which of your strengths do you think will make you a good leader?
4. Which of your weaknesses will you need to overcome to be a good leader?
In pairs or small groups discuss

Session 2: Group Management
Environmental and Human Hazards
In pairs or small groups identify
1.Human Hazards likely to be encountered on the hill
2.Physical Hazards likely to be encountered on the hill

Session 2: Group Management
Coping with emergency situations
- Firstly it is important to remember that emergency’s are very rare
- But in the event that one does happen it is important you know how to deal with it
- We provide all our trainees with an Accident Procedure flow chart and an Evacuation Plan flow chart

Session 2: Group Management
Coping with emergency situations
- It is important that in an emergency you:• Assess the situation and risk• Assess the human and physical
resources available• Create a plan of action• Allocate roles• Use correct Ramsoc procedures

Session 2: Group Management
Coping with emergency situations
- Be Familiar and confident with• Choosing the appropriate leadership
style• Knowing which leader does what• And know the Accident Response and
Evacuation flow charts

Session 2: Group Management
Coping with emergency situations
- Club procedures and Mountain Rescue• Ethos in Hill walking and Mountaineering of
self sufficiency
• Club will call out MR after 1hr and 10mins for every hour the walk was expected to take
• If you believe the walk will be late alert the Ramblesec
• MR will take a long time to get to you, if you believe it is possible to deal with the situation on your own it is best to do so

Session 2: Group Management
Coping with emergency situations
- Club procedures and Mountain Rescue• To contact Mountain Rescue –
1. Diall 999
2. Ask for the Police
3. Be prepared to give; Your name, Phone number, Precise location, number and condition of group and available equipment
• Do not move from that position unless asked to do so by MR or you are forced to do so for safety reasons, if you do have to move tell MR

Session 2: Group Management
Coping with emergency situations
- Summary• Safety first – your own, the group’s, the
casualty
• Assess the situation and neutralise the danger
• Initial plan of action
• First aid &/or go for help
• Group management issues
• Get information
• Secondary plan of action
• Evacuation
• Mountain Rescue

Session 2: Group Management
Coping with emergency situations
Whilst you should now be fully aware
of your responsibilities Ramsoc only expects that you do your best.

Session 2: Group Management
Any Questions?
Thank You for your participation and we look
forward to seeing you Sunday