Embed Size (px)
Citation preview
Extracted from:
Pragmatic Guide to Git
This PDF file contains pages extracted from Pragmatic Guide to Git, pub-lished by the Pragmatic Bookshelf. For more information or to purchase
a paperback or PDF copy, please visit http://www.pragprog.com.
Note: This extract contains some colored text (particularly in code listing).This is available only in online versions of the books. The printed versions
are black and white. Pagination might vary between the online andprinter versions; the content is otherwise identical.
Copyright © 2010 The Pragmatic Programmers, LLC.
All rights reserved.
No part of this publication may be reproduced, stored in a retrieval system, ortransmitted, in any form, or by any means, electronic, mechanical, photocopying,
recording, or otherwise, without the prior consent of the publisher.
The Pragmatic BookshelfDallas, Texas • Raleigh, North Carolina

Many of the designations used by manufacturers and sellers to distinguish theirproducts are claimed as trademarks.Where those designations appear in this book,and The Pragmatic Programmers, LLC was aware of a trademark claim, the desig-nations have been printed in initial capital letters or in all capitals. The PragmaticStarter Kit, The Pragmatic Programmer, Pragmatic Programming, PragmaticBookshelf, PragProg and the linking g device are trademarks of The PragmaticProgrammers, LLC.
Every precautionwas taken in the preparation of this book.However, the publisherassumes no responsibility for errors or omissions, or for damages that may resultfrom the use of information (including program listings) contained herein.
Our Pragmatic courses, workshops, and other products can help you and yourteam create better software and have more fun. For more information, as well asthe latest Pragmatic titles, please visit us at http://pragprog.com.
The team that produced this book includes:
Susannah Davidson Pfalzer (editor)Potomac Indexing, LLC (indexer)Kim Wimpsett (copyeditor)Steve Peter (typesetter)Janet Furlow (producer)Juliet Benda (rights)Ellie Callahan (support)
Copyright © 2010 Pragmatic Programmers, LLC.All rights reserved.
No part of this publication may be reproduced, storedin a retrieval system, or transmitted, in any form, or byany means, electronic, mechanical, photocopying,recording, or otherwise, without the prior consent ofthe publisher.
Printed in the United States of America.ISBN-13: 978-1-934356-72-2Printed on acid-free paper.Book version: P3.0—January 2012

Now that you have Git and your repository set up, it’s timeto start learning how to interact with Git. A handful ofcommands are all you need to get you through most tasks.Once you finish the tasks in this part, you’ll know them all.
As we saw in the introduction, the workflow in Git isdifferent from other version control systems and definitelydifferent from working without any version control system.Each time you make a change you want to track, you needto commit it.
The workflow goes like this. First, create your repository—either create a new repository or clone an existing one.Then make some changes, test that they do what you want,commit those changes, make some more changes, and soon. Finally, you share those changes when they’re ready.
One thing to keep in mind when working with a distributedversion control system (DVCS) like Git is that committing achange and sharing that change are two different processes.This is different from centralized VCS such as Subversionand CVS, where the two actions are synonymous.
This separation provides you with a lot of freedom. You canexperiment locally, try a whole bunch of things, and thenshare the best solution, but to paraphrase an old uncle,“With great freedom comes great responsibility.”
Lots of small, discrete changes that touch very specificportions of the code are better than a few monolithicchanges. Make sure you don’t sit on a whole bunch ofchanges until they’re perfect. First, they’ll never be perfect.There’s always something else to refactor and abstract away.Second, the bigger the change becomes, the harder itbecomes to fully understand, review, and test.
Third, it makes tracking down bugs later easier. Tools suchas git bisect (see Task 39, Finding Bugs with bisect, on page?) make finding which commit introduced a bug easy.Smaller commits mean that once you know which commit
Working with Git • 7

caused the bug, you can figure out the exact change thatmuch faster.
We’ve already covered how to create a new repository orclone an existing one (git init and git clone in Task 3, Creatinga New Repository, on page ? and Task 4, Creating a LocalCopy of an Existing Repository, on page ?, respectively).Making changes and testing are up to you and how youinteract with the code in your project. Seeing what changesneed to be committed is where we pick up. The tasks in thispart are ordered roughly the same way you’ll use them inGit.
Covered in this part:
• The first thing is seeing what has changed. We coverthis in Task 5, Seeing What Has Changed, on page 10,which shows you how to compare your working treewith what the repository knows about.
• After you know what has changed, then you need tostage the changes you want to commit. This is coveredin Task 6, Staging Changes to Commit, on page 12.
• The changes are staged; now it’s time to commit them.Task 7, Committing Changes, on page 14 shows youhow to create a commit and add a log message to it.
• With any project, files will be generated that you don’tneed to commit. Task 8, Ignoring Files, on page 16teaches you how to tell Git to ignore those files.
• What happens when you accidentally stage a file youdidn’t mean to or you decide that you want to get ridof a change that you made to a file before committingit? Task 9, Undoing Uncommitted Changes, on page 18covers how to undo those staged changes so you don’taccidentally commit something.
• Files sometimes need to change where they live. A newproject layout is adopted, or files or directories are
8 • Working with Git

renamed. Task 10, Moving Files in Git, on page 20 showsyou how to handle these inevitable changes.
• Likewise, some files or directories outlive theirusefulness. Since the repository keeps a record of allfiles that it has ever tracked, you can delete those oldfiles without worrying about not having them toreference later if you need to do so. Task 11, DeletingFiles in Git, on page 22 shows you how.
• Finally, Task 12, Sharing Changes, on page 24 is awhirlwind tour of how to share changes with otherdevelopers. It’s done at 30,000 feet and is enough toget you started. A lot more about collaboration iscovered in Part IV, Working with a Team.
Now, let’s dive into the specifics.
Working with Git • 9

5 Seeing What Has Changed
Your local repository tracks changes. Before you start committing justanything, you need to see what changes exist between your workingtree and your repository and what changes are staged and ready tocommit. git status is the tool for the job.
git status has several different outputs, depending on what’s in yourworking tree. The example on the next page is from one of my reposi-tories, and it contains all three types of outputs: staged changes,changes to known files, and untracked files. Let’s go over them inreverse order of how they appear on the next page—the order of leastimportant to most.
Starting at lines 14 and ending at 17, Git outputs the files and pathsthat it doesn’t know anything about—the files that you haven’t toldGit about yet. This section has the header Untracked files before it starts,and if you turned on color output like we discussed in Task 2, Config-uring Git, on page ?, it displays the files and paths in red.
Next up are the files that Git knows about but that have changed.These are listed between lines 8 and 12 and are preceded by Changedbut not updated. Like untracked files, these show up as red if you havecolors configured.
Finally, the top section listed between lines 3 and 6 shows what filesyou would commit if you ran git commit right now. For more on com-mitting, flip to Task 7, Committing Changes, on page 14. Files in thissection show up as green if you turned colors on and are preceded byChanges to be committed.
Depending on the state of your repository, the output from git statusmight contain any of those sections or none at all. It adapts itself asneeded.
10 • Working with Git
• Click HERE to purchase this book now. discuss

➤ What the status of a new repository looks like.
If you just created a repository using git init, this is what your repositorylooks like:
prompt> git status# On branch master## Initial commit#nothing to commit (create/copy files and use "git add" to track)
➤ What git status looks like in a repository with changes.
git status requires a repository with some changes in its working treeto see the various output. The following is the output of git status onmy local Castanaut repository:
prompt> git statusLine 1
# On branch master #-
# Changes to be committed: #-
# (use "git reset HEAD <file>..." to unstage)-
#5
# modified: castanaut.gemspec #-
#-
# Changed but not updated: #-
# (use "git add <file>..." to update what will be committed)-
# (use "git checkout -- <file>..." to discard changes in ...10
#-
# modified: README.txt #-
#-
# Untracked files: #-
# (use "git add <file>..." to include in what will be ...15
#-
# pkg/ #-
➤ What git status looks like with no changes.
prompt> git status# On branch masternothing to commit (working directory clean)
Related Tasks:
• Task 3, Creating a New Repository, on page ?• Task 6, Staging Changes to Commit, on page 12• Task 7, Committing Changes, on page 14
• Click HERE to purchase this book now. discuss
Seeing What Has Changed • 11
6 Staging Changes to Commit
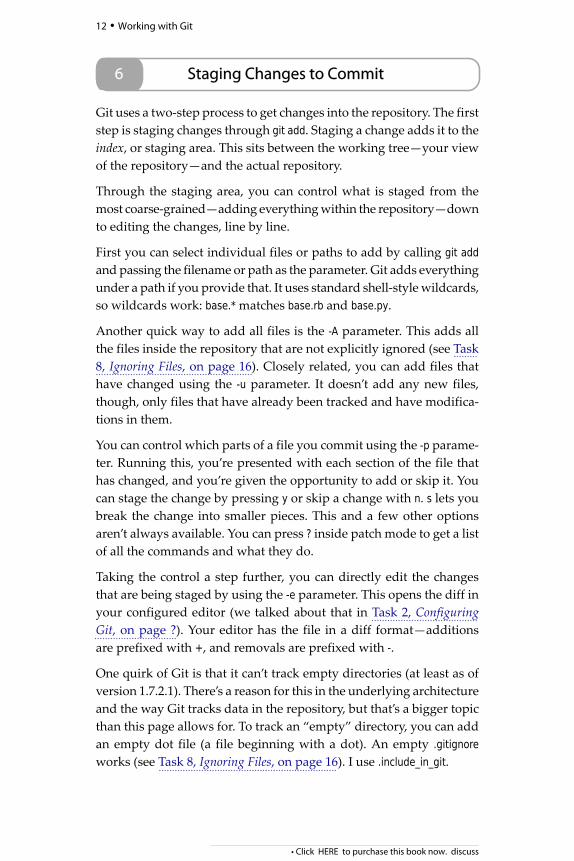
Git uses a two-step process to get changes into the repository. The firststep is staging changes through git add. Staging a change adds it to theindex, or staging area. This sits between the working tree—your viewof the repository—and the actual repository.
Through the staging area, you can control what is staged from themost coarse-grained—adding everythingwithin the repository—downto editing the changes, line by line.
First you can select individual files or paths to add by calling git addand passing the filename or path as the parameter. Git adds everythingunder a path if you provide that. It uses standard shell-stylewildcards,so wildcards work: base.*matches base.rb and base.py.
Another quick way to add all files is the -A parameter. This adds allthe files inside the repository that are not explicitly ignored (see Task8, Ignoring Files, on page 16). Closely related, you can add files thathave changed using the -u parameter. It doesn’t add any new files,though, only files that have already been tracked and have modifica-tions in them.
You can control which parts of a file you commit using the -p parame-ter. Running this, you’re presented with each section of the file thathas changed, and you’re given the opportunity to add or skip it. Youcan stage the change by pressing y or skip a change with n. s lets youbreak the change into smaller pieces. This and a few other optionsaren’t always available. You can press ? inside patch mode to get a listof all the commands and what they do.
Taking the control a step further, you can directly edit the changesthat are being staged by using the -e parameter. This opens the diff inyour configured editor (we talked about that in Task 2, ConfiguringGit, on page ?). Your editor has the file in a diff format—additionsare prefixed with +, and removals are prefixed with -.
One quirk of Git is that it can’t track empty directories (at least as ofversion 1.7.2.1). There’s a reason for this in the underlying architectureand the way Git tracks data in the repository, but that’s a bigger topicthan this page allows for. To track an “empty” directory, you can addan empty dot file (a file beginning with a dot). An empty .gitignoreworks (see Task 8, Ignoring Files, on page 16). I use .include_in_git.
12 • Working with Git
• Click HERE to purchase this book now. discuss

➤ Stage an entire file to commit.
prompt> git add path/to/file... or ...prompt> git add path/... or everything under the current directory ...prompt> git add .prompt>
➤ Add all files in the current repository.
prompt> git add -A|--allprompt>
➤ Add all tracked files that have been changed.
prompt> git add -u|--updateprompt>
➤ Choose which changes to commit.
prompt> git add -p|--patch... or a specific file ...prompt> git add -p path/to/fileprompt>
➤ Open the current diff in the editor.
prompt> git add -e... or a specific file ...prompt> git add -e path/to/fileprompt>
Related Tasks:
• Task 9, Undoing Uncommitted Changes, on page 18• Task 5, Seeing What Has Changed, on page 10• Task 7, Committing Changes, on page 14
• Click HERE to purchase this book now. discuss
Staging Changes to Commit • 13