Embed Size (px)
Citation preview
1
Piotr P. Nikiel
The SoC workshop at CERN
OPC-UA, quasar and SoCs
14-Jun-2019

2
Part 1
Making a simple OPC-UA serveron a laptopto play with

3
Making a simple OPC-UA server (1)
● Plan:– Make an empty quasar-based server,– Build, run; connect with an OPC-UA client– Design some simple monitoring and control: switch,
LED, analog sensor monitoring (with fake data)
4
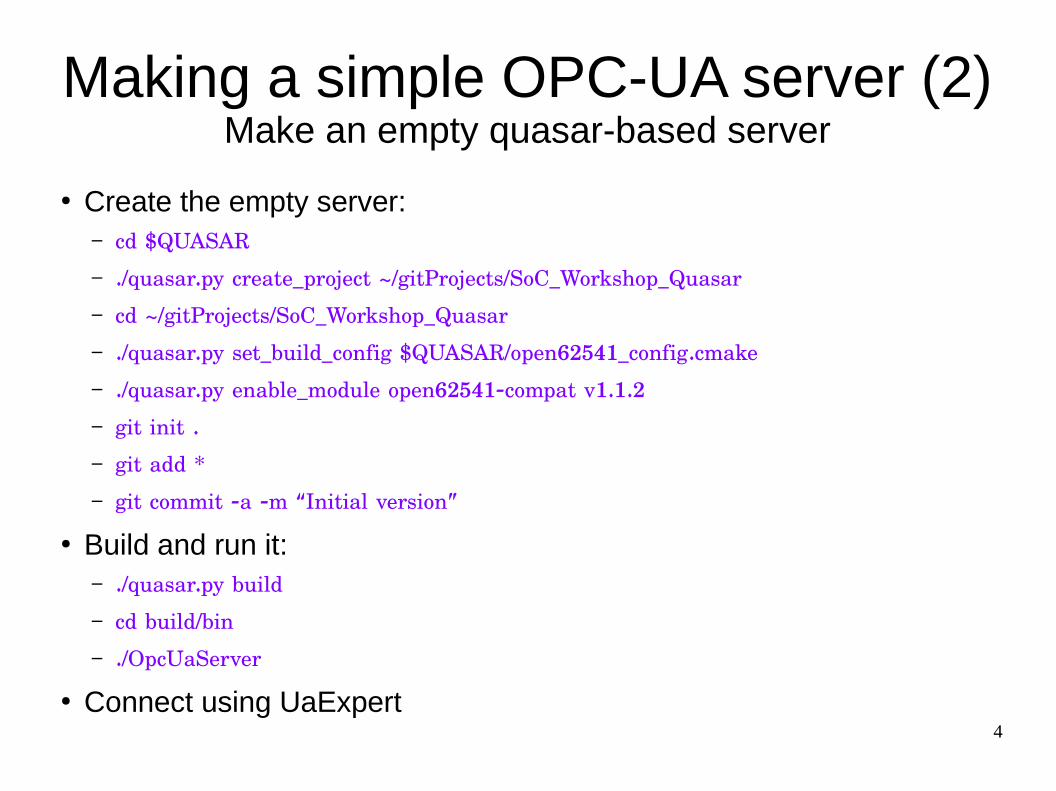
Making a simple OPC-UA server (2)Make an empty quasar-based server
● Create the empty server:– cd $QUASAR
– ./quasar.py create_project ~/gitProjects/SoC_Workshop_Quasar
– cd ~/gitProjects/SoC_Workshop_Quasar
– ./quasar.py set_build_config $QUASAR/open62541_config.cmake
– ./quasar.py enable_module open62541-compat v1.1.2
– git init .
– git add *
– git commit -a -m “Initial version”
● Build and run it:– ./quasar.py build
– cd build/bin
– ./OpcUaServer
● Connect using UaExpert
5
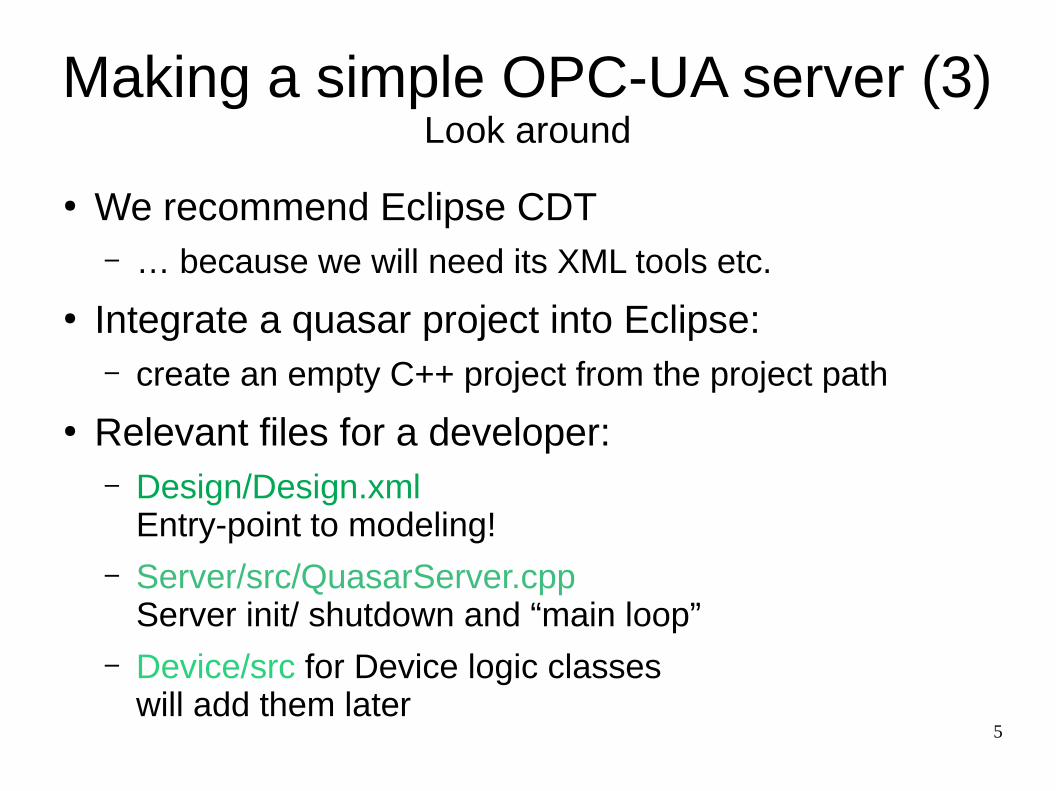
Making a simple OPC-UA server (3)Look around
● We recommend Eclipse CDT– … because we will need its XML tools etc.
● Integrate a quasar project into Eclipse:– create an empty C++ project from the project path
● Relevant files for a developer:– Design/Design.xml
Entry-point to modeling!– Server/src/QuasarServer.cpp
Server init/ shutdown and “main loop”– Device/src for Device logic classes
will add them later
6
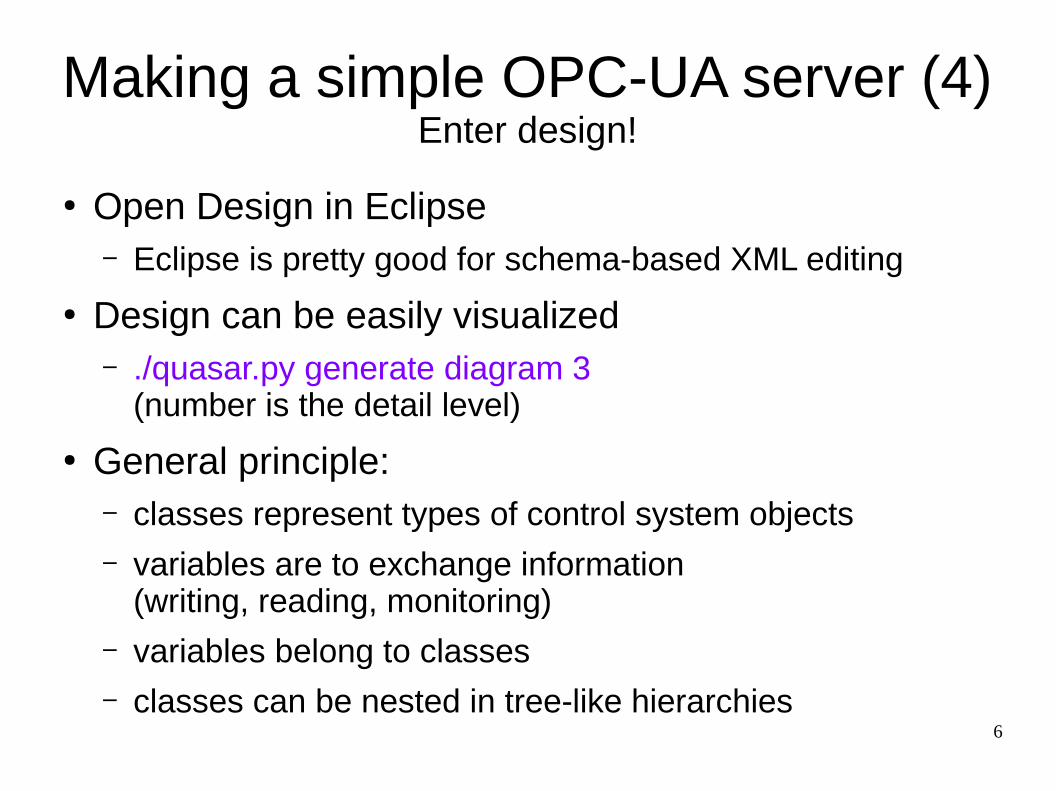
Making a simple OPC-UA server (4)Enter design!
● Open Design in Eclipse– Eclipse is pretty good for schema-based XML editing
● Design can be easily visualized– ./quasar.py generate diagram 3
(number is the detail level)
● General principle:– classes represent types of control system objects– variables are to exchange information
(writing, reading, monitoring)– variables belong to classes– classes can be nested in tree-like hierarchies
7
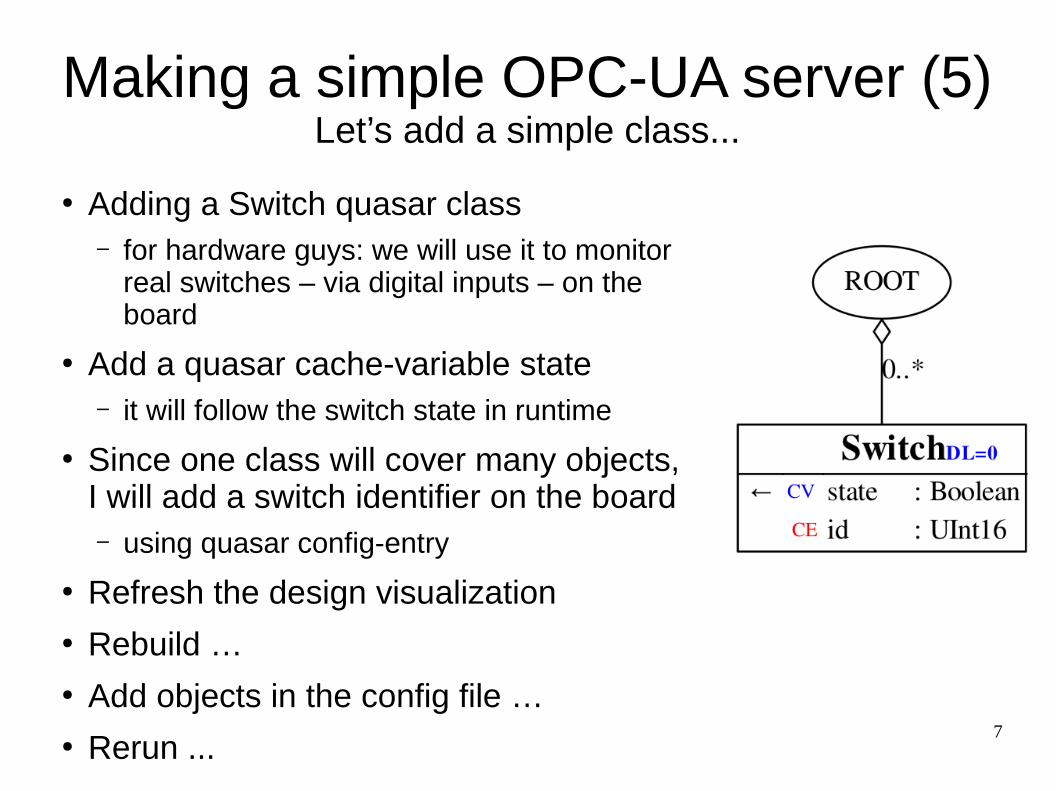
Making a simple OPC-UA server (5)Let’s add a simple class...
● Adding a Switch quasar class– for hardware guys: we will use it to monitor
real switches – via digital inputs – on the board
● Add a quasar cache-variable state– it will follow the switch state in runtime
● Since one class will cover many objects, I will add a switch identifier on the board– using quasar config-entry
● Refresh the design visualization● Rebuild …● Add objects in the config file …● Rerun ...

8
Making a simple OPC-UA server (6)… let’s exchange information ...
● In quasar servers, the integration with developer’s code usually goes to Device Logic– there are other ways too ...
● Our design:– add Device Logic to Switch class
● Generate device class– ./quasar.py generate device Switch– and build the server… (because we changed the Design)
● Let’s have a good look at the Device class ...● Let’s add a method update that will poll the switch state and publish it
via OPC-UA – … for the moment with fake (i.e. random) data:
bool state = rand() & 1;getAddressSpaceLink()->setState(state, OpcUa_Good);

9
Making a simple OPC-UA server (7)… let’s exchange information ...
● The update method might be called from the server’s main loop for simplicity:for (Device::DSwitch* sw : Device::DRoot::getInstance() switchs())→
sw update();→
● Build, run the server and see in UaExpert● To polish up:
./quasar.py check_consistency --ask
● Commit & tag, e.g. as v1git commit -a -m ‘Fake readout of the switch’git tag -a v1

10
Making a simple OPC-UA server (8)… note ...
● The build & deployment strategy you just saw is
appropriate for: – desktops and servers (Windows and Linux)– cross-compilers distributed as SDKs (with rootfs/sysroot)
● quasar can be told to use a chosen cross-compiler
– embedded systems with native compilation
● For Yocto/PetaLinux:– software design & development procedure is identical– building is different – quasar server integrates as Yocto
recipe/PetaLinux app

11
Questions?( … so far …)
… and 1-minute break ...
12
Part 2
Towards the demo
PetaLinux + quasarOn
Zybo Z7-20 development board

13
PetaLinux + quasar (1)Plan
● Build our earlier project in PetaLinux(still with fake data)
● Deploy on real hardware, connect, etc…● Integrate real I/O
14
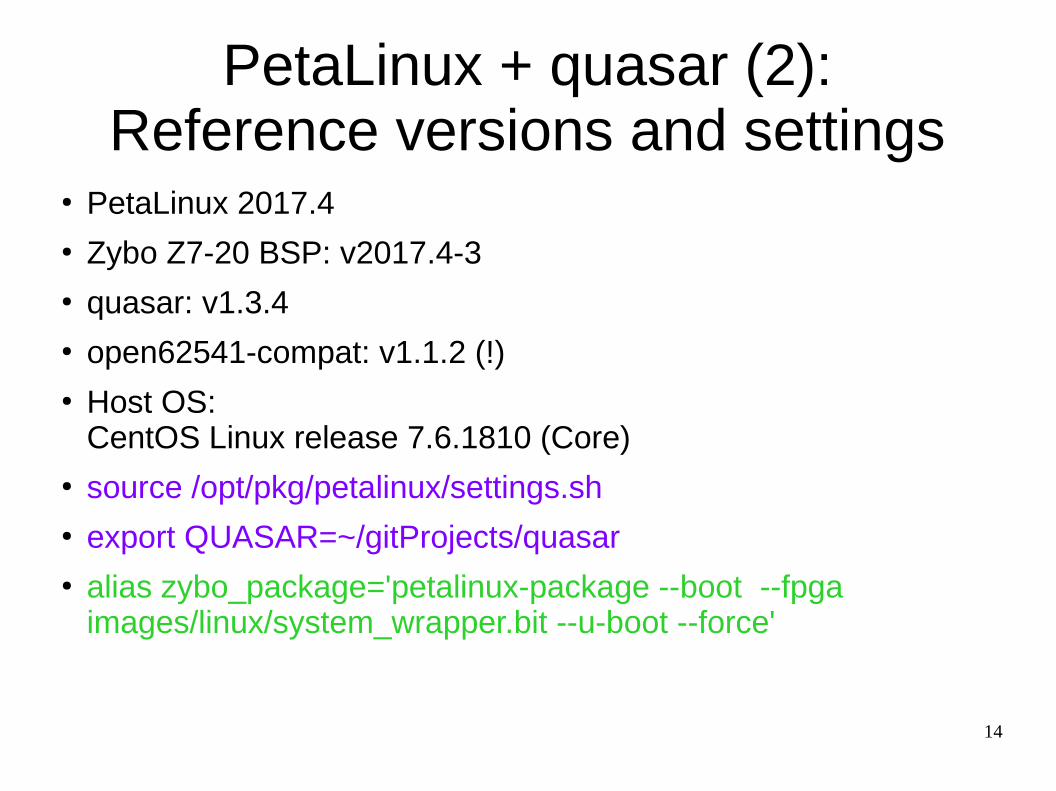
PetaLinux + quasar (2):Reference versions and settings
● PetaLinux 2017.4● Zybo Z7-20 BSP: v2017.4-3● quasar: v1.3.4● open62541-compat: v1.1.2 (!)● Host OS:
CentOS Linux release 7.6.1810 (Core)● source /opt/pkg/petalinux/settings.sh● export QUASAR=~/gitProjects/quasar● alias zybo_package='petalinux-package --boot --fpga
images/linux/system_wrapper.bit --u-boot --force'
15
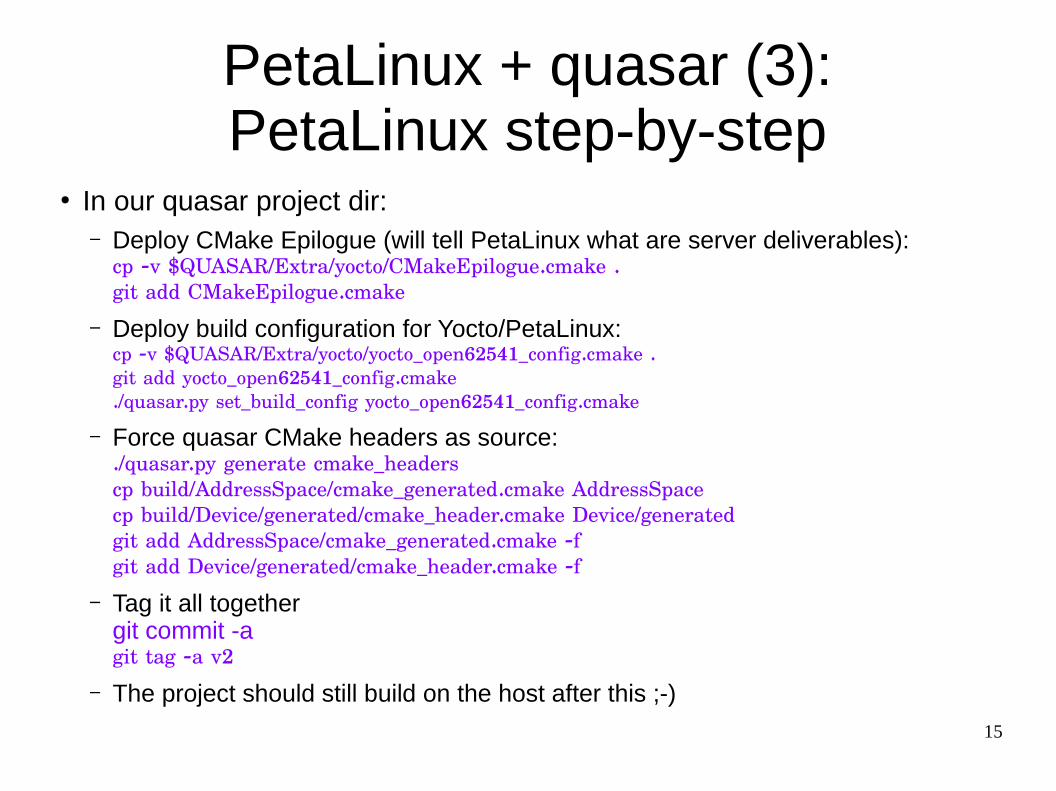
PetaLinux + quasar (3):PetaLinux step-by-step
● In our quasar project dir:– Deploy CMake Epilogue (will tell PetaLinux what are server deliverables):
cp -v $QUASAR/Extra/yocto/CMakeEpilogue.cmake .git add CMakeEpilogue.cmake
– Deploy build configuration for Yocto/PetaLinux:cp -v $QUASAR/Extra/yocto/yocto_open62541_config.cmake .git add yocto_open62541_config.cmake./quasar.py set_build_config yocto_open62541_config.cmake
– Force quasar CMake headers as source:./quasar.py generate cmake_headerscp build/AddressSpace/cmake_generated.cmake AddressSpacecp build/Device/generated/cmake_header.cmake Device/generatedgit add AddressSpace/cmake_generated.cmake -fgit add Device/generated/cmake_header.cmake -f
– Tag it all togethergit commit -agit tag -a v2
– The project should still build on the host after this ;-)
16
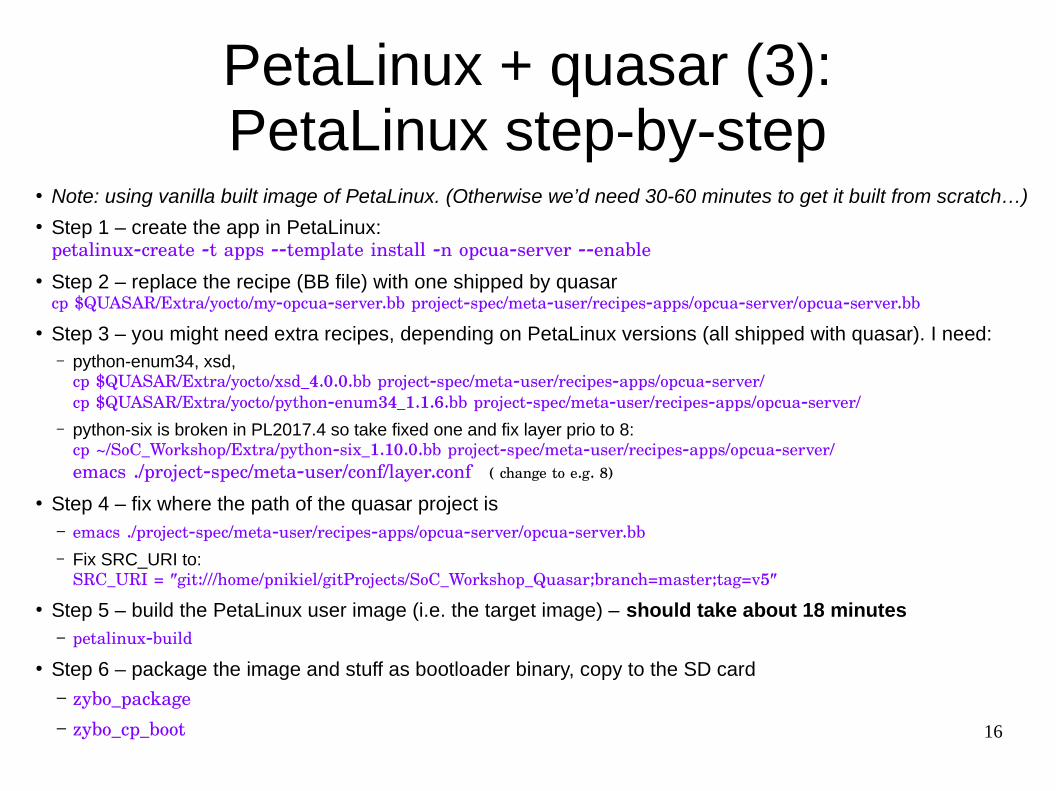
PetaLinux + quasar (3):PetaLinux step-by-step
● Note: using vanilla built image of PetaLinux. (Otherwise we’d need 30-60 minutes to get it built from scratch…)● Step 1 – create the app in PetaLinux:
petalinux-create -t apps --template install -n opcua-server --enable● Step 2 – replace the recipe (BB file) with one shipped by quasar
cp $QUASAR/Extra/yocto/my-opcua-server.bb project-spec/meta-user/recipes-apps/opcua-server/opcua-server.bb
● Step 3 – you might need extra recipes, depending on PetaLinux versions (all shipped with quasar). I need:– python-enum34, xsd,
cp $QUASAR/Extra/yocto/xsd_4.0.0.bb project-spec/meta-user/recipes-apps/opcua-server/cp $QUASAR/Extra/yocto/python-enum34_1.1.6.bb project-spec/meta-user/recipes-apps/opcua-server/
– python-six is broken in PL2017.4 so take fixed one and fix layer prio to 8:cp ~/SoC_Workshop/Extra/python-six_1.10.0.bb project-spec/meta-user/recipes-apps/opcua-server/emacs ./project-spec/meta-user/conf/layer.conf ( change to e.g. 8)
● Step 4 – fix where the path of the quasar project is– emacs ./project-spec/meta-user/recipes-apps/opcua-server/opcua-server.bb– Fix SRC_URI to:
SRC_URI = "git:///home/pnikiel/gitProjects/SoC_Workshop_Quasar;branch=master;tag=v5"
● Step 5 – build the PetaLinux user image (i.e. the target image) – should take about 18 minutes– petalinux-build
● Step 6 – package the image and stuff as bootloader binary, copy to the SD card– zybo_package– zybo_cp_boot

17
PetaLinux + quasar (4):PetaLinux step-by-step
● Boot the development board● Use minicom as the console● Connect with OPC-UA client

18
Part 3:
Integrating real monitoring and controls
19
Integrating real monitoring and controlssimple example (1)
● so far, we published switch status from from random number → we want real I/O
● generally analog digital I/O interfacing is a vary varied topic → out of scope
● I’ll use a simple GPIO library for GPIO handled by /sys/class/gpio subsystem (e.g. compatible with Xilinx GPIO driver)– covers few types of both PS and PL GPIOs of Zync

20
Integrating real monitoring and controlssimple example (2)
● I deploy the GPIO library to my project:cp ~/SoC_Workshop/Switch/gpio.h Device/include/cp ~/SoC_Workshop/Switch/gpio.cpp Device/src/git add Device/include/gpio.hgit add Device/src/gpio.cppand add src/gpio.cpp to CMakeLists.txt
● I know that GPIO base of Zync PS in Zybo is at 906 → I put that into a header file
● Buttons bound to Zync PS have ids of 50 (BTN4) and 51 (BTN5) → those will come via config file

21
Integrating real monitoring and controlssimple example (3)
● GPIO must be opened and initialize prior to use → I do it via initialize() of QuasarServerif( open_gpio_channel(ZYBO_GPIO_BASE) < 0) throw std::runtime_error("couldnt open GPIO interface");
● Direction must be configured to input → I do it via Device constructorset_gpio_direction(ZYBO_GPIO_BASE + config.pinId(), 1, "in" );
● We can finally do our readout in update():int value = get_gpio_value(ZYBO_GPIO_BASE + pinId(), 1);
if (value<0)getAddressSpaceLink()->setNullState(OpcUa_Bad);
elsegetAddressSpaceLink()->setState(value>0, OpcUa_Good);
● Check if it compiles fine on laptop● Update our config file (we added new config entry: pinId)● If yes, commit and tag● Rebuild the PetaLinux image and test

22
A note on peripheral integration
● quasar is agnostic on how you produce/consume sensor/actuator info● overall we successfully built OPC-UA servers with different interfaces
(CAN, SNMP, …), hardware access layers (IIO – e.g. Xilinx XADC), shared memory interfaces (VME monitoring) and so on …
● different communication patterns are supported:– publishing– read on request– writing, with optional delegates– method calls with N arguments and M return values, N and M arbitrary
● all “basic” data types are supported. Arrays are supported as well as BLOBs (“byte-strings”).

23
Part 4:
What about integration in the DCS systems?(SCADA, WinCC OA)

24
Integration into DCS
● quasar-based OPC-UA solutions enjoy simplified integration● WinCC OA basic concept regarding OPC-UA
– create your DPTs (Data Point Types)e.g. Sensor, Crate, Branch, TriggerProcessor etc.
– create DPs (Data Points)they are particular instances of DPTs, e.g.:Processor1/Sensor4A
– assign so called peripheral addresses “binding” given parts of DPs to the information in your OPC-UA server
● So you start to “see” information from your front-end or can control it
● fwQuasar is a framework for WinCC OA enabling very quick (order of minutes) integration of quasar-based monitoring and controls into DCS

25
Integration into DCSlet’s try it
● Requirements:– An existing WinCC OA projects with JCOP framework installed
● fwQuasar is very well documented(multiple entry-level developers successfully used it)
● Clone Cacophony into your OPC-UA server project:git clone ssh://[email protected]:7999/pnikiel/cacophony.git Cacophony
● Install fwQuasar in your WinCC OA project● Run the OPC-UA client ● Run the dialog and follow the path. Proposed settings:
– prefix = SOC– server name = SOC_Server– subscription = SOC_Subscription– driver num = 69

26
Links, references ...
● quasar:https://github.com/quasar-team/quasarNumerous references in:https://github.com/quasar-team/quasar/wikiAfter cloning, see Documentation/yocto.html
● fwQuasar:https://gitlab.cern.ch/atlas-dcs-fwcomponents/fwQuasar
●
27
Backup slides

28
Additional ...
29
● C++ OPC-UA clients …● Integration of OPC-UA servers as components
in Python