Embed Size (px)
Citation preview
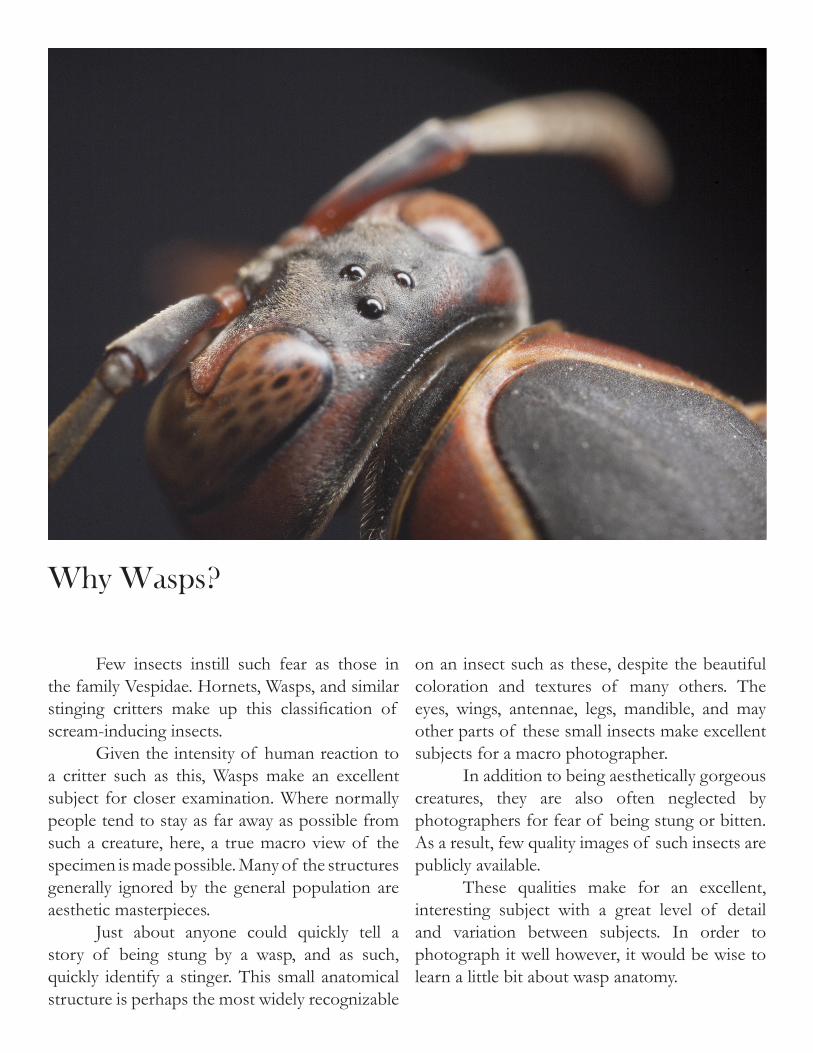
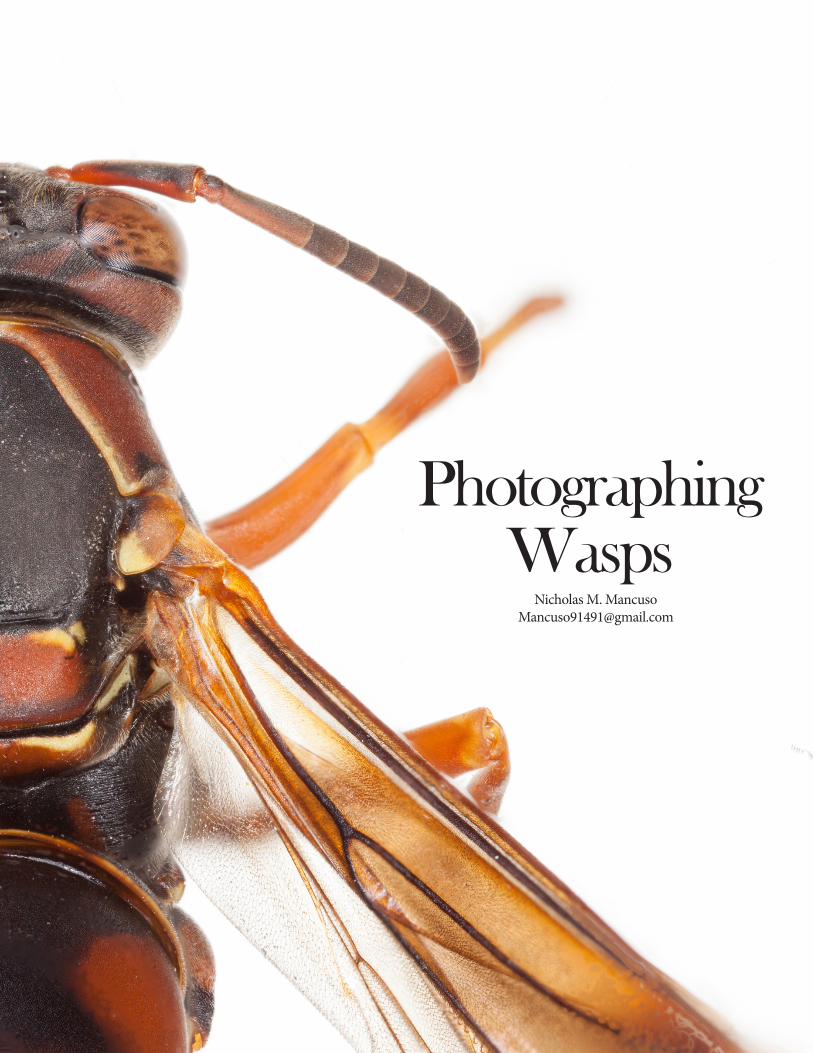
Why Wasps?
Few insects instill such fear as those in the family Vespidae. Hornets, Wasps, and similar stinging critters make up this classification of scream-inducing insects. Given the intensity of human reaction to a critter such as this, Wasps make an excellent subject for closer examination. Where normally people tend to stay as far away as possible from such a creature, here, a true macro view of the specimen is made possible. Many of the structures generally ignored by the general population are aesthetic masterpieces. Just about anyone could quickly tell a story of being stung by a wasp, and as such, quickly identify a stinger. This small anatomical structure is perhaps the most widely recognizable
on an insect such as these, despite the beautiful coloration and textures of many others. The eyes, wings, antennae, legs, mandible, and may other parts of these small insects make excellent subjects for a macro photographer. In addition to being aesthetically gorgeous creatures, they are also often neglected by photographers for fear of being stung or bitten. As a result, few quality images of such insects are publicly available. These qualities make for an excellent, interesting subject with a great level of detail and variation between subjects. In order to photograph it well however, it would be wise to learn a little bit about wasp anatomy.
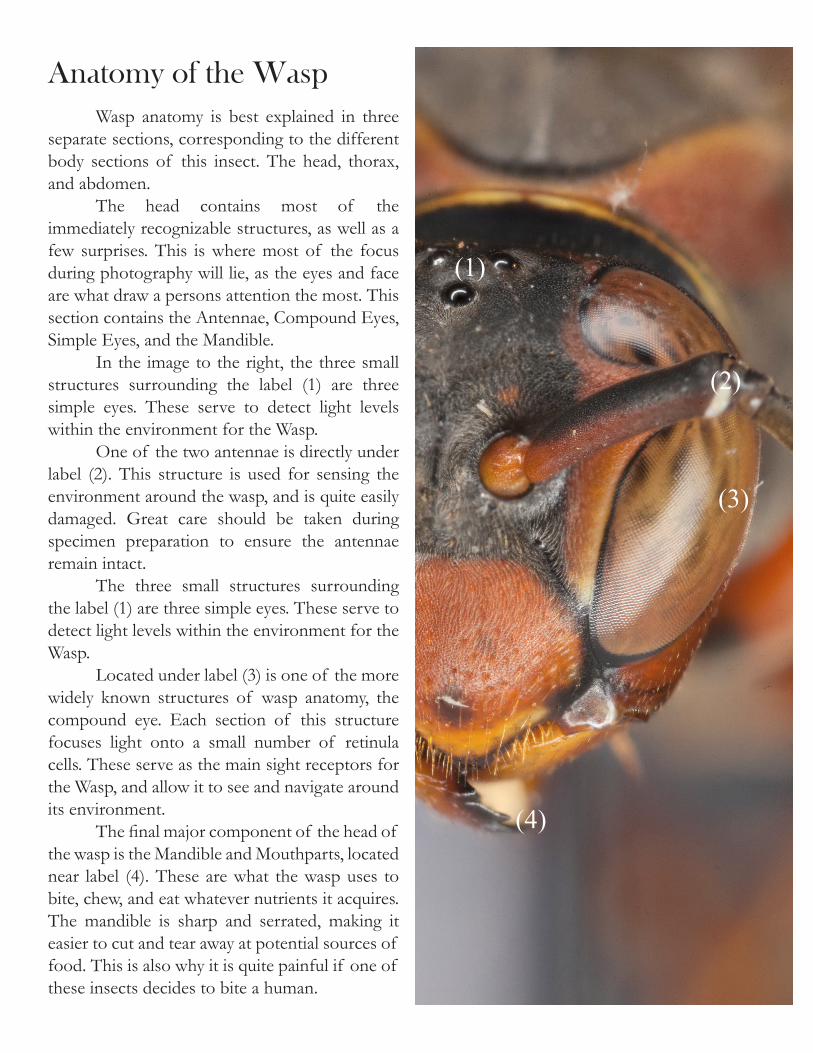
Anatomy of the Wasp Wasp anatomy is best explained in three separate sections, corresponding to the different body sections of this insect. The head, thorax, and abdomen. The head contains most of the immediately recognizable structures, as well as a few surprises. This is where most of the focus during photography will lie, as the eyes and face are what draw a persons attention the most. This section contains the Antennae, Compound Eyes, Simple Eyes, and the Mandible. In the image to the right, the three small structures surrounding the label (1) are three simple eyes. These serve to detect light levels within the environment for the Wasp. One of the two antennae is directly under label (2). This structure is used for sensing the environment around the wasp, and is quite easily damaged. Great care should be taken during specimen preparation to ensure the antennae remain intact. The three small structures surrounding the label (1) are three simple eyes. These serve to detect light levels within the environment for the Wasp. Located under label (3) is one of the more widely known structures of wasp anatomy, the compound eye. Each section of this structure focuses light onto a small number of retinula cells. These serve as the main sight receptors for the Wasp, and allow it to see and navigate around its environment. The final major component of the head of the wasp is the Mandible and Mouthparts, located near label (4). These are what the wasp uses to bite, chew, and eat whatever nutrients it acquires. The mandible is sharp and serrated, making it easier to cut and tear away at potential sources of food. This is also why it is quite painful if one of these insects decides to bite a human.
(1)
(2)
(3)
(4)
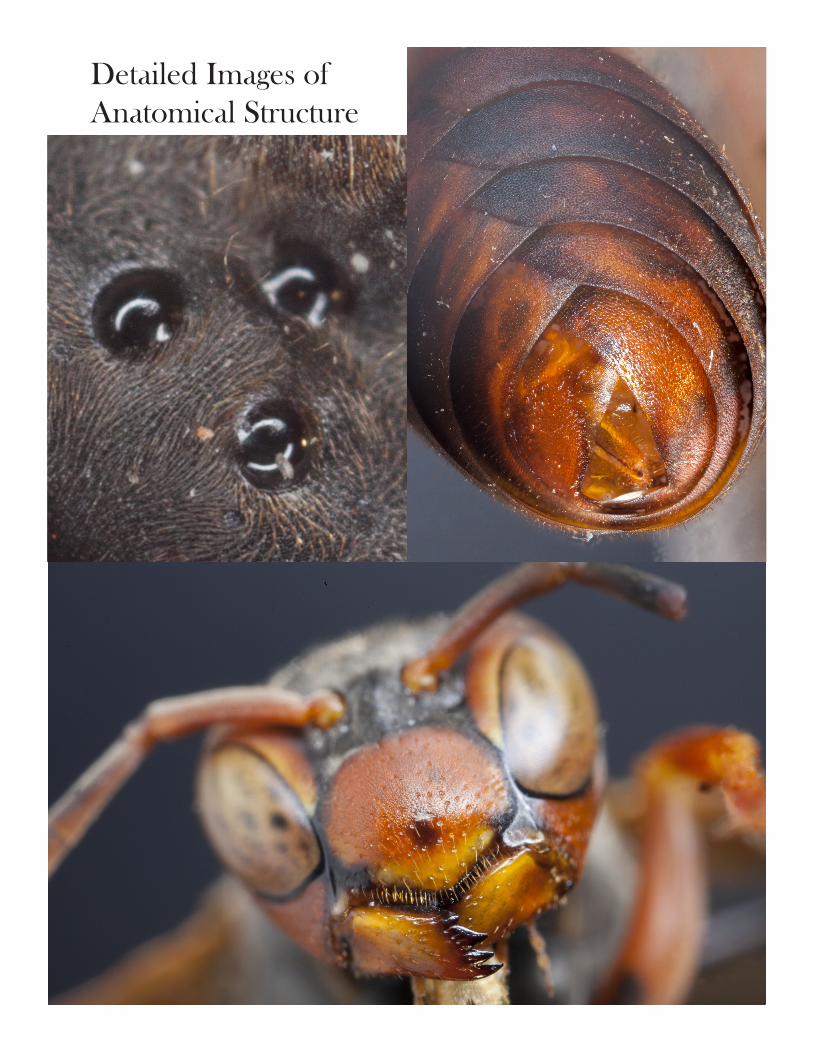
Detailed Images of Anatomical Structure
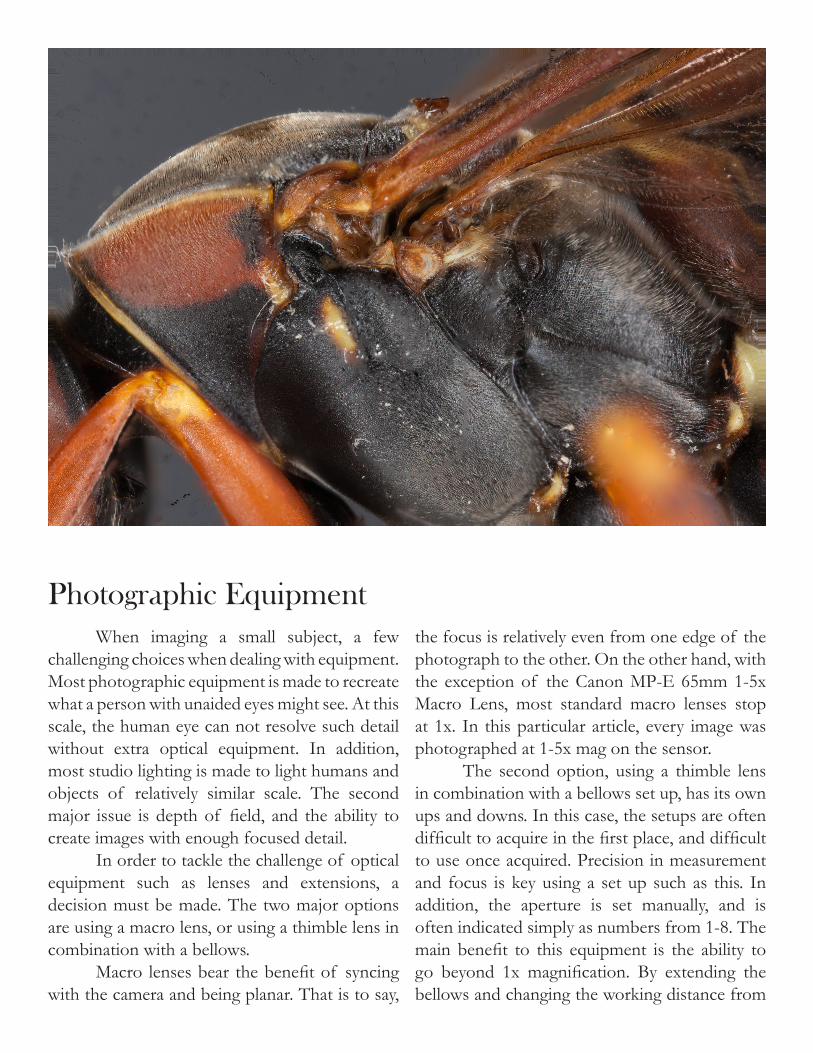
Photographic Equipment When imaging a small subject, a few challenging choices when dealing with equipment. Most photographic equipment is made to recreate what a person with unaided eyes might see. At this scale, the human eye can not resolve such detail without extra optical equipment. In addition, most studio lighting is made to light humans and objects of relatively similar scale. The second major issue is depth of field, and the ability to create images with enough focused detail. In order to tackle the challenge of optical equipment such as lenses and extensions, a decision must be made. The two major options are using a macro lens, or using a thimble lens in combination with a bellows. Macro lenses bear the benefit of syncing with the camera and being planar. That is to say,
the focus is relatively even from one edge of the photograph to the other. On the other hand, with the exception of the Canon MP-E 65mm 1-5x Macro Lens, most standard macro lenses stop at 1x. In this particular article, every image was photographed at 1-5x mag on the sensor. The second option, using a thimble lens in combination with a bellows set up, has its own ups and downs. In this case, the setups are often difficult to acquire in the first place, and difficult to use once acquired. Precision in measurement and focus is key using a set up such as this. In addition, the aperture is set manually, and is often indicated simply as numbers from 1-8. The main benefit to this equipment is the ability to go beyond 1x magnification. By extending the bellows and changing the working distance from
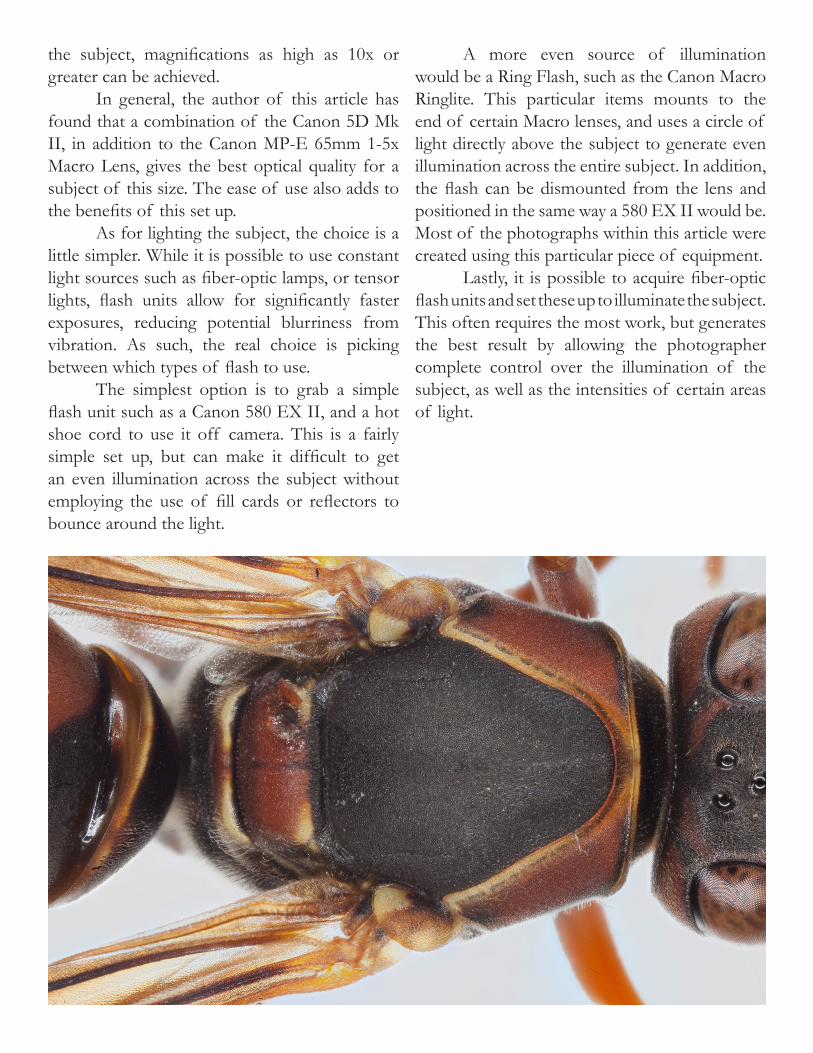
the subject, magnifications as high as 10x or greater can be achieved. In general, the author of this article has found that a combination of the Canon 5D Mk II, in addition to the Canon MP-E 65mm 1-5x Macro Lens, gives the best optical quality for a subject of this size. The ease of use also adds to the benefits of this set up. As for lighting the subject, the choice is a little simpler. While it is possible to use constant light sources such as fiber-optic lamps, or tensor lights, flash units allow for significantly faster exposures, reducing potential blurriness from vibration. As such, the real choice is picking between which types of flash to use. The simplest option is to grab a simple flash unit such as a Canon 580 EX II, and a hot shoe cord to use it off camera. This is a fairly simple set up, but can make it difficult to get an even illumination across the subject without employing the use of fill cards or reflectors to bounce around the light.
A more even source of illumination would be a Ring Flash, such as the Canon Macro Ringlite. This particular items mounts to the end of certain Macro lenses, and uses a circle of light directly above the subject to generate even illumination across the entire subject. In addition, the flash can be dismounted from the lens and positioned in the same way a 580 EX II would be. Most of the photographs within this article were created using this particular piece of equipment. Lastly, it is possible to acquire fiber-optic flash units and set these up to illuminate the subject. This often requires the most work, but generates the best result by allowing the photographer complete control over the illumination of the subject, as well as the intensities of certain areas of light.
Photographic Technique
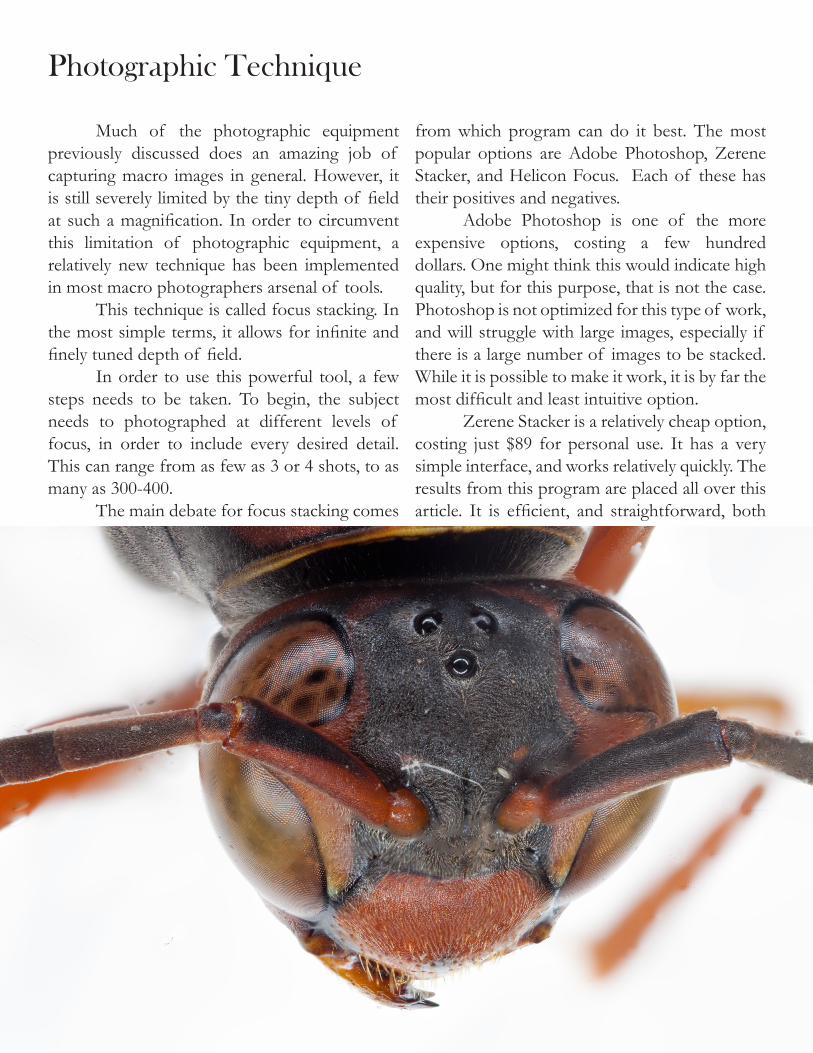
Much of the photographic equipment previously discussed does an amazing job of capturing macro images in general. However, it is still severely limited by the tiny depth of field at such a magnification. In order to circumvent this limitation of photographic equipment, a relatively new technique has been implemented in most macro photographers arsenal of tools. This technique is called focus stacking. In the most simple terms, it allows for infinite and finely tuned depth of field. In order to use this powerful tool, a few steps needs to be taken. To begin, the subject needs to photographed at different levels of focus, in order to include every desired detail. This can range from as few as 3 or 4 shots, to as many as 300-400. The main debate for focus stacking comes
from which program can do it best. The most popular options are Adobe Photoshop, Zerene Stacker, and Helicon Focus. Each of these has their positives and negatives. Adobe Photoshop is one of the more expensive options, costing a few hundred dollars. One might think this would indicate high quality, but for this purpose, that is not the case. Photoshop is not optimized for this type of work, and will struggle with large images, especially if there is a large number of images to be stacked. While it is possible to make it work, it is by far the most difficult and least intuitive option. Zerene Stacker is a relatively cheap option, costing just $89 for personal use. It has a very simple interface, and works relatively quickly. The results from this program are placed all over this article. It is efficient, and straightforward, both
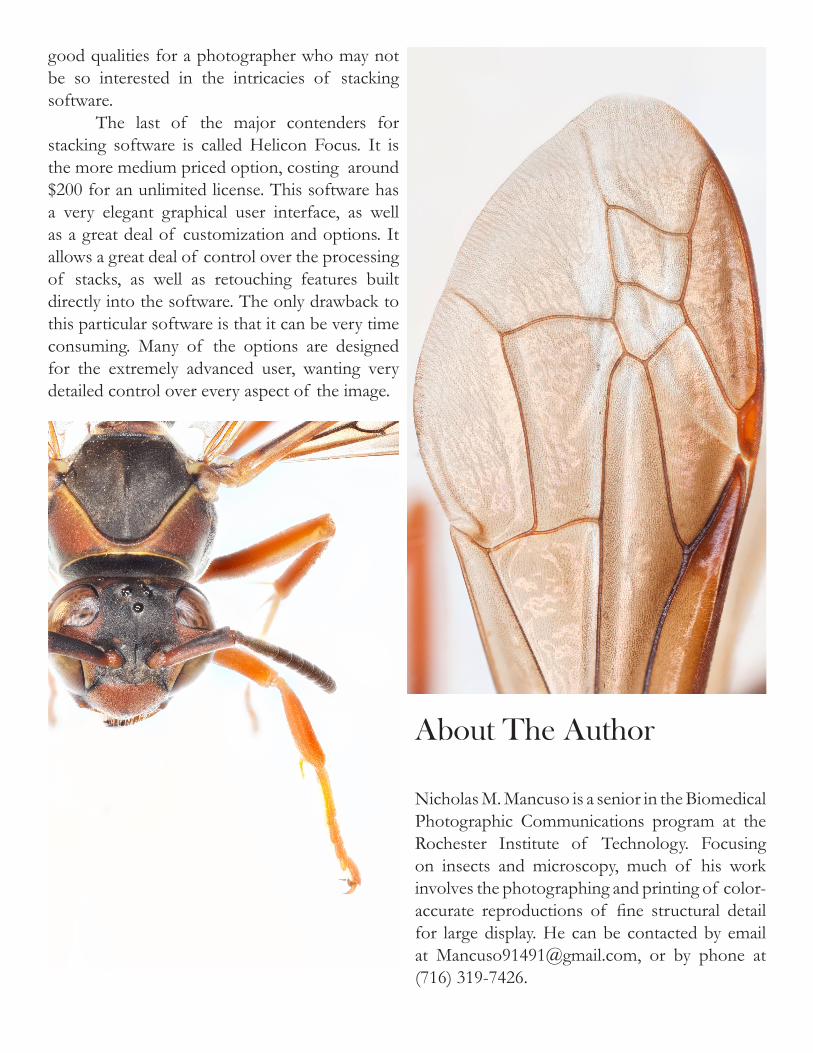
good qualities for a photographer who may not be so interested in the intricacies of stacking software. The last of the major contenders for stacking software is called Helicon Focus. It is the more medium priced option, costing around $200 for an unlimited license. This software has a very elegant graphical user interface, as well as a great deal of customization and options. It allows a great deal of control over the processing of stacks, as well as retouching features built directly into the software. The only drawback to this particular software is that it can be very time consuming. Many of the options are designed for the extremely advanced user, wanting very detailed control over every aspect of the image.
About The Author
Nicholas M. Mancuso is a senior in the Biomedical Photographic Communications program at the Rochester Institute of Technology. Focusing on insects and microscopy, much of his work involves the photographing and printing of color-accurate reproductions of fine structural detail for large display. He can be contacted by email at [email protected], or by phone at (716) 319-7426.