Embed Size (px)
Citation preview
PHFA Secure Message Center Usage Guide
Introduction......................................................................................................................... 3
Built-In Encryption and Security .................................................................................... 3 Getting Started .................................................................................................................... 4
Registration by Email ..................................................................................................... 4 Registration..................................................................................................................... 5 Activating your Password ............................................................................................... 6
Using the PHFA Secure Email Message Center................................................................. 7 Overview of Mailbox Features ....................................................................................... 7 Receiving and Replying to Messages ............................................................................. 8
Reading New Messages .............................................................................................. 8 Opening Files Attached to Messages.......................................................................... 8 Replying to Messages ................................................................................................. 9 Attaching Files to Messages ..................................................................................... 10 Prioritizing Messages................................................................................................ 11 Saving Messages as Drafts........................................................................................ 11 Requesting a Return Receipt..................................................................................... 12 Reviewing Incoming Messages ................................................................................ 12 Reviewing Sent Messages......................................................................................... 12 Printing Messages ..................................................................................................... 13 Deleting Messages .................................................................................................... 13
Initiating New Messages............................................................................................... 14 Composing Original Messages ................................................................................. 14 Forwarding Messages ............................................................................................... 15 Setting Message Expiration ...................................................................................... 16
Using the Address Book ............................................................................................... 17 Adding Contacts to Your Address Book .................................................................. 17 Editing Contacts........................................................................................................ 18 Adding Groups to Your Address Book..................................................................... 19 Editing Groups .......................................................................................................... 20 Using Your Address Book........................................................................................ 20 Deleting Contacts and Groups .................................................................................. 21
Managing Your Account............................................................................................... 22 Changing your Password .......................................................................................... 22 Updating Your Profile............................................................................................... 23 Requesting a Password Reminder............................................................................. 23
Frequently Asked Questions ............................................................................................. 24 Contacting Support ........................................................................................................... 27
PHFA Business Partners ............................................................................................... 27 PHFA Employees.......................................................................................................... 27
2
Introduction The PHFA Secure Message Center provides a browser-based solution for sending and receiving secure messages over the Internet. The system accommodates different types of users, providing useful options for them.
Built-In Encryption and Security Messages are encrypted individually for each recipient and include a certified time stamp. A message is only accessible by using information contained in the unique hyperlink supplied in the notification email sent to its intended recipient(s). To open the message, the recipient must also know the password registered for the receiving email address.
These security measures ensure that no one except the intended recipient can read the message. Because every message is digitally signed, the recipient has irrefutable proof of the sender's identity.
The PHFA Secure Message Center servers compress and encrypt/decrypt messages using advanced encryption technology. Messages are stored securely until they expire, then they are destroyed. If a recipient wants to store a copy of the email, they must either print out the message or cut and paste the contents into another file such as a Word document.
The servers reside in a secure and environmentally controlled data center that is monitored 24 hours per day, 7 days per week
3
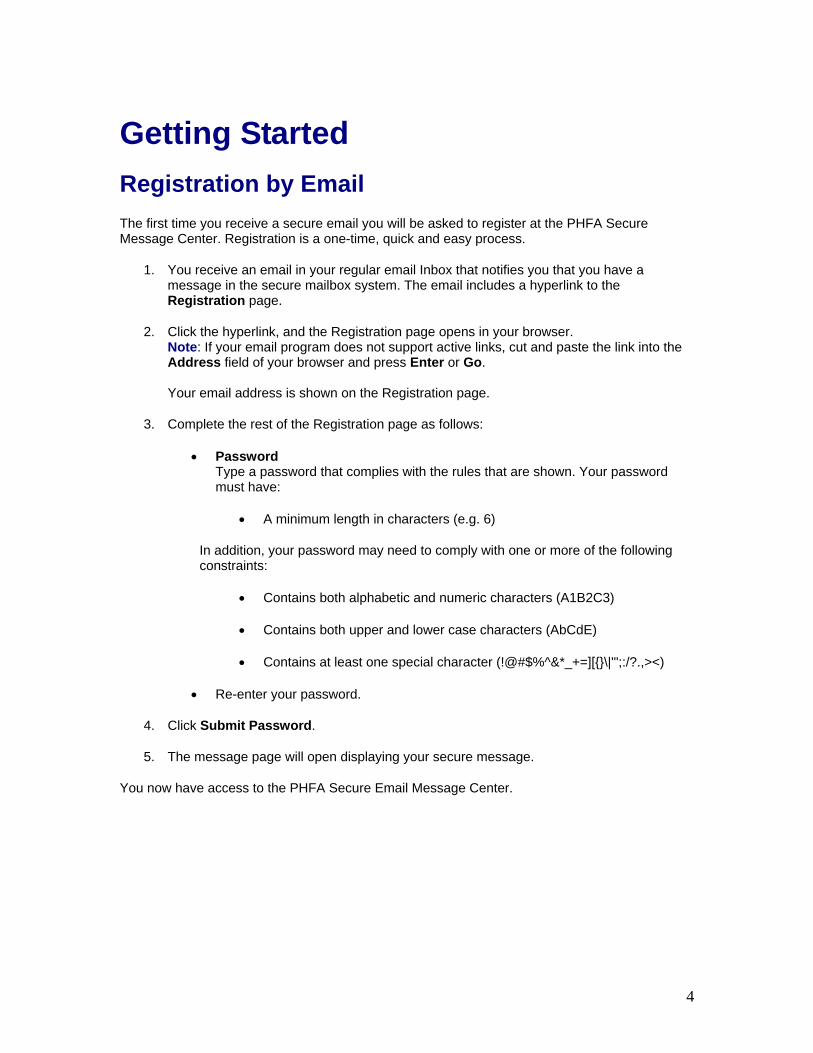
Getting Started Registration by Email The first time you receive a secure email you will be asked to register at the PHFA Secure Message Center. Registration is a one-time, quick and easy process.
1. You receive an email in your regular email Inbox that notifies you that you have a message in the secure mailbox system. The email includes a hyperlink to the Registration page.
2. Click the hyperlink, and the Registration page opens in your browser. Note: If your email program does not support active links, cut and paste the link into the Address field of your browser and press Enter or Go. Your email address is shown on the Registration page.
3. Complete the rest of the Registration page as follows:
• Password Type a password that complies with the rules that are shown. Your password must have:
• A minimum length in characters (e.g. 6)
In addition, your password may need to comply with one or more of the following constraints:
• Contains both alphabetic and numeric characters (A1B2C3)
• Contains both upper and lower case characters (AbCdE)
• Contains at least one special character (!@#$%^&*_+=][{}\|'";:/?.,><)
• Re-enter your password.
4. Click Submit Password.
5. The message page will open displaying your secure message.
You now have access to the PHFA Secure Email Message Center.
4
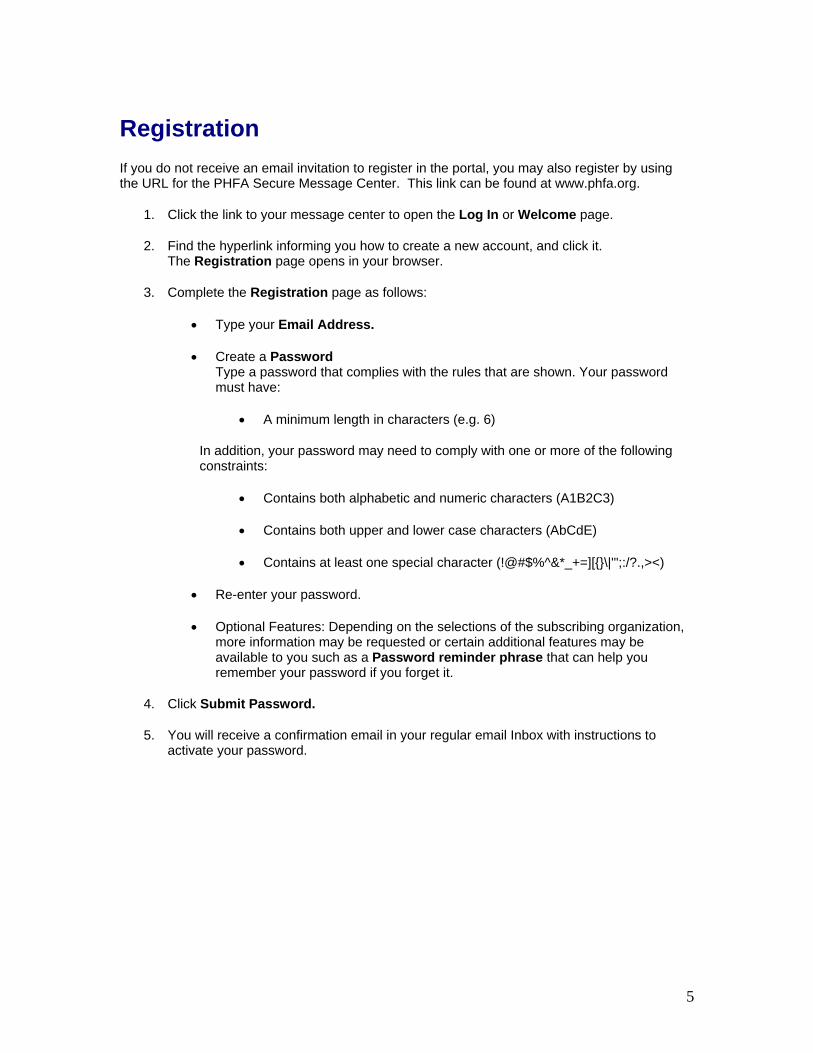
Registration If you do not receive an email invitation to register in the portal, you may also register by using the URL for the PHFA Secure Message Center. This link can be found at www.phfa.org.
1. Click the link to your message center to open the Log In or Welcome page.
2. Find the hyperlink informing you how to create a new account, and click it. The Registration page opens in your browser.
3. Complete the Registration page as follows:
• Type your Email Address.
• Create a Password Type a password that complies with the rules that are shown. Your password must have:
• A minimum length in characters (e.g. 6)
In addition, your password may need to comply with one or more of the following constraints:
• Contains both alphabetic and numeric characters (A1B2C3)
• Contains both upper and lower case characters (AbCdE)
• Contains at least one special character (!@#$%^&*_+=][{}\|'";:/?.,><)
• Re-enter your password.
• Optional Features: Depending on the selections of the subscribing organization, more information may be requested or certain additional features may be available to you such as a Password reminder phrase that can help you remember your password if you forget it.
4. Click Submit Password.
5. You will receive a confirmation email in your regular email Inbox with instructions to activate your password.
5
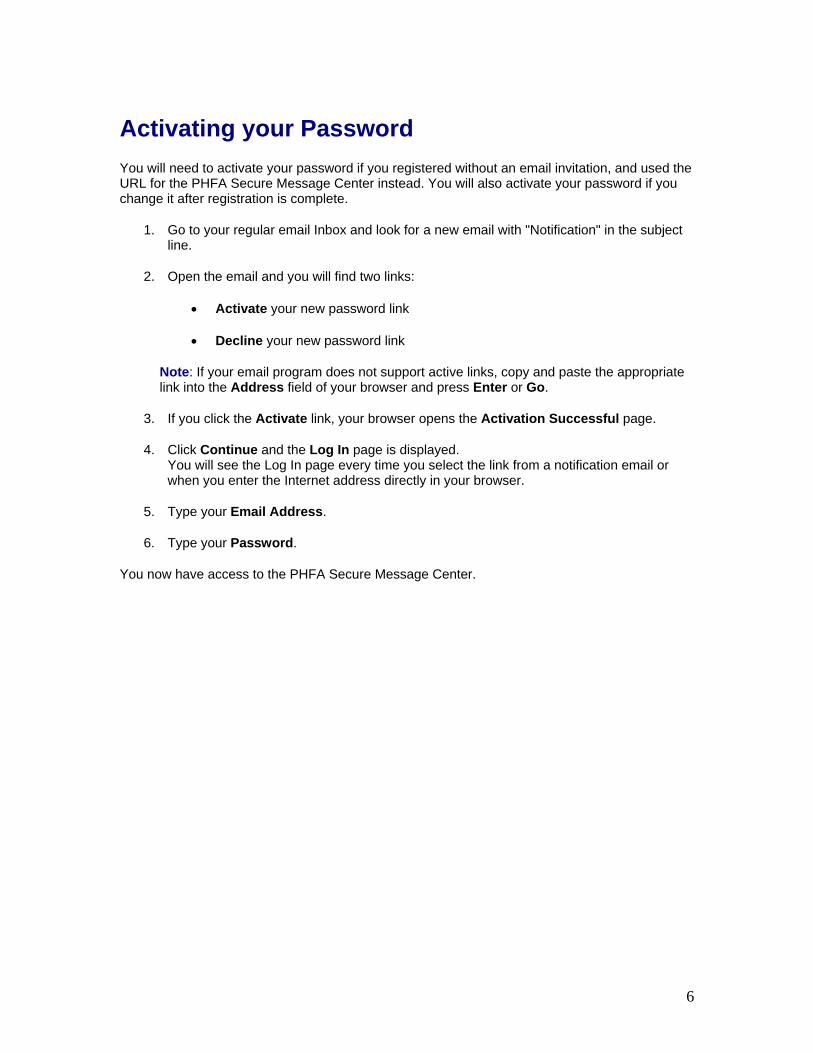
Activating your Password You will need to activate your password if you registered without an email invitation, and used the URL for the PHFA Secure Message Center instead. You will also activate your password if you change it after registration is complete.
1. Go to your regular email Inbox and look for a new email with "Notification" in the subject line.
2. Open the email and you will find two links:
• Activate your new password link
• Decline your new password link
Note: If your email program does not support active links, copy and paste the appropriate link into the Address field of your browser and press Enter or Go.
3. If you click the Activate link, your browser opens the Activation Successful page.
4. Click Continue and the Log In page is displayed. You will see the Log In page every time you select the link from a notification email or when you enter the Internet address directly in your browser.
5. Type your Email Address.
6. Type your Password.
You now have access to the PHFA Secure Message Center.
6
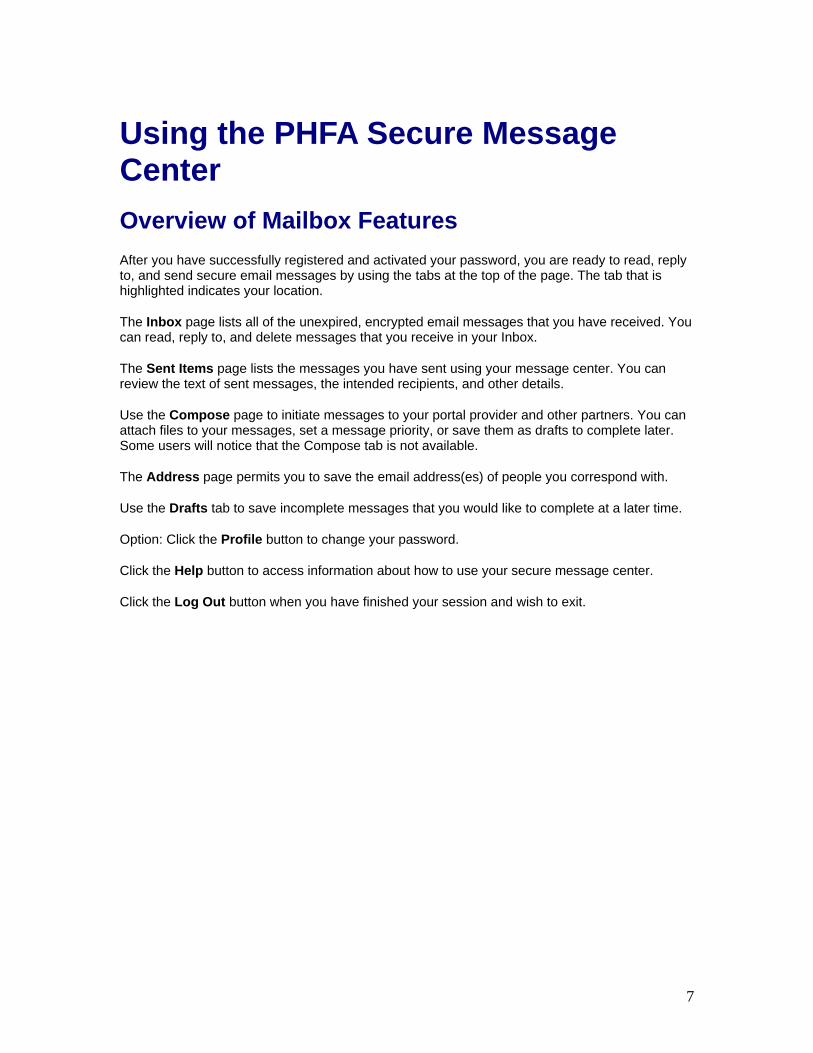
Using the PHFA Secure Message Center Overview of Mailbox Features After you have successfully registered and activated your password, you are ready to read, reply to, and send secure email messages by using the tabs at the top of the page. The tab that is highlighted indicates your location.
The Inbox page lists all of the unexpired, encrypted email messages that you have received. You can read, reply to, and delete messages that you receive in your Inbox.
The Sent Items page lists the messages you have sent using your message center. You can review the text of sent messages, the intended recipients, and other details.
Use the Compose page to initiate messages to your portal provider and other partners. You can attach files to your messages, set a message priority, or save them as drafts to complete later. Some users will notice that the Compose tab is not available.
The Address page permits you to save the email address(es) of people you correspond with.
Use the Drafts tab to save incomplete messages that you would like to complete at a later time.
Option: Click the Profile button to change your password.
Click the Help button to access information about how to use your secure message center.
Click the Log Out button when you have finished your session and wish to exit.
7
Receiving and Replying to Messages Reading New Messages
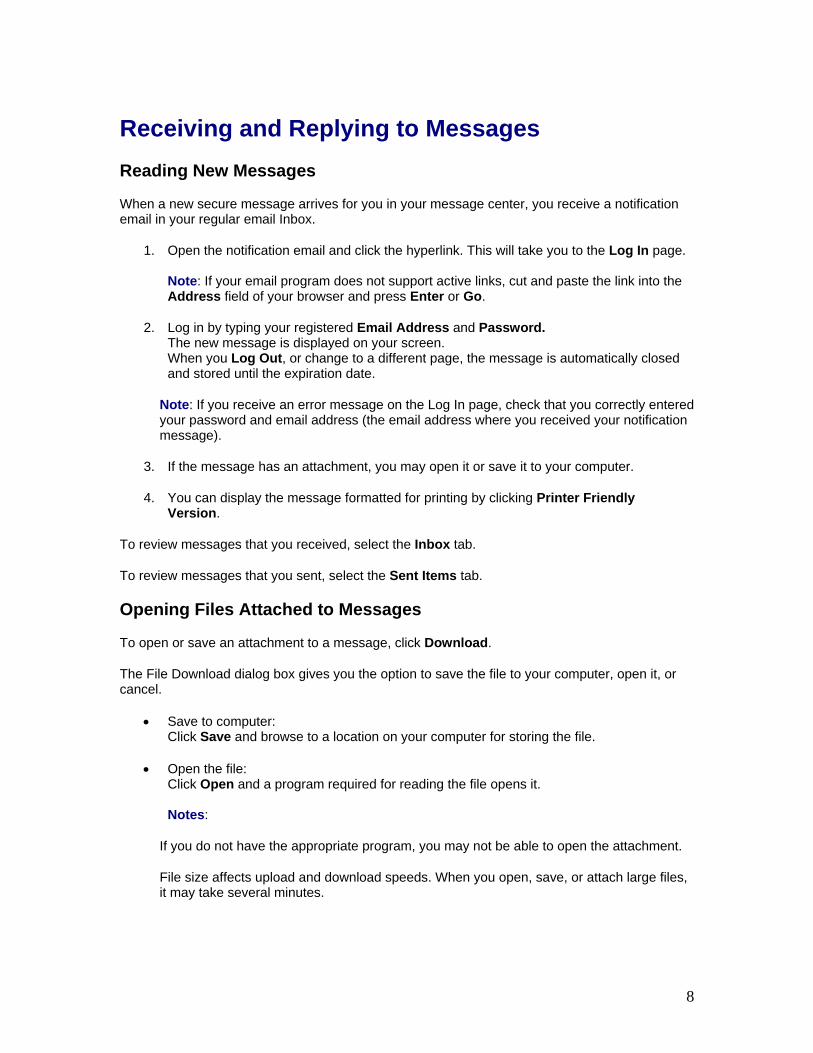
When a new secure message arrives for you in your message center, you receive a notification email in your regular email Inbox.
1. Open the notification email and click the hyperlink. This will take you to the Log In page. Note: If your email program does not support active links, cut and paste the link into the Address field of your browser and press Enter or Go.
2. Log in by typing your registered Email Address and Password. The new message is displayed on your screen. When you Log Out, or change to a different page, the message is automatically closed and stored until the expiration date.
Note: If you receive an error message on the Log In page, check that you correctly entered your password and email address (the email address where you received your notification message).
3. If the message has an attachment, you may open it or save it to your computer.
4. You can display the message formatted for printing by clicking Printer Friendly Version.
To review messages that you received, select the Inbox tab.
To review messages that you sent, select the Sent Items tab.
Opening Files Attached to Messages
To open or save an attachment to a message, click Download.
The File Download dialog box gives you the option to save the file to your computer, open it, or cancel.
• Save to computer: Click Save and browse to a location on your computer for storing the file.
• Open the file: Click Open and a program required for reading the file opens it. Notes:
If you do not have the appropriate program, you may not be able to open the attachment.
File size affects upload and download speeds. When you open, save, or attach large files, it may take several minutes.
8
Replying to Messages
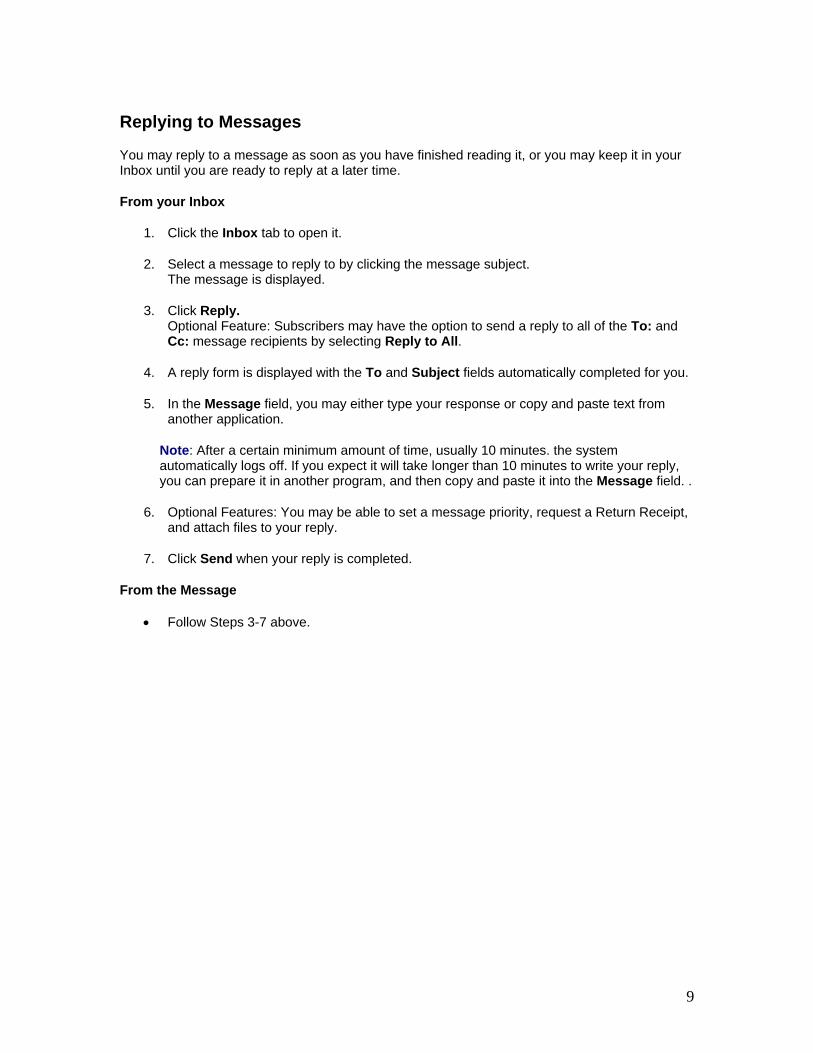
You may reply to a message as soon as you have finished reading it, or you may keep it in your Inbox until you are ready to reply at a later time.
From your Inbox
1. Click the Inbox tab to open it.
2. Select a message to reply to by clicking the message subject. The message is displayed.
3. Click Reply. Optional Feature: Subscribers may have the option to send a reply to all of the To: and Cc: message recipients by selecting Reply to All.
4. A reply form is displayed with the To and Subject fields automatically completed for you.
5. In the Message field, you may either type your response or copy and paste text from another application.
Note: After a certain minimum amount of time, usually 10 minutes. the system automatically logs off. If you expect it will take longer than 10 minutes to write your reply, you can prepare it in another program, and then copy and paste it into the Message field. .
6. Optional Features: You may be able to set a message priority, request a Return Receipt, and attach files to your reply.
7. Click Send when your reply is completed.
From the Message
• Follow Steps 3-7 above.
9
Attaching Files to Messages
Adding Attachments to a Message
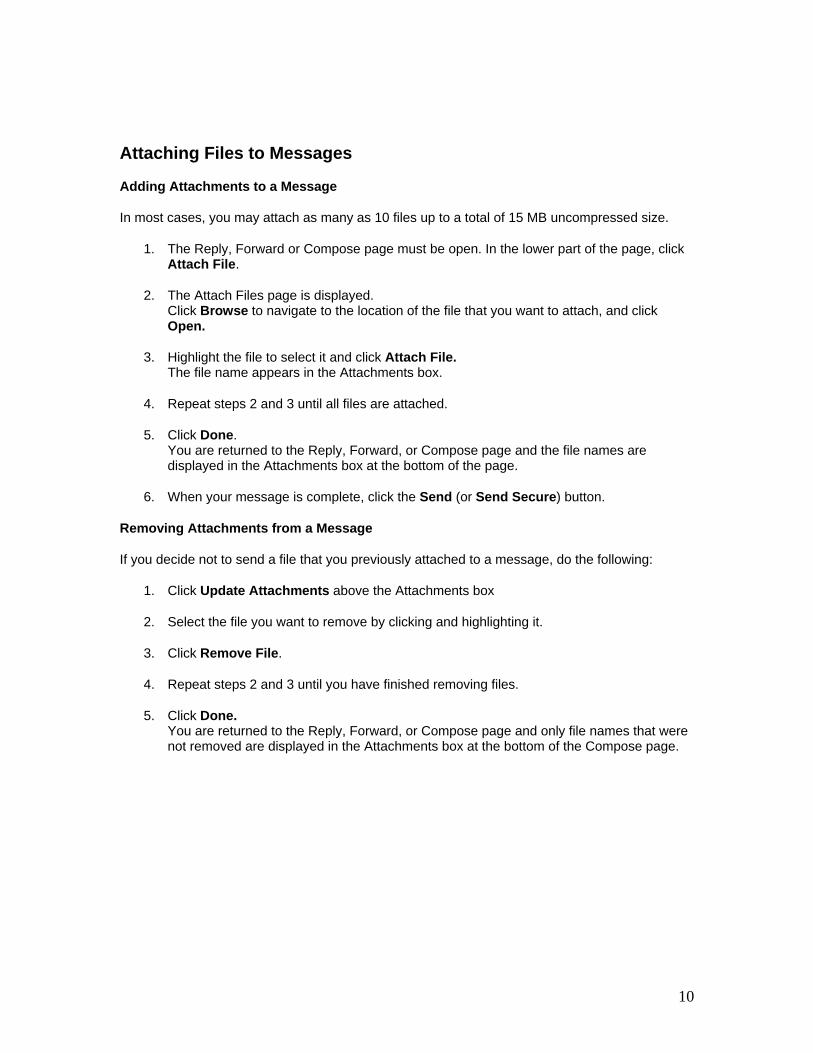
In most cases, you may attach as many as 10 files up to a total of 15 MB uncompressed size.
1. The Reply, Forward or Compose page must be open. In the lower part of the page, click Attach File.
2. The Attach Files page is displayed. Click Browse to navigate to the location of the file that you want to attach, and click Open.
3. Highlight the file to select it and click Attach File. The file name appears in the Attachments box.
4. Repeat steps 2 and 3 until all files are attached.
5. Click Done. You are returned to the Reply, Forward, or Compose page and the file names are displayed in the Attachments box at the bottom of the page.
6. When your message is complete, click the Send (or Send Secure) button.
Removing Attachments from a Message
If you decide not to send a file that you previously attached to a message, do the following:
1. Click Update Attachments above the Attachments box
2. Select the file you want to remove by clicking and highlighting it.
3. Click Remove File.
4. Repeat steps 2 and 3 until you have finished removing files.
5. Click Done. You are returned to the Reply, Forward, or Compose page and only file names that were not removed are displayed in the Attachments box at the bottom of the Compose page.
10

Prioritizing Messages
You can set a priority for your message or reply.
• To set a message priority you must be on the page where you type your message or reply.
• On the Priority drop-down list, select the priority for your message or reply.
The options are Normal (standard), High, and Low. Message priority status is shown in both the Inbox and Sent Mail views in the column at the left side of the message table.
• High priority - shown by an exclamation point (!).
• Normal priority - no indicator
• Low priority - shown by a blue down arrow.
When you reply to a message, the reply priority is automatically set to the same level as the message, but you may select a different priority for your reply.
Saving Messages as Drafts
This optional feature is available if the Drafts tab is visible at the top of the page when you log in. You can save a new message or a reply as a draft and complete it at a later time by using the Drafts folder.
1. On the Compose or Reply page, click the Save Draft button. The message is saved in the Drafts folder.
2. When you want to complete the message, click the Drafts tab. A list of your unsent draft messages is displayed showing the message subject and the date it was saved as a draft.
3. Select a message by clicking its Subject. Drafts of new messages are opened in the Compose page. Drafts of replies are opened in the Reply page.
4. When the message is ready to send, click the Send button. After a draft is sent, it is removed from the Drafts folder. You can review the message in the Sent Mail folder.
11
Requesting a Return Receipt
The Return Receipt feature may be available in your secure message center.
The Return Receipt option sends you a message pickup or return receipt indicating when each recipient initially opens your message.
The pickup receipt includes details about the message, and the date and time the message was opened.
Request the Return Receipt option by selecting the associated check box.
Reviewing Incoming Messages
1. To review messages you have received, select the Inbox tab.
Your inbound messages are displayed with the following information: • Priority • From • Received • Expires • Subject
2. Select a Subject link to open a message. When you Log Out, or change to a different page, the message is automatically closed and stored until the expiration date.
Reviewing Sent Messages
1. To review messages that you have already sent, select the Sent Items tab.
Your Sent messages are displayed with the following information: • Priority • Subject • Number of Recipients • Sent • Expires
2. Select a Subject link to open a message. When you Log Out, or change to a different page, the message is automatically closed and stored until the expiration date.
12
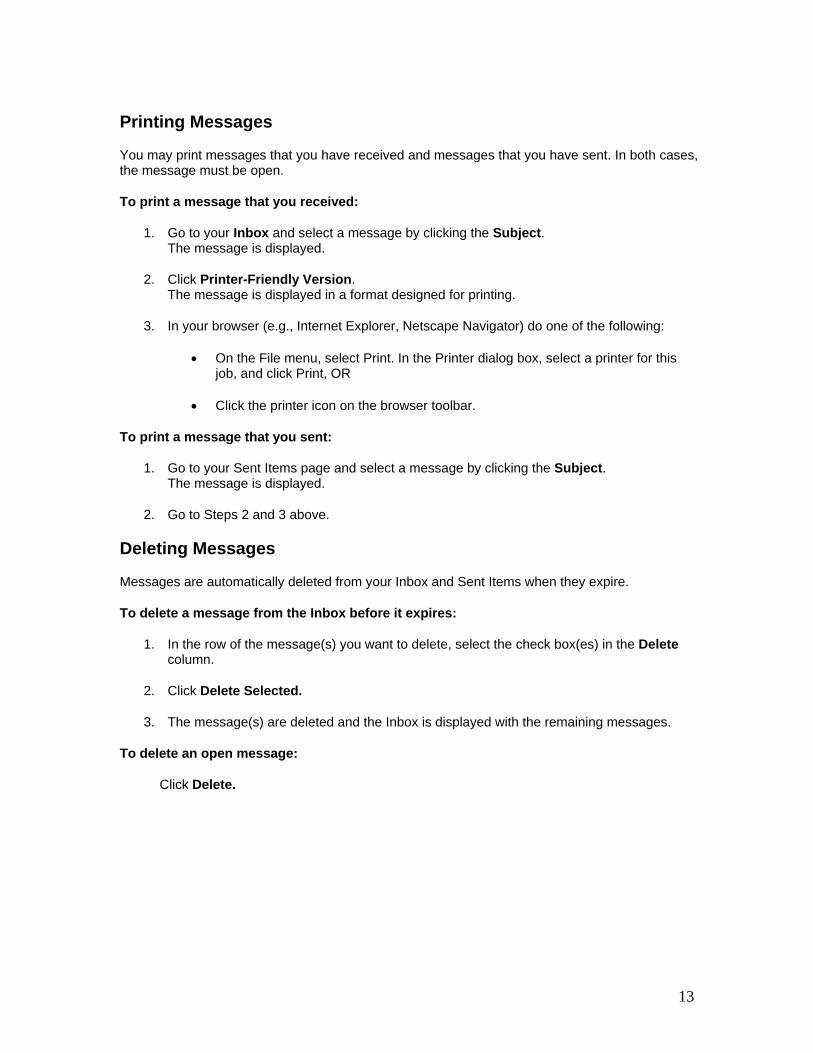
Printing Messages
You may print messages that you have received and messages that you have sent. In both cases, the message must be open.
To print a message that you received:
1. Go to your Inbox and select a message by clicking the Subject. The message is displayed.
2. Click Printer-Friendly Version. The message is displayed in a format designed for printing.
3. In your browser (e.g., Internet Explorer, Netscape Navigator) do one of the following:
• On the File menu, select Print. In the Printer dialog box, select a printer for this job, and click Print, OR
• Click the printer icon on the browser toolbar.
To print a message that you sent:
1. Go to your Sent Items page and select a message by clicking the Subject. The message is displayed.
2. Go to Steps 2 and 3 above.
Deleting Messages
Messages are automatically deleted from your Inbox and Sent Items when they expire.
To delete a message from the Inbox before it expires:
1. In the row of the message(s) you want to delete, select the check box(es) in the Delete column.
2. Click Delete Selected.
3. The message(s) are deleted and the Inbox is displayed with the remaining messages.
To delete an open message:
Click Delete.
13
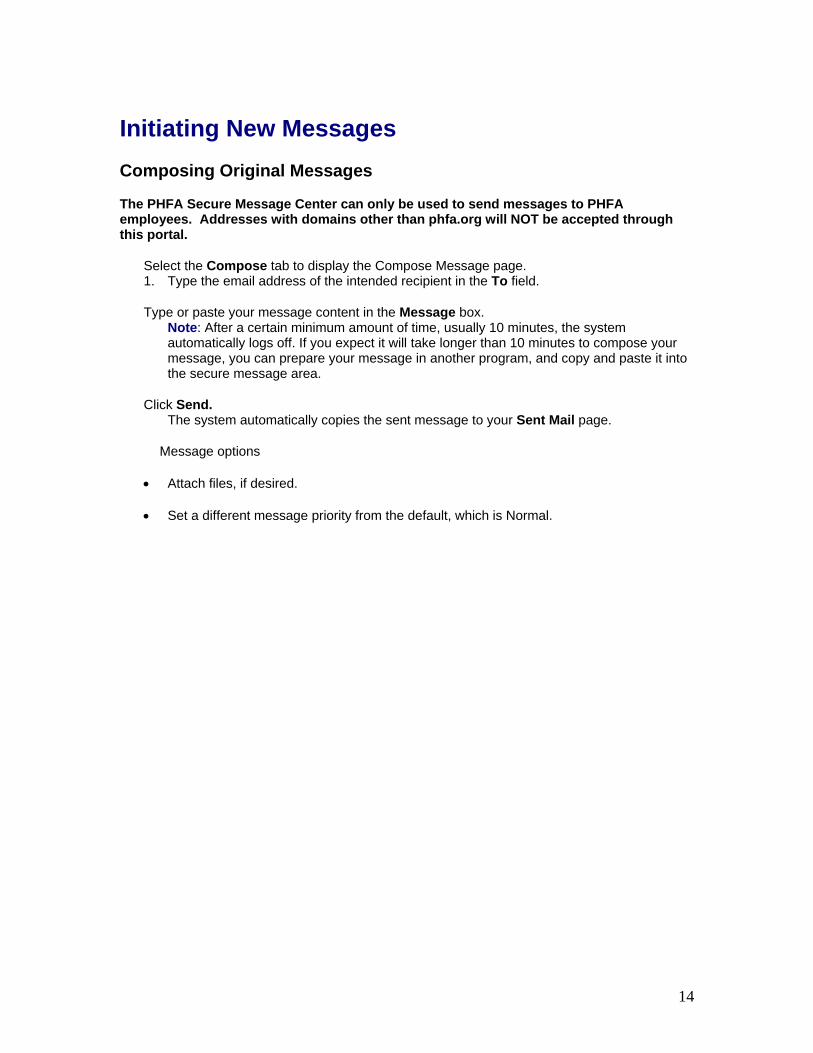
Initiating New Messages Composing Original Messages
The PHFA Secure Message Center can only be used to send messages to PHFA employees. Addresses with domains other than phfa.org will NOT be accepted through this portal.
Select the Compose tab to display the Compose Message page. 1. Type the email address of the intended recipient in the To field.
Type or paste your message content in the Message box. Note: After a certain minimum amount of time, usually 10 minutes, the system automatically logs off. If you expect it will take longer than 10 minutes to compose your message, you can prepare your message in another program, and copy and paste it into the secure message area.
Click Send. The system automatically copies the sent message to your Sent Mail page.
Message options
• Attach files, if desired.
• Set a different message priority from the default, which is Normal.
14
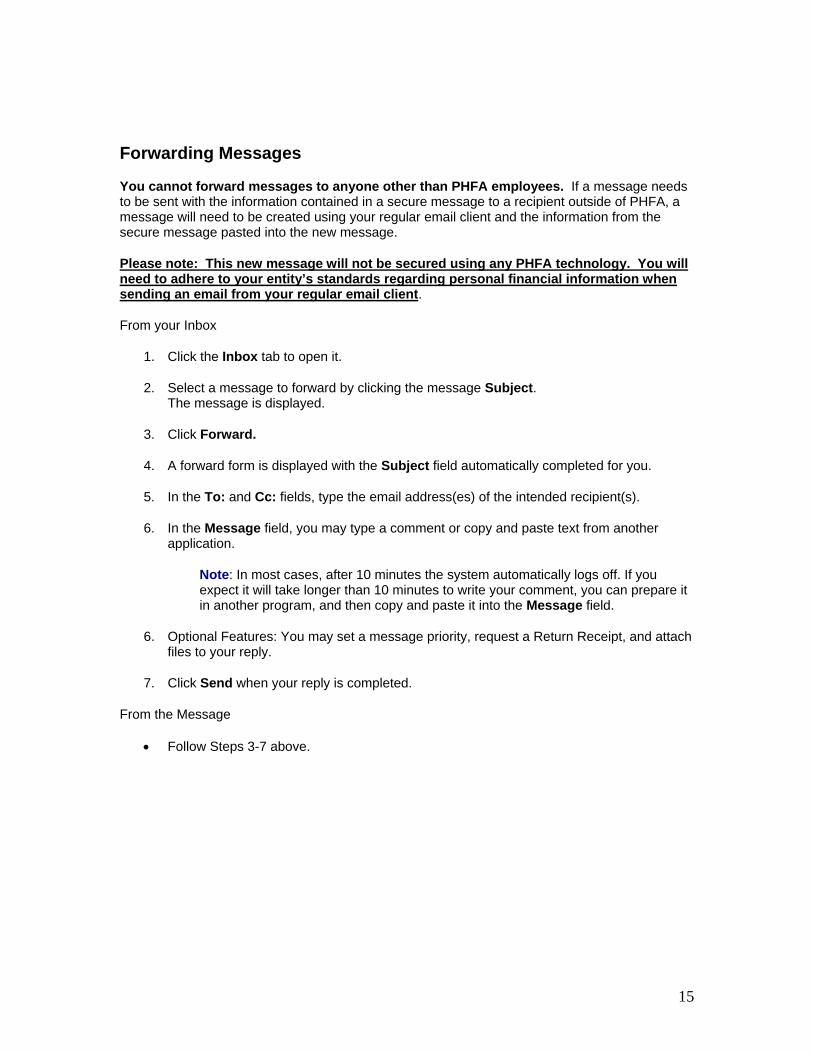
Forwarding Messages
You cannot forward messages to anyone other than PHFA employees. If a message needs to be sent with the information contained in a secure message to a recipient outside of PHFA, a message will need to be created using your regular email client and the information from the secure message pasted into the new message.
Please note: This new message will not be secured using any PHFA technology. You will need to adhere to your entity’s standards regarding personal financial information when sending an email from your regular email client.
From your Inbox
1. Click the Inbox tab to open it.
2. Select a message to forward by clicking the message Subject. The message is displayed.
3. Click Forward.
4. A forward form is displayed with the Subject field automatically completed for you.
5. In the To: and Cc: fields, type the email address(es) of the intended recipient(s).
6. In the Message field, you may type a comment or copy and paste text from another application.
Note: In most cases, after 10 minutes the system automatically logs off. If you expect it will take longer than 10 minutes to write your comment, you can prepare it in another program, and then copy and paste it into the Message field.
6. Optional Features: You may set a message priority, request a Return Receipt, and attach files to your reply.
7. Click Send when your reply is completed.
From the Message
• Follow Steps 3-7 above.
15
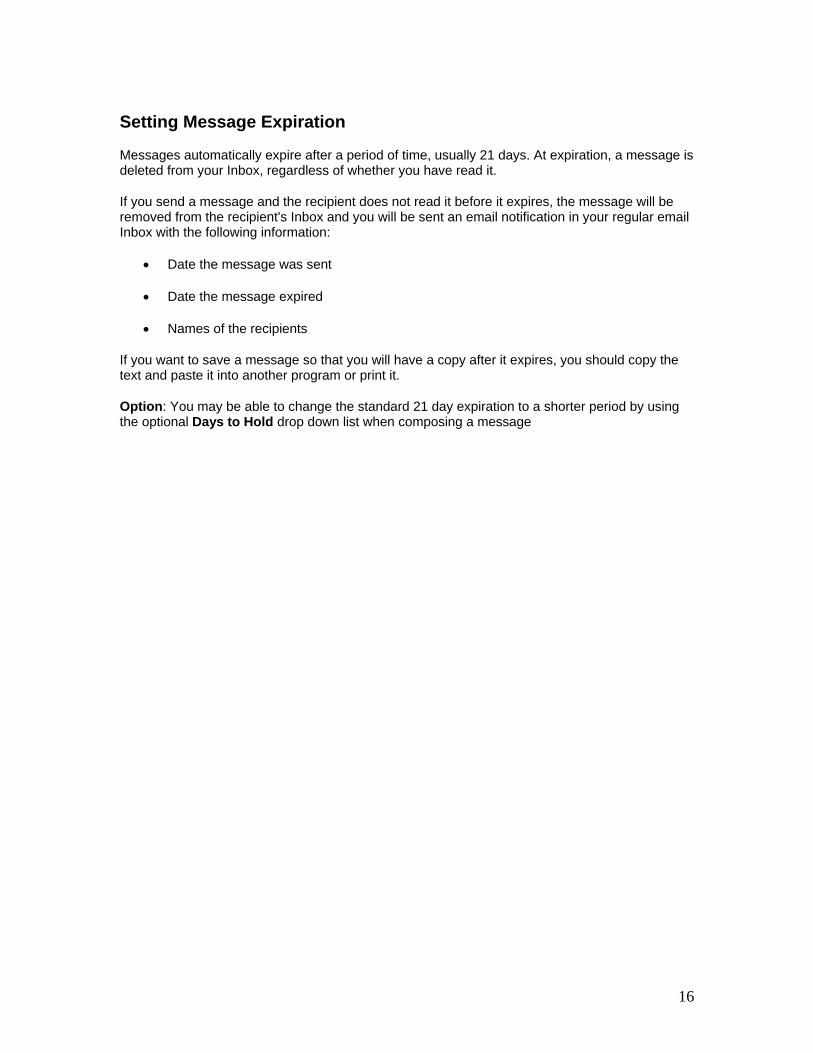
Setting Message Expiration
Messages automatically expire after a period of time, usually 21 days. At expiration, a message is deleted from your Inbox, regardless of whether you have read it.
If you send a message and the recipient does not read it before it expires, the message will be removed from the recipient's Inbox and you will be sent an email notification in your regular email Inbox with the following information:
• Date the message was sent
• Date the message expired
• Names of the recipients
If you want to save a message so that you will have a copy after it expires, you should copy the text and paste it into another program or print it.
Option: You may be able to change the standard 21 day expiration to a shorter period by using the optional Days to Hold drop down list when composing a message
16
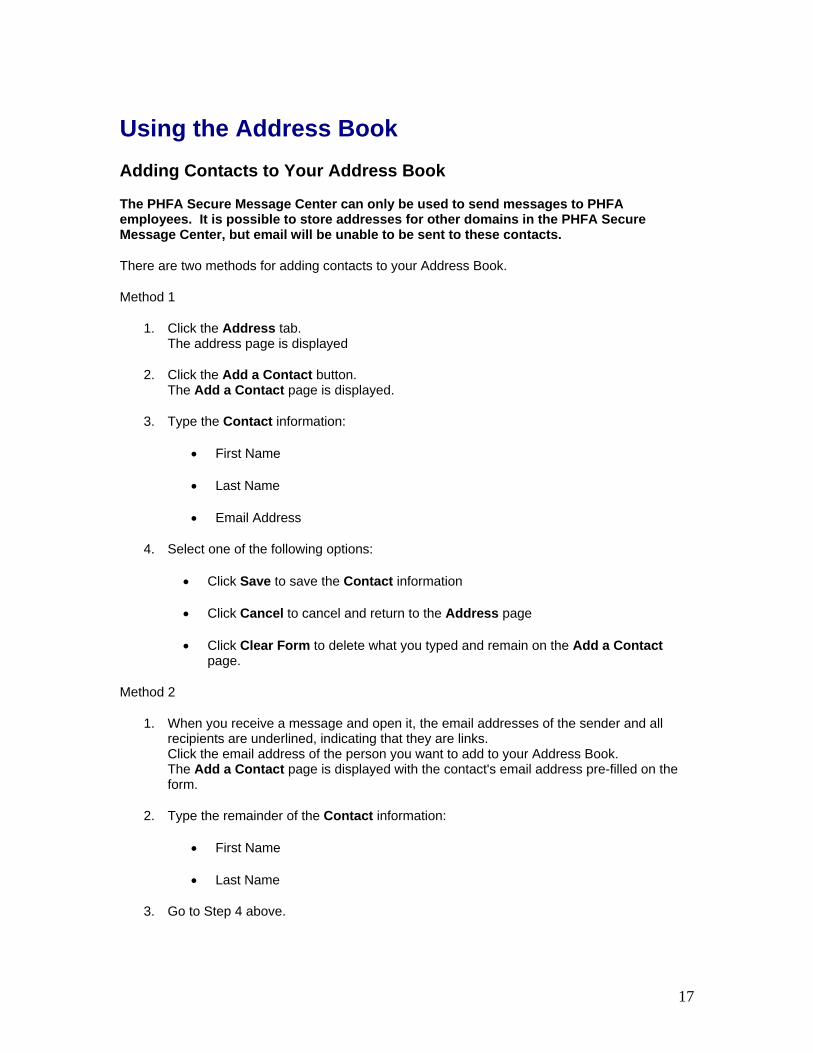
Using the Address Book Adding Contacts to Your Address Book
The PHFA Secure Message Center can only be used to send messages to PHFA employees. It is possible to store addresses for other domains in the PHFA Secure Message Center, but email will be unable to be sent to these contacts.
There are two methods for adding contacts to your Address Book.
Method 1
1. Click the Address tab. The address page is displayed
2. Click the Add a Contact button. The Add a Contact page is displayed.
3. Type the Contact information:
• First Name
• Last Name
• Email Address
4. Select one of the following options:
• Click Save to save the Contact information
• Click Cancel to cancel and return to the Address page
• Click Clear Form to delete what you typed and remain on the Add a Contact page.
Method 2
1. When you receive a message and open it, the email addresses of the sender and all recipients are underlined, indicating that they are links. Click the email address of the person you want to add to your Address Book. The Add a Contact page is displayed with the contact's email address pre-filled on the form.
2. Type the remainder of the Contact information:
• First Name
• Last Name
3. Go to Step 4 above.
17
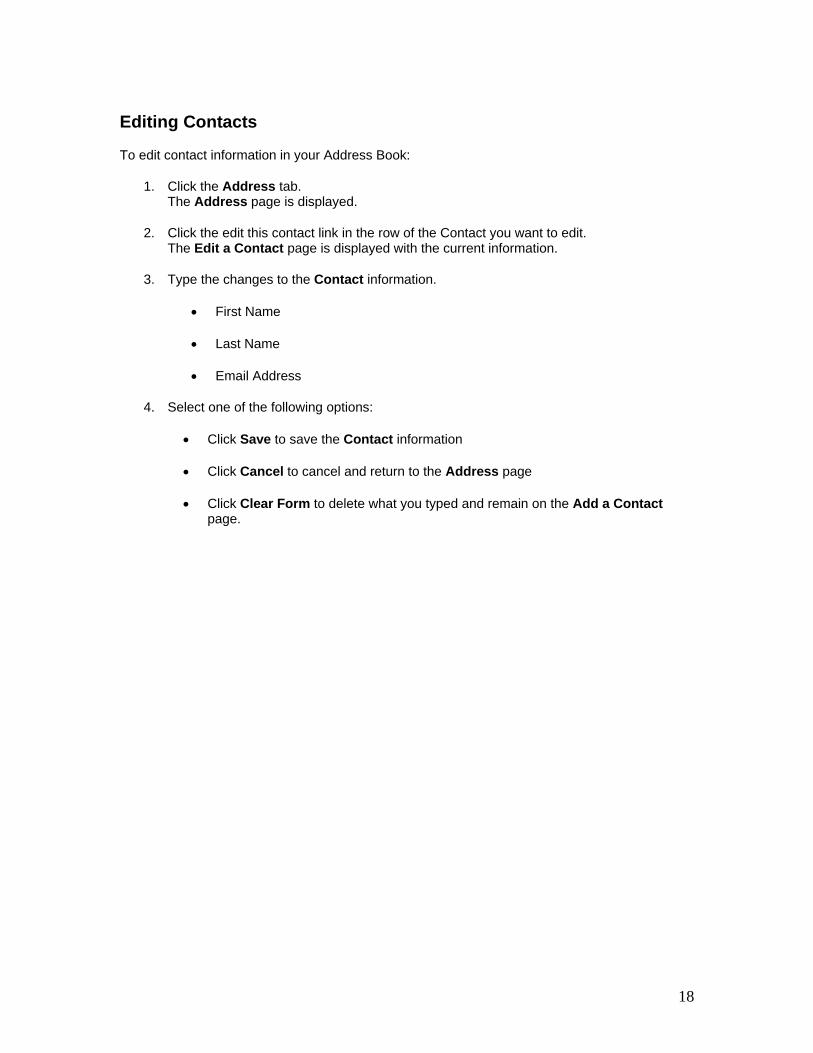
Editing Contacts
To edit contact information in your Address Book:
1. Click the Address tab. The Address page is displayed.
2. Click the edit this contact link in the row of the Contact you want to edit. The Edit a Contact page is displayed with the current information.
3. Type the changes to the Contact information.
• First Name
• Last Name
• Email Address
4. Select one of the following options:
• Click Save to save the Contact information
• Click Cancel to cancel and return to the Address page
• Click Clear Form to delete what you typed and remain on the Add a Contact page.
18
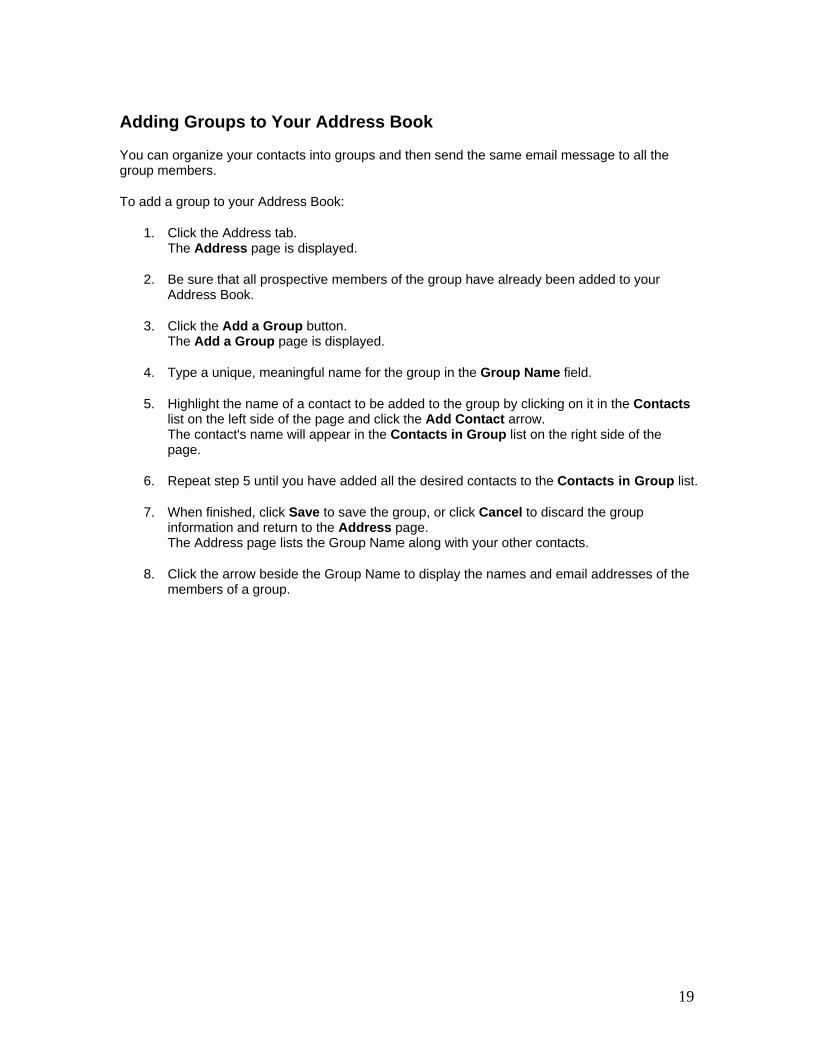
Adding Groups to Your Address Book
You can organize your contacts into groups and then send the same email message to all the group members.
To add a group to your Address Book:
1. Click the Address tab. The Address page is displayed.
2. Be sure that all prospective members of the group have already been added to your Address Book.
3. Click the Add a Group button. The Add a Group page is displayed.
4. Type a unique, meaningful name for the group in the Group Name field.
5. Highlight the name of a contact to be added to the group by clicking on it in the Contacts list on the left side of the page and click the Add Contact arrow. The contact's name will appear in the Contacts in Group list on the right side of the page.
6. Repeat step 5 until you have added all the desired contacts to the Contacts in Group list.
7. When finished, click Save to save the group, or click Cancel to discard the group information and return to the Address page. The Address page lists the Group Name along with your other contacts.
8. Click the arrow beside the Group Name to display the names and email addresses of the members of a group.
19
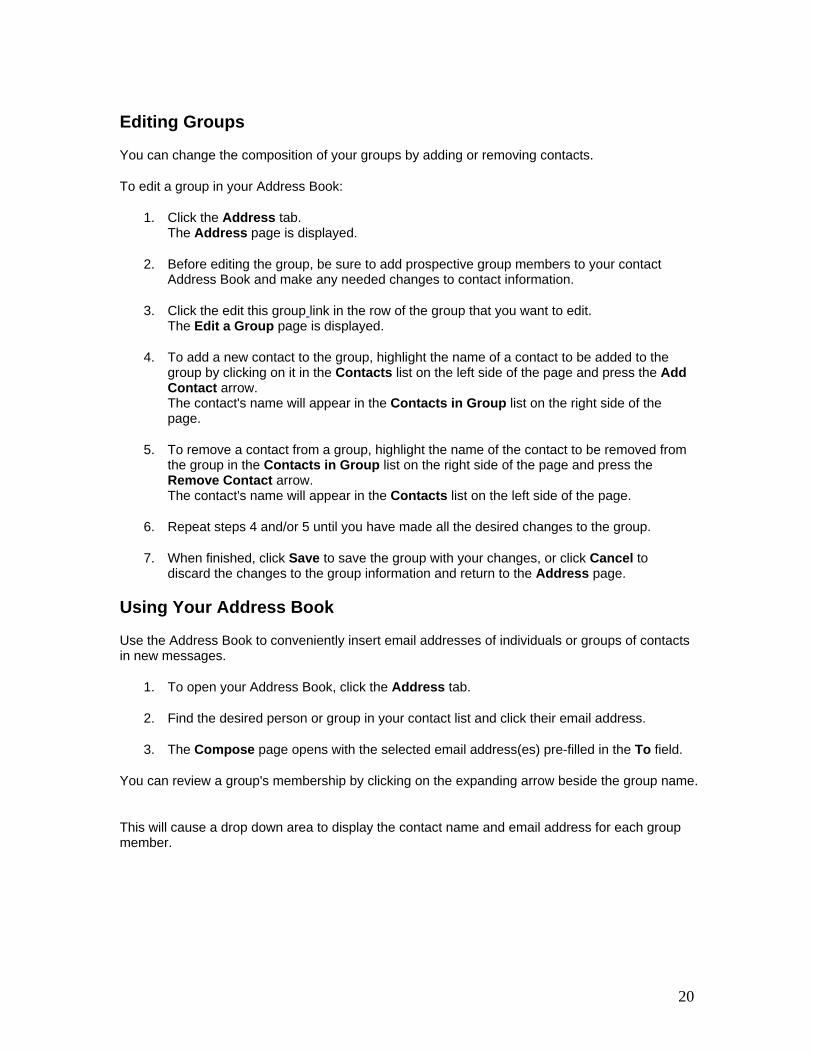
Editing Groups
You can change the composition of your groups by adding or removing contacts.
To edit a group in your Address Book:
1. Click the Address tab. The Address page is displayed.
2. Before editing the group, be sure to add prospective group members to your contact Address Book and make any needed changes to contact information.
3. Click the edit this group link in the row of the group that you want to edit. The Edit a Group page is displayed.
4. To add a new contact to the group, highlight the name of a contact to be added to the group by clicking on it in the Contacts list on the left side of the page and press the Add Contact arrow. The contact's name will appear in the Contacts in Group list on the right side of the page.
5. To remove a contact from a group, highlight the name of the contact to be removed from the group in the Contacts in Group list on the right side of the page and press the Remove Contact arrow. The contact's name will appear in the Contacts list on the left side of the page.
6. Repeat steps 4 and/or 5 until you have made all the desired changes to the group.
7. When finished, click Save to save the group with your changes, or click Cancel to discard the changes to the group information and return to the Address page.
Using Your Address Book
Use the Address Book to conveniently insert email addresses of individuals or groups of contacts in new messages.
1. To open your Address Book, click the Address tab.
2. Find the desired person or group in your contact list and click their email address.
3. The Compose page opens with the selected email address(es) pre-filled in the To field.
You can review a group's membership by clicking on the expanding arrow beside the group name.
This will cause a drop down area to display the contact name and email address for each group member.
20
Deleting Contacts and Groups
1. Open your Address Book by clicking the Address tab.
2. Select the check box(es) on the left of the contact or group name(s) that you want to delete.
3. Click the Delete Selected button. The selected names are deleted and the contact list is displayed with the remaining contacts.
21

Managing Your Account Changing your Password
The method of changing your password may vary depending upon how you access your secure message center. It may be possible to change your password from the Log In page as well as from the Profile page.
From the Log In page
1. Click the link informing you how to change your password. The Change Password form is displayed.
2. Type the following:
• Email Address
• New Password Type a password that complies with the rules that are shown. Your password must have:
• A minimum length in characters (e.g. 6)
In addition, your password may need to comply with one or more of the following constraints:
• Contains both alphabetic and numeric characters (A1B2C3)
• Contains both upper and lower case characters (AbCdE)
• Contains at least one special character (!@#$%^&*_+=][{}\|'";:/?.,><)
• Re-enter New Password
• New Password Reminder: a phrase that will help you remember your Password if you forget it
3. Click Submit Password. You will receive a confirmation email in your regular email Inbox, with instructions to activate the new password.
From the Profile page
1. Select the Profile tab.
2. Select Change your Password. The Change Password page is displayed.
3. Go to Steps 2 and 3 above.
22

Updating Your Profile
1. To update your Profile, select the Profile tab. Use the Profile page to change your password.
2. Click the Change Password button.
3. Type your new information in the appropriate fields on the Change Password page.
4. Click Submit Password. You will receive a confirmation email in your regular email Inbox, with instructions to activate the new password.
Requesting a Password Reminder
If you can not remember your password, you can request your password reminder. When you registered for your message center, you entered a word or phrase for this purpose.
1. On the Log In page, click the link informing you how to receive a password reminder. The Password Reminder page is displayed.
2. Type your email address in the box provided.
3. Click Enter. An email with the reminder will be sent to your regular email Inbox.
23
Frequently Asked Questions • How secure is my message center e-messaging?
Messages stored at your message center are encrypted with 168 bit triple DES encryption. Messages are sent using standard SSL secure Internet connections with high (128-bit) encryption. This level of encryption is considered highly secure by industry standards.
• How can I access the messaging system?
You can access the message center with any computer that has Internet access and a supported SSL-enabled browser, and your valid login information.
• What Internet browsers are required to use the secure mailbox?
For the message center to work properly in your browser, you must use Internet Explorer Release 5.5 or greater, or Netscape Release 7.0 or greater.
They both support 128-bit Secure Sockets Layer (SSL) encryption
• Are there any special browser settings required to use this service?
Microsoft Internet Explorer
To open and reply to your secure email messages, the Secure Sockets Layer (SSL) 2.0 and 3.0 options must be enabled in Microsoft Internet Explorer 5.5 or greater, or Netscape 7.0 or greater. Confirm that these settings are turned on by doing the following:
1. Open Internet Explorer and go to Tools \ Internet Options (5.5 and greater)
2. Click the Advanced tab.
3. Scroll down to Use SSL 2.0 and Use SSL 3.0 and make sure that those items are selected by placing a check in the box to the left of each item.
Netscape Navigator
4. On the Edit menu in Netscape Navigator, select Preferences.
5. Under Privacy and Security, select SSL.
6. Make sure that Enable SSL version 2.0 and Enable SSL version 3.0 display check marks. If not, click in the check boxes to select them.
Note:
Your message center works with 128-bit SSL encryption. Using your message center does not automatically upgrade a browser’s SSL encryption capability to a higher level if it is less than 128-bit. To utilize the full 128-bit SSL encryption capability of your message center, you may need to upgrade your browser to a higher encryption standard.
24
• What privacy or cookie settings are needed for my browser?
Microsoft Internet Explorer
For IE 6.0:
1. Select Tools -> Internet Options... -> Privacy.
2. Verify it is set to Medium, thedefault setting.
For IE 5.5:
3. Select Tools -> Internet Options... -> Security.
4. Click on the Custom Level button.
5. Verify the Reset to field is set to Medium, the default setting.
Netscape Navigator 7.0
6. Select Edit -> Preferences -> Privacy & Security -> Cookies.
7. Verify Enable all cookies selection is set.
• What should I do if I receive an error message when I try to log in?
Make sure that you've entered your Log In information correctly.
If you still receive the error message, select the password reminder link on the Log In page. Then type your email address and click Enter. The system will email you the phrase you entered when you selected your password.
• How do I change my password?
Select the link to change your password on the Log In page.
• What do I do if I forget my password?
On the Log In page, select the link for your password reminder.
You will be sent an email with the reminder that you entered when you created your password.
• How do I access my account if I'm locked out?
You are locked out of your account for 30 minutes after three attempts to log in with an incorrect password.
On the Log In page, select the link to change your password. Changing your password unlocks your account.
You may also contact your customer support center.
25
• Can I send large file attachments?
You can attach up to 10 files with a total of 15 MB, uncompressed. Note that the larger the size of the file, the longer it may take to upload and download.
• Can ZixCorp employees view my secure messages?
No. Your message center servers receive the mail securely over SSL and store the messages using 168-bit triple DES encryption. Intended recipients must use their passwords to open email messages.
• How do I get an expired message back?
If the message has expired, there is no way to access it. Due to the security features of your message center, the sender of the message must re-send it.
26
Contacting Support PHFA Business Partners
If you are having problems accessing the PHFA Secure Messaging Center, please contact thePHFA Helpdesk at 717.780.3850 or by email at [email protected].
PHFA Employees If you have any difficulty with assisting a user who is having problems retrieving a message that you sent or a user that is trying to send you a message, you can refer the user to the PHFA Helpdesk. The number there is 717.780.3850 or they can send an email to [email protected].
If you have any questions relating to the PHFA Secure Message Center or the secure mail process, you can contact the helpdesk at x3850 or by sending an email to helpdesk.
27
![Secure Message Transmission with Small Public Discussion · An Abridged History of SMT [Dolev-Dwork-Waarts-Yung’93] Perfectly secure message transmission (PSMT) Requires majority](https://img.dokumen.tips/doc/110x75/6052f733dcf468242328eb17/secure-message-transmission-with-small-public-discussion-an-abridged-history-of.jpg)