Embed Size (px)
Citation preview

Owners manualOwners manualOwners manualOwners manual
MX4800MX4800MX4800MX4800 Big bore cone valveBig bore cone valveBig bore cone valveBig bore cone valve
Introduction:
Congratulations on your purchase of the WP MX4800 Big bore cone valve for motocross, enduro, rally and motor sport. A copy of one of the best front forks in today’s cross, and where several riders have become world champion with. If you have any questions about your fork, please contact your importer. He will assist you in any way he can. For addresses see: www.wpsuspension.com WP Suspension wishes you lots of success and riding pleasure with your front fork.
General notice:
Pay attention to the following notes, when you are working with WP suspension products as described in this owners manual.
Regularly you need the special tools of WP Suspension next to the general equipment. These tools, with a unique “T” number (available at your local WP suspension importer), protect you from damaging the parts.
• Always use aluminium protector-plates, when clamping our products or parts in the vice. • Always replace damaged or worn parts. • Clean all parts before assembling. • Always use clean and professional tools. • Always check your fork before riding. • Check fork for irregularities before each session • Consult your local WP suspension dealer for service. Or in case of any doubt.
Advice start settings WP MXMA 4800 KIT Suspension
Track Compression Rebound Preload Ride height (clicks) (clicks) (turns) Sand 10 18 3 0 lines Hard-pack 12 16 0 2 lines
* Settings depended on ride style, rider, bike type and riders weight. This settings are mend for a base setup which suites most riders. Most front forks are delivered with custom made setup based on riders weight there riding style and for what purpose they want to use the fork.
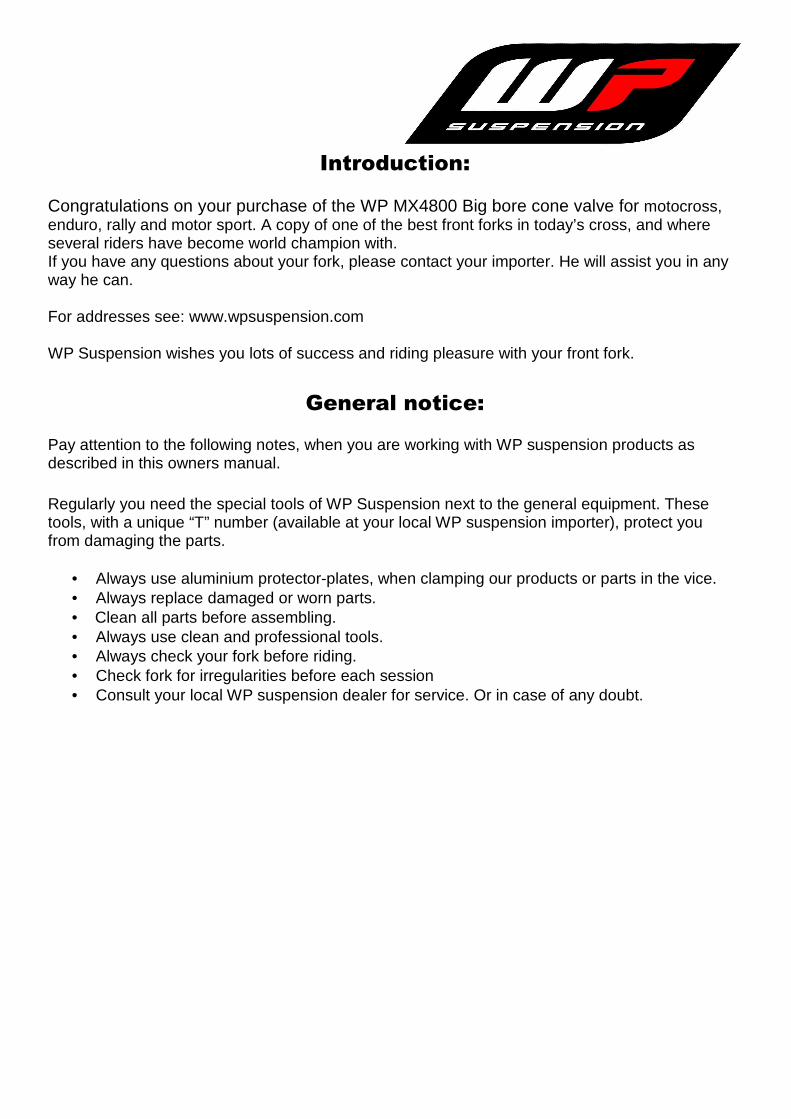
Adjusting the pre-load:
Turn the adjuster gently counter clockwise as far as possible, then look in the setting list for the setting of your specific model and add the given amount of pre-load.
1 turn (=2 clicks)=1mm pre-load
Turning it clockwise will add pre-load and turning it counter clockwise will decrease the pre-load.
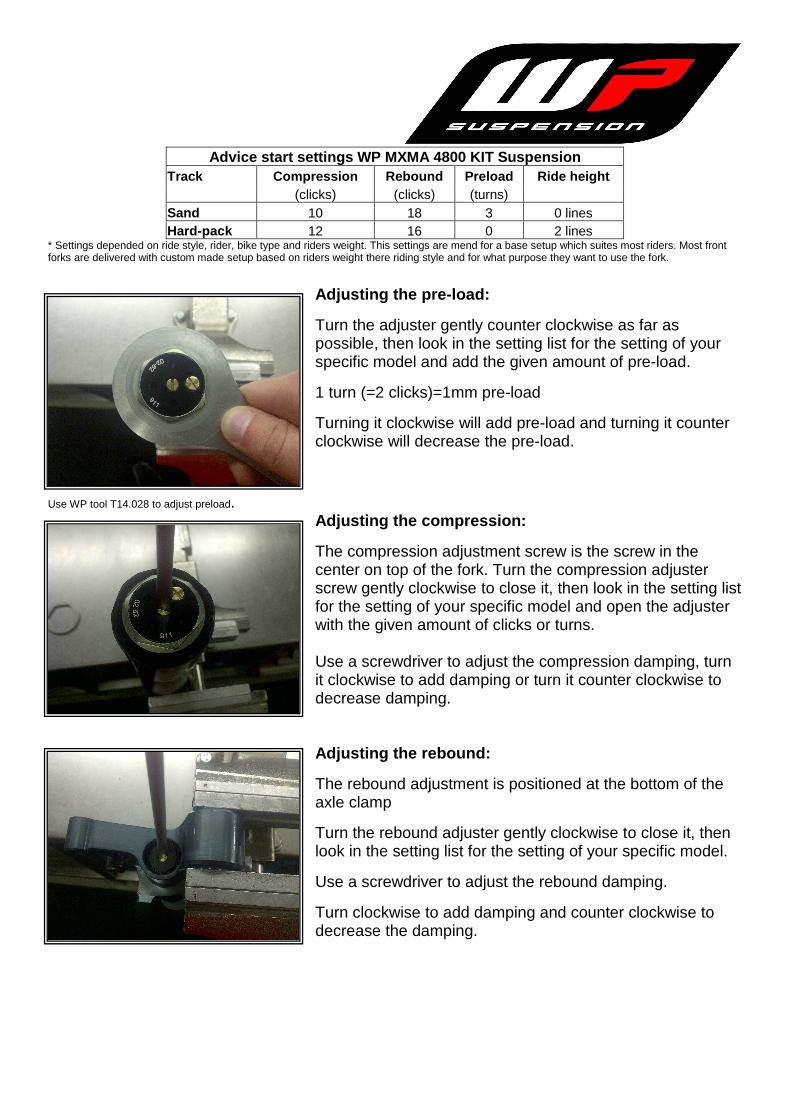
Use WP tool T14.028 to adjust preload. Adjusting the compression:
The compression adjustment screw is the screw in the center on top of the fork. Turn the compression adjuster screw gently clockwise to close it, then look in the setting list for the setting of your specific model and open the adjuster with the given amount of clicks or turns. Use a screwdriver to adjust the compression damping, turn it clockwise to add damping or turn it counter clockwise to decrease damping.
Adjusting the rebound:
The rebound adjustment is positioned at the bottom of the axle clamp
Turn the rebound adjuster gently clockwise to close it, then look in the setting list for the setting of your specific model.
Use a screwdriver to adjust the rebound damping.
Turn clockwise to add damping and counter clockwise to decrease the damping.
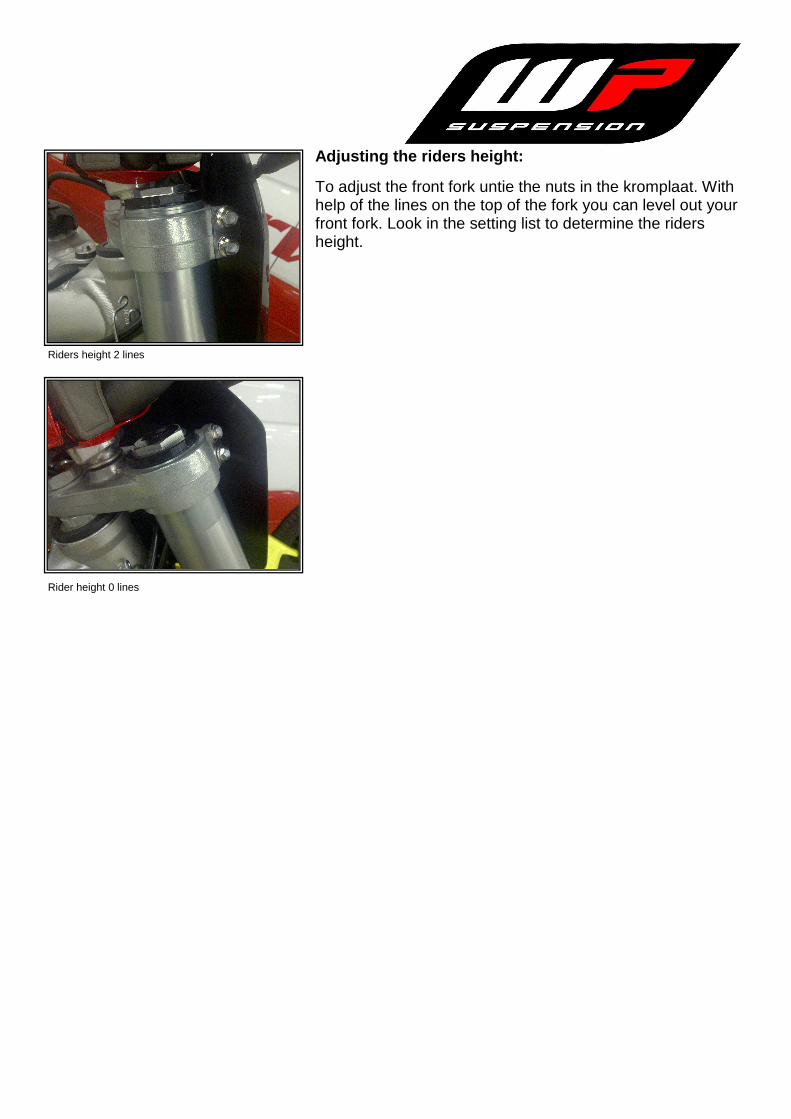
Adjusting the riders height:
To adjust the front fork untie the nuts in the kromplaat. With help of the lines on the top of the fork you can level out your front fork. Look in the setting list to determine the riders height.
Riders height 2 lines
Rider height 0 lines